
1
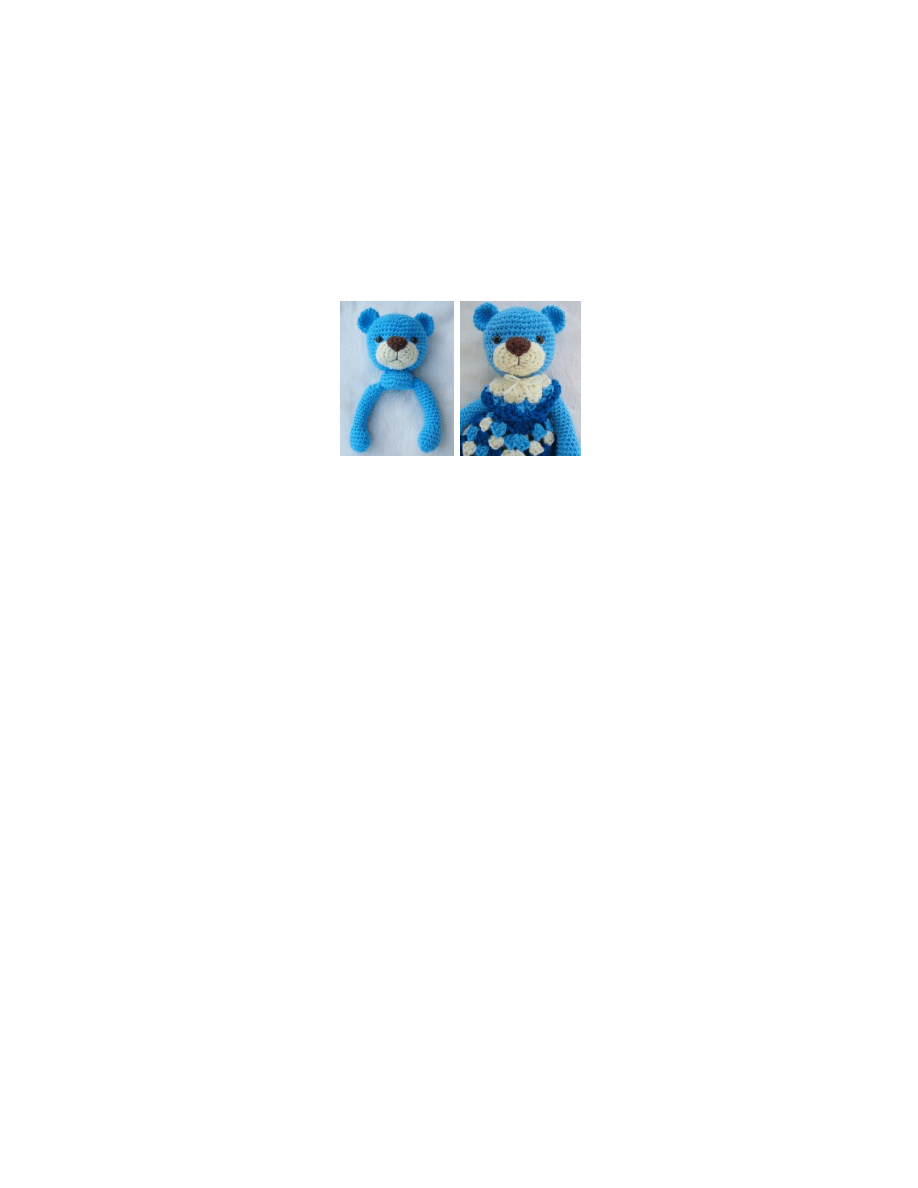
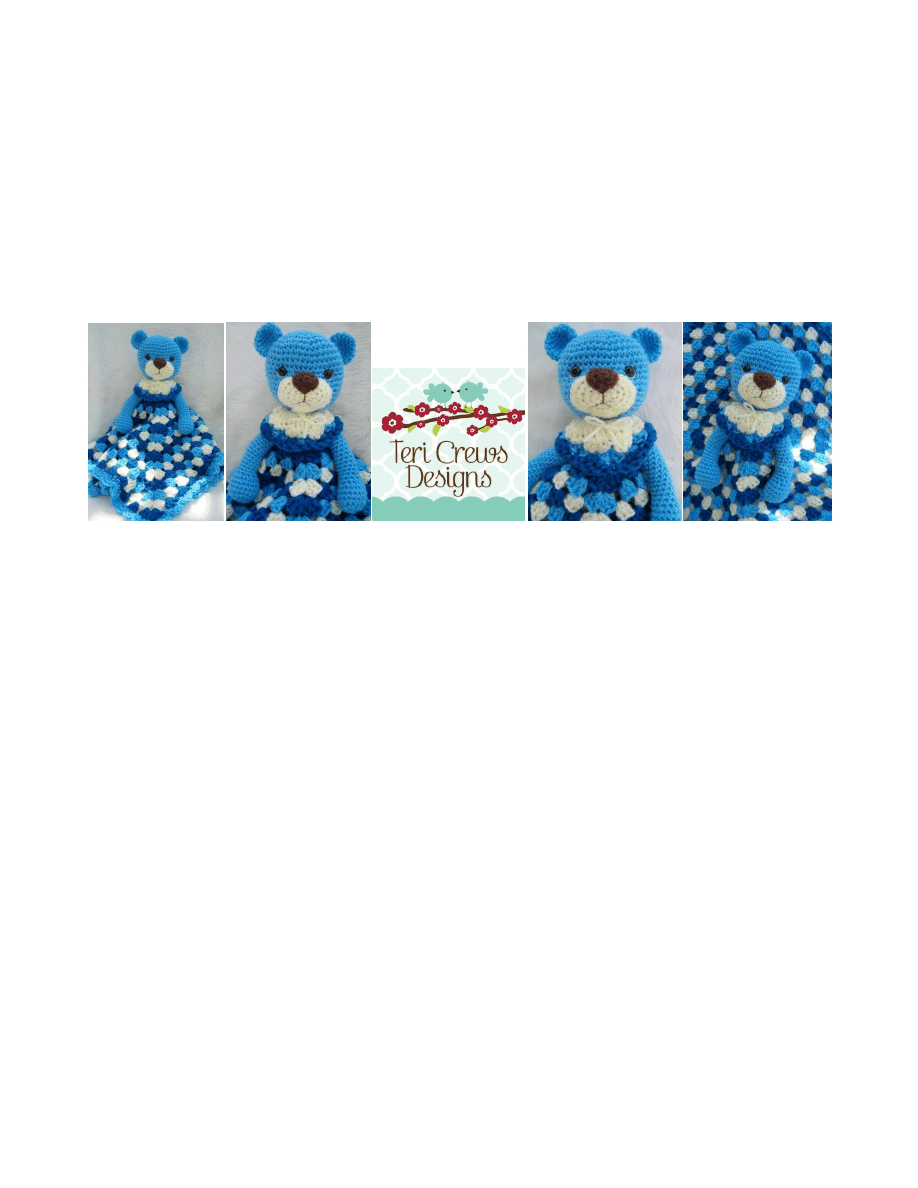
Teddy Bear Huggy Blanket- Designed by Teri Crews
©2012
teri.crews@gmail.com
Feel free to sell your finished items, but please do not copy, share or sell pattern
Teddy Bear Huggy Blanket
crochet pattern by Teri Crews
Materials:
Any Medium Worsted Weight Yarn:
Sample made: 2 skeins Vanna's Choice Baby Yarn - Boy Blue, 1 skein Vanna's Choice Baby Yarn - Lamb,
1 skein Vanna's Choice Yarn - Sapphire, small amount of Vanna's Choice chocolate for nose and mouth
small amount of Fiberfill, tapestry needle, safety eyes (12 mm) eyes
important note, do not use buttons or beads for baby
items,
small piece of white felt for under eyes (not necessary, but helps eyes stand out) and size G (4.00 mm) and J (6.00
mm) crochet hooks
Finished measurements
: approx 21 inches from top of bear's head to tip of blanket front. Blanket is approx. 22
inches with border
Abbreviations and Stitches Used:
ch=chain
dc=double crochet
fo=fasten off
hdc=half double crochet
rnd= round
sc=single crochet
skp=skip
sp=space
ss = slip stitch
st= stitch
tog = together
Notes and Tips:
Helpful to read these before starting and maybe even again when it's time to put assemble your teddy bear huggy
blanket
*Do not join rounds, unless indicated in that particular piece's instructions.
*When stuffing, try not to overstuff. Over stuffing will spread out your stitches making bigger holes and showing too
much fiberfill. Use small amounts of stuffing, shaping as you go. The back of a wooden spoon or a larger crochet hook
help stuffing small pieces. After stuffing my teddy bear head, I flatten slightly. I stuffed bottom of arms firmly and then
stuffed lightly for upper portion.
*I like to use a stitch counter to count off my rows, or scrap paper to mark off. A stitch marker will come in handy when
repeating rounds or you can pull through the beginning tail as you go to help you spot the beginning of each round.
*After crocheting your teddy bear's head, do not close until you have secured eyes. I recommend crocheting teddy's head,
muzzle, nose and ears before stuffing or assembling. After you have crocheted these pieces, stuff head, sew on
muzzle(with bottom about 3-4 rounds up from ending round). Sew on nose (top of nose should just cover last round of
muzzle, I like to separate my yarn into two plies and use this for sewing on nose. Sometimes I go around my nose several
times for a smooth edge, I also catch a little fiber with my needle in and continue sewing to help my nose stand out just a
little more). Cut two small pieces of white felt into circles just slightly bigger than your eyes. I trace around a button to
help me get a nice circle. Cut a small slit in the center of each felt piece and insert the safety eye stem. Decide where your
eyes look best on your teddy bear (I usually move mine around several times), refer to pictures for help with placement.
After you are happy with a position for your eyes, remove the stuffing (holding eyes in place or mark positions with a tiny
pen dot) secure on backing and stuff head again. Thread tapestry needle with ending yarn, weave through remaining
stitches and pull tight to close. Now to a little needle sculpting to help your bear's eyes stand out.

2
Teddy Bear Huggy Blanket- Designed by Teri Crews
©2012
teri.crews@gmail.com
Feel free to sell your finished items, but please do not copy, share or sell pattern
*Needle sculpting: Cut a 12-14 inch piece of chocolate yarn (or nose color yarn), separate plies and use two for needle
sculpting. Thread your tapestry needle and insert needle under the head where your stitches won't be seen. Secure yarn
and bring tapestry needle up in a stitch as close to the inside corner of the right eye as you can, put your needle back in t he
stitch directly below the stitch you came up from and go back through to the bottom, tug gently to slightly indent your
eye, but not too much, re-insert the needle and repeat this for the other eye.
*Be sure to sew everything extra securely if your teddy bear blanket will be going to a baby.
Head
starting at top of head, with boy blue & G hook
1:
ch2, 6 sc in 2nd ch from hook
2:
2 sc in each sc (12)
3:
*sc in next sc, sc 2 in next sc*, repeat between *'s (18)
4:
*sc in each of the next 2 sc, sc 2 in next sc*, repeat between *'s (24)
5:
*sc in each of the next 3 sc, sc 2 in next sc*, repeat between *'s (30)
6:
*sc in each of the next 4 sc, sc 2 in next sc*, repeat between *'s (36)
7:
sc in each sc (36)
8:
*sc in each of the next 5 sc, sc 2 in next sc*, repeat between *'s (42)
9-13:
sc in each sc (42)
14:
*sc in each of the next 5 sc, sc2tog*, repeat between *'s (36)
15:
sc in each sc (36)
16:
*sc in each of the next 4 sc, sc2tog*, repeat between *'s (30)
17-18: sc in each sc (30)
19:
*sc in each of the next 3 sc, sc2tog*, repeat between *'s (24)
20:
*sc in each of the next 2 sc, sc2tog*, repeat between *'s (18)
21:
sc in each sc, join with ss. FO leave a long tail to use for sewing. Weave in beginning tail
Refer to head assembly instructions in notes and tips before closing head.
Muzzle
with lamb & G hook
1-3:
repeat rounds 1-3 of head (18)
4:
*sc 2 in each of the next 3 sc, sc in each of the next 6 sc*, repeat between *'s (24)
5:
*sc 3, sc 2 in next sc*, repeat between *, repeat between *'s (30), join with ss. FO, weave in ends. Shape into
slight oval before sewing
Nose
with chocolate & G hook
1:
ch 2, 6 sc in 2nd ch from hook
2:
sc in each of the next 5 sc, sc2tog FO, weave in ends, shape into slight oval before sewing
Ears (make 2)
with boy blue & G hook
1-3:
repeat round 1-3 of head (18)
4-6:
sc in each sc (18), join with ss. FO, leave long tail for sewing. Weave in beginning tail. Thread tapestry needle
with ending tail. Flatten ear, with tail on right side, whip stitch through both layers,
tugging a bit to help keep ear
slightly bent in. Sew on about midway from back of head. I
usually sew mine so that the inner corner of the ear is
almost directly above inner corner of eye, but try different positions to see where you like
your bear's eyes the
best.
Neck
with boy blue & G hook
1-5:
Repeat rounds 1-5 of head (30)
6-7:
sc in each sc (30)
8:
*sc in each of the next 3 sc, sc2tog*, repeat between *'s (24)
3
Teddy Bear Huggy Blanket- Designed by Teri Crews
©2012
teri.crews@gmail.com
Feel free to sell your finished items, but please do not copy, share or sell pattern
9:
sc in each sc (24)
10:
*sc in each of the next 2 sc, sc2tog*, repeat between *'s (18), join with ss. FO, leave a long tail for sewing.
Weave in beginning tail, stuff , thread tapestry needle, weave through remaining stitches, pull tight to close.
Center under bear head and sew in place.
Arms (make 2)
with boy blue & G hook
1-3:
repeat rounds 1-3 of head (18)
4-6:
sc in each sc (18)
7:
*sc in next sc, sc2tog*, repeat between *'s (12)
8:
sc2tog, sc in each remaining sc (11)
9-23:
sc in each sc, join with ss. FO, leave a long tail for sewing. Weave in beginning tail, stuff arm, thread tapestry
needle, weave through remaining stitches, pull tight to close. Sew onto sides of neck, about 1 round up from bottom.
Collar
With J hook, starting with lamb
Working in rows
1:
ch 15, sc in 2nd ch from hook, *3 dc in next ch (first shell made), sc in next ch*, repeat between *'s to end, turn
2:
ch 1, *shell in first sc, sc in 2nd dc of the next shell*, repeat between *'s ending with shell in last st, turn
3:
change to boy blue, ch 3, 2 dc in first sc, sc in 2n dc of next shell, *3 dc in next sc, sc in 2nd dc of next shell*,
repeat between *'s ending with shell in last st, turn
4:
change to sapphire, ch 3, 2 dc in first dc, sc in 2nd dc of next shell, *3 dc in next sc, sc in 2nd dc of next shell*,
repeat between *'s ending with shell in last st. FO, weave in ends. Place around bears neck, sew ends/sides
together and sew some extra tacking stitches to keep collar securely attached. I added an extra stitch in the
front with a little knotted bow.
Little Granny Square Blanket
Note: I used a traditional granny square, but you can make your little blanket however you would like. My blanket is
approx. 21 inches square and/or 15 rounds wide with a border. Here is what I did for my blanket:
With J hook, starting with boy blue
1:
ch 4; join with ss in first ch to form a ring. Ch 3 (counts as first dc now and throughout), 2 dc in ring,
ch 2, *3
dc in ring, ch 2*, repeat between *'s , join with ss to top of beginning ch. FO
with lamb
2:
join with ss in any ch 2 sp, ch 3, 2 dc, ch 2, 3 dc in same sp. (corner made), ch 1, *3 dc, ch 2, 3 dc in
next ch
2 sp, ch 1*, repeat between *'s , join with ss in top of beg ch. FO
with sapphire
3:
join with ss in any ch 2 sp, ch 3, 2 dc, ch 2, 3 dc in same sp, ch 1, 3 dc in next ch-1 sp, ch 1, *3 dc, ch 2, 3 dc in
next ch-2 sp, ch 1, 3 dc in next ch-1 sp, ch 1*, repeat between *'s, join with ss in top of beginning ch. FO.
with boy blue
4:
join with ss in any ch 2 sp, ch 3, 2 dc, ch 2, 3 dc in same sp, (3 dc in next ch 1 sp, ch 1) repeat across to next ch
2 sp (corner), *3 dc, ch 2, 3 dc in next ch 2 sp, ch 1 (3 dc in next ch 1 sp, ch 1) across to next ch 2 sp* repeat
between *'s, join with ss to top of beg ch. FO
5-15:
Repeat rounds 1-4 (changing colors between rounds, ending with sapphire), join with ss. FO
4
Teddy Bear Huggy Blanket- Designed by Teri Crews
©2012
teri.crews@gmail.com
Feel free to sell your finished items, but please do not copy, share or sell pattern
Border
with boy blue
1:
join with ss in any ch 2 sp. sc in same sp, *sc in each st and each ch 1 to corner, 3 sc in corner*, repeat
between *'s, join with ss, do not fasten off.
2:
ss to 2nd sc in corner, 3 hdc in same sp, ss in each of the next 2 sc, *3 hdc in next sc, ss in each of the next 2 sc*,
repeat between *'s, join with ss. Fasten off
note: try to put your 3 hdc in each center sc of corners, if it doesn't line up, add or remove a ss
Sew center of blanket onto bottom of neck with right side facing up. Sew securely, but do not pull stitches to
tight or else blanket with not lay flat.
Thank you for choosing this pattern. I hope you enjoy making your dog.
Teri
Be sure to visit my website: tericrewsdesigns.com for tutorials, news, current promotions and pattern errata.
Wyszukiwarka
Podobne podstrony:
blankiety Karta odejscia dla?solwentow
How To Multiply Your Baby vol 1D a4
Domek Baby-Jagi, Kuchnia - przepisy
Baby drożdżowe - przepisy i dobre rady, danaprus
pismo na blankiecie BR
blankiety
Baby Shower
BRAUN recipes for your baby and toddler
blankietPodgladPliku
How To Multiply Your Baby vol 1C a4
więcej podobnych podstron