
Introduction
Are you ready for wizards, witches, school assignments and all
other things Potter related? If so, then we gladly welcome you to
IGN's strategy guide for Harry Potter and the Order of the Phoenix.
This guide will contain a step by step walk through of the main
adventure, including every task and story driven section.
We will provide video tips/examples on how to duel effectively, how
to use your map to it's fullest extent and we'll also be providing
insight in how you tackle each character related job so that you
never get lost in Hogwarts.
In this Harry Potter and the Order of the Phoenix guide, you'll
find:
BASICS // Controls and tips on casting spells and more.
WALKTHROUGH // Complete Harry Potter and the Order of
the Phoenix walkthrough.
EXTRAS // Teacher assignments, portrait passwords and
more.
Guide by: MrWhitefolks
© 2007, IGN Entertainment, Inc. May not be sold, distributed, transmitted, displayed, published or broadcast, in whole or part,
without IGN’s express permission. You may not alter or remove any trademark, copyright or other notice from copies of the content.
All rights reserved.
© 2007 IGN Entertainment, Inc.
Harry Potter and the Order of the Phoenix Basics
As with any game, learning the controls is vital to your success while on your adventure.
Spells are unlocked as you play through the game and fall into both combative and explorative categories.
These spells are used when you have an enemy/fellow student targeted, or when you are in a duel.
Controls
Spells
Marauders
Map
Dueling
Wizard
Games
D-PAD
Cycles through options in the Map screen
LEFT ANALOG STICK (LAS)
Moves your character
RIGHT ANALOG STICK (RAS)
Used to equip your wand/Cast spells
A
Holding A (while walking) allows you to run. Rapidly tapping A while climbing/shimmying
allows you to do so at a faster pace
B
Tap B to center the camera or Hold B to go into first person mode
Y
Equips your wand
X
Interact with the environment and talk to characters
LEFT BUMPER (LB)
Ironically enough, this button is NOT used at all in this game
RIGHT BUMPER (RB)
Holding RB aims your wand at the nearest Hogwarts student
LEFT TRIGGER (LT)
Used to cycle between objects/opponents when your wand is equipped
RIGHT TRIGGER (RT)
Used to cycle between objects/opponents when your wand is equipped
BACK
Brings up the Marauders Map screen
START
Pauses game and brings you to the standard menu wherein you can change options
and/or save your progress manually
Controls
Spells
Marauders
Map
Dueling
Wizard
Games
Combat Based
© 2007 IGN Entertainment, Inc.
These spells are used for interacting/exploring Hogwarts. Each spell requires that you have your wand equipped and
that you move the RAS in the direction described below.
Stupefy // Move the RAS Up, then rotate the stick counter-clockwise quickly.
The Stupefy spell is one of your main offensive devices in dueling, as it has a high chance to stun the opponent
which leaves them open for you to finish the fight with an Expelliarmus attack.
Rictusempra // Tap the RAS Up, Down, Up, Down in quick succession.
A stinging attack that fires off quick purple bolts which can not only lightly harm the opponent, but interrupt them if
they are attempting to cast a spell at you.
Expelliarmus // Tap the RAS Down twice in quick succession.
This spell is the one that ends fights. Whenever you see an opponent kneeling and in danger, fire off an
Expelliarmus attack to knock them out.
Protego // Tap the RAS Up twice in quick succession.
Your main defensive option in duels, this spell creates a time limited force field around your character that can
deflect spells fired upon you.
Levicorpus // Move the RAS UP, then rotate it to the LEFT, return to UP, and then rotate to the RIGHT.
While hard to pull off in a duel, Levicorpus is still useful. If this spell connects, the opponent is lifted upside-down for
a period of time where they are in turn, defenseless to your attacks.
Petrificus Totalus // Move the RAS UP, then rotate the stick clockwise quickly.
Far easier to use in battle than Levicorpus, Petrificus Totalus will literally freeze an opponent in their place, leaving
them open to attacks. However, if you are fighting only one person in a duel, landing a Petrificus attack has a high
chance to end the duel on the spot!
Exploratory
© 2007 IGN Entertainment, Inc.

By pressing the BACK button, your map screen will appear. While the map itself is ungodly confusing in how it's laid out,
EA has provided you with an awesome little feature that makes exploring Hogwarts insanely user friendly. By pressing
Left or Right on the D-Pad you will get two lists of various places and/or people.
Depulso // Tap the RAS Up twice in quick succession.
The Accio spell is used to push objects away from you, and is primarily used in helping Harry's friends with
household errands, but can be used when interacting with wall tapestries and floor rugs.
Accio // Tap the RAS Down twice in quick succession.
The Accio spell is used to pull objects towards you, and is used primarily when helping Harry's friends with
household errands or chores, but can be used to make hidden wall fixtures appear.
Wingardium Leviosa // Move the RAS UP, then rotate it to the LEFT, UP, and then rotate to the RIGHT.
This spell is useful to an uncanny degree. It is used to lift objects, which in turn can be used to solve puzzles and/or
just for fun (throwing the stone benches found in courtyards at other students is hilarious).
Reparo // Move the RAS UP, then rotate the stick clockwise quickly.
The Reparo spell is used to fix broken objects, which usually involve some kind of puzzle or obstacle barring you
from continuing on your way. Broken pipes, boxes, shelves, statues and more all need to be repaired at one point or
another, and this is the spell to use.
Reducto // Move the RAS UP, then rotate the stick counter-clockwise quickly.
This spell is the counter balance to Reparo, as it's used primarily to destroy objects. It can also be used to "set off"
certain magical objects in place of using Incendio.
Incendio // Tap the RAS UP, DOWN, UP, DOWN in quick succession.
The Incendio spell starts fires, plain and simple. If you see an object that should be lit (like torches), then cast
Incendio and you'll reap the rewards.
Controls
Spells
Marauders
Map
Dueling
Wizard
Games
© 2007 IGN Entertainment, Inc.
When you press Left on the D-Pad a list of every single area in the entirety of Hogwarts is displayed, and you can cycle
through this list by using Up or Down on the D-Pad as well. If you highlight a selection and press the A button you will
place down a "marker" on the map. Why is this beneficial? After placing a marker, when you return to the game you'll
notice footprints that appear before your character. These footprints show you which way you should go to get to the
area you marked on the map! This makes traversing Hogwarts far easier, and you don't have to worry about checking
the map as much as you would in other games.
When you press Right on the D-Pad while looking at the Marauders Map, a list of every person that you need to meet up
with is displayed. You can also scroll through this list by using Up and Down on the D-Pad and just as before, you can
set a "marker" down on the map by pressing the A button when you have someone's name highlighted. After returning to
the game the footprints appear and you can follow these to the person you've selected, making finding someone simple
and time efficient.
Learning to duel is a MUST in this game, as many of the encounters with enemies take place in duels. Reading this
guide and watching the video that follows can give you a fighting chance when it comes to using your combat spells.
Controls
Spells
Marauders
Map
Dueling
Wizard
Games
Rule 1
Keep moving. If you stand still you are asking to get shot in the face with any number of
spells from your opponents. The more you move, the higher chance you have that their
more powerful attacks (which traditionally move in a straight line) will outright miss you
completely. Also, since the battle is only lost if YOU are knocked out, feel free to use Ron
and Hermione as human shields. Even if they are knocked down, they will get back up
without an issue, so don't worry about them getting hurt and stay behind them if necessary.
© 2007 IGN Entertainment, Inc.

Periodically you'll run into other students enjoying mini games, and if you walk up to them and press the X button, you
can join in with them.
Rule 2
Learn the spacing/traits of your spells and how they work. For example; Stupefy is a great
spell to use but it arcs outwards before it regains it's focus, so when using this spell try to
fire it from a distance. You'll have a higher chance of all three beams hitting the opponent
this way. Spells that fire in a straight line (such as Levicorpus and Petrificus Totalus) should
be used while you are moving in the opposite direction of your opponent, as you have a
better chance of hitting them than if you were moving WITH them (as they would
automatically side step your spell). Also, Rictusempra is a great spell to toss out at random
(especially if you're safely behind a Protego spell) as if the opponent doesn't deflect them
immediately, the spell circles them until it's ready to pop.
IGN SUPER AWESOME EXPERT HINT
The more you explore Hogwarts, the more you level up. As you level up, the damage, range, and speed of your
combat based spells increases. So remember, you're not just unlocking video interviews and useless
trophies...you're actually increasing your capacity to win duels!
Rule 3
Friendly fire can be bad for you, so know the positions of your friends. Whether you're just
dueling at random with Hermione and Ron at your side or even if you have other DA
members in your crew at a crucial moment in the game, you MUST keep in mind that you
can hit your allies (and in turn, you can be hit by their attacks as well). Try not to walk
directly in front of them, stay out of the line of fire (ie: don't get caught between a team
member and an enemy, as you'll have to defend against attacks from both sides), and be
sure to keep an eye out incase a team member fires a spell and the opponent dodges it...as
it might come directly at you!
Controls
Spells
Marauders
Map
Dueling
Wizard
Games
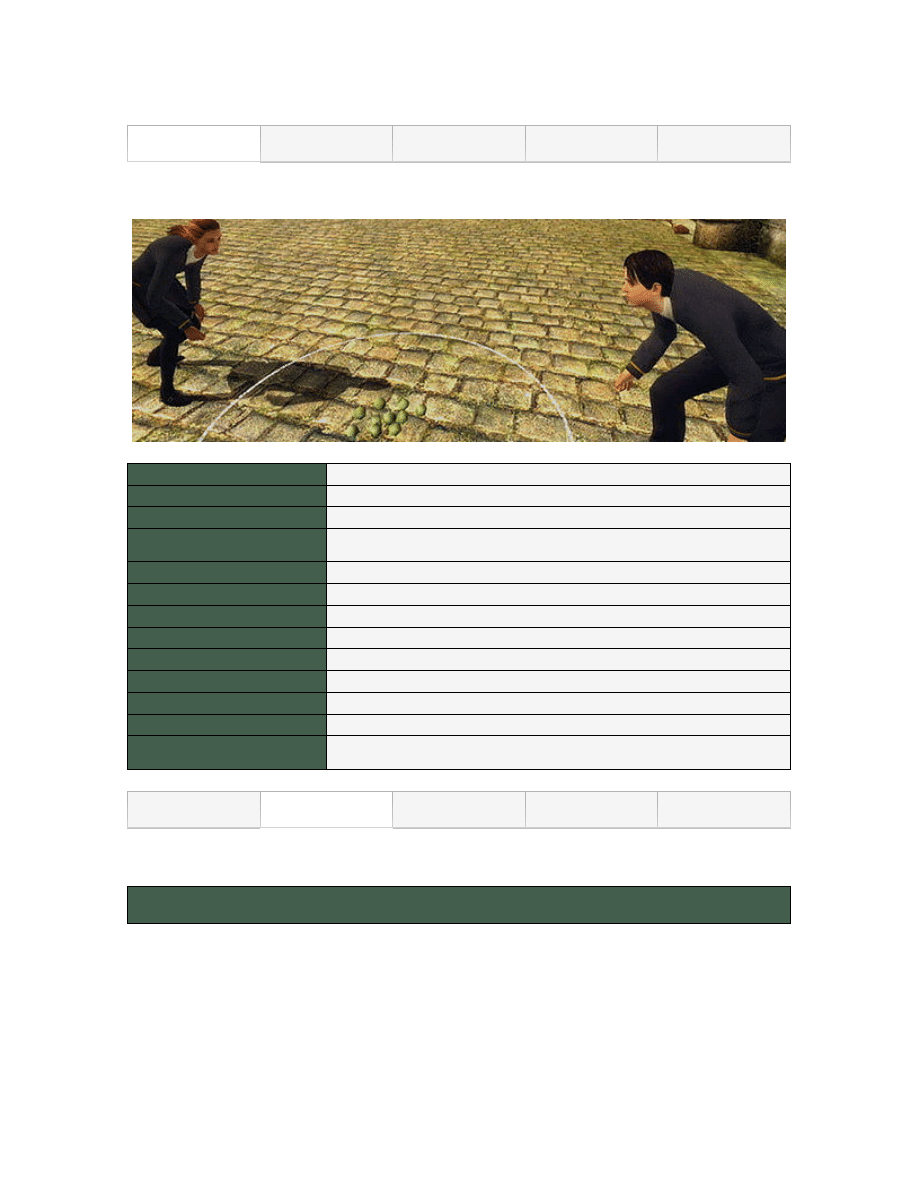
Gobstones
Gobstones are about as close to a standard game of "Marbles" as you'll get in the world of Harry Potter, and there
are three variations to the game.
Gobstones Controls
LAS: Positions the camera, sets up your shot.
RAS: Pull back to set the power of your shot and snap it forward to release. The longer you pull back, the harder
the Gobstone will be flicked.
© 2007 IGN Entertainment, Inc.

Harry Potter and the Order of the Phoenix Walkthrough
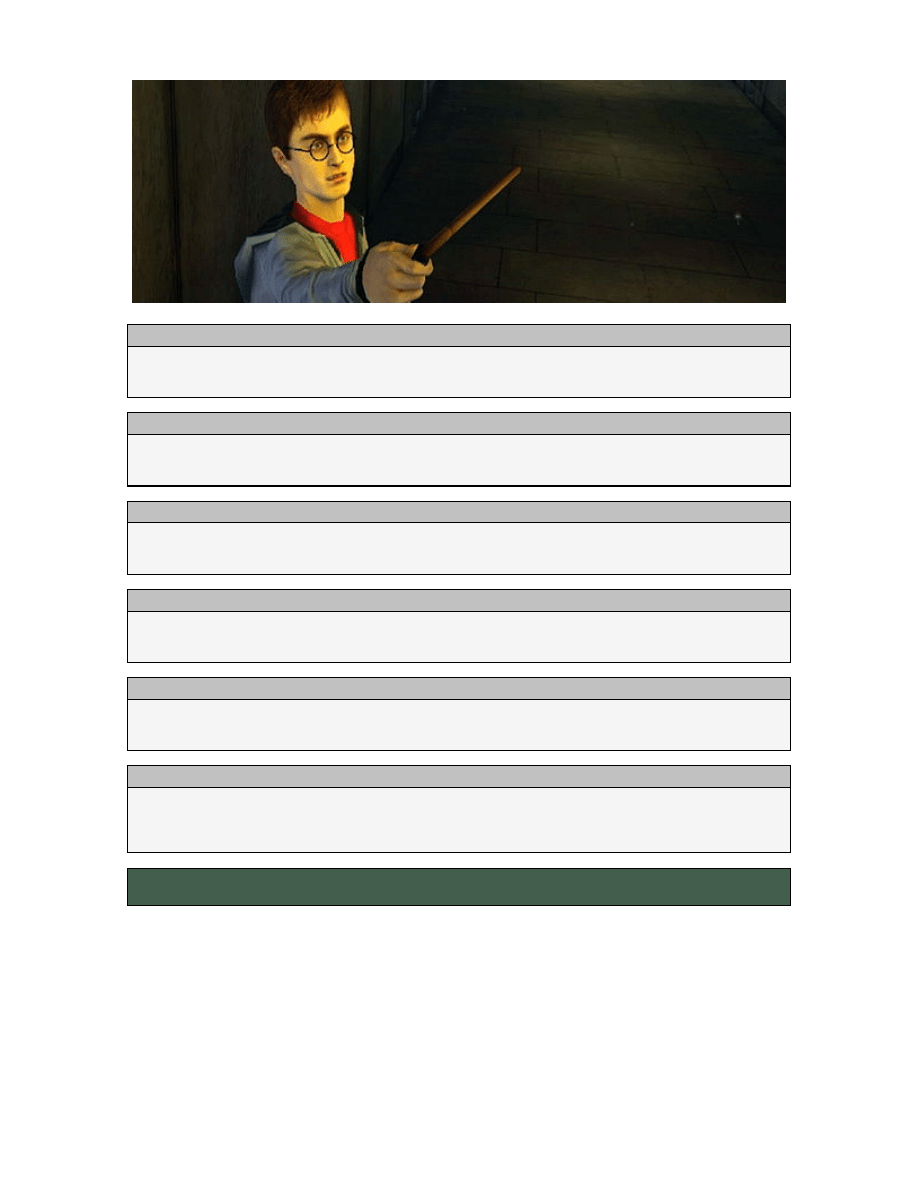
Upon starting the game you'll be involved in a short battle to fend off some Dementors. To do so just follow the
directions given on screen and rotate the RAS as shown. This is a very simple task (as is most of the game) so you
won't have a problem with it.
Gobstone Game Variations
Traditional: Knock more Gobstones out of the ring than your opponent does to win.
Jack Stone: At the end of the game, your Gobstone must be closer to the Jack than your opponents to win.
Snake Pit: Get your Gobstones closer to the Pit than your opponent to win this game.
Wizard Chess
Wizard Chess is played the same as traditional "muggle" chess, with the only major difference being that the pieces
will actually come to life when battling over a square on the board.
Wizard Chess Controls
LAS: Rotate/Zoom Camera
RAS: Used to highlight a Chess piece, then used again to highlight the space a piece can move to.
X Button: Used to select a highlighted Chess piece and then used to select where the highlighted piece is moved.
Exploding Snap(s)
A Wizard card game, wherein you are trying to match two of the same cards before they "snap" and blow up in your
face. It requires quick hand and eye coordination along with some solid memory skills.
Exploding Snap (Version 1
LAS: Used to move cursor and highlight different cards in the playing field.
X Button: Used to select a highlighted card.
This version of ES is similar to a classic game of Memory, wherein you are trying to match two of the same cards.
The major difference is that after selecting cards, if they are not the same then they start to shake...and at a set time
frame they "explode", removing them from the board completely! This can make getting pairs hard, as if cards
explode, then they can't be matched up. Take your time with this one and get used to the designs on the cards
themselves, as that will make winning this game far easier.
Exploding Snap (Version 2
LAS or X Button or A Button: Used to "tap" two cards with your wand
In this version of ES, all the cards are face up and stacked on top of each other. You are required to tell the dealer
when to stop by "tapping" the deck with your wand when two of the same cards appear back to back. If the cards
match, then they are taken out of the deck and added to your overall score. However, if they do not match then they
explode in your face. This is a game of reflexes more than memory, so be sure to practice if you're having trouble,
as you can play any of the Wizard Games as many times as you want!
IGN Super Awesome Exploding Snap (Version 1) Hint
The cards all have a color based outline, so if you pay attention...you'll notice that the cards are color coded! This
means that if you see one card with a beige color outline, then it's match HAS to have a beige color outline as well!
Part
One
Part
Two
Part
Three
Part
Four
Part
Five
Part
Six
Part
Seven
Part
Eight
Part
Nine
Part
Ten
Tutorial
© 2007 IGN Entertainment, Inc.
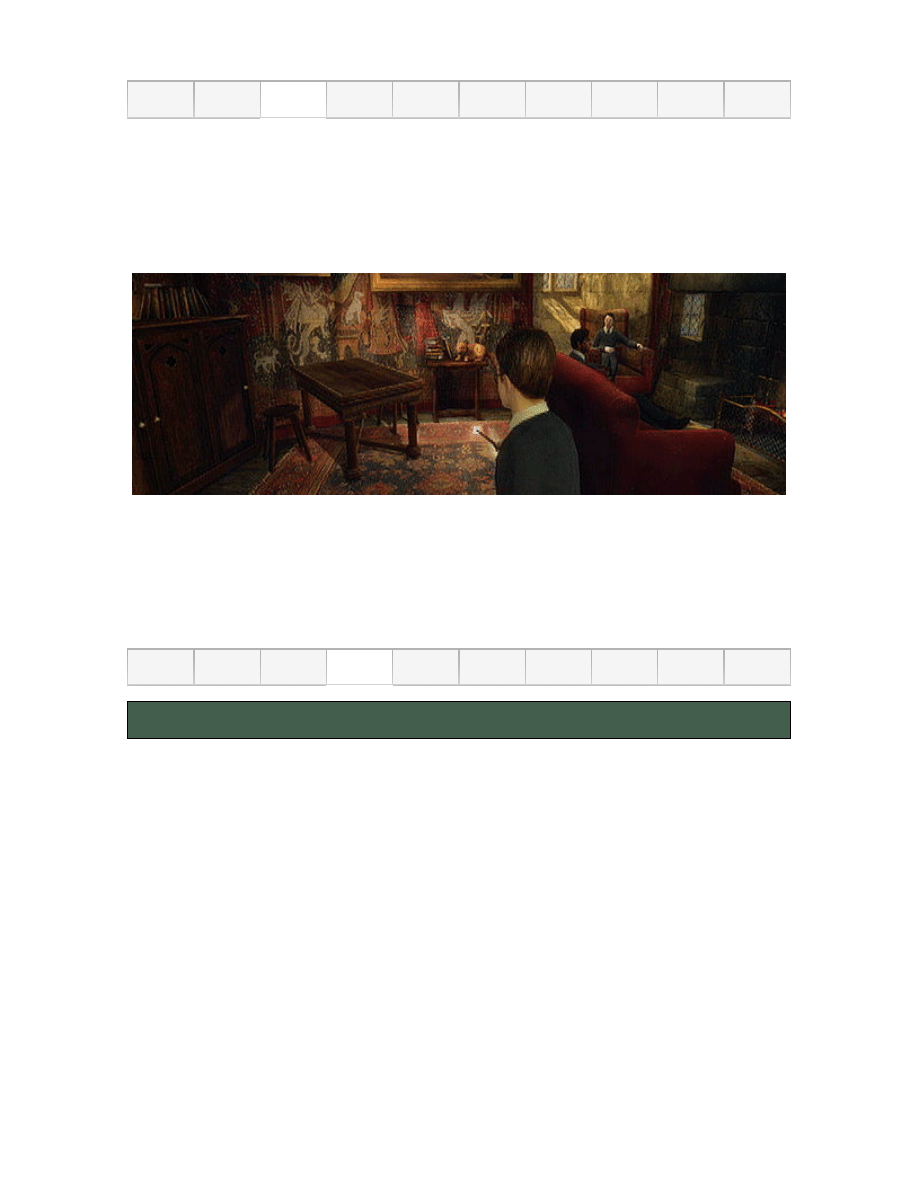
After some cut scenes you will be treated to the tutorial of the game, complete with direct help from Sirius Black. In this
tutorial you'll be shown some of the major explorative spells such as Depulso, Accio, Repulso, Reparo and finally
Wingardium Leviosa. Using these spells to complete basic tasks (such as moving furniture or placing clothes in a
suitcase) will be your time to test and get used to how the spells work, so feel free to experiment and play around with
them here while you have a chance.
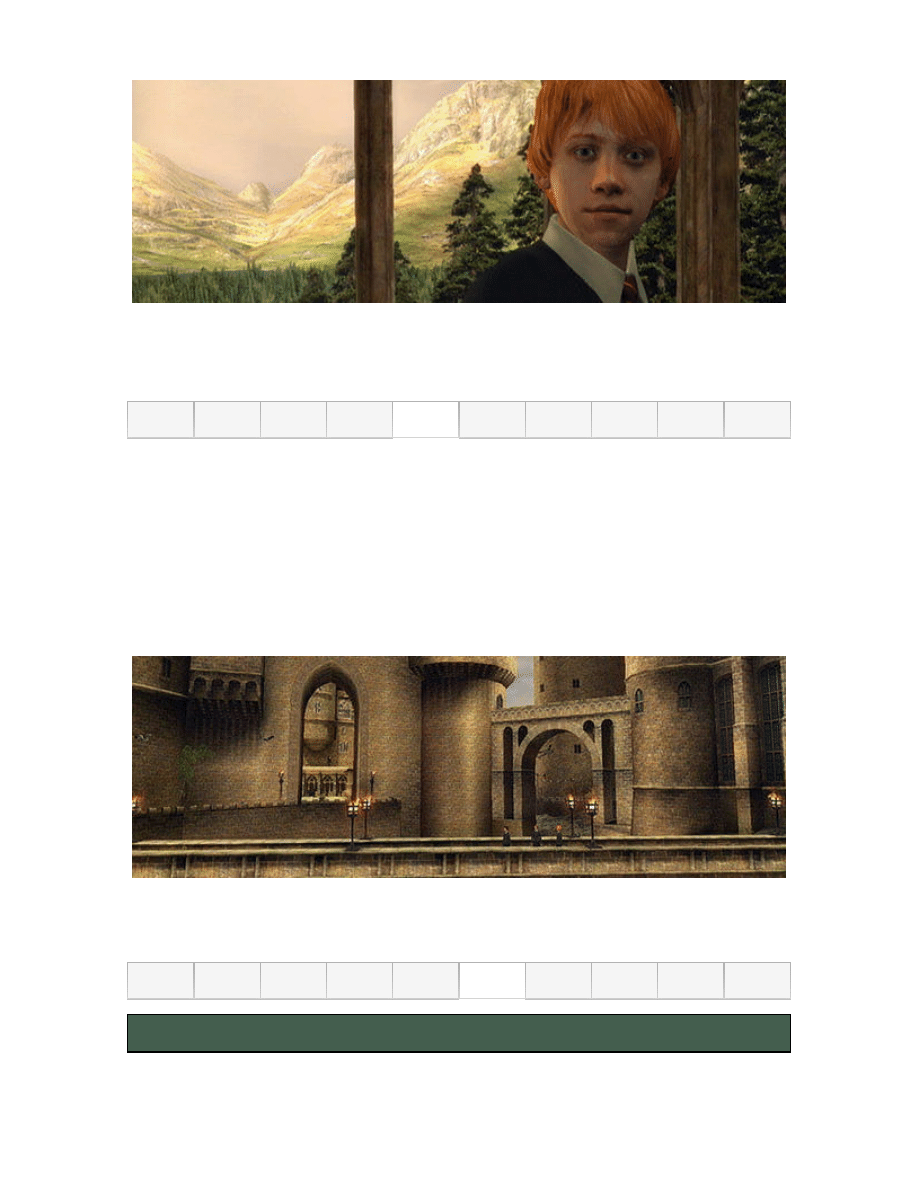
Now that you're finally at Hogwarts, it's time to start digging into all the good stuff! Run up and press the X Button to talk
to Fred and George Weasley and you'll be informed that Hermione Granger is waiting for you in the Gryfindor Common
Room. Head inside and follow the steps up to the 7th floor area, wherein you'll need to chat it up with the Fat Lady
portrait. Unfortunately, you were never given the password to her door, and in turn you need to search for a random
Gryfindor student (just look at their undershirt and tie colors to differentiate who's with what group). Press the X Button to
interact with students until you find a fellow Gryfindor who will give you the password for the door. Return to the Fat Lady
portrait, tell her the new password and head on in!
Hermione deems it necessary that you check the message board, but for some reason there's nothing on it. No problem,
just cast Depulso and the message board will rotate and in turn you'll be able to interact with it. Do so and return to
Hermione, who will then request that you go find Neville Longbottom. Using the map, set a Map Marker on Neville's
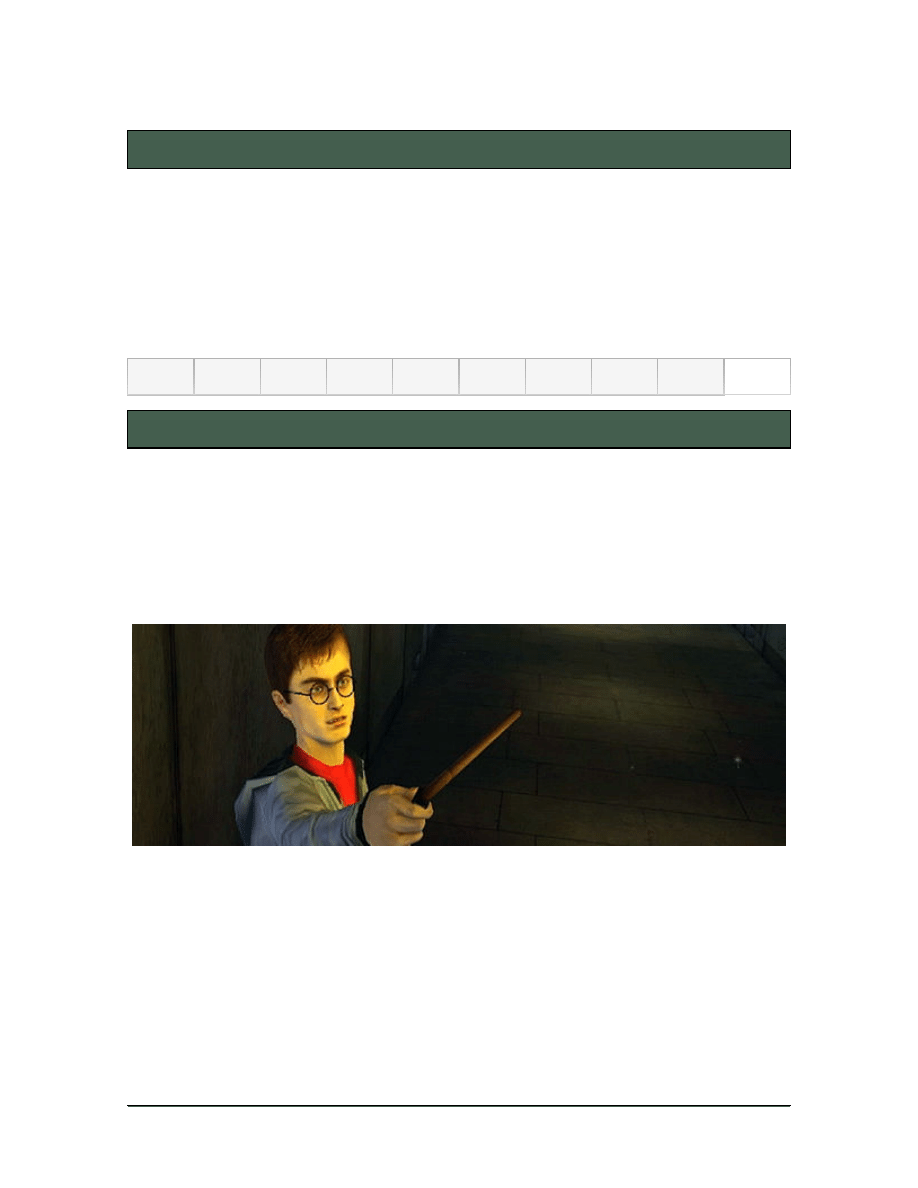
position and follow the in game footprints to the Suspended Bridge area where he is located. You will be prompted to
hold the RB to target the students picking on him, so go ahead and scare them away. Neville thanks you and in turn
your next task will become available.
Head to the Defense Against the Dark Arts classroom (remember, placing Map Markers makes sure you won't get lost
while searching for areas in Hogwarts) and you'll be treated to another cut scene. Upon it's completion set your Map
Marker for Fred and George and meet them in the Transfiguration Courtyard. Here you will be shown your first few
Combative Spells and after getting the approval of both Fred and George, you'll have an opportunity to put your skills to
the test in your very first story based duel. As always when dueling, continue moving and prepare to cast Protego to
keep yourself from being injured. As soon as the duel opponent drops down to their knees, cast Expelliarmus to finish
the fight in short order.
Part
One
Part
Two
Part
Three
Part
Four
Part
Five
Part
Six
Part
Seven
Part
Eight
Part
Nine
Part
Ten
Initial Introduction Hogwarts
© 2007 IGN Entertainment, Inc.
Cut scenes 'o' plenty are shown, and afterwards your new task is to head to the Library. to get ahold of a book. Set your
map marker and head on your way, following the footsteps as per norm. Once you enter the Library, you'll notice that the
book you need is on top of one of the huge bookshelves. To reach it you'll need to use Wingardium Leviosa on a bench
located close by and move it next to the shelf, allowing you to climb on it (just holding forward on the LAS is enough to
make Harry attempt to climb). However, when you get close to the book, it flies away...requiring you to move the bench
to another shelf. This happens a few times, so don't get worried as you're not doing anything wrong. After moving the
bench and attempting to reach the book a few times, the book decides to fly down to the table in the center of the room,
allowing you to grab it.
After acquiring the book, head to Moaning Myrtle's bathroom as instructed. Here you are shown how to cast Incendio by
Hermione, and as part of your training with the spell you are required to light every lamp in the bathroom. After doing so
Myrtle shows up and some more dialog is said, then you are directed towards Neville Longbottom again. This time he's
located in the Herbology classroom, and unfortunately he's trapped OUTSIDE of the room itself. You'll need to cast
Incendio on the branches blocking the way into the room and then you'll need to cast the spell on each branch inside the
room as well. Once that's finished Neville will inform you of the Room of Requirements, a place he discovered for the DA
to practice spells in secret. Follow Neville and he'll eventually lead you to the Room of Requirements (or RoR for short),
where another cut scene takes place.
Ah, the "meat" of this game. After finding the RoR, Hermione puts the list of possible DA members on the message
board and your new task is to find the rest of your newfound group of spell casting badasses. However, before you can
go running off, Neville wants to know if you can teach him the "Protego" combative spell. Just as with any other "learning
the spell" portion of the game, this is easy and the command is directly displayed in game to show you exactly how it
works.
For ease of use, I'm listing each DA member (and how to complete their tasks) in the order they appear on the sub-list in
the Marauders Map.
Angelina Johnson: Angelina is located in the Great Hall, far in the back area. You'll need to move the throne by using
Wingardium Leviosa, but make sure Hermione and Ron are with you, as you'll need both of them casting the spell with
you for it to work properly. Once inside you need to clean the room by using a combination of your explorative spells.
Move the gold and silver trophies with Wingardium Leviosa to their respective stands, then repair the stands using
Reparo (with a little help from Ron and/or Hermione) to finish out the task.
Part
One
Part
Two
Part
Three
Part
Four
Part
Five
Part
Six
Part
Seven
Part
Eight
Part
Nine
Part
Ten
Part
One
Part
Two
Part
Three
Part
Four
Part
Five
Part
Six
Part
Seven
Part
Eight
Part
Nine
Part
Ten
Finding the DA members
© 2007 IGN Entertainment, Inc.
Anthony Goldstein: Anthony is found on the main Fourth Floor hallway, near the Hospital wing. Just talking with him sets
up the task(s) for Terry Boot and Michael Corner, and once those are completed Anthony will automatically appear in
the RoR. Once all three of this clique have been chatted with, they will immediately be crossed off your list and added to
the RoR in one lump sum.
Cho Chang: Cho is located in the Owlery and needs you to help her catch her owl. This is more of a time consuming
task than anything else, as it's VERY easy and all you are required to do is continually chase the owl around the inside
of the building. As you move your way up you'll have the opportunity to fix some climbable objects, and in doing so you
are given a chance to catch the owl. Doing so nets Cho as one of your DA members.
Colin Creevey: Located out in the Paved Courtyard, Colin's camera was taken by some Slytherin students and then
somehow they left it on one of the highest points of the courtyard itself. So, to help out Colin, Harry has offered to climb
up and retrieve his most prized possession. To do so, you'll have to set up a bench (using Wingardium Leviosa) so that
you can actually get up onto the ledge behind Colin (where the vines are growing). After climbing this, get on the pipe
and continue upwards. You'll then need to head to your right and fix the ledge so you can continue onwards. After doing
so, you can just levitate Colin's camera using Wingardium Leviosa back down to him. Climb back down where everyone
is waiting for you and Colin heads off the RoR to join up with the rest of the DA members.
Dean Thomas: Poor Dean, he's sitting in the Transfiguration Courtyard and he needs your help. To complete an
assignment for one of his teachers, Dean has to find five talking gargoyles located around the Hogwarts school.
Fortunately enough, you'll do it for him IF he promises to join up with the rest of the DA members in the RoR.
1.
In the Transfiguration Courtyard, where Dean is located
2.
Near the Viaduct (before you cross the bridge itself)
Part
One
Part
Two
Part
Three
Part
Four
Part
Five
Part
Six
Part
Seven
Part
Eight
Part
Nine
Part
Ten
Part
One
Part
Two
Part
Three
Part
Four
Part
Five
Part
Six
Part
Seven
Part
Eight
Part
Nine
Part
Ten
Locations of the Gargoyles
© 2007 IGN Entertainment, Inc.
3.
On the fourth floor, out on the balcony
4.
Head up the stairs in the Paved Courtyard, take a right and head past the statues to find it
5.
Located on the stairs leading up to the Defense Against the Darks Arts classroom
Ernie Macmillan: Ernie is hanging outside of Hagrid's Hut and needs you to find him a single piece of Mandrake root and
five Moly plants. Each plant can be found on the way TO Hagrid's hut (or on the way back from talking to Ernie, if you
prefer), with the first one being located next to Ernie himself. The mandrake root is an easy one to get, as it's located in
the Herbology classroom. Just simply put on the earmuffs and take the Mandrake out of it's pot to get the root, then
head back to Ernie to complete the task and he'll be waiting for you in the RoR.
Fred & George Weasley: Fred, George and Lee (who just happened to be hanging out with them when you get there)
need you to help them stash some boxes out by the Boat House. After talking with them, head into the boat house and
climb up one of the ladders. Use Wingardium Leviosa to take off the covering over the boats, and then use Wingardium
Leviosa to place the boxes(3 boxes per boat). After that is accomplished, Fred and George (and Lee Jordan, for that
matter) will be happy to head on up to the RoR.
Ginny Weasley: Ginny is patiently waiting for you in the Gryfindor common room, and she asks that you grab your Cloak
of Invisibility, sneak into Umbridge's office and take back the Doxy Venin she confiscated from Fred & George. First,
head into the boys dormitory and get Harry's cloak from his luggage/chest and head to the Defense Against the Dark
Arts classroom. Once you're inside you'll notice two students blocking the entrance to Umbridge's office, so you'll need
to use a spell of your choice to knock down one of the vases they are watching over. As soon as the vase falls, both
students move towards it, giving you ample time to sneak into the office and re-acquire the Doxy Venin. Return to Ginny
and she'll be happy to join your DA meeting in the Room of Requirement.
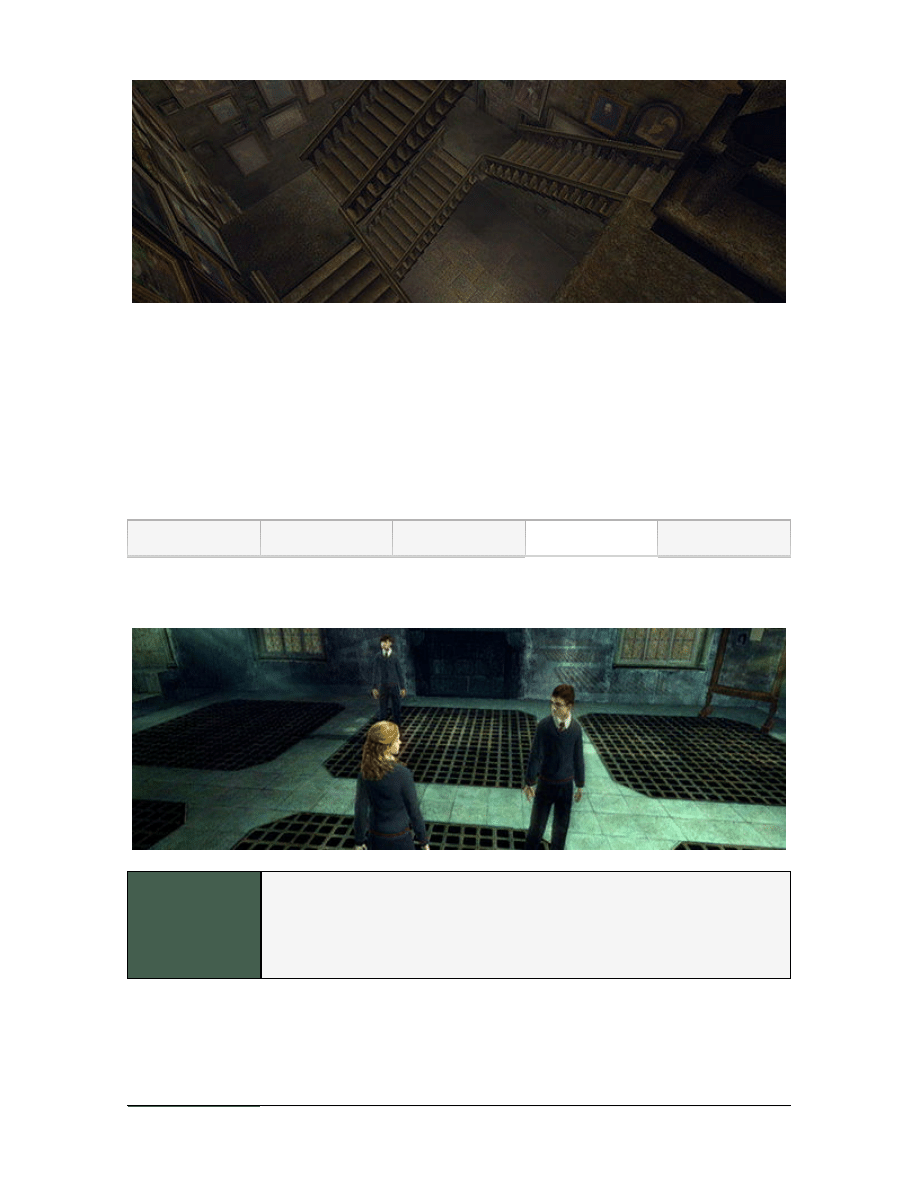
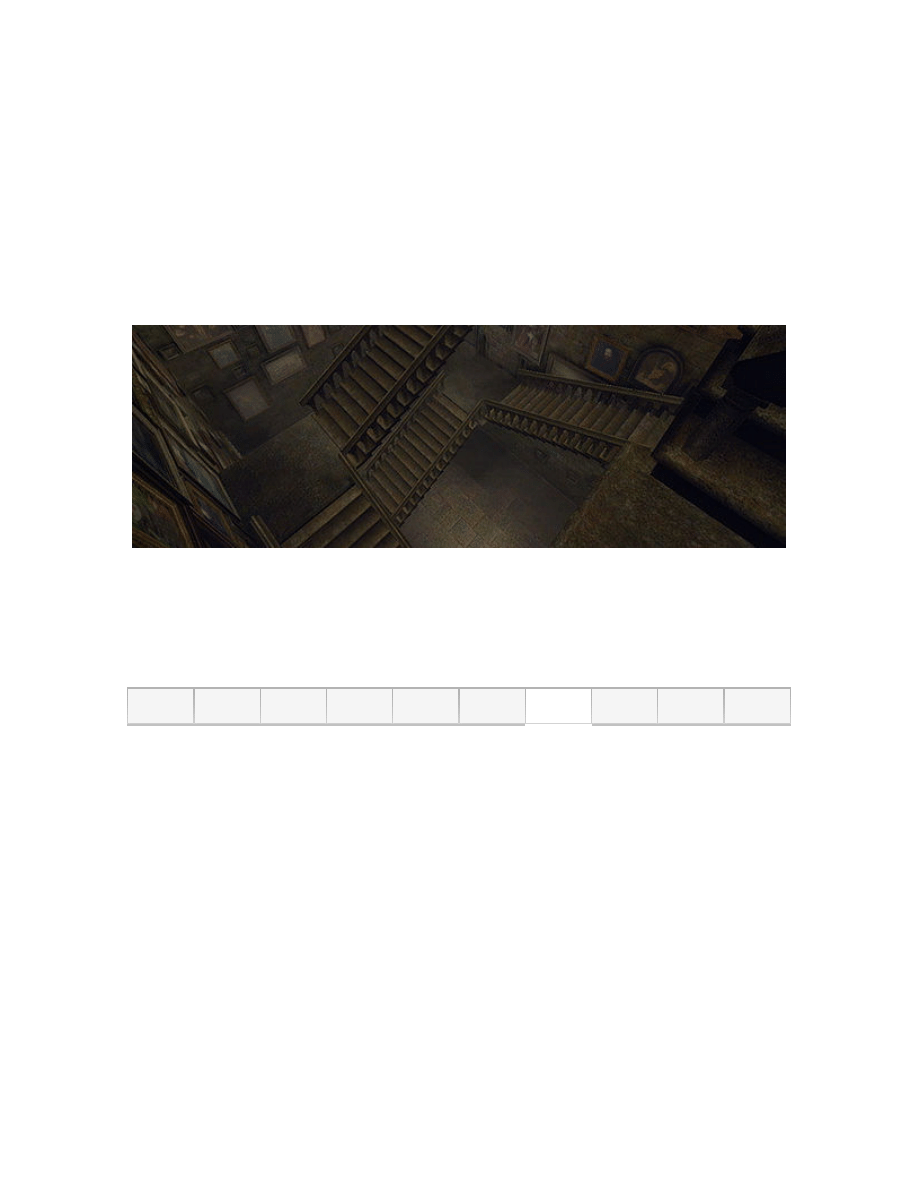
Hannah Abbott: Located at the bottom of the Grand Staircase (if you check your map she's technically located in the
Dungeon), Hannah would love to join the DA, but can't until someone finds an applicable shortcut for her to the 7th floor.
Seems like it might be a big deal, but you're Harry Potter, you've got this covered. Just head up the stairs at the far end
of the room (opposite of where Hannah is standing) and talk to the portrait. He'll openly give you the password, and in
turn you can give that password to Hannah. Upon doing so the task is finished and Hannah will now be residing in the
RoR with the rest of the DA members.
Lee Jordan: To get Lee Jordan to join with the DA, just complete Fred & George Weasley's task. All three of these
characters are located in the same area (the Boat House), even if they are listed on the sub-section of the Marauder's
Map as separate.
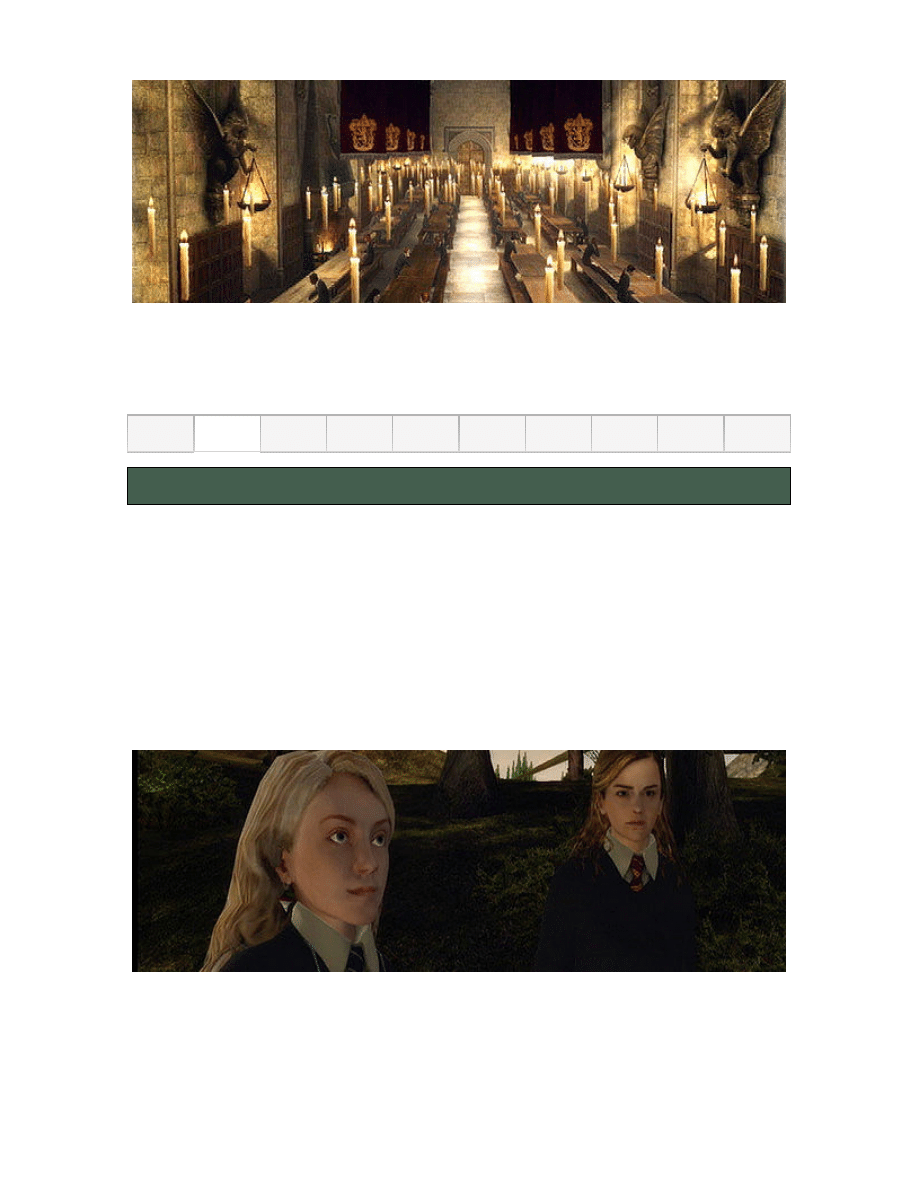
Luna Lovegood: Luna is located past Hagrid's Hut, so your best bet is to start there. Moving past the Hut will lead you
into the thick of the wilderness, wherein you'll find Luna hanging around with some Thestrals. Her task is a fairly simple
one, but it may take some people multiple attempts to pull off. Basically all you need to do is move a huge bag (using
Wingardium Leviosa) of food up a large hill. However, if you don't have the bag properly poised when dropping it, it will
start to roll down the hill again. The solution? Move the bag behind the large sets of boulders before dropping it. This
gives you ample time to set up where you want to cast from, and in turn you can move the bag behind three sets of
rocks before you finally need to set it down in the "feeding zone". After finishing this, Luna accepts your invitation to the
DA and heads to the Room of Requirement.
Michael Corner: Michael is found on the Stone Bridge, next to the stone statues in the center area. Just talking to him
(like with Anthony) will get him to join, but he tells you that you must talk to both Anthony and Terry before he'll join up
with you. Once all three of this clique have been chatted with, they will immediately be crossed off your list and added to
the RoR in one lump sum.
Part
One
Part
Two
Part
Three
Part
Four
Part
Five
Part
Six
Part
Seven
Part
Eight
Part
Nine
Part
Ten
© 2007 IGN Entertainment, Inc.

Padma Patil/Parvati Patil: They can be found just past the Stone Bridge as you enter the Second Floor. Once talked too
they will request that you meet them outside of the Divination classroom. So, after chatting them up the first time roll
immediately to the Divination classroom and talk to them again. After a brief conversation and a cut scene, both Padma
and Parvati will be waiting patiently in the RoR with the rest of the DA.
Susan Bones: You can find Susan in the Entrance Courtyard, where she is being mercilessly harassed by some other
students. To save her you'll have to take part in a duel, but if you've been practicing the techniques stated above you
won't have a problem at all. After doing so, Susan thanks you and heads to the RoR to join up with the rest of the DA
members.
Terry Boot: Terry can be located in the Entrance Courtyard near the stone statues in the center area. Talking to him will
get him to join your DA meeting, but not until you talked to Michael and Anthony as well. Once all three of this clique
have been chatted with, they will immediately be crossed off your list and added to the RoR in one lump sum.
Zacharias Smith: Zach is annoying. Not to say he's a bad person, but this is absolutely the most boring and tedious task
for the initial DA member search. Zacharais is located in the Library and requests that you find him a copy of the
Monster Book of Monsters. Easy enough, just head north towards the restricted section of the Library and it'll be on the
right side. After returning the book, Zach says that he won't come with you unless you go all the way to the Hospital
Wing to fetch some Wigenweld Potion for him. So run down to the Hospital Wing, grab the potion (it's hard to miss, since
it's bright PINK and directly in front of you as you enter the Hospital Wing) and head back. You'd expect that he'd be
content with both the book and the potion, but nooooooooo. Now Zacharias want's you to find out exactly when Nearly
Headless Nick died. Fortunately enough for you, as soon as he asks you to find him, Nick shows up! Talk to Nick and
get the information, then talk to Zacharias and this sequence of tasks is complete and you have your last member of the
DA waiting for you in the RoR.
Return to the Room of Requirement and talk to each DA member, as a good amount of them will want to learn new
spells (which means you learn a new spell at the same time)! After learning the last of your new spells, cut scenes will
play out and you'll be in the Gryfindor Common Room. Leave and talk to Professor McGonagall, who will tell you that
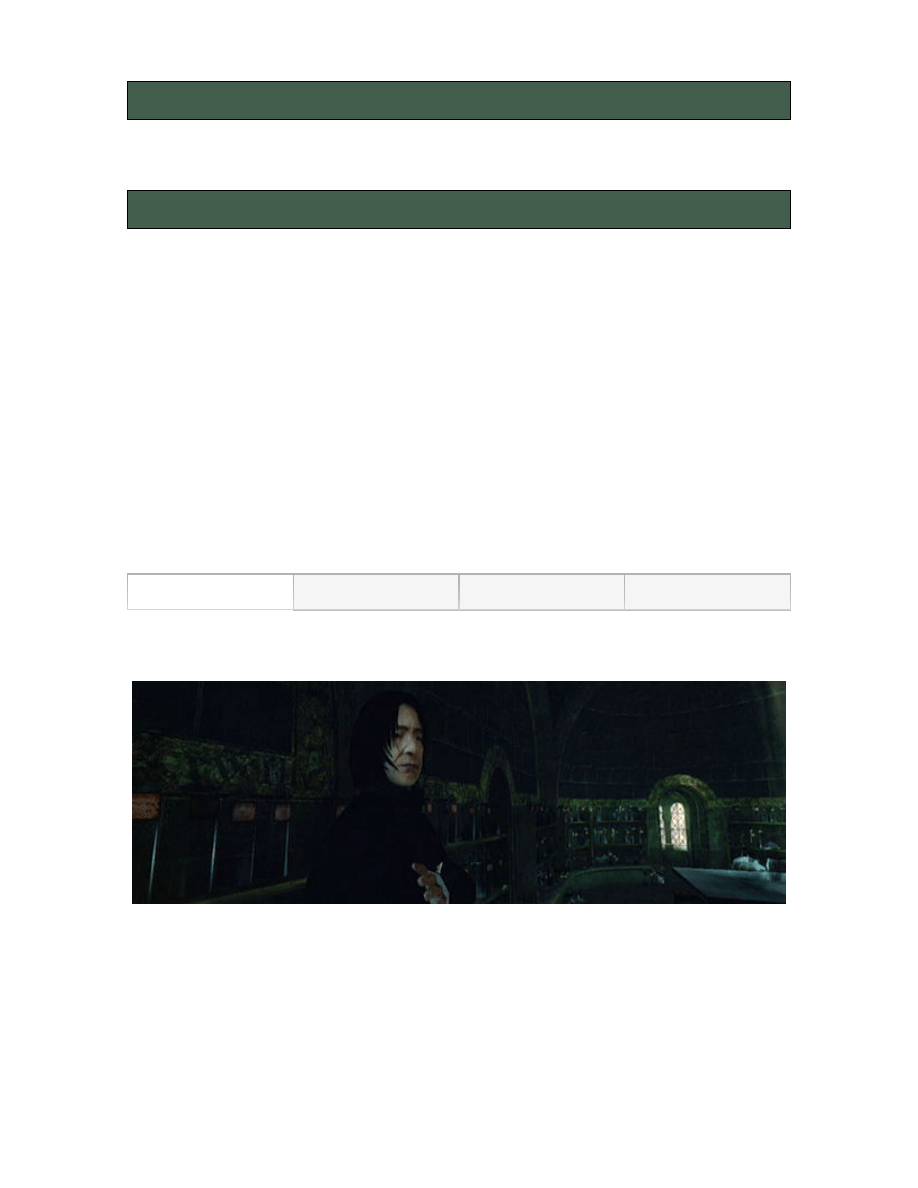
you need to head to Dumbledore's office. Upon getting to the entrance hall a new slew of cut scenes will play out, and
you'll be sitting with Professor Snape learning the art of Occulmency.
More cut scenes play out, and upon their end you'll find yourself located back where you started in the tutorial with
Sirius, Tonks, Lupin, and the rest of the gang in tow. Feel free to talk to everyone, explore the environ and help out with
basic tasks such as moving objects or fixing broken items (if need be). Afterwards you'll be thrust back into Hogwarts for
the ending portion of the game, so if you want to do something before you leave Grimmauld Place, then by all means do
so as you won't have a chance to come back later.
Part
One
Part
Two
Part
Three
Part
Four
Part
Five
Part
Six
Part
Seven
Part
Eight
Part
Nine
Part
Ten
OCCULMENCY
The art of forcing an imposing wizard out of your mind. To successfully complete this lesson, you need to
continually tap the RAS in the opposite direction of wherever Snape's wand is pointing. If he's holding his wand UP,
you tap DOWN repeatedly. You'll repeat this a number of times before the lesson is over, but for the most part it's
extremely easy.
© 2007 IGN Entertainment, Inc.
Upon arriving back in Hogwarts you'll be sent to your next Occulmency lesson with Snape. He's still (as always) located
in the potions classroom, so there's little chance you'll get lost. After finishing the lesson you'll be heading back to the
Room of Requirement for a cut scene and a seemingly impossible battle versus at least five Slytherin students. Don't
worry if you lose, as that's supposed to happen and the story continues to progress as per norm.
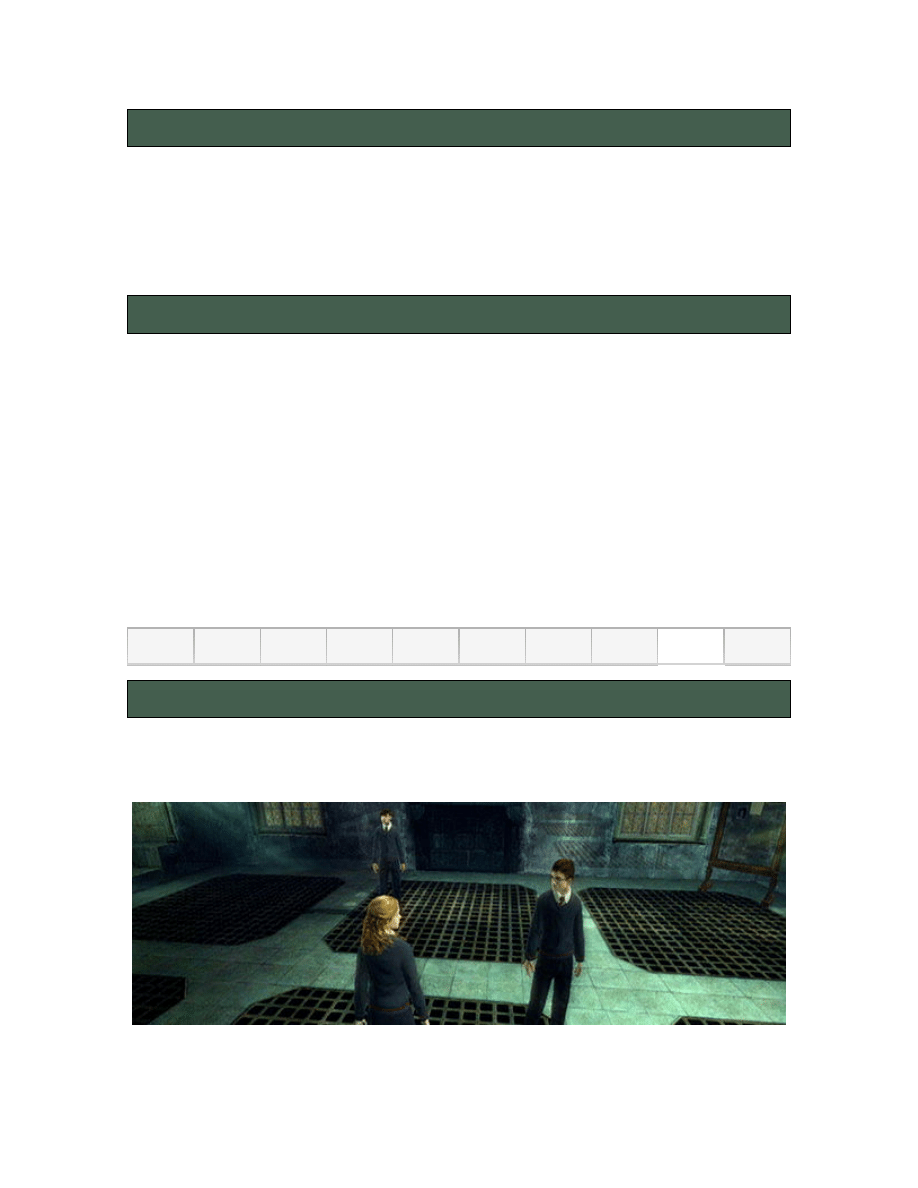
More cut scenes will play through for a bit, and upon their end you'll be given a new task. Unhinge Dolores Umbridge's
sanity with pranks and general deviance.
Clocktower Courtyard: Meet up with Luna Lovegood to learn about these little boxes of hilarity. After a quick chit-chat
you'll need to get the box down from way up high, so set up a bench and climb on up. Repair part of the roof using
Reparo, cast Reducto on the "X" where the tower appears and then use Wingardium Leviosa to move the swamp box
down to ground level. Climb down, move the swamp box on top of the "X"(once again, using Wingardium Leviosa) and
either fire off an Incendio or Reducto spell to set it off!
Transfiguration Courtyard: Well guess what? Your swamp box is stuck in a tree...but since you have Wingardium
Leviosa it shouldn't be such a big deal, right? As soon as you cast your spell, three Slytherin students rush out in an
attempt to stop you. You should be completely ready for a duel by now, and this is no different than any other duel
you've gotten yourself into. After you've wiped the floor with them, you can safely remove the swamp box from the tree
and set it off using Incendio or Reducto.
Paved Courtyard: Ready for more climbing? Head up the stairs you repaired earlier and climb up onto the balcony. Keep
going until you see a broken pipe which you need to use Reparo to fix. After doing so, climb up the pipe and get ready to
shimmy across the ledge until you can see the swamp box. One Wingardium Leviosa later and the box is on ground
level with Hermione and Ron, you can head back down safely and set off the box with Reducto or Incendio at your
leisure.
Padma and Parvati are causing some havoc of their own, which involves you helping them gum up the speakers
Umbridge is using to announce boring and pompous messages across the school. Each one of these tasks are
extremely easy, and you should get a quick laugh out of the "remixed" version of each Umbridge speech.
All you need to do is set your Map Marker for the sisters, and upon arriving you'll need to set up a bench (or two)
underneath the speaker. After doing so, Padma or Parvati will give you the potion, which you need to apply manually.
Climb up on top of the bench(es) and press the X Button when prompted. Repeat this exact same process for each
encounter with Padma and Parvati (there are six in all). Each time you complete a speaker, open your map and set a
Messin' with Umbridge
Portable Swamps
Part
One
Part
Two
Part
Three
Part
Four
Part
Five
Part
Six
Part
Seven
Part
Eight
Part
Nine
Part
Ten
Messing with the Speakers
© 2007 IGN Entertainment, Inc.
new Map Marker for the sisters. This will help you easily get from place to place and makes accomplishing these tasks
far easier.
Fred and George once again need your help. This time it's near the Owlery and you'll need to find a way inside. Luckily
enough for you, you have people with you that can help cast Incendio to burn away the branches barring your progress.
After burning away the branches, climb the pipe and catch the ledge that let's you shimmy across. On the way you'll
notice an open window, so shimmy in front of that and sneak inside.
Once in the Owlery, Colin will be sending you boxes that need to be placed in the open areas marked with an "X". This
is easy enough, as you should be very well skilled with Wingardium Leviosa by now. Place each box in it's rightful place,
and once one area is clear, move up the stairs to the next. Don't worry if you miss a box or it falls, as Colin will send
another one right away. Continue to put all of the boxes in their spots and you'll be good to go. After finishing up the last
round of "gifts", climb back outside to Colin and this task is considered complete.
Dead the mean prank machine! He figures out that if you just swap around some cogs and gears, it will make the clock
in the Clock Tower run backwards! This is a very easy task and shouldn't take you more than five minutes at most.
Oddly enough, Dean even let's you know when a cog is in the wrong position. so even if you are having trouble just
listen to Dean and continue to experiment. Once Dean likes where a cog goes, he won't comment on it anymore and
you'll know it's good to go.
After completing the last prank, you'll need to head back down to Snape for your next Occulmency lesson. Once again,
tap the RAS in the direction OPPOSITE of where Snape's wand is positioned and you'll blow through this lesson without
fail.
Now, the piece of resistance! Head to Fred and George and chat it up for a bit. As soon as that's done you'll be in
control of them (on brooms, mind you) and you're task is to set off each of the exploding boxes located throughout the
main hall. This is a little awkward of a scenario, as there's no real "flying" done in this game prior too so you don't have
much to use as practice. But don't worry, no matter how long you take you cannot lose during this, so if you get flustered
just relax and take a deep breath. Just continually cast Reducto or Incendio to set off each box as best as you can and
soon enough you'll have them all done. Just consider this a mini-game of sorts and have fun with it!
Once the almost never-ending cut scene is finished, you'll be ready to have a good 'ol fashioned wizard throw down with
the Inquisitorial Squad. Just as with any other duel, keep moving, use your spells (both offensive and defensive)
correctly and stay calm. Finish off each downed opponent immediately with an Expelliarmus spell and you shouldn't
have much of a problem with this at all. After you win this battle, you've got more cut scenes to watch so sit back and
enjoy the show.
Sending "gifts" to the Inquisitorial Squad
Part
One
Part
Two
Part
Three
Part
Four
Part
Five
Part
Six
Part
Seven
Part
Eight
Part
Nine
Part
Ten
"Rebuilding" The Clock
© 2007 IGN Entertainment, Inc.
Regardless of whether or not you win this fight, the cut scene will still push forward and the next battle will take place, so
it's completely up to you as to how you take on this situation.
Round 1 // In the first section of this fight (there are three total), it's just your standard battle. Fire off shots as
you would in any normal duel, and use Protego to great effect for defense.
Round 2 // The second battle revolves around Voldemort's ability to consume every attack you fire at him, which
he then sends back at you. All you need to do to win is use Protego just before the spells come back at you, and
they will return to Voldemort causing him great damage. To end this part of the final battle quicker, just fire off
more and more spells while Voldemort is collecting them, and when you return them TO him using Protego, it
will do more damage.
Round 3 // Another standard fight, but this time Voldemort tosses inanimate objects (such as chairs) at you as
well. Treat this like any other duel and you'll have no problem taking him down.
Round 4 // Playing as Harry, you'll be thrust into an Occulmency battle with Voldemort himself. This is
absolutely no different than when training with Professor Snape, and it's just as easy. Tap your RAS repeatedly
in the opposite direction of where Voldey has his wand pointed (ie; if his wand is to the left, you keep tapping
right).
Congratulations! You've just finished the main story mode of Harry Potter and the Order of the Phoenix!
Harry Potter and the Order of the Phoenix Extras
Each Professor in Hogwarts has an assignment for you to complete, which results in some errand work. Most of them
are simple fetch quests, but we're listing them here anyways just because we care.
Professor Mcgonagall: This task revolves around you needing to find three students. Luckily enough
for you they are at the base of the stairwell leading up to the Divination classroom. Talk to the and head
back to Mcgonagall for your reward.
Professor Snape: Snape requires that you write an essay, and in turn you'll need to locate a VERY
hard to find book. Luckily for you, we know where it is! The book is located in the far left side of the
Restricted section of the Library. It's fairly hard to notice this, so if you cannot find it just run around
spamming the X button until you automatically pick it up. Return to Snape to end the task.
Professor Flitwick: For this task you need a book, and just with Snape's assignment...this isn't an easy
one to find if you're just wandering around Hogwarts. But as luck would have it we can tell you that it's
located in the Great Hall near the back on the right. You'll know when you're getting close as a cut
scene will play giving you a heads up on it's location.
Battle 1: Sirius Black vs Death Eaters:
Battle 2: Dumbledore vs Voldemort
Teacher
Assignments
Extra Tasks
Portrait Door
Passwords
Achievements
© 2007 IGN Entertainment, Inc.
Professor Sprout: Another task, another book needed. Talk to Neville (in the Room of Requirement) to
discover that he actually doesn't have it on him, but it's on top of his dresser in the boys dormitory area
of the Gryfindor Common Room. Head there, grab the book, and return to Professor Sprout to finish this
task.
After returning to Hogwarts you'll be given a chance to finish off any Tasks you may have skipped during the initial play
through (mainly Teacher based assignments), but you're also given a new one to keep you playing for a bit after you
beat the game.
Someone has stolen Luna Lovegood's things and hidden them around Hogwarts. So being the nice person you are,
you've taken it upon yourself to help her out and retrieve her lost goods. Don't worry, as each item is discovered it will be
activated in the same way you interact or examine anything else (a prompt will appear asking you to press the X button)
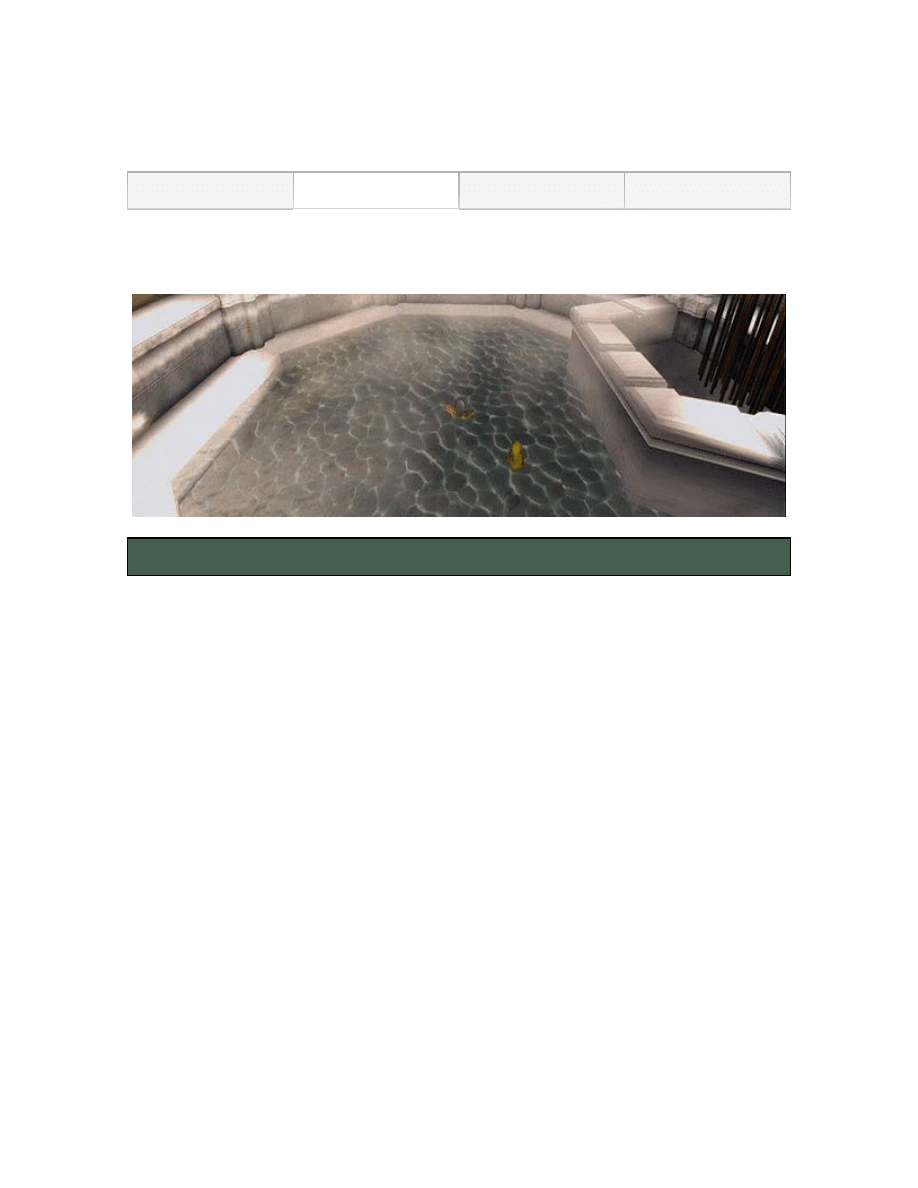
Item 1: Found in the Clocktower Courtyard, near the front of the fountain
Item 2: This is found in the Viaduct entrance area.
Item 3: You'll find this in the Entrance Courtyard. Just sweep up the leaves using the broom and a
Wingardium Leviosa spell until you find it.
Item 4: The Great Hall is where you'll find this one (on a table)
Item 5: Located in the Library (on the table where the quill is)
Teacher
Assignments
Extra Tasks
Portrait Door
Passwords
Achievements
Find Luna's Belongings
© 2007 IGN Entertainment, Inc.

Unfortunately we lack the names for the Portraits themselves. However, we have found almost all of the known answers
to their collective riddles for entry, so just look below and hopefully you'll find the answer you're looking for!
50 Years Portrait: Talk to Moaning Myrtle (she's accessible in her Bathroom).
Fat Lady/Gryfindor Common Room: Talk to any Gryfindor student and they will gladly give you the
password.
Daily Prophet/Newspaper Portrait: Cast Accio on the pedestal in the Great Hall (casting other spells
gives off neat results as well) reveal the password (unbeknownst to them, you're right there to hear it).
Slytherin Portrait: Put on the Cloak of Invisibility and head down to the Dungeon/Potions Classroom
area. Sooner or later a Slytherin student will.
Hungry Woman Portrait: Head down to Gifford (portrait of a man with a dog) and he'll send food to
her, giving you access.
Hufflepuff Portrait: Talk to any Hufflepuff student and they will give you the password.
Hannah Abbot Portrait: This is the one found during the Hannah Abbot DA task. Just talking to the
portrait reveals it's password.
Ravenclaw Portrait: Talk to any Ravenclaw student and they will give you the password.
Herbology Portrait: Cast Reparo on the knights near him, then talk to him to retrieve the password.
Viaduct Entrance/Privacy Portrait: To gain access, you must scare away students by aiming your
wand at them(RB), then talk to the portrait.
7th Floor Portrait: Find the portrait on the fourth floor with spider webs covering his face, clear them
away and talk to him.
The "Riddle Guy" Portrait: Talk to the 7th Floor portrait (near the RoR), then travel to the second floor
and find the Professor Portrait(Ravenclaws password). Now find the Shepherdess Portrait (girl with
sheep) on the second floor and you're sent to the Viaduct Entrance/Privacy Portrait. Finally, the Privacy
Portrait sends you to Gifford (portrait of a man with a dog) who then gives you the password.
Teacher
Assignments
Extra Tasks
Portrait Door
Passwords
Achievements
© 2007 IGN Entertainment, Inc.

Teacher
Assignments
Extra Tasks
Portrait Door
Passwords
Achievements
Achievement
GP
How To
Complete discovery level 1
(10)
Discover enough to complete discovery level 1
Complete discovery level 2
(10)
Discover enough to complete discovery level 2
Complete discovery level 3
(10)
Discover enough to complete discovery level 3
Complete discovery level 4
(10)
Discover enough to complete discovery level 4
Complete discovery level 5
(20)
Discover enough to complete discovery level 5
Complete discovery level 6
(20)
Discover enough to complete discovery level 6
Complete discovery level 7
(20)
Discover enough to complete discovery level 7
Complete discovery level 8
(20)
Discover enough to complete discovery level 8
Complete discovery level 9
(20)
Discover enough to complete discovery level 9
Complete discovery level 10
(20)
Discover enough to complete discovery level 10
Complete discovery level 11
(30)
Discover enough to complete discovery level 11
Complete discovery level 12
(30)
Discover enough to complete discovery level 12
Complete discovery level 13
(50)
Discover enough to complete discovery level 13
DA 10
(10)
Recruited 10 members of the DA
DA Twenty
(10)
Recruited 20 members of the DA
Finish on hardest difficulty
(100)
Finish the story on the hardest difficulty
Finish the story
(100)
Finish the story
Get to the Room of Requirement
(30)
Discover the Room of Requirement
Go to Hogwarts
(20)
Complete the Grimmauld Place tutorials
Magic 500
(10)
Cast 500 successful spells
Recruit Dumbledore's Army
(100)
Recruit Dumbledore's Army
Unhinge Umbridge
(100)
Cause chaos in Umbridge's Hogwarts
Walk the Platform
(10)
Covered 9 3/4 miles
Win the Architecture Cup
(10)
Uncover all the hidden Hogwarts symbols
Win the Characters Cup
(10)
Meet all characters in the game
Win the Defence Cup
(20)
Cast all defensive spells in a single encounter
Win the Exploding Snap Cup
(20)
Beat all Exploding Snap champions
Win the Explorer Cup
(10)
Discover all known areas of Hogwarts
Win the Friend of the Year Cup
(20)
Find Luna's lost belongings
Win the Golden Gobstone Cup
(20)
Beat all Gobstones champions
Win the Grand Master Cup
(20)
Beat all wizard chess champions
Win the Homework Cup
(10)
Complete all the teacher mini-quests
Win the House Ghost Cup
(10)
Find all the house ghosts of Hogwarts
Win the Nature Trail Cup
(10)
Find all the rare creature tracks hidden in Hogwarts
Win the Ornithology Cup
(10)
Find all the flying creatures of Hogwarts
Win the Portrait Password Cup
(10)
Discover the password for all shortcut portraits in Hogwarts
Win the School Pride Cup
(10)
Tidy up Hogwarts
Win the Secret Statue Cup
(10)
Find the secret chess statues of Hogwarts
Win the Smuggler Cup
(10)
Find Fred and George's hidden parcels
Win the Studious Success Cup
(20)
Got an 'O' in all lessons
Win the Witches and Wizards Cup
(10)
Find the hidden wizard plaques around Hogwarts
© 2007 IGN Entertainment, Inc.
Wyszukiwarka
Podobne podstrony:
Harry Potter and the Chamber of Secrets
Harry Potter and the Chamber of Secrets[1]
Harry Potter and the Chamber of Secrets The Chamber Of Secrets
Harry Potter and the Goblet of Fire Hogwarts March
Harry Potter and the Philosopher‘s Stone
Harry Potter and the Philosophers Stone (1 book) BG
973 Harry Potter And The Philosophers Stone partytura
Harry Potter and the Sorcer s Stone
Harry Potter Fawkes The Phoenix
Hour of the Witch Harry Potter, Wicca Witchcraft, and the Bible by Steve Wohlberg
Legal Order as Motive and Mask; Franz Schlegelberger and the Nazi Administration of Justice
Hillary Clinton and the Order of Illuminati in her quest for the Office of the President(updated)
Hoppe Hans H The Political Economy of Democracy and Monarchy and the Idea of a Natural Order 1995
The Problem Of Order In Society, And The Program Of An Analytical Sociology Talcott Parsons,
Exclusive Hillary Clinton and the Order of Illuminati in her quest for the Office of the President
Harry Gregson Williams The Chronicles of Narnia The Lion, the Witch and the Wardrobe
Hillary Clinton and the Order of Illuminati in her quest for the Office of the President(2)
więcej podobnych podstron