® CrossFit is a registered trademark of
, Inc.
© 2006 All rights reserved.
Subscription info at
Feedback to
CrossFit Journal Article Reprint. First Published in CrossFit Journal Issue 59 - July 2007
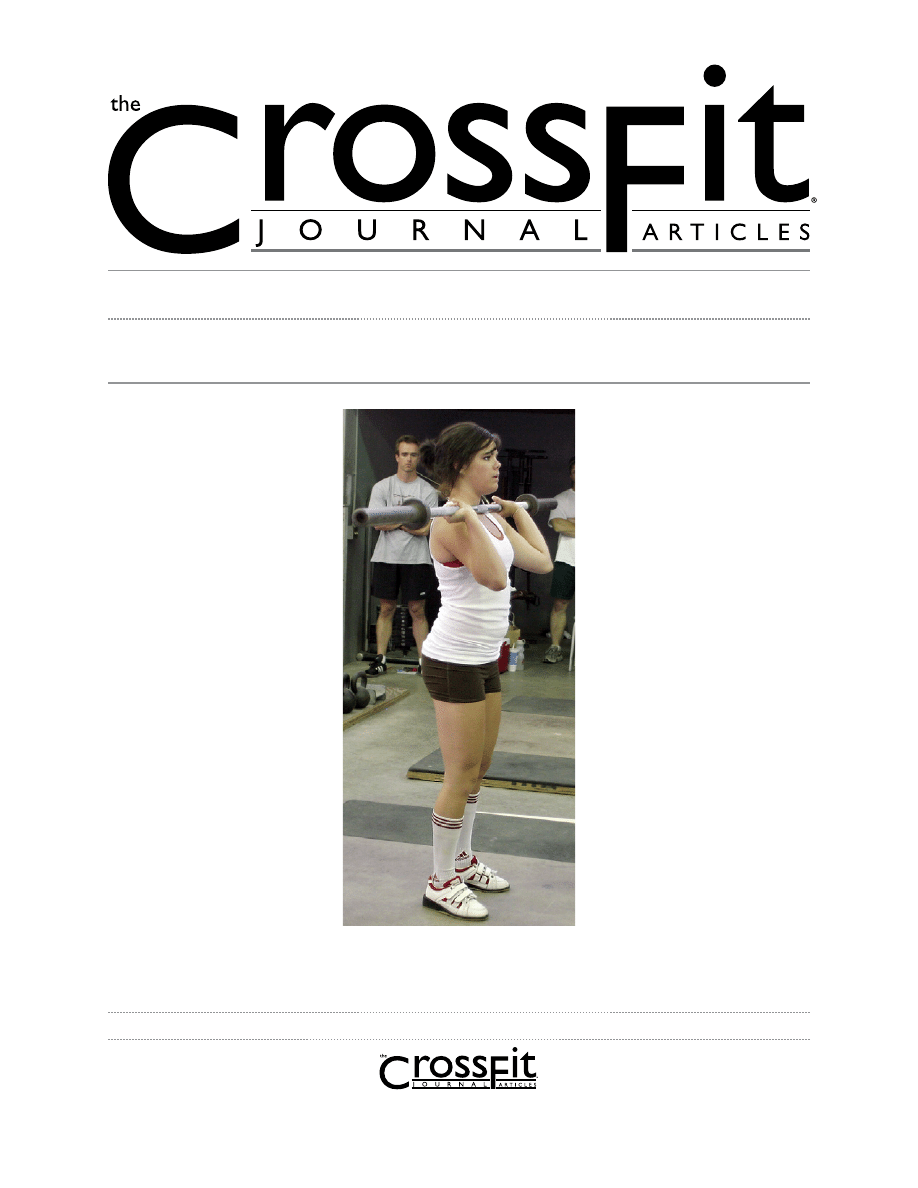
Teaching the Jerk
Part 3: Split Jerk Drills
Mike Burgener and Tony Budding
1 of 3
In our previous two articles in this
series, we covered the two most
important aspects of the split jerk
separately. All the Olympic lifts
consist of merely jumping and
landing with the barbell in various
positions. In May, we discussed
the jump (dip-drive) for the jerk
as performed with the barbell on
the shoulders behind the neck, as
that is the simplest version. In June,
we covered the proper landing
(receiving) position for the split
jerk. In this article, the ninth in
our series on teaching the Olympic
lifts, we put them together with a
progression that develops into a
full clean and jerk.
With decent instruction, most
people can, without too much
difficulty, learn the proper landing
position for the split jerk and learn
to jump the dowel, PVC pipe,
or light bar through a range of
motion, receiving the bar overhead
with the legs in a partial lunge.
Most of these same people will
find their mechanics deteriorating
as they approach maximal loads
(and many long before maximal). For this reason, we
have developed a series of drills that can be used with
increasing loads while reinforcing
or even improving the mechanics
of the movement.
Behind-the-neck drills
The first two movements in the
sequence were described in our
May 2007 article. They are the
behind-the-neck (BTN) push press
and the BTN push jerk. Special care
should be taken in the dip-drive to
ensure that the body and bar travel
only vertically, with no horizontal
movement—i.e., without letting
the bar drop toward the front in
the dip. In this initial sequence, the
movements should be practiced
without the optional squat.
The third movement in the
sequence is the BTN split jerk.
Once the athlete is handling the
push jerk behind the neck with
success, the athlete may progress
to the split jerk behind the neck.
The starting position is the same as
in the push jerk and in the initial dip
and drive from the legs. The athlete
drives the barbell up, extending the
hips, knees, and ankles to create
momentum, and instead of simply rebending the legs
to land in a quarter squat as in a push jerk, the athlete

® CrossFit is a registered trademark of
, Inc.
© 2006 All rights reserved.
Subscription info at
Feedback to
2 of 3
Teaching the Jerk: Split Jerk Drills
(continued...)
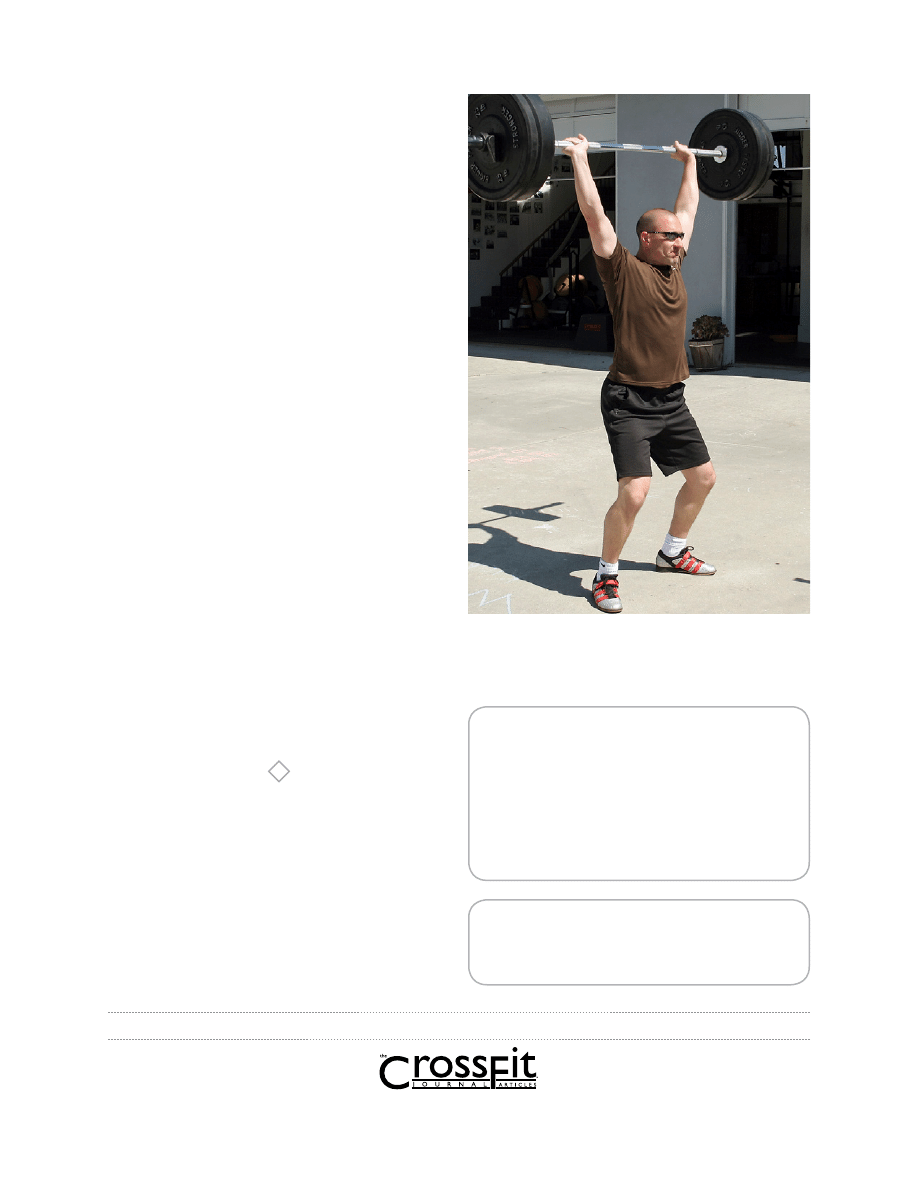
jumps the legs into a quarter lunge, or split, position,
receiving the barbell with arms fully extended overhead.
(This position was explained in our June 2007 article.)
As stated before, working from behind the neck is an
easier way for beginners to start than from the front
because the barbell can travel vertically without having
to negotiate the face. Still, it is essential that the torso
remain completely vertical during the dip-drive so that
barbell is propelled vertically. The margin for error
decreases dramatically as the load increases. In the
squat and deadlift, the torso angle shifts forward as
the bar descends. In the push press, push jerk, and split
jerk, the torso remains vertical without any forward
inclination at all.
Combination jerk drills
The next step in the progression is to repeat the three
movements in order, but starting with the barbell on the
shoulders in front of the neck. Notice in the picture that
the hands and arms are in a different position from that
for the rack position in the front squat. The hands and
BTN Split Jerk
fingers should grip the barbell completely but loosely
just outside the shoulders. The elbows should be below
the shoulders but in front of the barbell, with the upper
arm at about a 60-degree angle in front of the body.
The barbell should be in full contact with the shoulders
(though this may be difficult with light bars or PVC).
The three movements are initiated with a complete
inhalation. The athlete should consciously fill the belly
with air, creating a pneumatic brace throughout the torso.
Inhaling completely and holding before the movement
begins also encourages consistency and “tightness”
in
movement
(whereas
inhaling or exhaling during
the movement leads to
inconsistency and typically
introduces some unwanted,
and unsafe, laxity). The torso
should
remain
perfectly
vertical throughout the dip-
drive. This is accomplished by
keeping the chest up, flexing
the hips (“butt back”), and
pushing the knees forward a
bit in the dip. The tendency to
initiate the movement by sliding
the hips back and dropping the
chest should be avoided at all
costs. Any forward inclination
of the torso will throw the
barbell forward, which greatly
complicates the bar path and
decreases the likelihood of
successfully receiving the
barbell overhead.
Squat Jerk
Sequence
Split Jerk
Push Jerk
Push Press
Push Jerk
Split Jerk
® CrossFit is a registered trademark of
, Inc.
© 2006 All rights reserved.
Subscription info at
Feedback to
3 of 3
Teaching the Jerk: Split Jerk Drills
(continued...)
Warm-up or workout sequence
In competition, the jerk always follows a successful clean.
In order to prepare the athlete for this sequence, you
can add a squat to each of these exercises. For example,
instead of starting with the feet in the jumping position,
begin with the feet in the landing position and perform
a squat (back squat for the three BTN variations, and
front squat for the other three). At the top of the
squat, remember to walk the feet back into the jumping
position before the dip drive. You will probably also
have to reset the grip and perhaps lower the elbows
somewhat after the front squat to prepare to thrust the
barbell overhead as you drive your body down into the
split. Finally, you can end the sequence with a full clean
and jerk (see our April 2007 article for an explanation
of the clean).
These six exercises can be performed in sequence with
PVC as a warm-up. Once there is proficiency in the
movements, the sequence can be performed with the
squats and cleans with gradually increasing loads as a
workout, as follows:
Back squat and BTN push press
Back squat and BTN push jerk
Back squat and BTN split jerk
Front squat and push press
Front squat and push jerk
Front squat and split jerk
Clean and split jerk
In next month’s article, we will cover further skill
transfer and remedial exercises for the jerk.
1.
2.
3.
4.
5.
6.
7.
Mike Burgener, owner of
(a CrossFit
affiliate and USAW Regional Training Center),
is a USAW Senior International Coach, former
junior World team (1996-2004) and senior
World team coach (2005), and strength and
conditioning coach at Rancho Buena Vista High
School in Vista, Calif.
Tony Budding is the Media Guy for CrossFit,
Inc., and a trainer at
Wyszukiwarka
Podobne podstrony:
59 07
59-07-Seminarium dyplomowe
2015 08 20 07 59 07 01
59 07 Seminarium dyplomowe
2015 08 20 07 59 07 01
ei 07 2002 s 58 59
59 MT 07 Noz introligatorski
59 MT 07 Lamiglowka warsztatowa
59 MT 07 Lupa swietlna
2015 08 20 07 51 59 01
2011 03 22 15;07;59
2015 08 20 07 54 59 01
ei 07 2002 s 58 59
59 MT 07 Noz introligatorski
2015 08 20 07 54 59 01
2015 08 20 07 51 59 01
59 MT 07 Lamiglowka warsztatowa
więcej podobnych podstron