
AGP Slot and PCI Express Graphics Slot
AGP Slot and PCI Express Graphics Slot
AGP Slot and PCI Express Graphics Slot
AGP Slot and PCI Express Graphics Slot
AGP Slot and PCI Express Graphics Slot
(PCI Express x 4) Installation Guide
(PCI Express x 4) Installation Guide
(PCI Express x 4) Installation Guide
(PCI Express x 4) Installation Guide
(PCI Express x 4) Installation Guide
AGP Slot and PCI Express Graphics Slot (PCI Express x 4)
AGP Slot and PCI Express Graphics Slot (PCI Express x 4)
AGP Slot and PCI Express Graphics Slot (PCI Express x 4)
AGP Slot and PCI Express Graphics Slot (PCI Express x 4)
AGP Slot and PCI Express Graphics Slot (PCI Express x 4)
Installation Guide (for Windows XP) .......................... 1
Installation Guide (for Windows XP) .......................... 1
Installation Guide (for Windows XP) .......................... 1
Installation Guide (for Windows XP) .......................... 1
Installation Guide (for Windows XP) .......................... 1
AGP Slot and PCI Express Graphics Slot (PCI Express x 4)
AGP Slot and PCI Express Graphics Slot (PCI Express x 4)
AGP Slot and PCI Express Graphics Slot (PCI Express x 4)
AGP Slot and PCI Express Graphics Slot (PCI Express x 4)
AGP Slot and PCI Express Graphics Slot (PCI Express x 4)
Installation Guide (for Windows Vista) ....................... 6
Installation Guide (for Windows Vista) ....................... 6
Installation Guide (for Windows Vista) ....................... 6
Installation Guide (for Windows Vista) ....................... 6
Installation Guide (for Windows Vista) ....................... 6

1
11
11
AGP Slot and PCI Express Graphics
AGP Slot and PCI Express Graphics
AGP Slot and PCI Express Graphics
AGP Slot and PCI Express Graphics
AGP Slot and PCI Express Graphics
Slot (PCI Express x 4) Installation
Slot (PCI Express x 4) Installation
Slot (PCI Express x 4) Installation
Slot (PCI Express x 4) Installation
Slot (PCI Express x 4) Installation
Guide
Guide
Guide
Guide
Guide
(for Windows XP)
(for Windows XP)
(for Windows XP)
(for Windows XP)
(for Windows XP)
This installation guide will lead you to install AGP VGA card
into AGP slot and PCI Express VGA card into PCI Express
Graphics slot (PCI Express x 4) properly. Please carefully
follow the procedures below according to the current
condition of your PC system.
Demo VGA card devices:
1. WinFast A340TDH + ASUS-EN5750
STEP1: Install the AGP card into the AGP slot. Please follow the
procedures below
1. Before installing the expansion card, please make sure that the power
supply is switched off or the power cord is unplugged. Please read the
documentation of the expansion card and make necessary hardware
settings for the card before you start the installation.
2. Remove the bracket facing the slot that you intend to use. Keep the
screws for later use.
3. Align the card connector with the slot and press firmly until the card is
completely seated on the slot.
4. Fasten the card to the chassis with screws.
If you want to install more than one graphics cards to this motherboard,
please follow the priority: AGP VGA card, PCI Express card ,and then PCI
card. Please do not install more than one graphics cards at the same time!
If you want to install more than one graphics cards to this motherboard,
please make sure that the AGP heatsink is not too thick to collide with PCI
Express card.
2
22
22
STEP2: Install the OS (Operating System) and drivers of this
motherboard
STEP4: Restart your computer
STEP5: Install the PCI Express VGA card into the PCI Express Graphics
slot (PCI Express x 4), please follow the instructions below
1. Before installing the expansion card, please make sure that the power
supply is switched off or the power cord is unplugged. Please read the
documentation of the expansion card and make necessary hardware
settings for the card before you start the installation.
2. Remove the bracket facing the slot that you intend to use. Keep the
screws for later use.
3. Align the card connector with the slot and press firmly until the card is
completely seated on the slot.
4. Fasten the card to the chassis with screws.
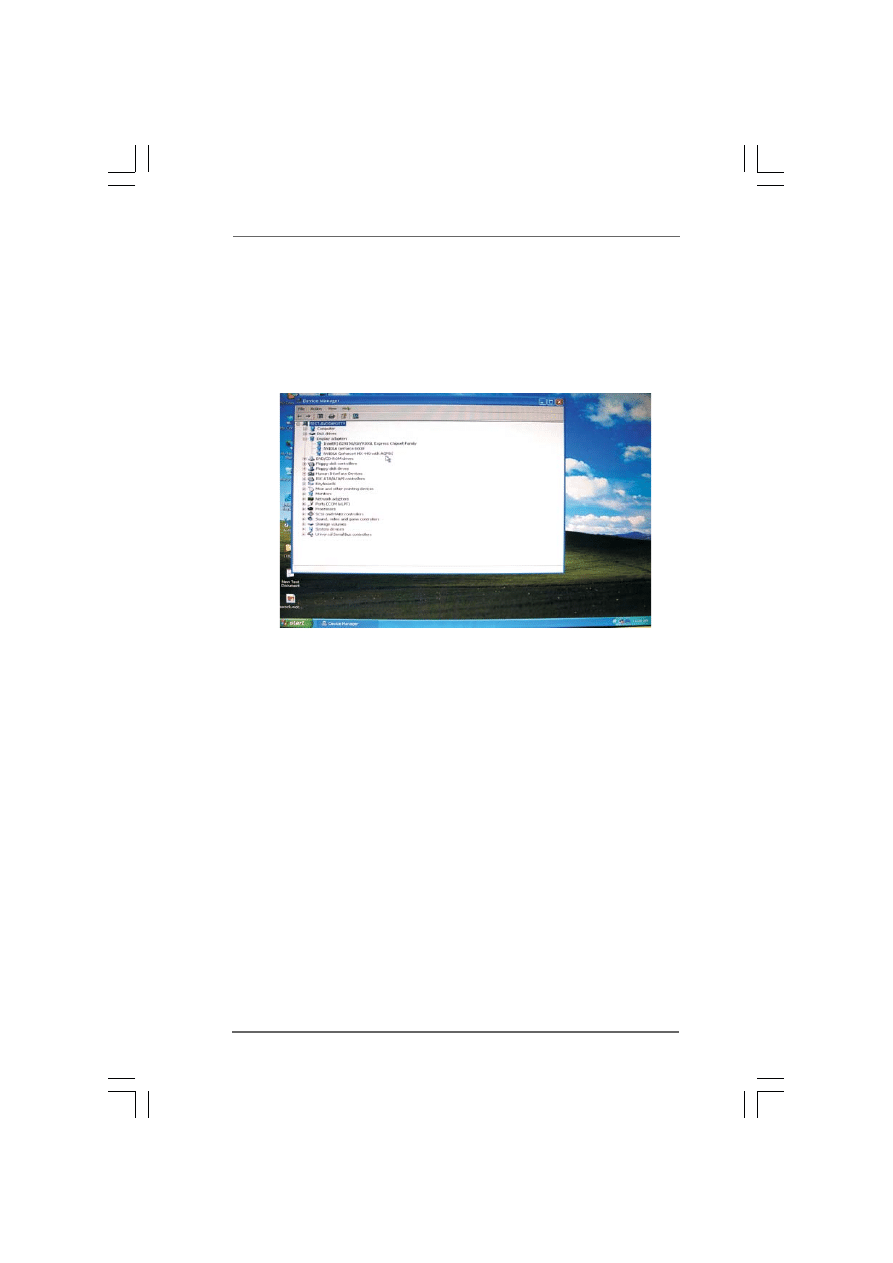
STEP3: Install the AGP VGA card drivers
Install the drives and any related software which are provided by the
graphics card vender. Please make sure the drivers are successfully
installed to your computer.

3
33
33
STEP6: Install the PCI Express VGA card drivers
Install the drives and any related software which are provided by the
graphics card vender. Please make sure the drivers are successfully
installed to your computer.
STEP7: Restart your computer

4
44
44
3. Select the display icon identified by the number 2.
4. Click “Extend my Windows desktop onto this monitor”.
5. Right-click the display icon and select “Attached”, if necessary.
6. Set the “Screen Resolution” and “Color Quality” as appropriate for the
second monitor. Click “Apply” or “OK” to apply these new values.
7. Repeat steps 3 through 5 for the diaplay icon identified by the number
three, and four.
3 4
2
1
STEP8: Set up a multi-monitor display
Right click the desktop, choose “Properties”, and select the “Settings” tab
so that you can adjust the parameters of the multi-monitor according to the
steps below.
1. Click the “Identify” button to display a large number on each monitor.
2. Right-click the display icon in the Display Properties dialog that you
wish to be your primary monitor, and then select “Primary”. When you
use multiple monitors with your card, one monitor will always be
Primary, and all additional monitors will be designated as Secondary.

5
55
55
STEP9: Use Surround Display
Click and drag the display icons to positions representing the physical
setup of your monitors that you wwould like to use. The placement of
display icons determines how you move items from one monitor to
another.

6
66
66
AGP Slot and PCI Express Graphics
AGP Slot and PCI Express Graphics
AGP Slot and PCI Express Graphics
AGP Slot and PCI Express Graphics
AGP Slot and PCI Express Graphics
Slot (PCI Express x 4) Installation
Slot (PCI Express x 4) Installation
Slot (PCI Express x 4) Installation
Slot (PCI Express x 4) Installation
Slot (PCI Express x 4) Installation
Guide
Guide
Guide
Guide
Guide
(for Windows Vista)
(for Windows Vista)
(for Windows Vista)
(for Windows Vista)
(for Windows Vista)
This installation guide will lead you to install AGP VGA
cardinto AGP slot and PCI Express VGA card into PCI
ExpressGraphics slot (PCI Express x 4) properly. Please
carefullyfollow the procedures below according to the
currentcondition of your PC system.
Demo VGA card devices:
1. WinFast A340TDH + ASUS-EN5750
STEP1: Install the AGP card into the AGP slot. Please follow the
procedures below
1. Before installing the expansion card, please make sure that the power
supply is switched off or the power cord is unplugged. Please read the
documentation of the expansion card and make necessary hardware
settings for the card before you start the installation.
2. Remove the bracket facing the slot that you intend to use. Keep the
screws for later use.
3. Align the card connector with the slot and press firmly until the card is
completely seated on the slot.
4. Fasten the card to the chassis with screws.
If you want to install more than one graphics cards to this motherboard,
please follow the priority: AGP VGA card, PCI Express card ,and then
PCI card. Please do not install more than one graphics cards at the same
time!
If you want to install more than one graphics cards to this motherboard,
please make sure that the AGP heatsink is not too thick to collide with
PCIExpress card.

7
77
77
STEP2: Install the OS (Operating System) and drivers of this
motherboard
STEP3: Shut down your system
STEP4: Install the PCI Express VGA card into the PCI Express Graphics
slot (PCI Express x 4), please follow the instructions below
1. Before installing the expansion card, please make sure that the power
supply is switched off or the power cord is unplugged. Please read the
documentation of the expansion card and make necessary hardware
settings for the card before you start the installation.
2. Remove the bracket facing the slot that you intend to use. Keep the
screws for later use.
3. Align the card connector with the slot and press firmly until the card is
completely seated on the slot.
4. Fasten the card to the chassis with screws.
STEP5: Power on your computer
STEP6: Set up a multi-monitor display
Right click the desktop, choose “Personalize”, and select the “Display
Settings” tab so that you can adjust the parameters of the multi-monitor
according to the steps below.
1. Click the number “2” icon.
2. Click the items “This is my main monitor” and “Extend the desktop onto
this monitor”.
3. Click “OK” to save your change.
4. Repeat steps 1 through 3 for the display icon identified by the number
three and four.

8
88
88
STEP7: Use Surround Display
Click and drag the display icons to positions representing the physical
setup of your monitors that you would like to use. The placement of
display icons determines how you move items from one monitor to
another.
Wyszukiwarka
Podobne podstrony:
więcej podobnych podstron