Disassembling Toshiba Satellite M35X laptop.
You can also use this guide if you want to repair, remove, replace, upgrade, clean, fix the following laptop parts: system board, video board, sound board, power board, modem, memory, wireless card, processor, cpu, cooling module, fan, keyboard, touchpad, cd-rom, dvd-rom, cd-rw, hard drive, LED board, hdd connection board, usb board, battery, cables.
Click on any picture to enlarge.
STEP 1
Turn the unit upside down.
Loosen the screw securing the memory cover and remove the cover.
Remove the screw securing the hard drive.
STEP 2
Pull the hard drive firmly to disengage from the connector.
Remove the battery.
Remove the memory modules.
Remove the "dummy" PC card.
Remove all screws on the bottom.
Do not forget to remove 3 screw under the battery.
STEP 3
Open the DVD drive with a paper clip.
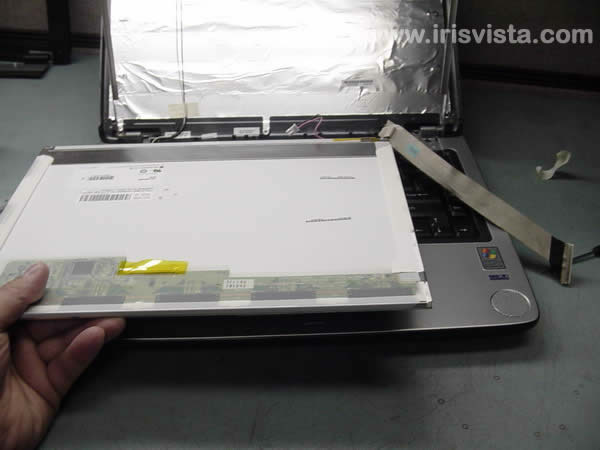
STEP 4
Carefully remove it from the computer.
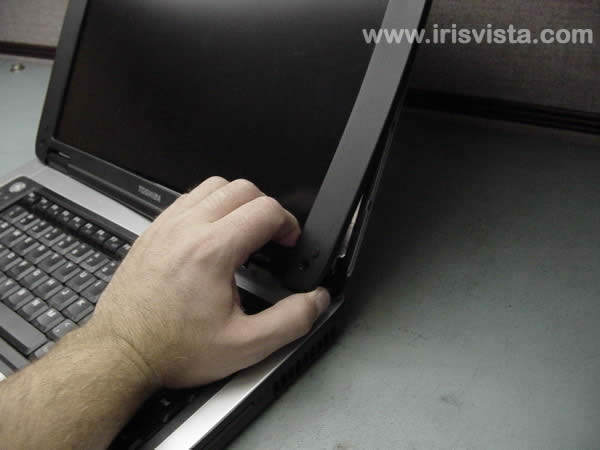
STEP 5
Turn the computer right side up.
Insert a thin object under the securing strip and lift it up.
Be careful, it may be very tight.
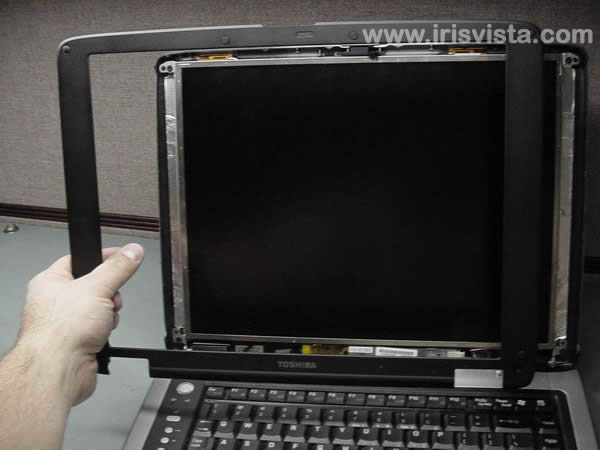
STEP 6
Remove the securing strip.
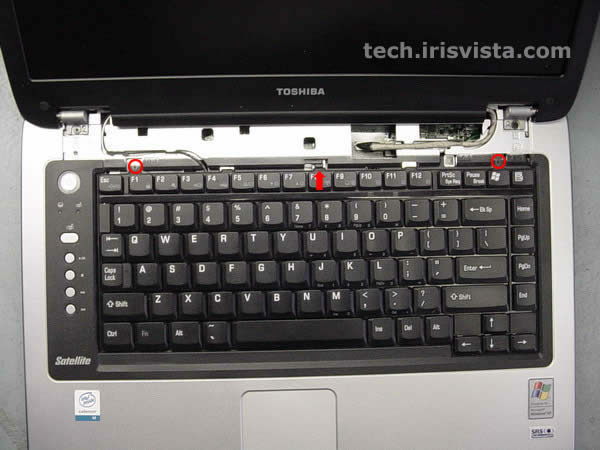
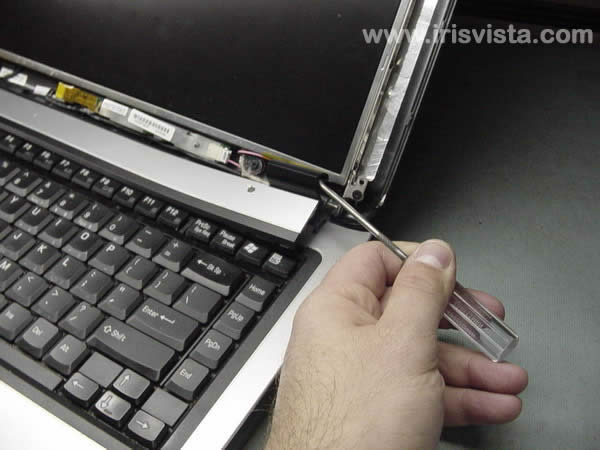
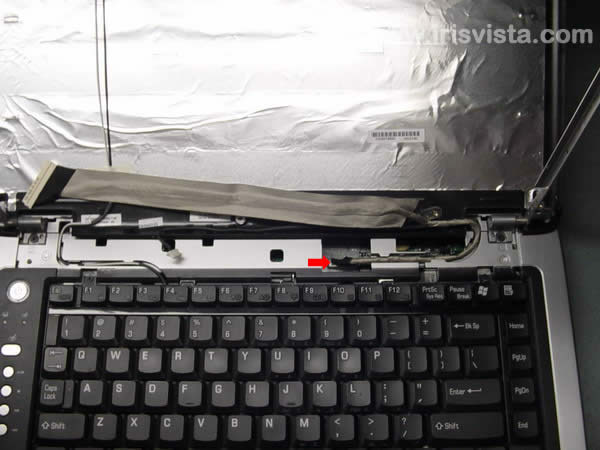
STEP 7
Remove two screws securing the keyboard.
Press on the lock in the center to release the keyboard.
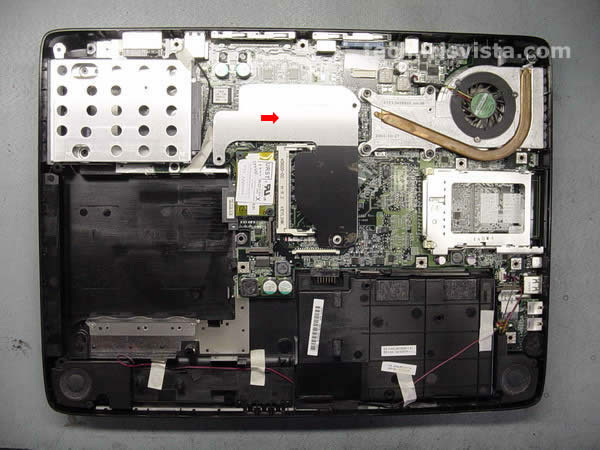
STEP 8
Turn the keyboard upside down.
Loosen one screw securing the modem cover. Remove the cover.
Loosen one screw securing the Fi-Fi card cover.Remove the cover.
Remove one more screw.