How To Do VSCOcam Effects in Photoshop
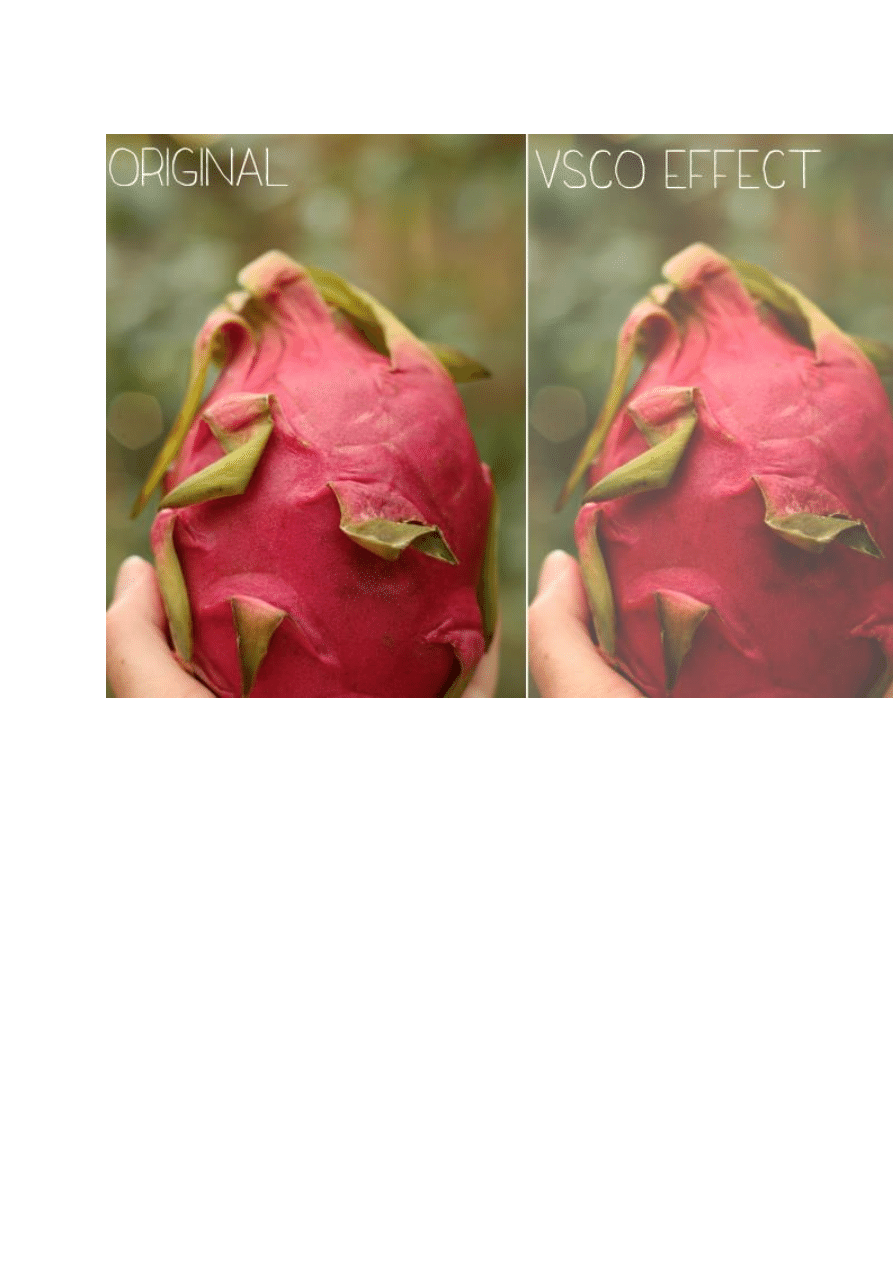
I recently fell in love with the iPhone app 'VSCOcam' (you've probably noticed if you're
), and I've been using it on every single one of my Instagram posts. I love it so much, that I
wanted to edit my blog photos with it, which was a bit of a hassle, so I decided to try to recreate the
effect with Photoshop.
It took me a while to figure out how to do it well, since I am a bit of an amateur when it comes to
Photoshop, but I finally got it right and I think it is a close enough replica.
Here's how you can edit your photos with a VSCO effect in Photoshop...

After you have opened the photo in Photoshop that you want to edit, click 'Image > Adjustments >
Exposure'. Now, this part really depends on the photo that you are editing, so you may have to tweak
the numbers slightly, but for the photo that I was editing, I changed 'Offset' to +0.1200 and 'Gamma' to
1.29 to create a VSCO looking effect. Simple as that!
As I said, the numbers will vary depending on the original exposure of your photo, but it should be
easy to figure out what looks right.
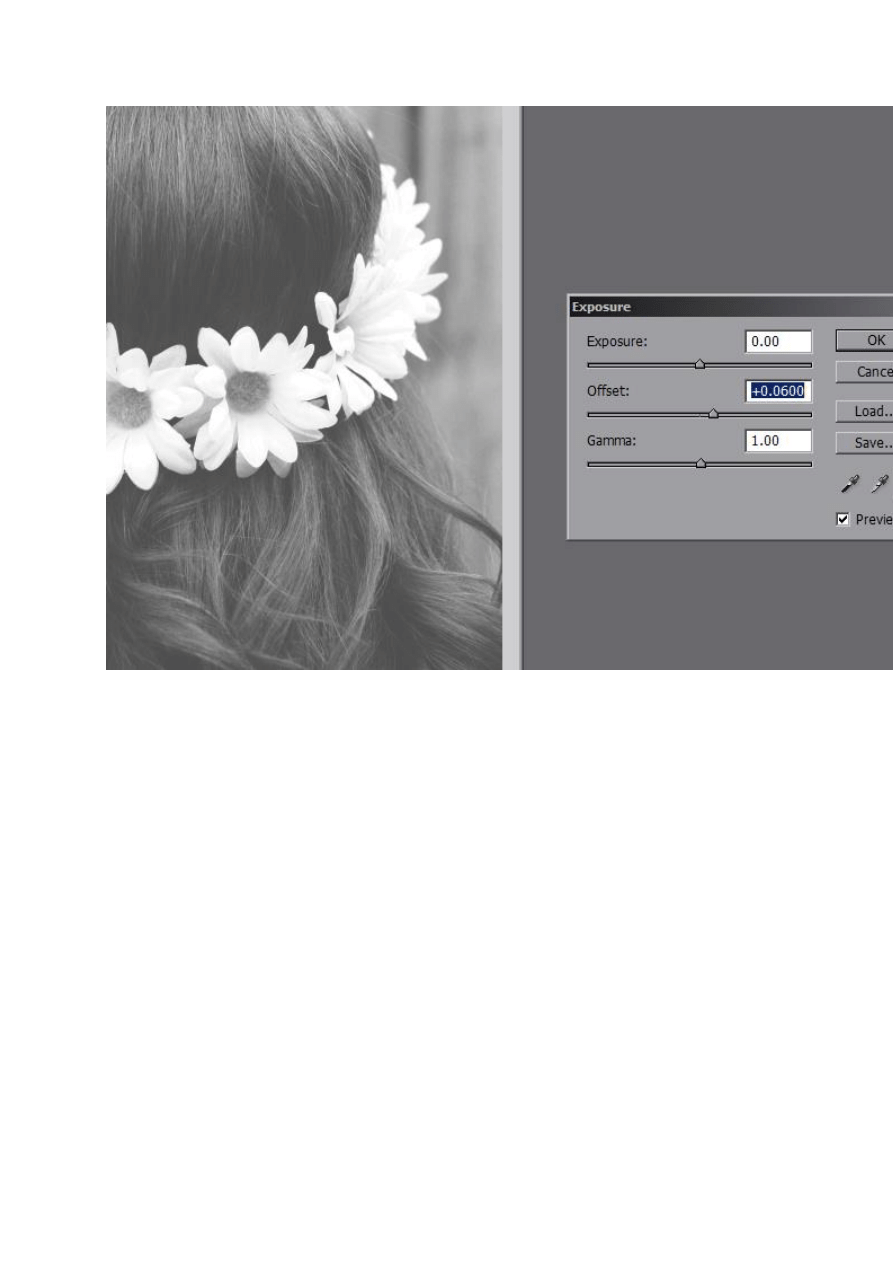
If you want a VSCO black and white, effect, it's just as easy! Here's how...


Change 'Offset' to +0.0500 and 'Gamma' to 1.36, then desaturate your photo. Again, the numbers may
vary depending on your original photo, so you may have to play around to get the right effect.

After you have desaturated the photo, open up 'Exposure' again and change 'Offset' to +0.0600. And
there you go! You have yourself a replica of a VSCO effect.
I hope that you found this useful...please feel free to let me know if you have any questions or
comments. Also, do keep in mind that I know nearly nothing about Photoshop, so I apologize if I did
something wrong or stupid...I tend to do that. ;)
xo Rachelle
Wyszukiwarka
Podobne podstrony:
How to Do Your Dissertation in Geography
Obrigado how to express your gratitude in Portuguese
How to Do Viking Chain Knitting
how to do mb sd c4 self test
Leil Lowndes How to Make Anyone Fall in Love with You UMF3UZIGJVMET6TLITVXHA3EAEA4AR3CAWQTLWA
How to be an Effective Group Leader
Ross Jeffries How To Induce A Hypnotic Trance In 3 Minutes Or Less And Never Get Caught
Grep how to do
Kher, Neelam, Molstad Using humor in the classroom to enhance teaching effectiveness in dread cours
How to assess the effectiveness of your anti virus
lesson plan how to do it
How To Say I Love You In 100 Languages
How To Say I Love You In 100 Languages
więcej podobnych podstron