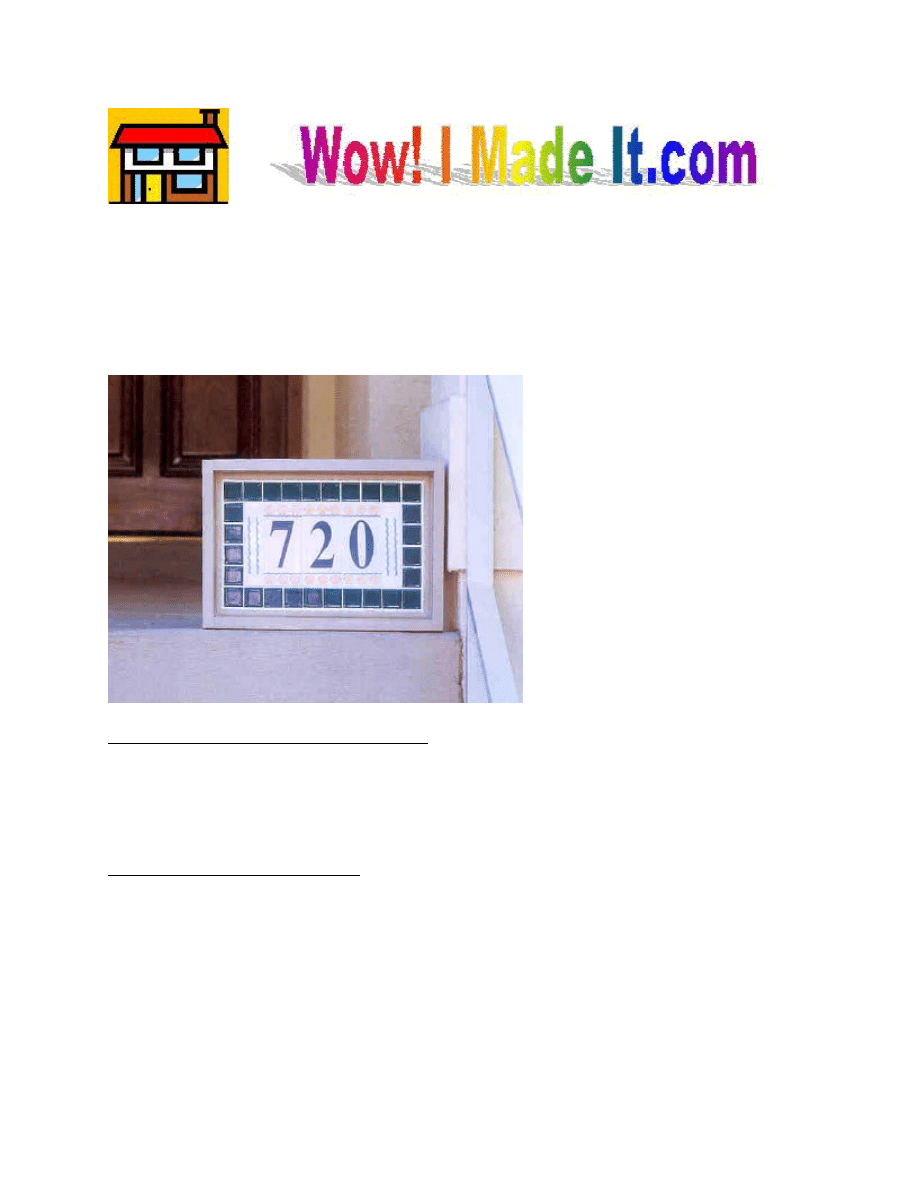
ouse Numbers
Here’s a quick and easy way to add face-lift to the outside of your house: Replace those
old house numbers from the hardware store with this great-looking project. The numbered tiles
are readily available at most building supply stores. To give our project some pizazz, we added a
border of 1” square tiles to the design.
Special Tools and Techniques
•
Small mastic trowel
•
Rubber-surfaced grout trowel
•
Mitering
Materials and Supplies
•
9 linear feet of 1 x 4 pine
•
1 piece of ¾”-thick plywood, 22’ x 26”
•
9 linear feet of ¾”-wide decorative molding
•
2 pieces of ¾” x ¾” scrap wood, 22” long
•
2 pieces of ¾” x ¾” scrap wood, 26” long
•
House-number tiles
•
1” x 1” border tiles (optional)
H

•
Small containers of tile grout, mastic, and sealer
Hardware
•
Approximately 20 #6 x 1-1/4” flathead wood screws
•
Approximately 30 wire brads
Cutting List
Code
Description Qty.
Material
Dimensions
A
Base
1
¾” plywood
Cut to fit
B
Side
2
1 x 4 pine
Cut to fit
C
Top/Bottom
2
1 x 4 pine
Cut to fit
Notes on Materials:
Purchase exterior-grade plywood for the base (A), and if you plan to place your finished project
outdoors, be sure to use exterior-grade wood components and galvanized hardware. Also be sure
to use paint, grout, and sealer that are rated for exterior use.
Because of the number of digits in house numbers varies, so will the total number of tiles and the
amount of wood you need. This project must be personalized for each residence. The materials
specified here will be sufficient for a tile design that measures 20” x 24”, or less. If your design
is larger, just add to the wood materials specified. If you decide to include the border tiles, buy a
few extra in case you break any of them.
Most tiles sold at building-supply stores are now “self spacing.” They come with small
projections on their edges so that when you lay them out, the grout lines between the tiles will be
even. We suggest that you spend some time at the tile supplier laying out the numbered tiles—
and the border tiles if you decide to use them—to make certain that you like the design and that
it completes a rectangle. The exact size doesn’t matter; all of the wood pieces can be adjusted to
fit.
Cutting the Plywood
1. In order to determine the precise size of your project, you’ll need to lay out your design on
the 3/4”-thick plywood. Place the tiles on the plywood exactly as you want them to look in
the finished project, making certain that they’re spaced correctly and that the sides of the
tile rectangle are absolutely straight. If your tiles aren’t self-spacing, don’t forget to leave
gaps for the grout.
2. Place a ¾” x ¾” piece of scrap wood along each of the four sides of the tile design. The
scrap wood will align the tiles and will add a ¾” width on all four sides. Use a framing
square to make certain that the outer edges of the four scrap pieces are exactly square with
one another.
3. Use a pencil to mark the outer perimeter of the scrap wood onto the plywood. To form the
plywood base (A) of the project, carefully cut out the marked rectangle.
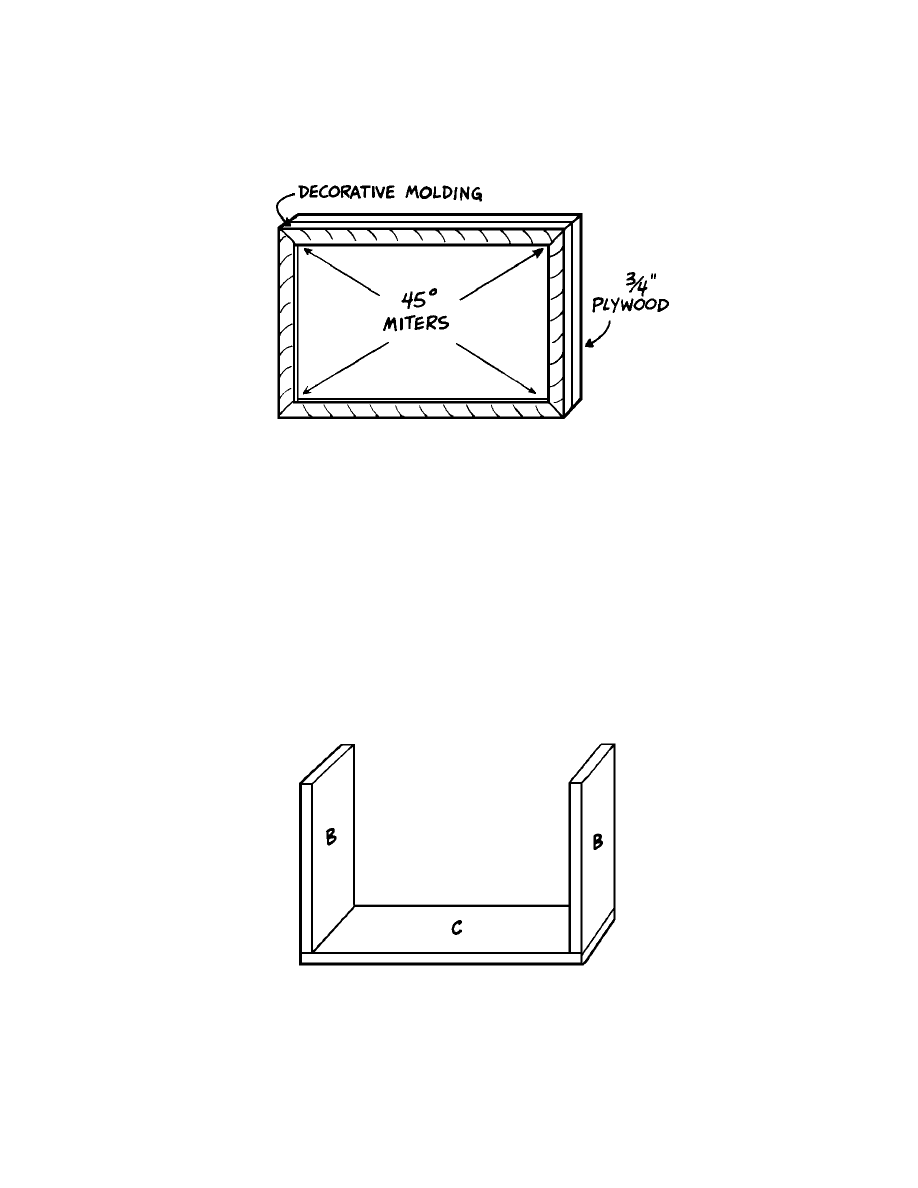
4. Cut four pieces of ¾”-wide decorative molding to fit exactly around the perimeter of the
upper face of the base (A), mitering the corners of the molding as shown in Figure 1.
Check to see that the tiled design will fit exactly inside the decorative molding that you
have cut—now is the time to make any necessary adjustments.
5. Glue the mitered decorative molding to the upper face of the base (A) and secure it with
small wire brads. Use a tack tamer to insert the brads and recess them into the molding
with a nail set.
6. Measure the length and width of the base (A). Cut two sides (B) from 1 x 4 pine to the
exact width of the rectangle.
Figure 1
Figure 2
7. Add 1-1/2” to the length of the rectangle and cut two top/bottom pieces (C) from 1 x 4 pine
to that measurement.
8. Place the two sides (B) on one top/bottom piece (C), as shown in Figure 2. Make certain
that the assembly is perfectly square. Glue the pieces together and insert two 1-1/4” screws
through the top/bottom piece (C) and into the side (B) at each joint.
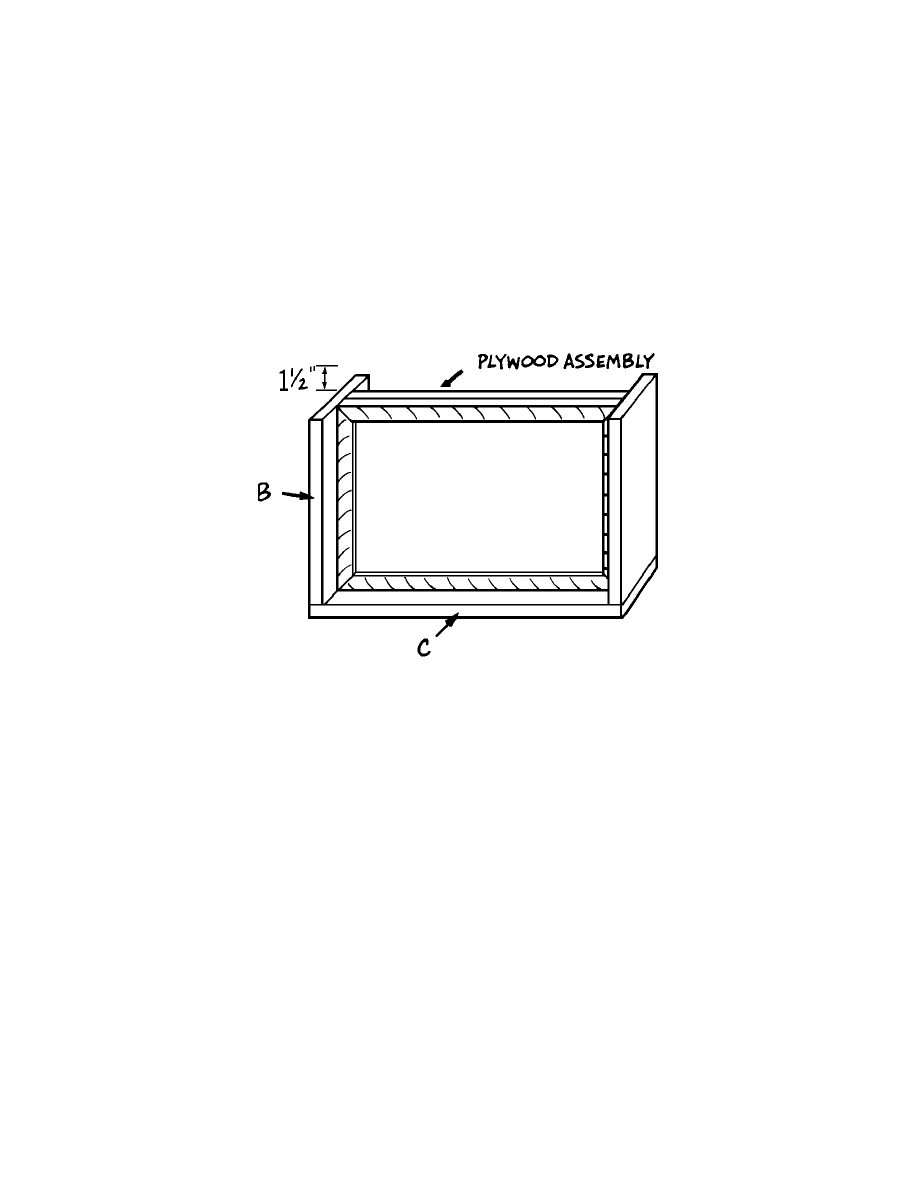
9. Fit the plywood assembly into the two sides (B) and top/bottom piece (C), as shown in
Figure 3, adjusting the plywood so that it is inset 1-1/4” from the back edges of the sides
and top/bottom piece.
10. Glue the remaining top/bottom piece (C) to the two sides (B) and secure it in place with two
1-1/4” screws at each joint.
11. To hold the plywood assembly in place, insert three 1-1/4” screws through each side (B)
and each top/bottom piece (C) into the edges of the plywood.
Finishing the Wood Frame
1. Fill any holes and cracks, or crevices with wood filler.
2. Sand the project thoroughly.
3. Paint the wood frame the color of your choice. Do not paint the plywood face that will
receive the tiles.
Figure 3

Adding the Tiles
1. Following the manufacturer’s directions carefully, use a small trowel to spread an even coat
of tile mastic over the surface of the plywood base. Take care not to get the mastic on any
of the painted decorative molding.
2. Place the tiles on the mastic one at a time, making sure that they are absolutely straight. Do
not slide them, or the mastic will be forced up onto the sides of the tiles. Let the mastic dry
overnight.
3. Mix the tile grout according to the manufacturer’s directions (or use pre-mixed grout).
4. Use a rubber-surfaced grout trowel, spread the grout over the tiles with arc-like motions.
Hold the trowel at an angle so that it forces the grout evenly into the spaces between the
tiles.
5. When the grout begins to set up, use a damp rag to wipe the excess from the tiles and the
joints. Don’t let the grout dry completely before doing this, or it will be very difficult to
remove. Use as little water as possible during this process so that you don’t thin the grout
that remains. Let the grout dry overnight.
6. Wipe the remaining film from the tiles with a damp rag.
7. Apply grout sealer, following the manufacturer’s directions. (These directions often
recommend that you wait several days before applying he sealer to the project.)
Wyszukiwarka
Podobne podstrony:
Świecący numer domu
1999 06 Numer domu z diodami LED
2000 10 Wielokolorowy numer domu Sterownik reklamy świetlnej
renting a house problemy w domu
Opis mojego domu My house
In the house w domu
cwiczenia aerobikowe w domu
3E D&D Adventure 06 House of Harpies
fall leaves cal numbers2
Oliwka Projekt Domu
P Stec POZYCJA PRAWNA DOMU AUK Nieznany
30 Pomyslow na zarabianie w domu
wykaz ilości jedzenia chomika, PASJE MOJEJ CÓRECZKI ANI, chomiczek w domu
JAK POPRAWIĆ TRWAŁOŚĆ RAJSTOP LUB POŃCZOCH, porady różne, CIEKAWOSTKI DLA PANI DOMU LUB PANA DOMU!!!
więcej podobnych podstron