
Blended Exposures Revisited
A Simpler Approach to Extending Dynamic Range
© 2004, Glenn E. Mitchell II, Ph.D. of The Light’s Right Studio,
http://www.thelightsrightstudio.com
Digital images share an important feature with color transparency film. Their dynamic
range – the difference between the very brightest highlights and the very darkest shadows
– is limited to about five stops.
The light that confronts a landscape photographer can go well beyond what a digital
camera can record. You either get over-exposed highlights or under-exposed shadows.
The traditional solution for landscape photographers was to use a split neutral density
filter to reduce the dynamic range of the image. Now that I have moved 100% to digital
photography, the only filter I routinely use is a polarizer filter. My collection of Cokin
split ND filters never go out into the field. No more waving a filter in front of my camera
lens as I try to peer through the viewfinder, while trying to trip the shutter release cord
and keep my balance on a slippery rock in the middle of a stream.
Michael Reichmann has written two articles that walk photographers through the steps of
combining two images into one. The process is the same in both articles. Make sure to
use a tripod. Take two pictures. One image is exposed for the highlights. The other is
exposed for the shadows. As Michael recommends, this is best done by using auto-
bracketing.
http://www.luminous-landscape.com/tutorials/blended_exposures.shtml
http://www.luminous-landscape.com/tutorials/digital-blending.shtml
Using two images works well as long as the subject does not move between exposures. If
the subject does move, you can end up with a ghosted image, especially if you shoot with
a slow shutter speed.
It is possible to shoot in RAW and use a single image. RAW converters, like Adobe
Camera Raw II, can generate multiple versions of the same image. So it is simple enough
to produce both an underexposed image with highlight details and an overexposed image
with shadow details from the same RAW image.
If you are going to use a single image, however, be sure to read Michael’s article “Expose
(to the) Right.”
http://www.luminous-landscape.com/tutorials/expose-right.shtml
If you do not expose towards the highlights and then try to get by with a single RAW
image, you can wind up with very noisy shadows when you generate an image that boosts
shadow details. Most of the noise in a digital image is found in the shadows.

Combining Two Images
The more experienced I become with Photoshop, the less I try to use selections and
masks. When I do use them, I try to keep the brush and pen strokes to a minimum. I am
comfortable with my Wacom tablet, pen, and airbrush, but I am not a painter. So I prefer
to use my tablet for tasks like selective dodging and burning. If I can use another
technique to make and refine my selections and masks, one that avoids straining my
middle aged eyes as I dab away with the brush tool, so much the better.
Lots of photographers have been reluctant to combine images because the process sounds
so complicated. Getting two images superimposed is easy enough. But getting out the
brush tool and painting in changes is intimidating for many of us. As I said, I am not a
painter or a sketch artist.
I am going to show you how to blend two exposures together seamlessly without using
the brush. Instead, all you need is a luminosity mask, a Gaussian Blur, and a contrast
adjustment with Levels or Curves and you are all set.
Michael mentions this technique briefly in his second article. He credits the technique to
George DeWolfe of CameraArt’s magazine. I am not familiar with George DeWolfe’s
article and Michael’s description was so brief, that readers here can benefit from a fuller
description of the technique.
To get started, you need two images, one exposed for the shadows and the other exposed
for the highlights.
Figure 1 was exposed to preserve details in the shadows on the right bank of the Aucila
River. The flashing highlights alarm on the Canon 10D was my guide to pushing the
shadows as far as I dared without completely burning out any highlights. The result is a
pale, washed out sky.
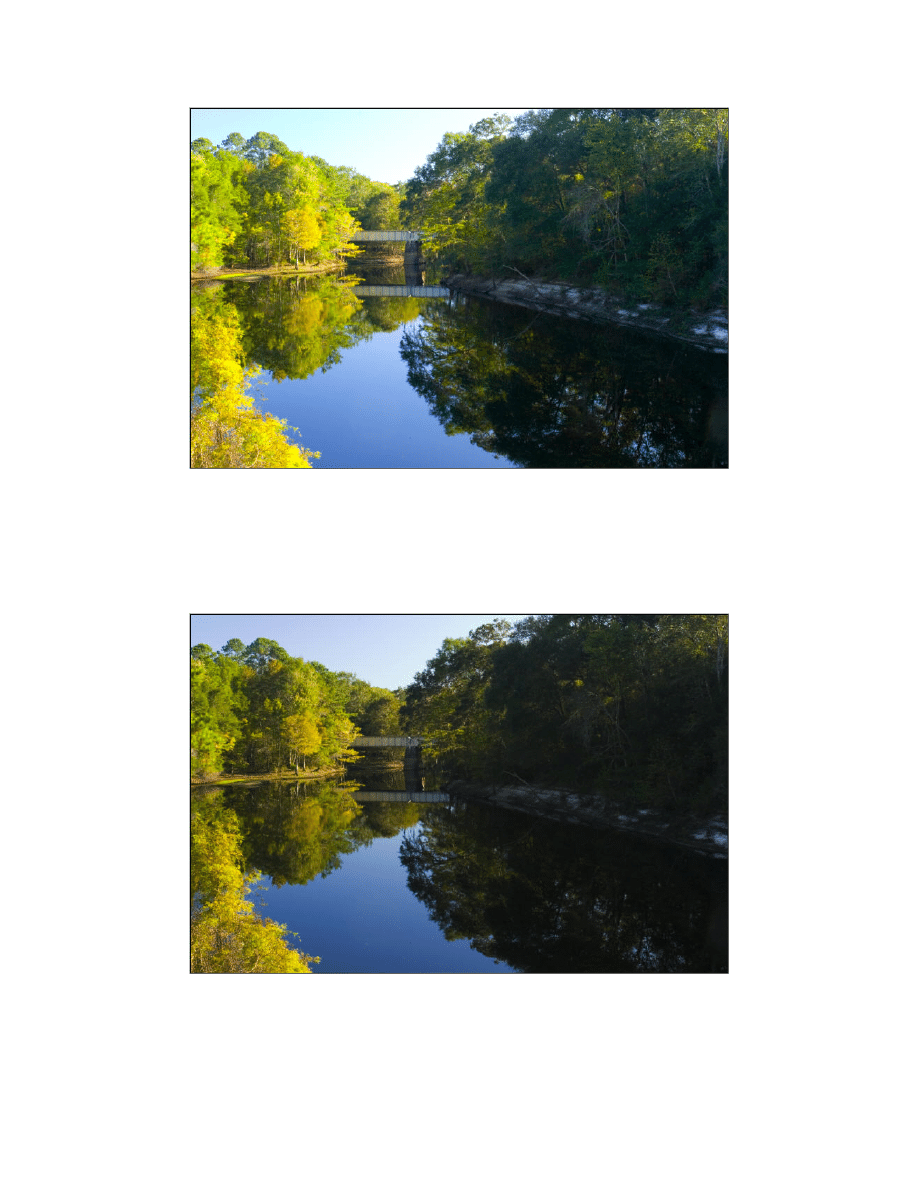
Figure 1. Image exposed for shadow detail.
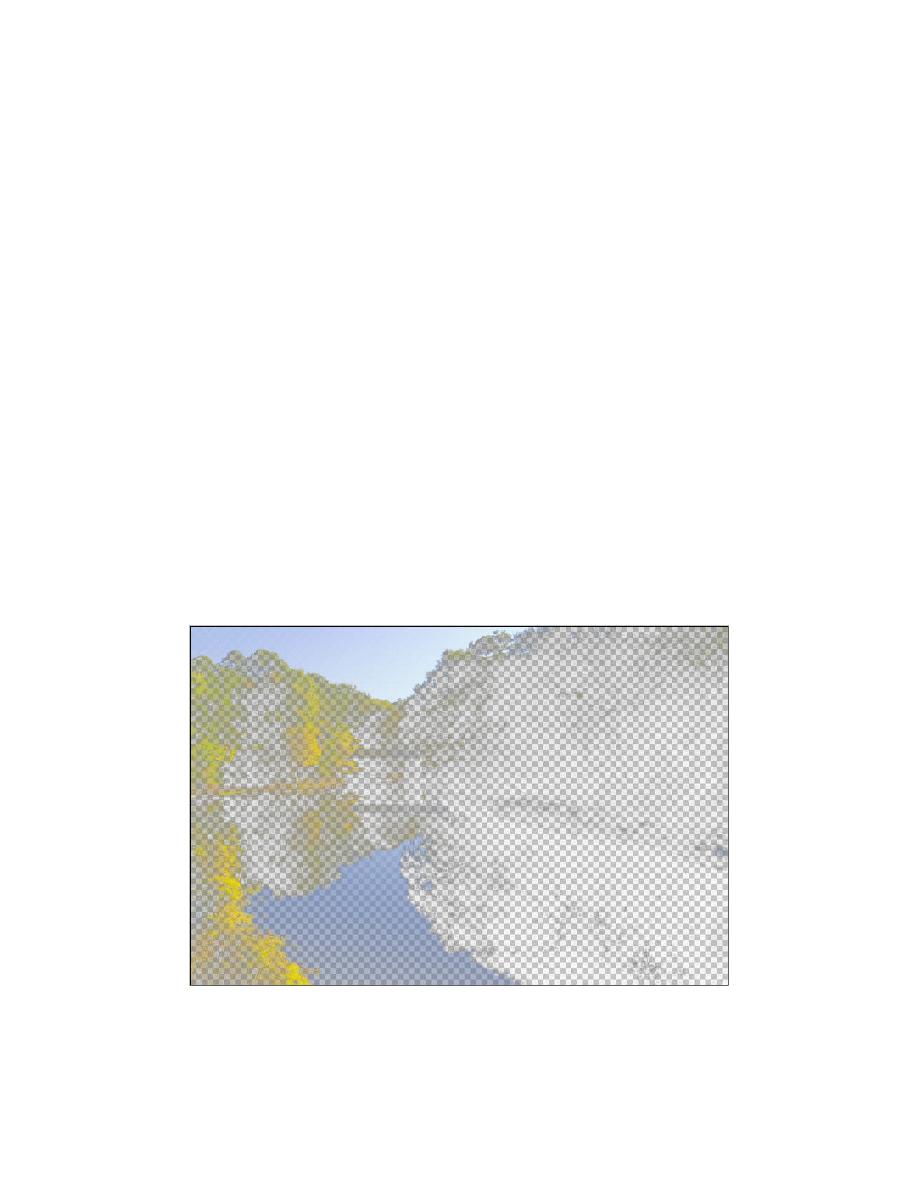
Figure 2 is exposed for the highlight details. The sky has better color, but the shaded
bank has much less detail. The greens in the vegetation on the right bank of the river are
almost lost in the shadows.
Figure 2. Image exposed for highlight detail.
The quickest way to combine two images is to use the Photoshop Move tool and hold
down the Shift key as you drag and drop the darker image (the image exposed for
highlight detail) onto the lighter image. This will add the darker image as a new layer and
precisely register the two layers. You now have the two images superimposed.
If you want check the alignment, switch the Blend mode of the top layer to Difference.
With the Move tool active, you can use the arrow keys to nudge the layer one pixel at a
time. Switch back to Normal blend mode when you are satisfied the two layers are
precisely aligned.
The next step is to make a luminosity mask of the Background layer. Making a
luminosity mask is quick and easy in Photoshop. Alt-click (option-click on the Mac) on
the eye icon for the Background layer. This will turn off all of the other layers. Now press
alt+ctrl+shift+~ on the PC (option+cmd+shaft+~ on the Mac). The result is a luminosity
selection, which can be used as a mask that is black where the shadows are darkest, white
where the highlights are brightest, and gray for middle tones.
Alt-click (option-click) on the eye icon again. The visibility of the upper layer will be
restored. Click on the upper layer to make it the active layer and then select Add Layer
Mask | Reveal Selection from the Layer menu.
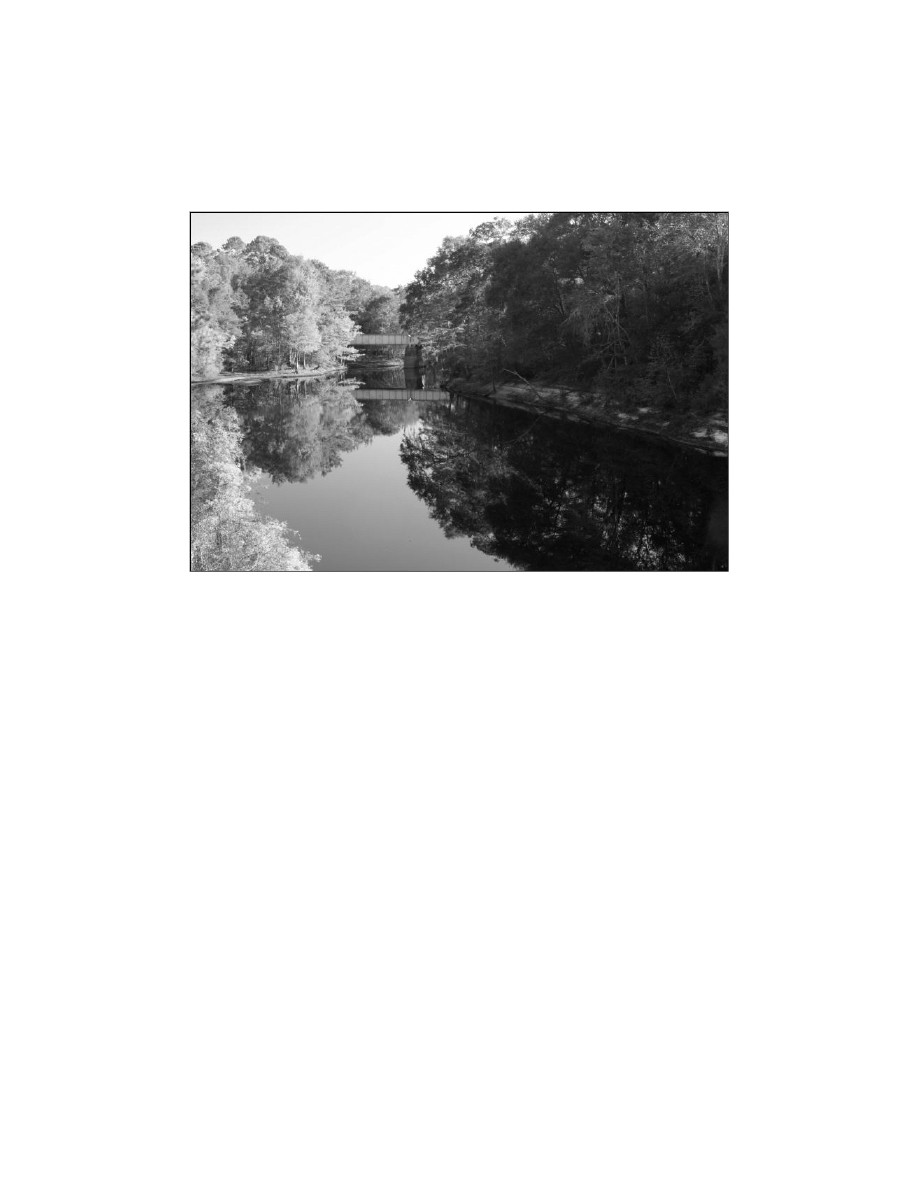
You should see immediate improvement in the image. The darker highlights from the
upper layer replace the brighter highlights from the Background layer, while the darker
shadows from upper layer are blocked by the mask, allowing the lighter shadows from
the Background layer to punch through. Here is an example of the upper layer with the
Background layer visibility turned off.
Figure 3. The darker layer with a luminosity layer mask from the brighter layer.
We can do better. We can adjust the mask -- sans the Brush tool. Start by alt-clicking
(option-clicking on the Mac) on the thumbnail for the layer mask. This will make the
mask visible. One of the great features of Photoshop is that you can use the various image
editing commands and even filters on layer masks and channels.
Figure 4. Layer mask created from the Background layer.
To get a seamless blending of the two images, we need to apply a Gaussian Blur to the
layer mask. The idea is to apply enough of a blur to obscure the details but not so much
blur as to create halos. For the mask in Figure 5, I used a Gaussian Blur of 8.5 pixels.
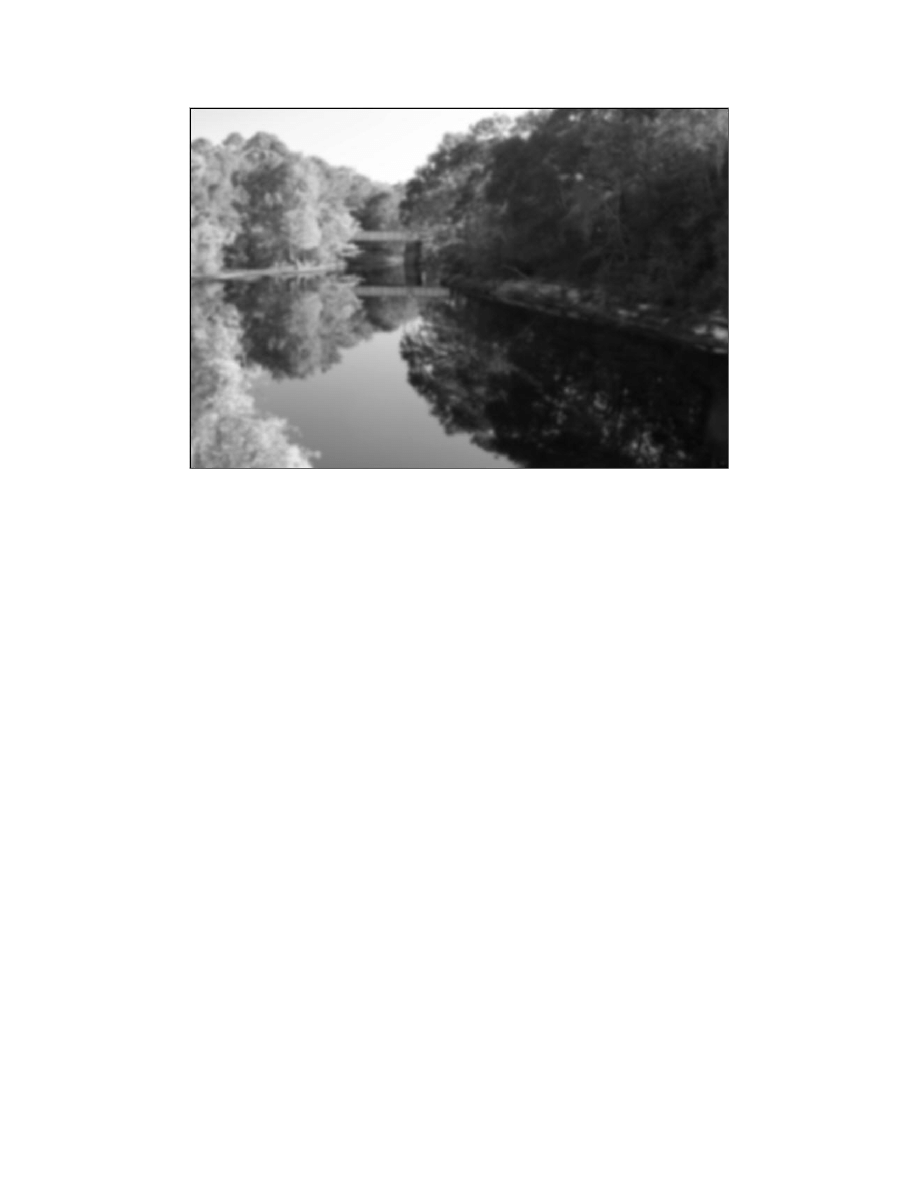
Figure 5. Layer mask after applying a Gaussian Blur.
You can see the result of your blend by clicking on the icon on the top layer for the
image. Figure 6 shows considerable improvement over the original images.
You can quickly adjust the blend between the two images by applying a Levels or Curves
adjustment. I find Levels works well. After making sure that the layer mask is still
targeted, sliding the Gamma slider (the middle input slider on the Levels dialog) to the
right to adjust the middle tone contrast will brighten the shadows. Sliding the same slider
to the left will darken them.
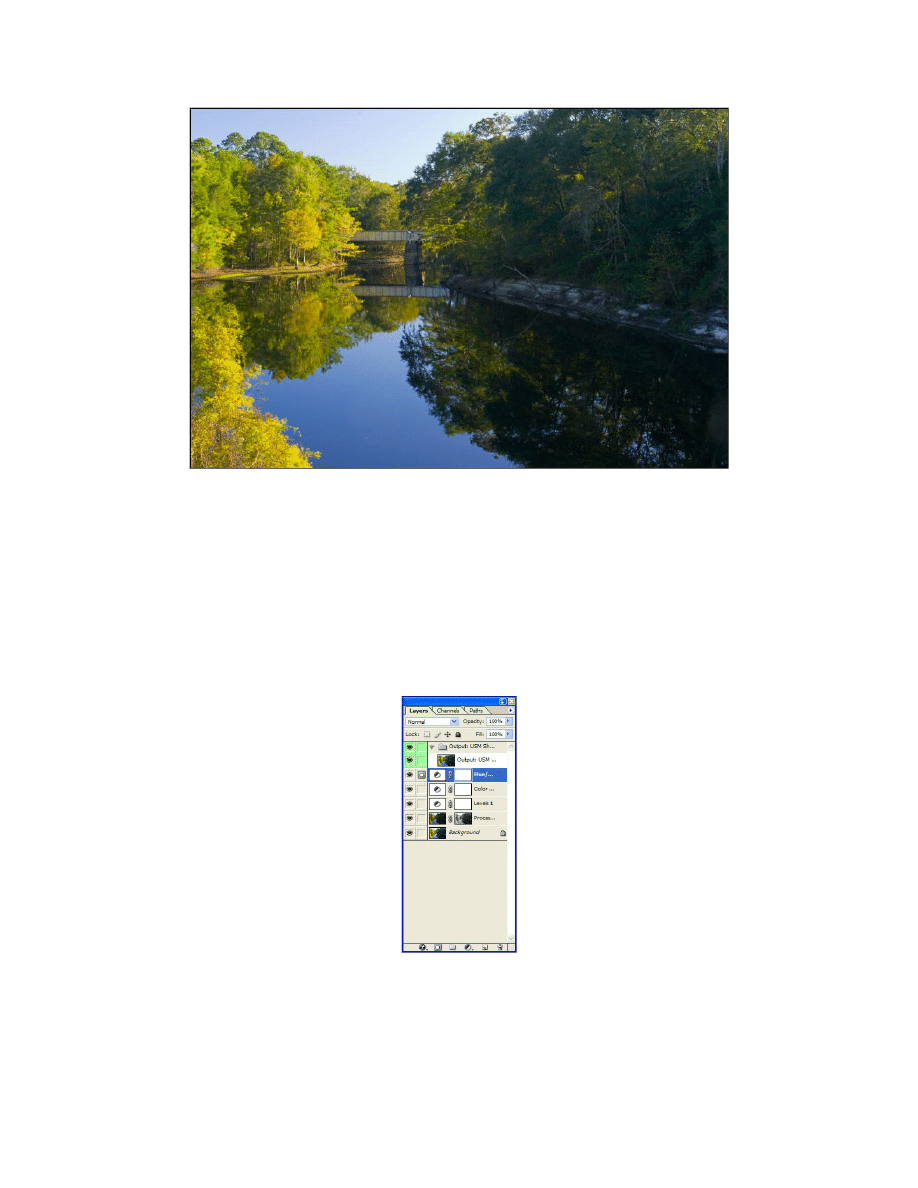
Figure 6. The blended image. Shadow details and a blue sky.
All that remains is to adjust the image like any other photo. Figure 7 shows the Layer
palette for the final image. A Levels adjustment layer added contrast and brightened the
shaded features along the right bank of the river. A Color Balance adjustment layer
cooled the image a little. I still wanted the warmth of early morning light, but decided to
tone it done a bit. A +10 saturation tweak added a little “pop” to the image. I used my
own TLR Sharpening Toolkit to sharpen the image. In this case, it was a plain and simple
USM sharpening at 300, 0.7, 0. No edge mask or anything fancy.
Figure 7. Layers palette for the final image.
The final image shows nice dynamic range. There is plenty of detail in both the highlights
and the shadows. A single exposure would not capture both the blue sky and the green
vegetation along the right bank of the river. Something would have to give: sky or shade.
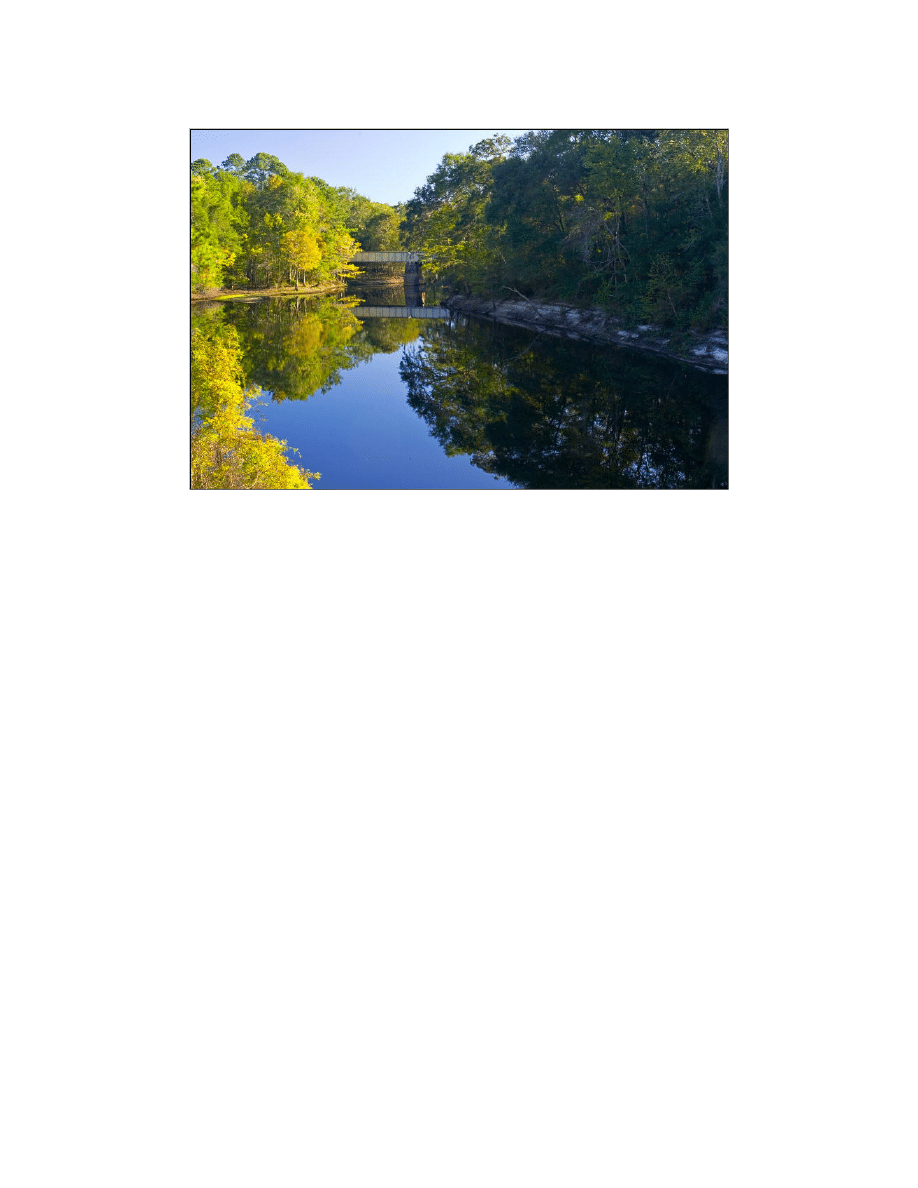
Figure 8. The image after global adjustments for contrast, color balance, and saturation.
Give It A Try!
Photoshop provides lots of options for photographers. Typically, there is more than one
way to accomplish the same task. Lots of options can be very bewildering, especially
when you are new to digital photography.
Previously, I used the Blend If sliders on the Layer Style palette to blend two images
together. It is an alternative to the technique described here, but one that is more
complicated to explain and one that takes more time to finagle the settings. You can make
a mess quickly with the Blend If sliders, too. In my experience, using a luminosity mask
and a Gaussian Blur works as well or better, and it does the job quickly.
To recap . . .
1. Start with two images: one the preserves shadow details and another that
preserves highlight details. Two bracketed shots are better than using a single
RAW image.
2. Use the Move tool to copy the darker image (the image that preserves highlight
details) onto the lighter image (the image that preserves shadow details). Use the
Shift key as you drag-and-drop the image and the two layers will be aligned.
3. Make a luminosity mask from the Background layer. You need to turn off the
visibility for the upper layer and press alt+ctrl+shift+~ (option+cmd+shift+~) on
the Mac. The make the top layer active and add a Reveal Selection layer mask.
4. Alt-click (option-click) on the layer mask to display it. Apply a Gaussian Blur to
obscure details. You can use Layers or Curves to brighten/darken the shadows.

The technique takes just a minute or two – literally! When you encounter a scene with
very high contrast, simply use auto-bracketing and expose separately for the shadows and
the highlights. Then when you get back from the field, use Photoshop to blend the
exposures together better than you ever could, even with a fist full of expensive
graduated neutral density filters.
Wyszukiwarka
Podobne podstrony:
więcej podobnych podstron