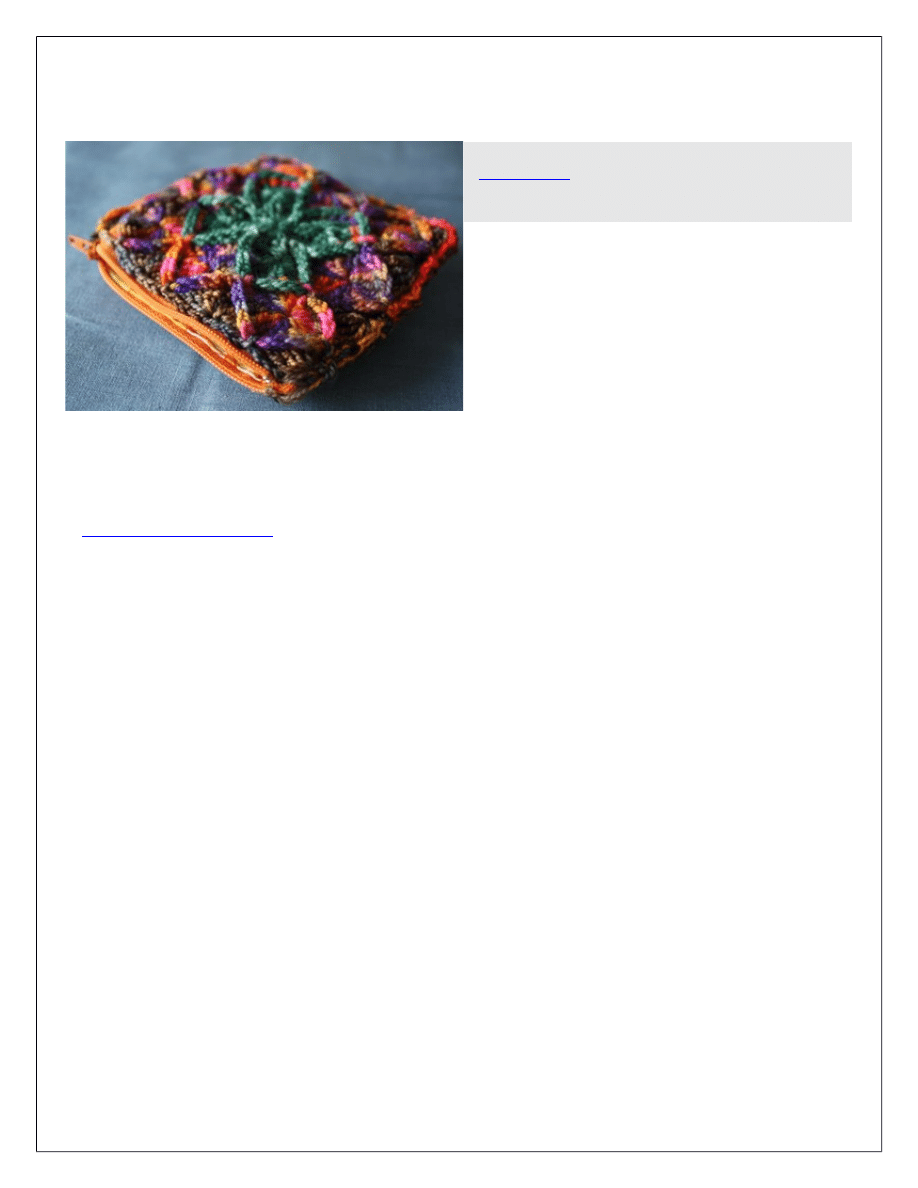
Mini Pouch
by Ivete Tecedor
Finished Measurements
Approximately 4.5” square
Materials
weight yarn
US #F/3.75mm crochet hook
Tapestry needle
For lining:
2 4.5” square pieces of cotton fabric
1 non-separating zipper
Sewing Thread
Pins
Abbreviations & Special Stitches
BTF – back to front (insert hook from the back
of the work, then go around the stitch stem
you are working on to grab the yarn, then
work stitch as normal)
ch – chain
cluny group – leaving last loop of each stitch
on the hook, work 4 dtr. Yarn over and pull
yarn through remaining loops to close.
BTF cluny group – same as a cluny group, but
each dtr is worked in the BTF manner
dtr – double treble (wrap yarn around hook
twice)
RS – right side
sl st – slip stitch
WS – wrong side
step-by-step wooleater photo tutorial
Directions
Wooleater Square (make 2):
With color A, ch 6, join with sl st to form a
ring.
Round 1: * Ch 5, work 4-stitch cluny group
into ring, ch 5, sl st into ring. Repeat from * 3
times more.
Round 2: * Ch 2, work 12 dtr into the top of
the cluny group, ch 2, sl st into sl st in
previous round. Repeat from * 3 times more.
Cut A.
With color B, join yarn between any 4
th
& 5
th
dtr.
Round 3: * Ch 5, work 4-stitch BTF cluny
group over next 4 dtrs, ch 5, sl st between 8
th
and 9
th
dtr of previous round, ch 5, work 8-
stitch BTF cluny group over next 8 dtrs, ch 5,
sl st between the 4
th
and 5
th
dtr of the next
12-dtr group. Repeat from * 3 times more.
Round 4: * Ch 2, work 12 dtr into the top of
the cluny group, ch 2, sl st into sl st of the
previous round, ch 2, work 8 dtr into the top
of the next cluny group, ch 2, sl st into sl st of
the previous round. Repeat from * 3 times
more. Cut B.
With color C, join yarn between any corner's
4
th
& 5
th
dtr.
Round 5: * Ch 5, work 4-stitch BTF cluny
group over next 4 dtrs, ch 5, sl st between 8
th
and 9
th
dtr of previous round, (ch 5, work 8-
stitch BTF cluny group over next 8 dtrs) 2
times, ch 5, sl st between the 4
th
and 5
th
dtr of
the next 12-dtr group. Repeat from * 3 times
more. Cut C.
Copyright © 2012 Ivete Tecedor, all rights reserved.
May not be reproduced or distributed in any form without prior written permission.
www.chiagu.com
Mini Pouch
Page 2
Join squares:
With color D, join yarn with sl st at any corner
of one square.
Hold second square against first square, WS's
together, and work one sl st into same spot on
second square. Then sl st into first square,
then second square, etc. You should end up
with a row of sl st's along the outside edge of
the squares, which end up connected.
Continue in this manner around 3 of the 4
sides, leaving 4
th
side open.
Lining:
Cut zipper down to approximately 5” in
length.
Place zipper WS up on a surface.
Take one fabric square and place it RS up on
the zipper.
At zipper side, fold approximately 1/4” of
fabric down and to the back, and pin in place
to zipper:
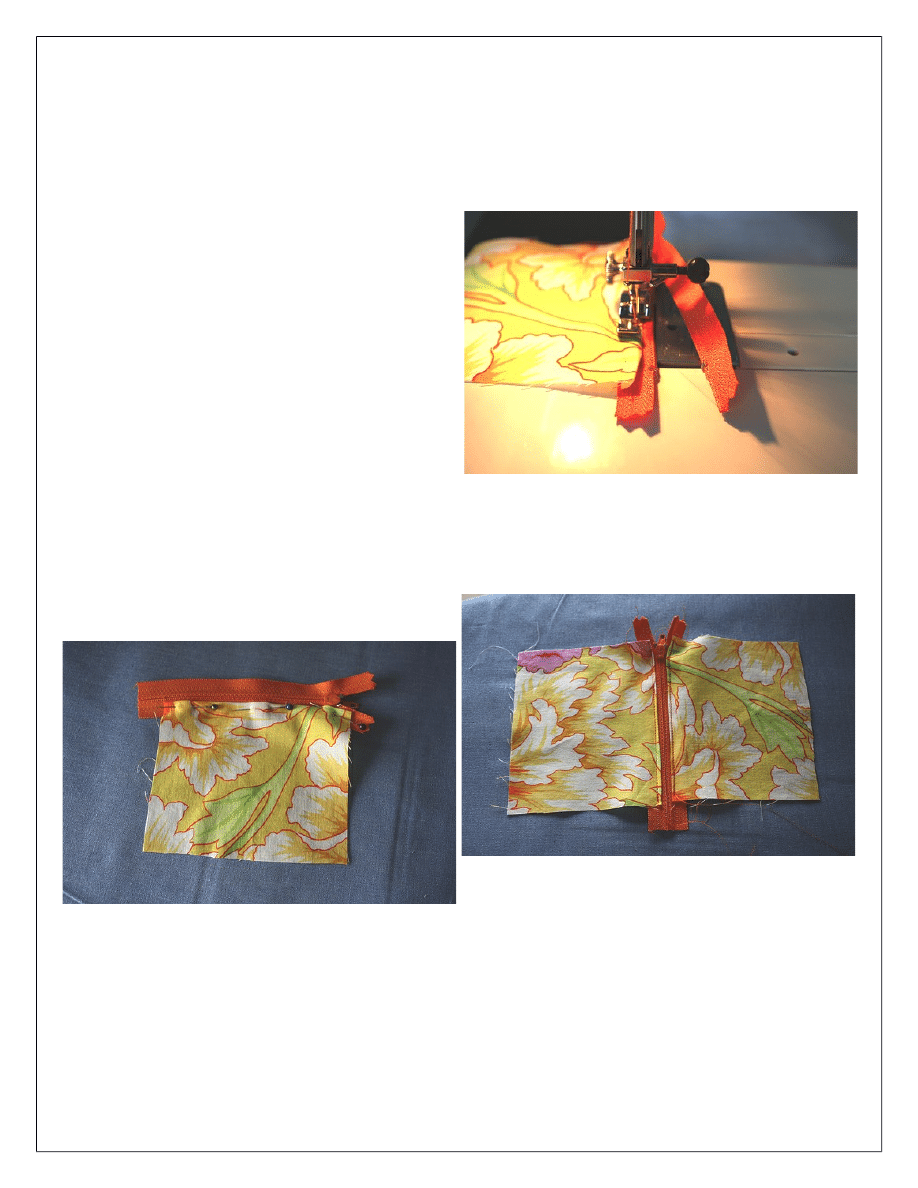
With zipper foot, sew down this edge, sewing
close to the fold. Be sure to back-tack at
beginning and end.
Tip: To get this seam straight, sew to the
zipper, then open the zipper to move it to the
section that has already been sewn, then sew
the open section. Here's a picture:
Repeat for other side of zipper with other
fabric square.
Your lining should now look like this:
Copyright
©
2012 Ivete Tecedor, all rights reserved. www.chiagu.com
Mini Pouch
Page 3
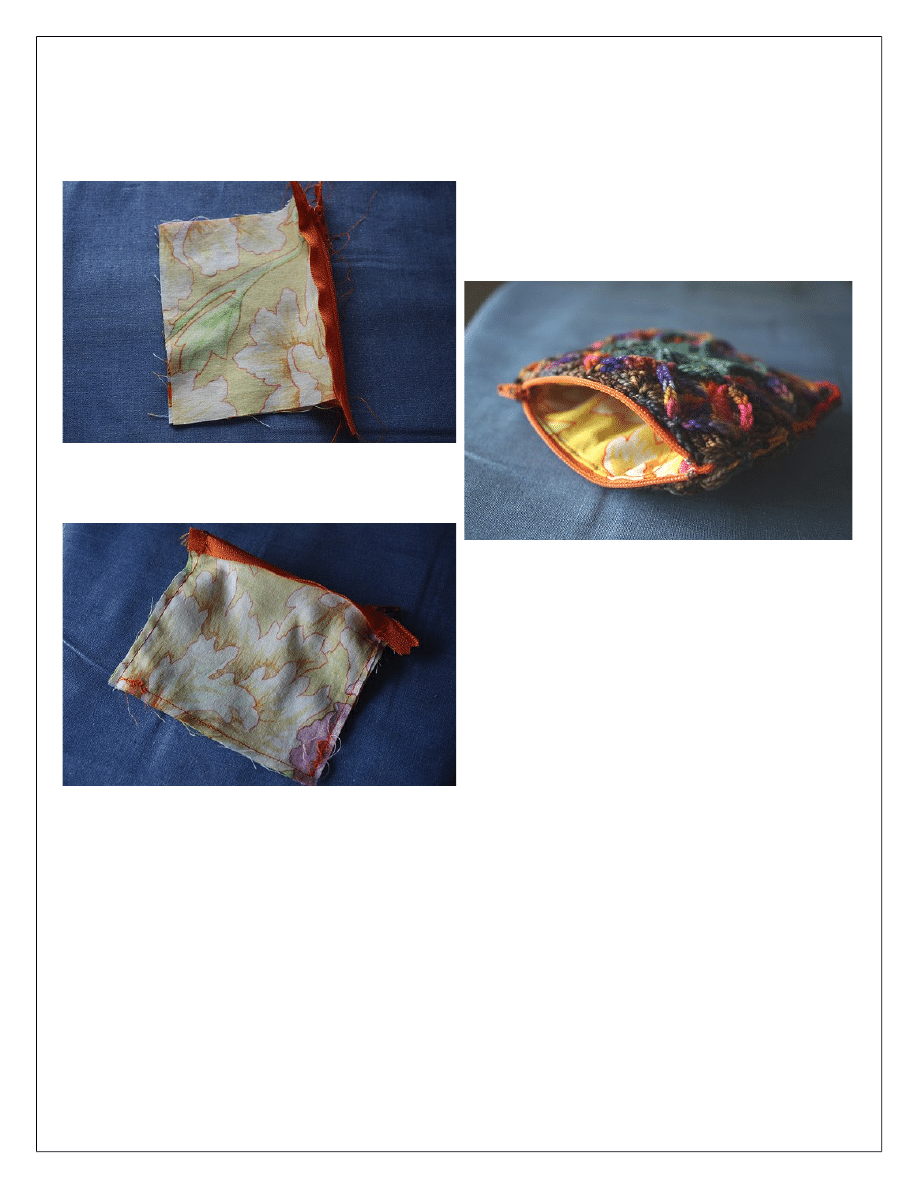
Fold lining in half at the zipper with fabric RS's
together:
Pin fabric in place and sew 1/4” seam all
around, back-tacking at beginning and end:
Trim excess zipper fabric from ends.
Finishing:
Weave in yarn ends.
Stuff lining inside wooleater pouch. Feel free
to squish the lining in there, it doesn't need to
be neat.
Pin top edge of wooleater pouch to the zipper
fabric. Hand-sew crocheted fabric to zipper
fabric.
After all sewing is finished, use your fingers to
smooth the lining out inside so that it lays
flatter. Again, it doesn’t need to be perfect to
work.
Fill pouch with cable needles and Chibis and
enjoy!
Copyright
©
2012 Ivete Tecedor, all rights reserved. www.chiagu.com
Wyszukiwarka
Podobne podstrony:
więcej podobnych podstron