Tabletop Mushroom Cultivation
Alson Sears, D.V.M.
Christopher Keller
This manual was written to provide interested individuals, particularly school children, a
means to study mycological production easily and economically. It provides the general
information needed to grow mushrooms without the substantial expense of buying larger
publications and material.
The manual was written in the style of the kitchen culture kit by Carol M. Stiff. Originally it
was to serve as a addition to her culture kits or CD, thus the techniques for sterility in her
manual should be used and followed..........Al Sears

TABLE OF CONTENTS
Making agar and pouring plates
Soaking and fruiting mushrooms
Copyright 1999 - A.W. Sears and C. Keller - All Rights Reserved
Carol M. Stiff - Webmaster/Editor
Disclaimer: Kitchen Culture Kits, Inc. has provided webspage for the publication but is not responsible
for its contents. Please follow directions closely and adhere to all safety rules

Tabletop Mushroom
Cultivation
Alson Sears, D.V.M.
Christopher Keller
Making Media and Pouring Plates
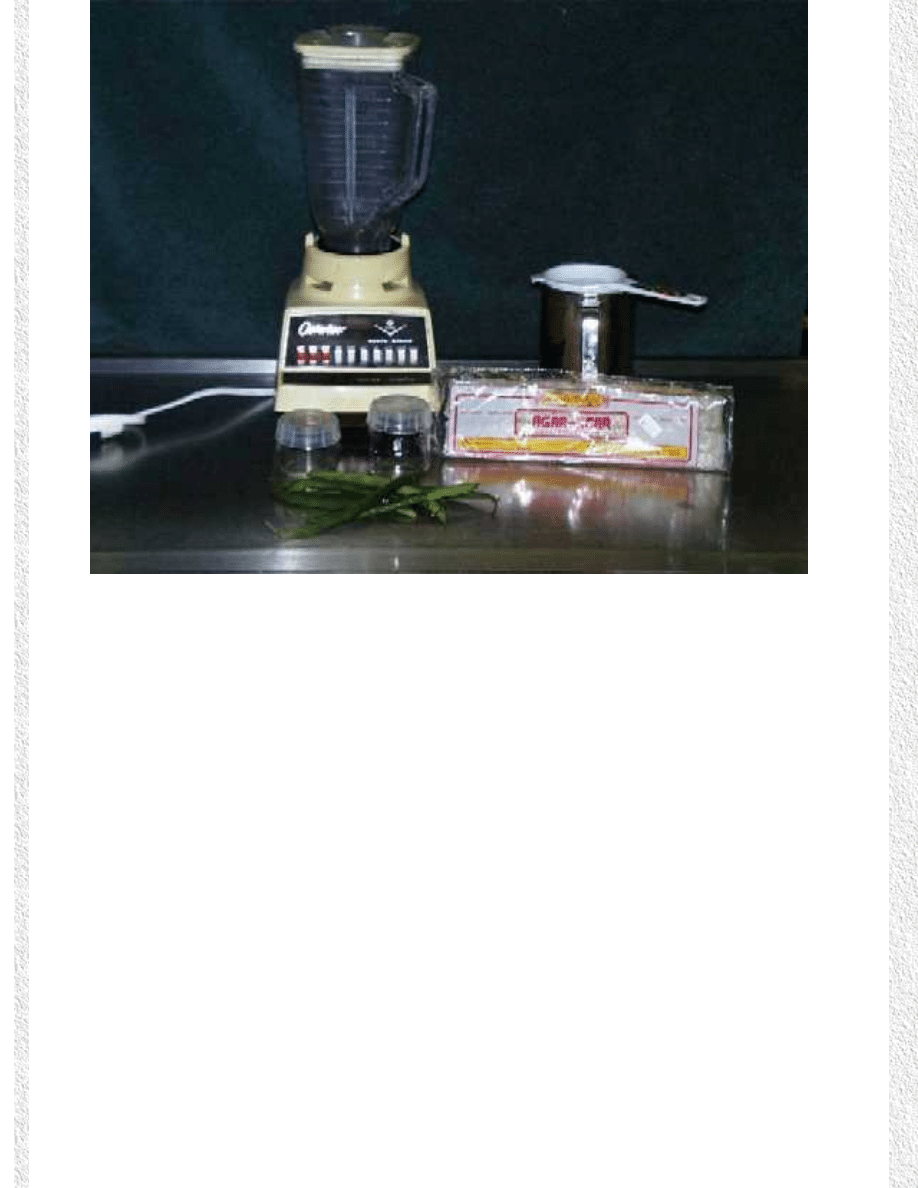
Materials Needed
1.
Fresh green string beans. Purchased at any grocery store. You will need about 1/8
th
of a
pound.
2.
Agar (use soup agar 10 grams per 2 bars) This can be purchases in any Philippine or
Japanese grocery store.
3.
One cup of tap water (heated to boiling)
4.
Blender
5.
Strainer
6.
Glass or microwave safe containers to hold media
7.
Petri plates. Any size will work; however, the easiest to work with are the smaller ones.
(50mm X 9mm).
8.
Small pot
Procedure
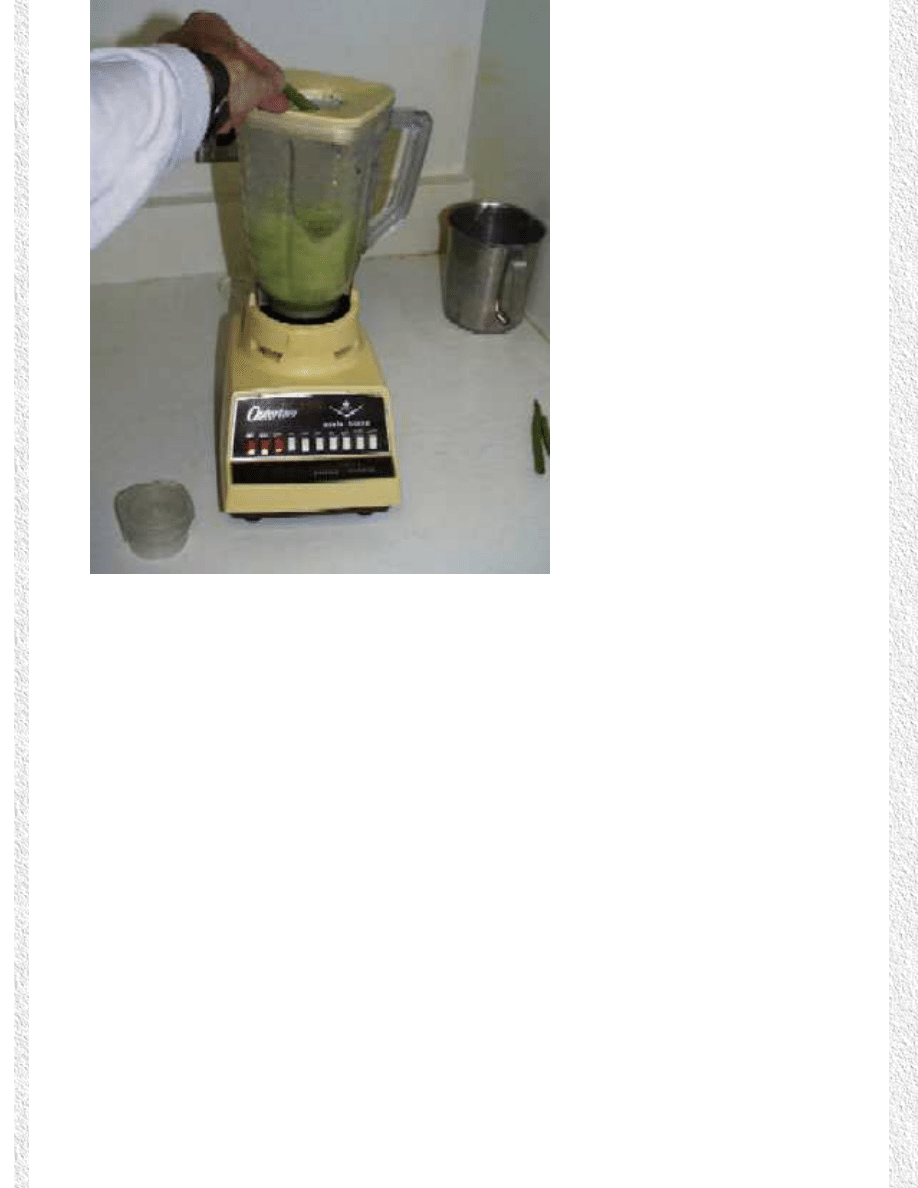
1.
Into blender add 1 cup boiling water and green beans. Turn blender on to highest setting
and let run for 5 - l0 minutes. The goal is to liquefy all of the beans.
2.
Pour the mixture through the strainer. This will remove any of the large pieces of bean.
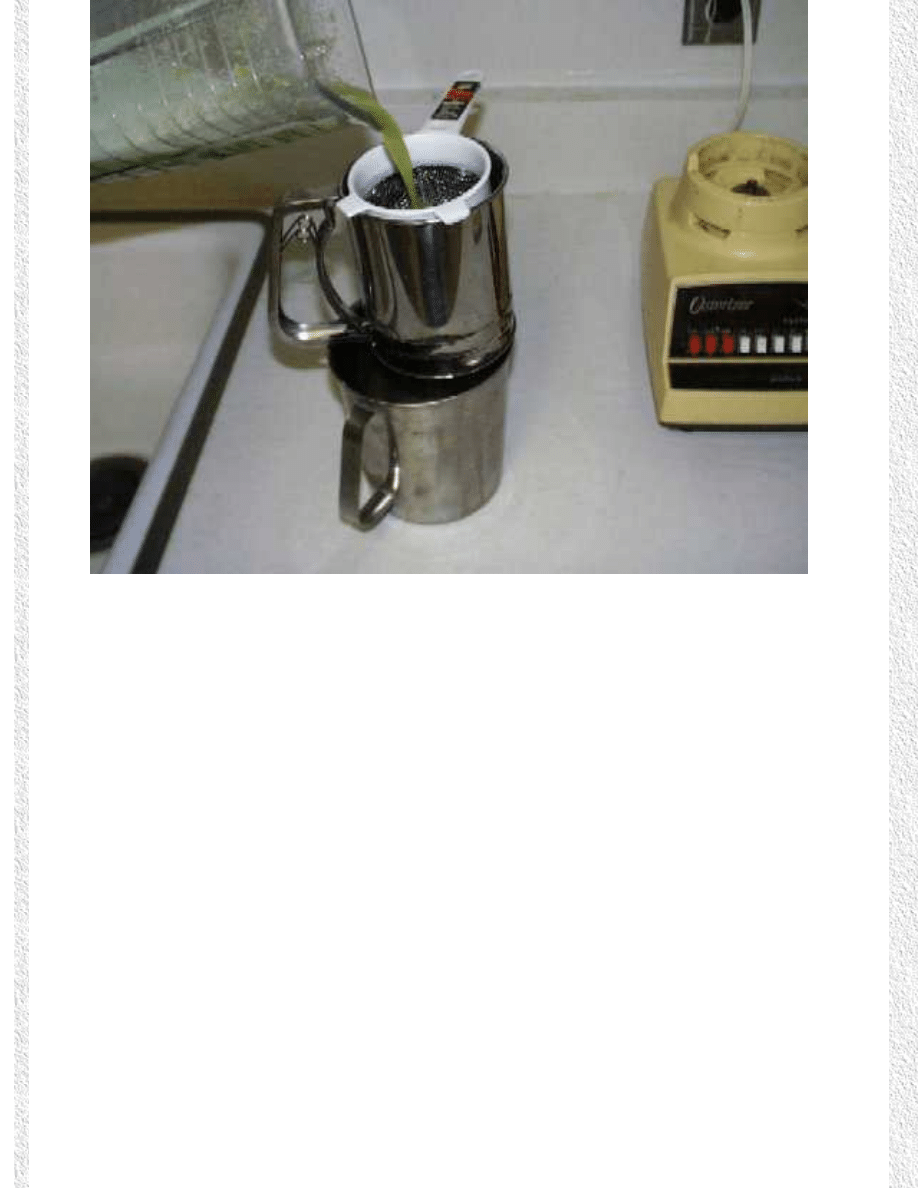
3.
Add more water to make solution 1 cup again.
4.
Place mixture in a pot on stove top and bring to a light boil.
5.
Add approximately ¾ of a bar of agar (approximately 4 grams) and continue to boil until
agar dissolves.
6.
Pour the solution into a microwave safe containers, cover and place in microwave. Also
place 1 - 2 liters of water in a separate container in the microwave to prevent the solution
from boiling over.
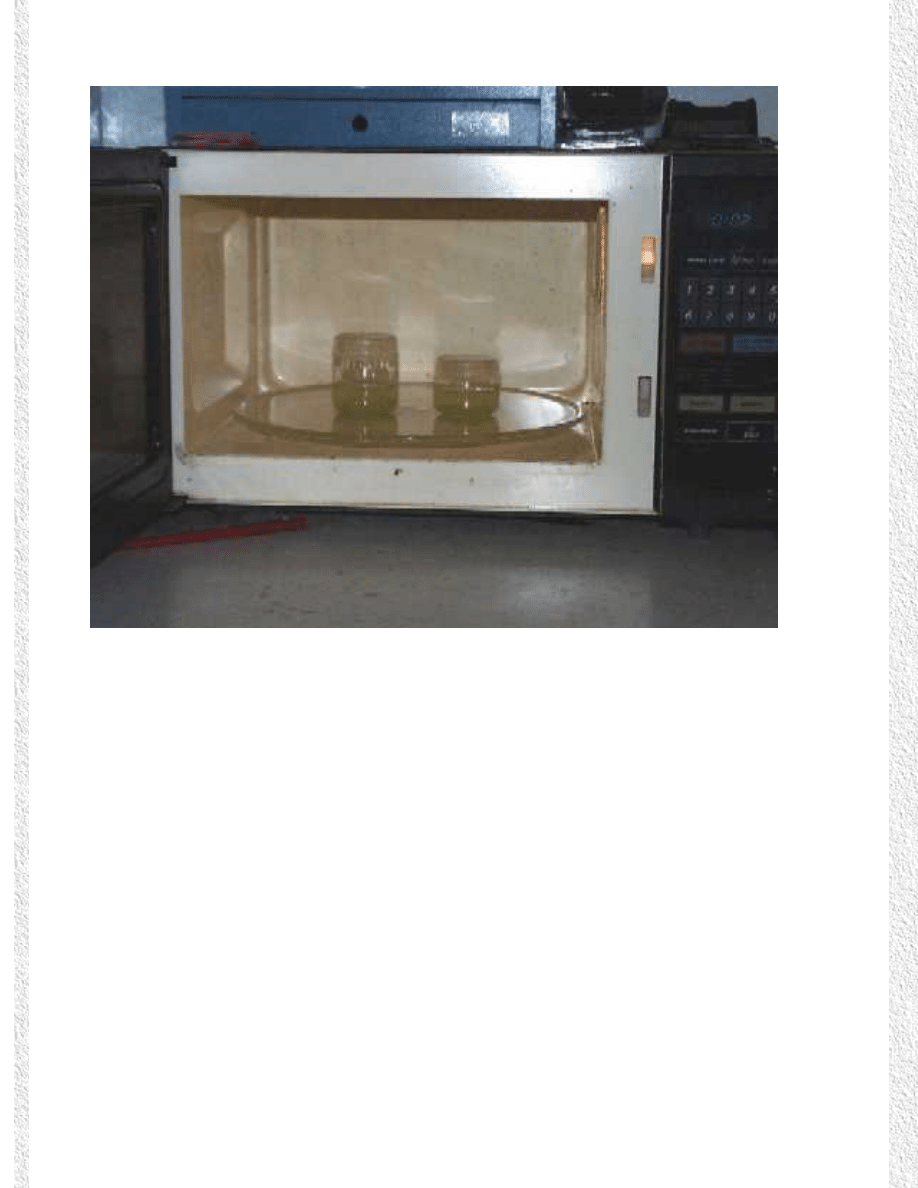
7.
Bring the media to a boil in microwave. As soon as the media begins to boil turn off the
microwave. Let the media cool for 4 hours.
8.
Repeat the boiling process after the 4 hours of cooling.
9.
Allow media to cool until mixture is warm to touch, however, not solidified. Add 0.5 cc of
Gentamicin Sulfate per 10 cc of solution (1.5 cc per cup)
10.
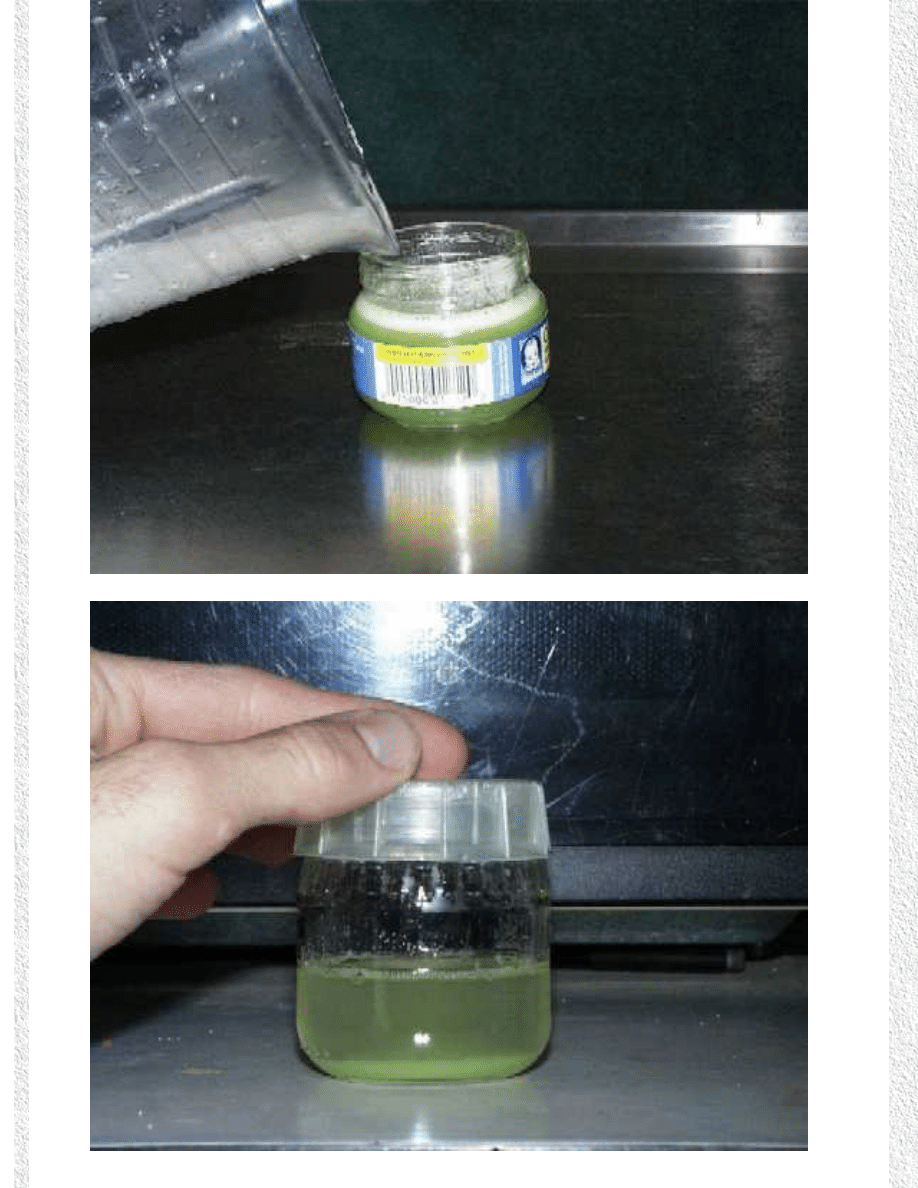
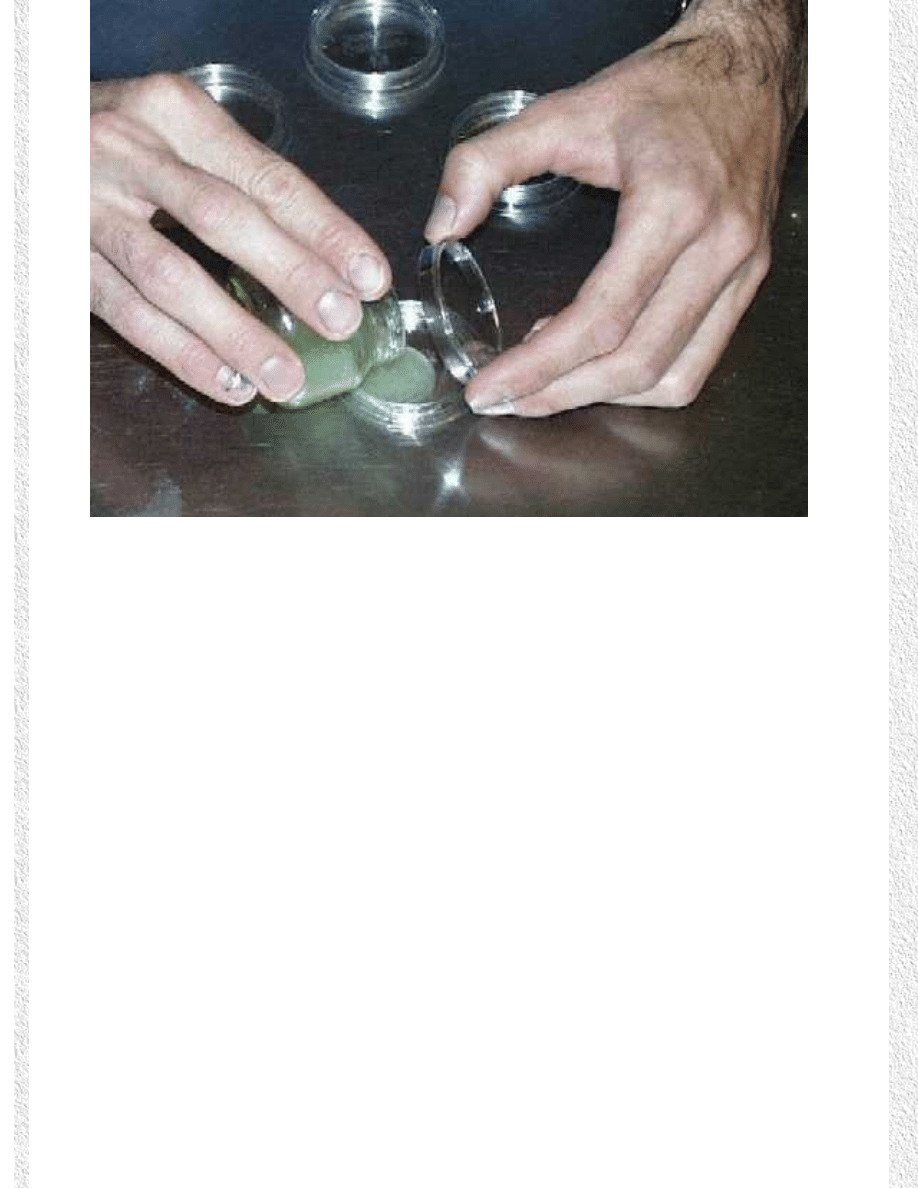
After Gentamicin is added and mixed (mixing is accomplished by swirling solution in
containers), pour the media into the culture plates. Lift the lid of the culture plate only as
much as necessary to all for pouring of solution. Immediately replace lid. Only fill bottom
portion of culture plate 2/3 of the way.
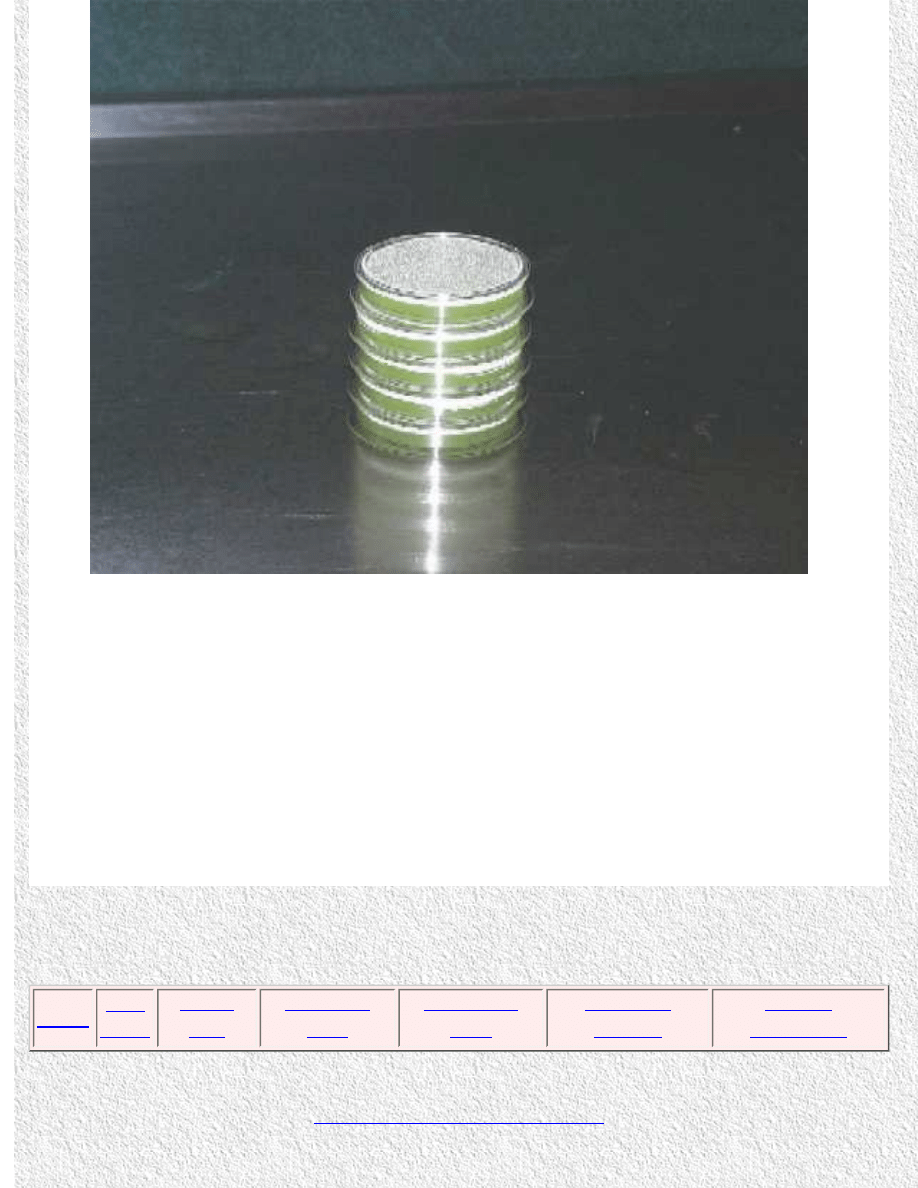
11.
Stack the culture plates as you go (i.e. place the next plate to be poured on top of the
one just finished) This prevents condensation from the warm media to collect on the lid
and obscuring the view of the plate.
DO NOT MOVE THE PLATES FOR SEVERAL HOURS, UNTIL THE MEDIA HAS
BECOME SOLID!
REMEMBER TO POUR THE MEDIA IN A LOW TRAFFIC AREA TO PREVENT
ACCIDENTAL BUMPING OF THE PLATES.
12.
Excess media may be discarded, or stored in the refrigerator in airtight containers.
Copyright 1999 - A.W. Sears and C. Keller - All Rights Reserved
Tabletop Mushroom
Cultivation
Alson Sears, D.V.M.
Christopher Keller
Making the Spore Print
Materials Needed
1.
Fresh oyster mushrooms (Pleurotus variety), Can be found at most grocery stores.
2.
Dark colored paper.
3.
Glass cup or bowl, large enough to cover the mushroom cap.
Procedure
1.
Remove the stem from the mushroom, so the mushroom will lie flat on the paper.
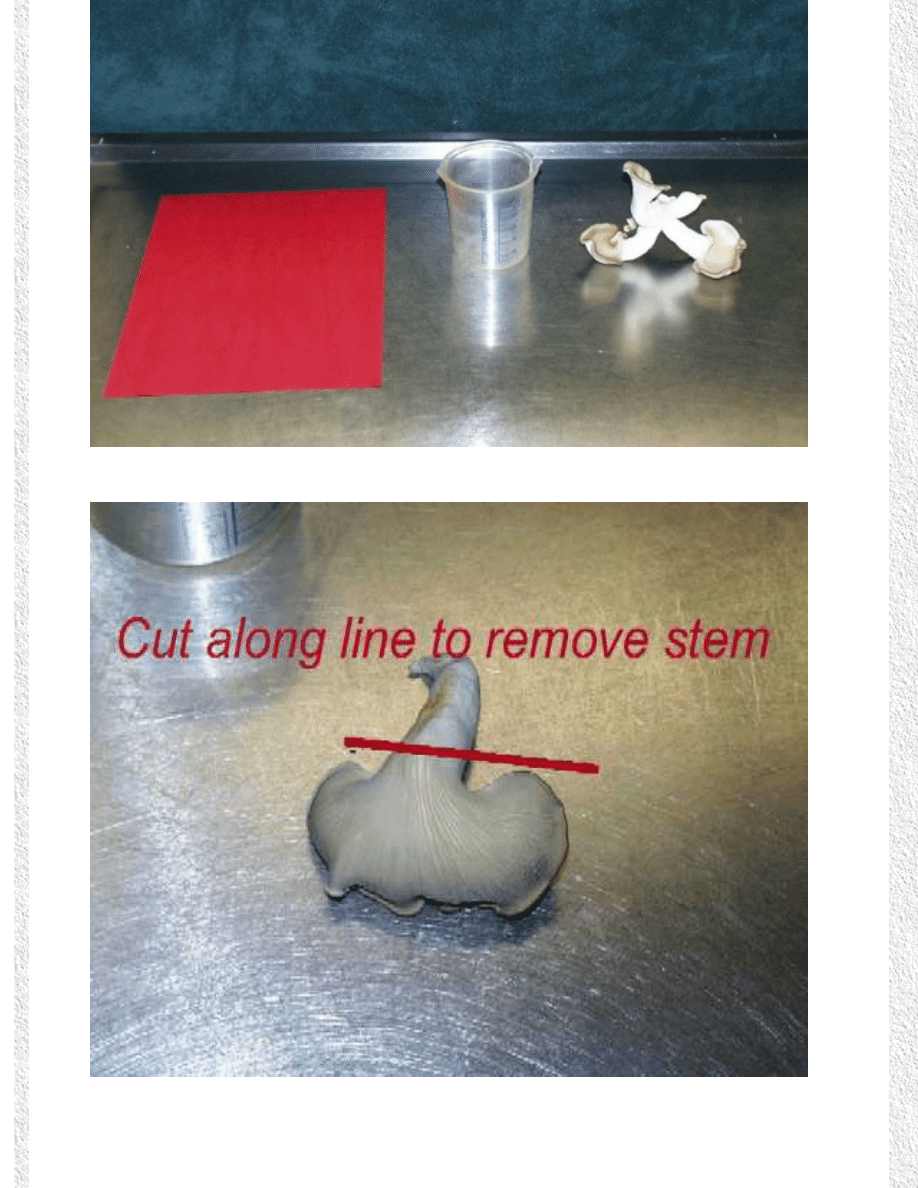
2.
Place the mushroom with the gills down onto the paper.
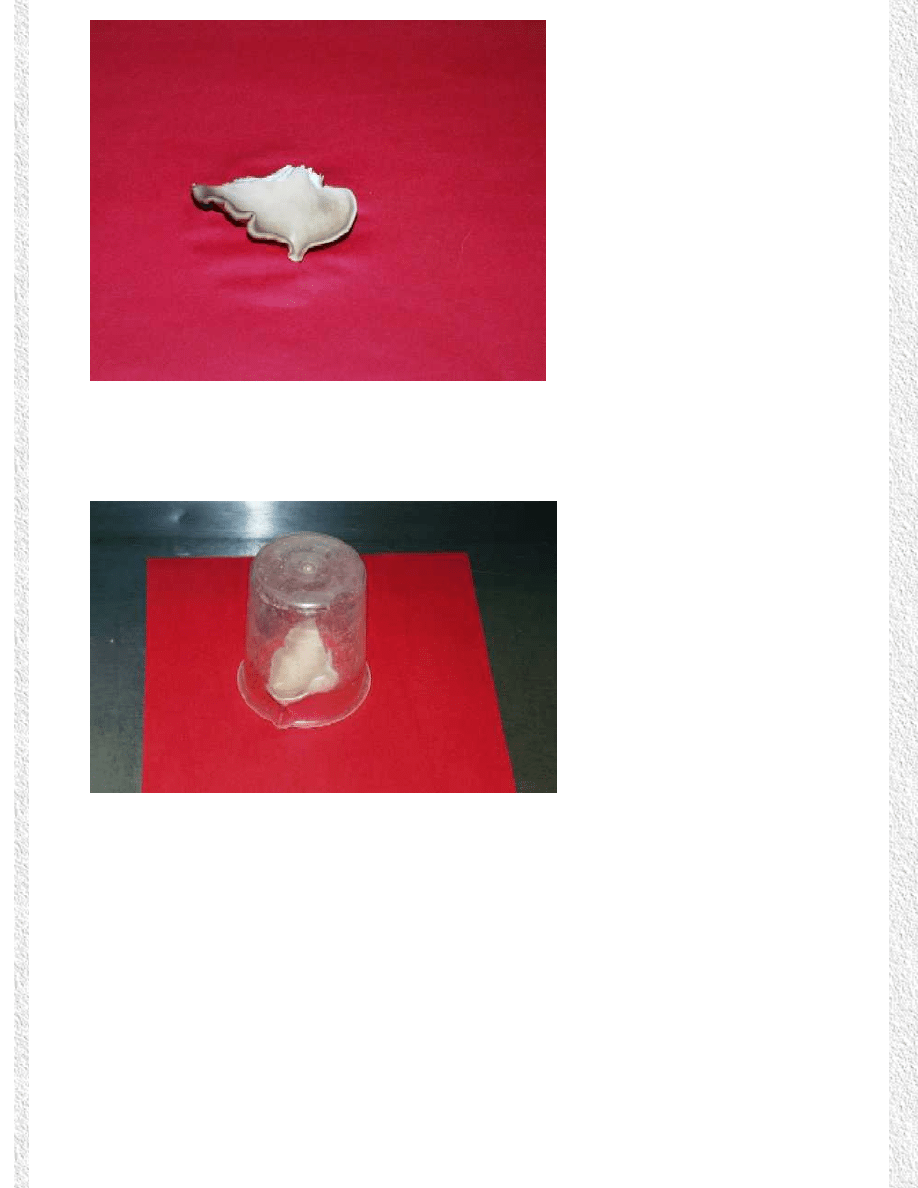
3.
Cover the mushroom with the glass or bowl.
4.
Place the entire setup in an area that will not be disturbed
(Or thrown in the garbage by
spouses that don't quite understand the fun of mushroom cultivation).
5.
Wait 1 - 2 days.
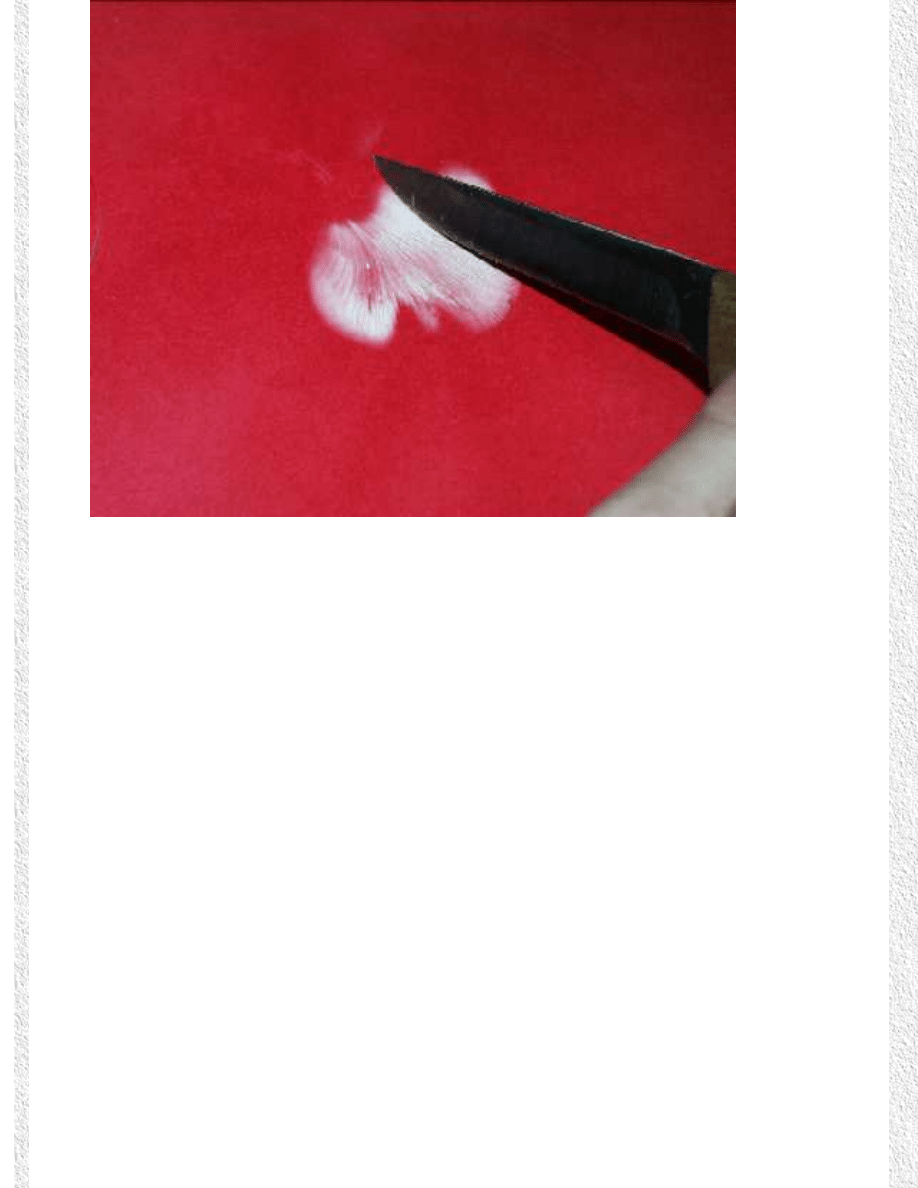
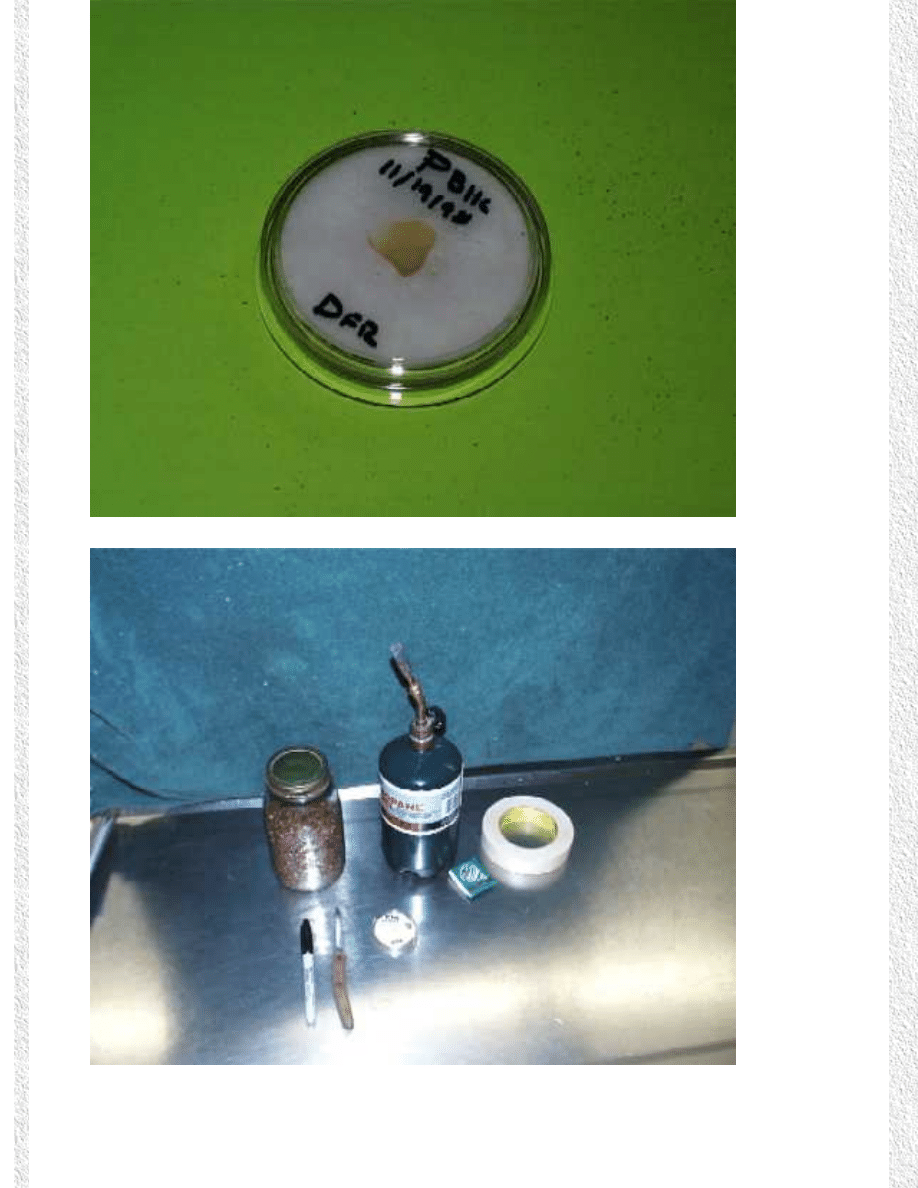
6.
Remove the cover from the mushroom and discard the mushroom, there should be a
white outline where the mushroom was, this is the spore print of the mushroom.
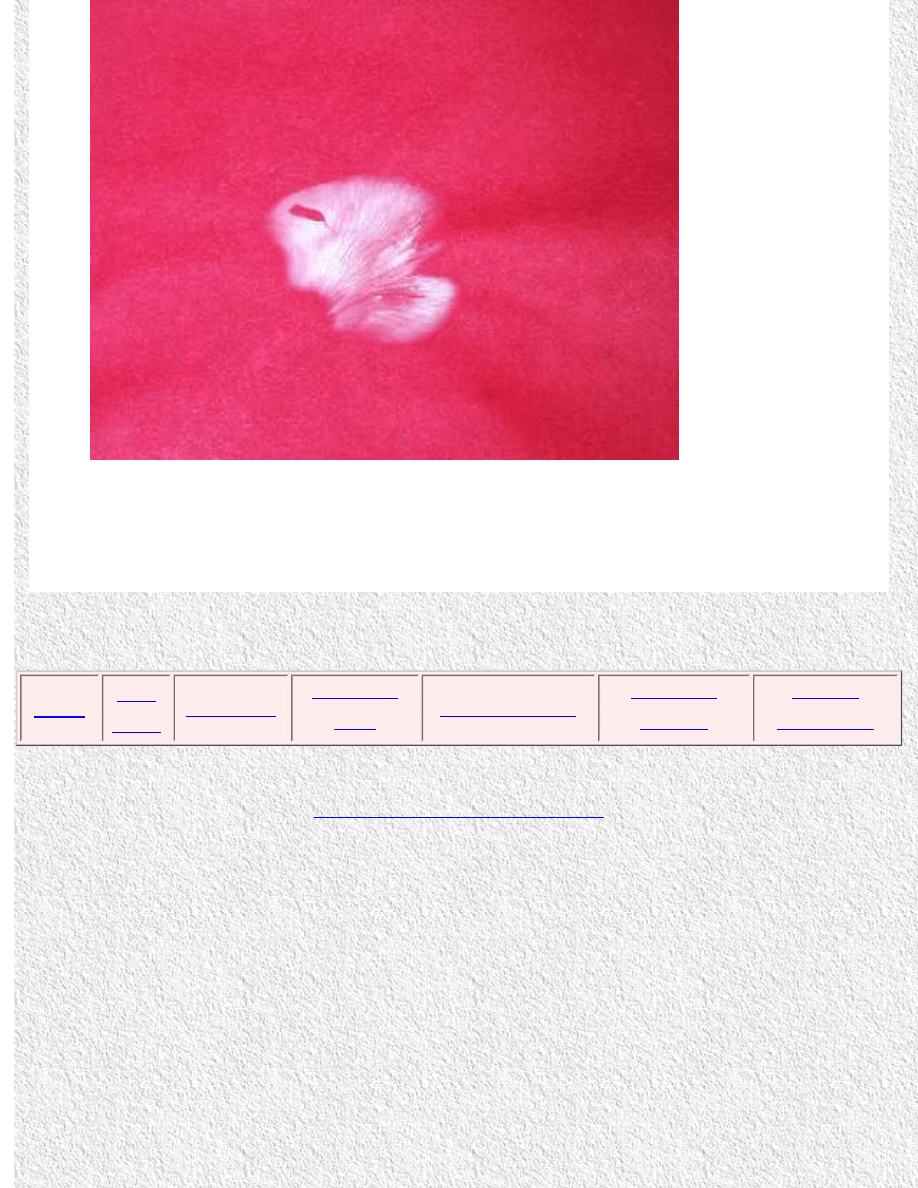
7.
Proceed immediately to placing the spores into culture plate, to avoid increasing the risk
of contamination.
Copyright 1999 - A.W. Sears and C. Keller - All Rights Reserved

Tabletop Mushroom
Cultivation
Alson Sears, D.V.M.
Christopher Keller
Inoculating Spores on Media
Materials Needed
1.
Culture plates made earlier.
2.
Spore print made earlier.
3.
Marking pen.
4.
Knife.
5.
Propane torch.
6.
Fire Extinguisher
Procedure
1.
Be sure to work in a clean, low traffic area to help prevent contamination.
2.
3.
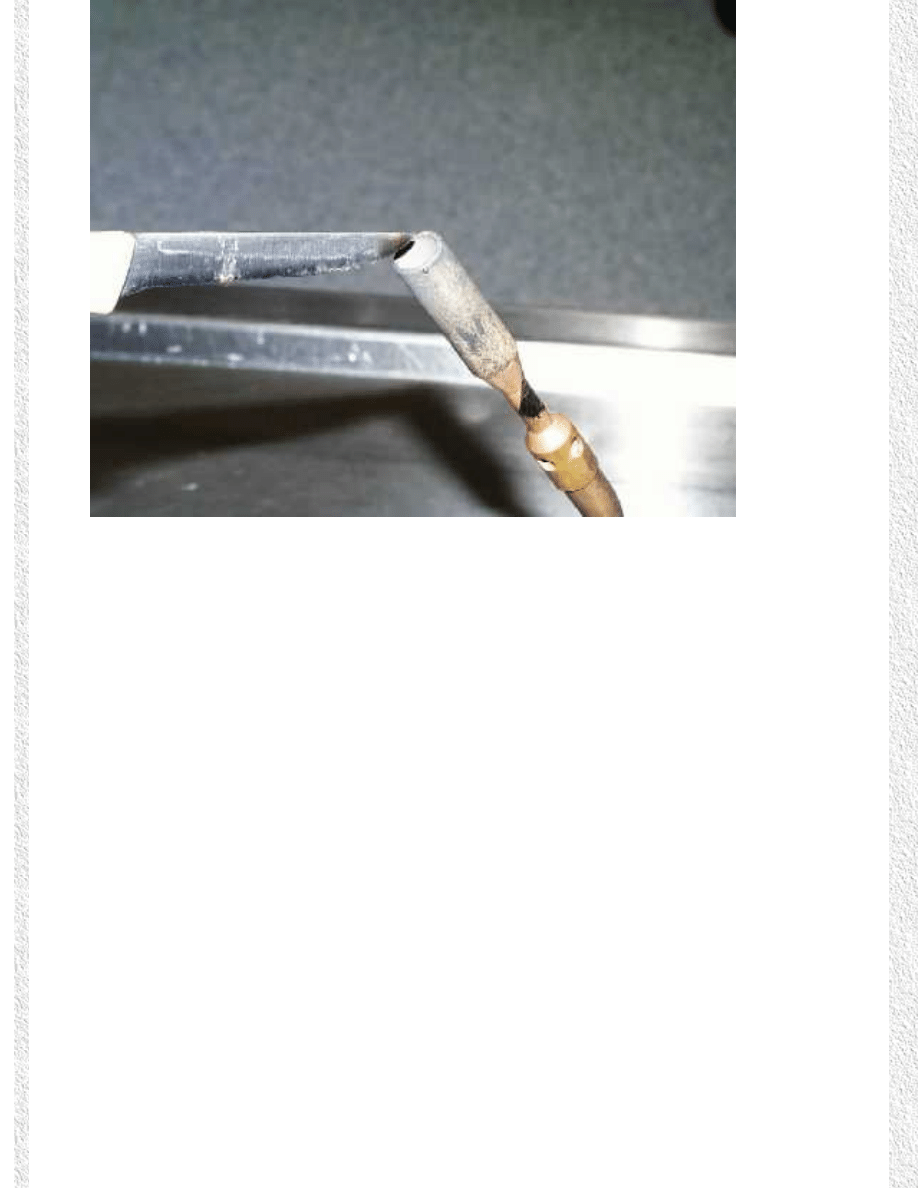
Light the torch and keep it at a low flame.
Extreme care must be taken when working
with this. Follow manufacturer's recommendations on safety.
4.
5.
Pass the knife over the flame until the tip becomes red-hot.
6.
7.
Allow the tip to cool, this may take a minute or two.
8.
9.
Gently scrape one small area of the spore print, try to just pick up the spores of the
mushroom on the knife and leave the paper fiber.
10.
11.
Carefully open one of the culture plates, just exposing enough of the inside of the plate
to enable the knife room to smear the spores over the surface of the media.
12.
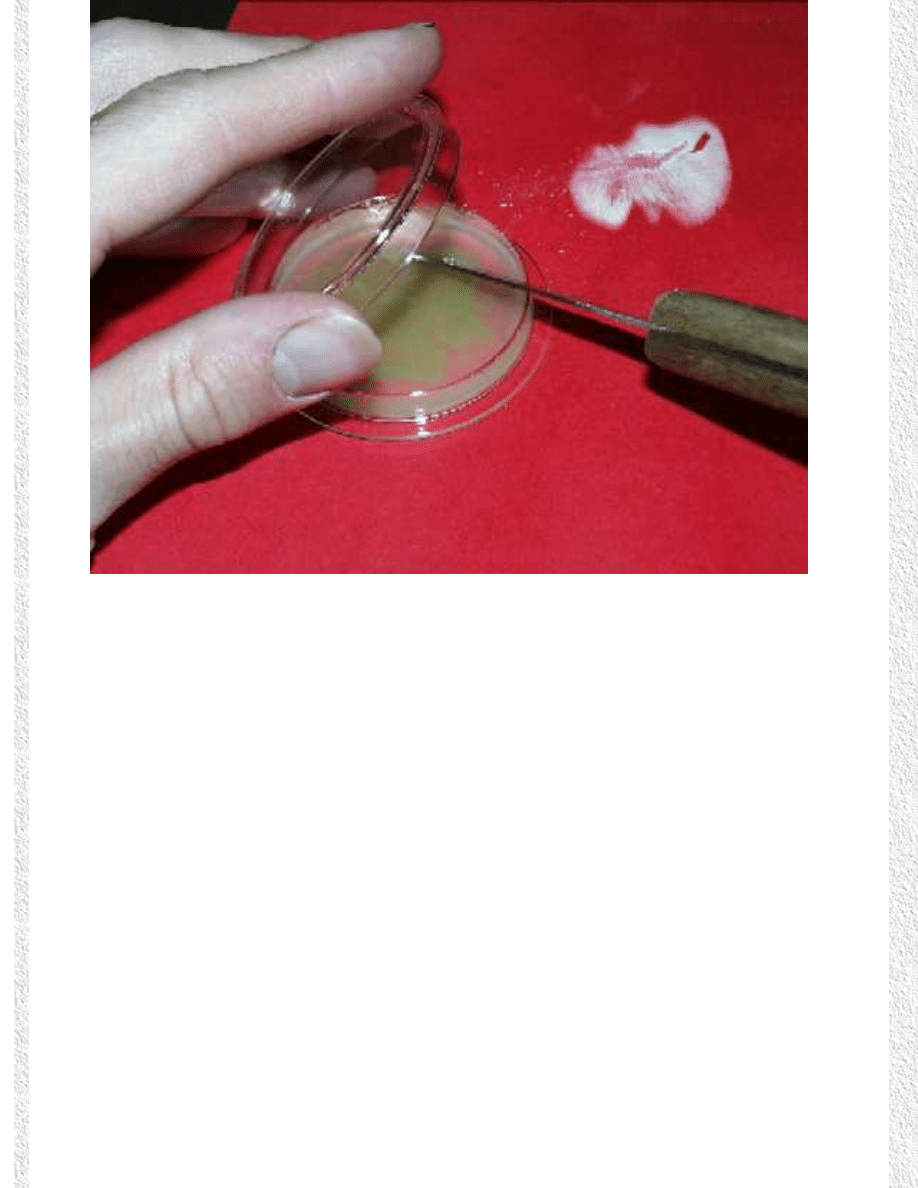
13.
Promptly close the culture plate tightly to avoid contamination.
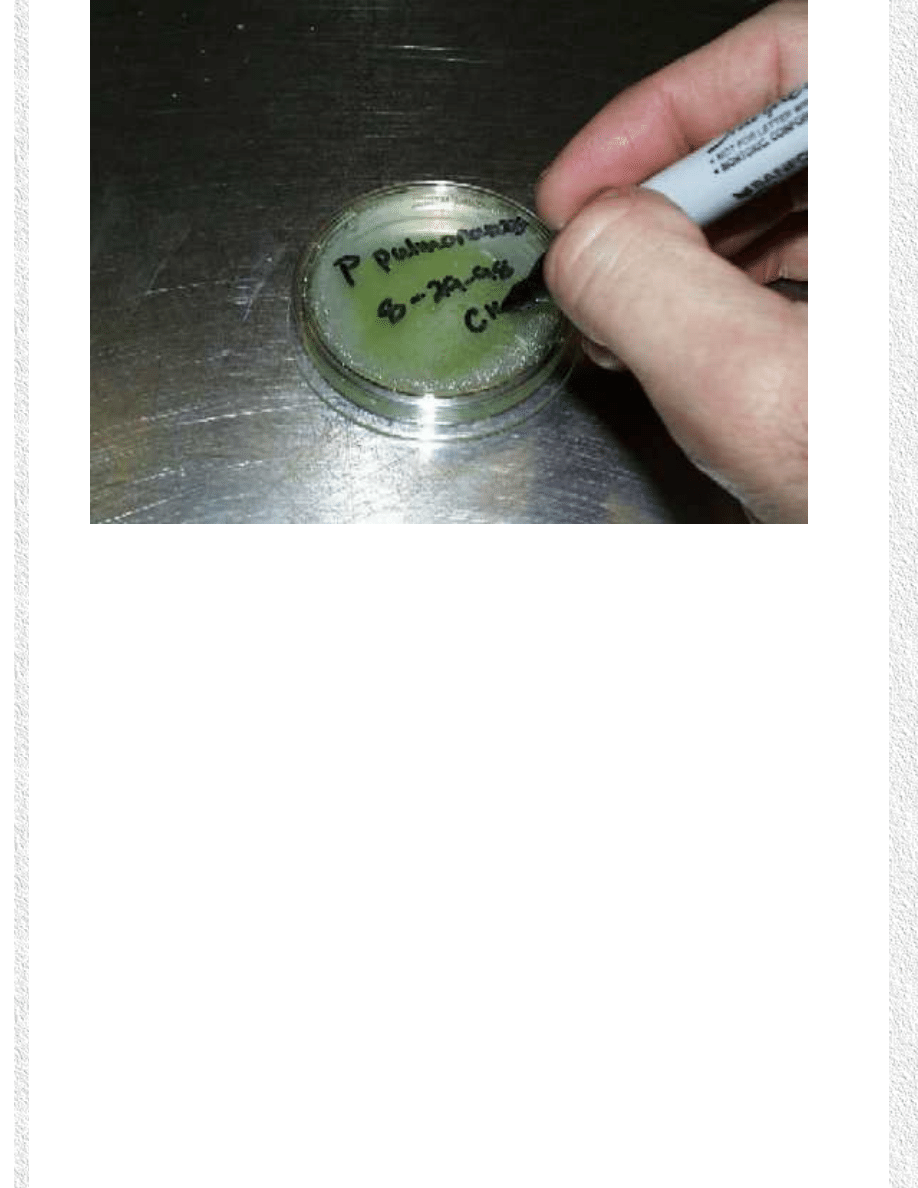
14.
15.
Label the plate with the mushroom type and the date.
16.
17.
Clean any excess materials off of the knife.
18.
19.
Repeat this procedure until you have the desired number of plates.
20.
21.
Place the plates in a warm dark location where they will not be disturbed
22.
23.
In several days, a white, stringy growth should begin to appear on the surface of the
media. This material is mushroom mycelium.
24.
Copyright 1999 - A.W. Sears and C. Keller - All Rights Reserved
Tabletop Mushroom
Cultivation
Alson Sears, D.V.M.
Christopher Keller
Preparing the Grain
Materials Needed
1.
Grain (rye grain works best, however wheat grain has also worked). Grain needs to be
fresh and dried. It can be purchased at health food stores and must contain no
fungicides. Approximately 8 ounces of grain for each quart jar will be required
2.
Seven ounces of bottled water for each quart jar.
3.
Quart Mason jars, the number needed will be determined by the amount of mushroom
desired.
4.
Pressure cooker.
5.
Screwdriver and Hammer
6.
Cotton Balls
7.
Aluminum foil
Procedure
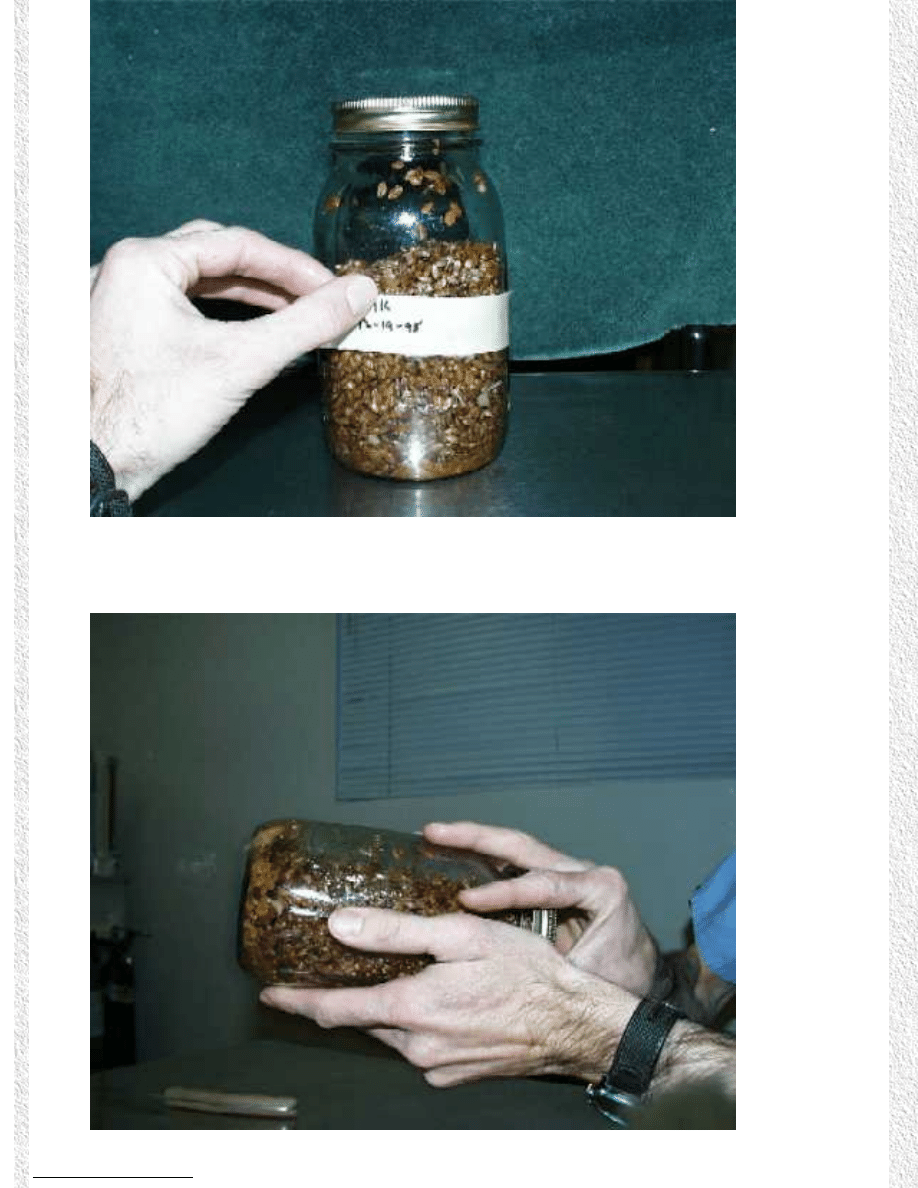
1.
To a one-quart Mason jar add 8 ounces of grain, 7 ounces of bottled water.
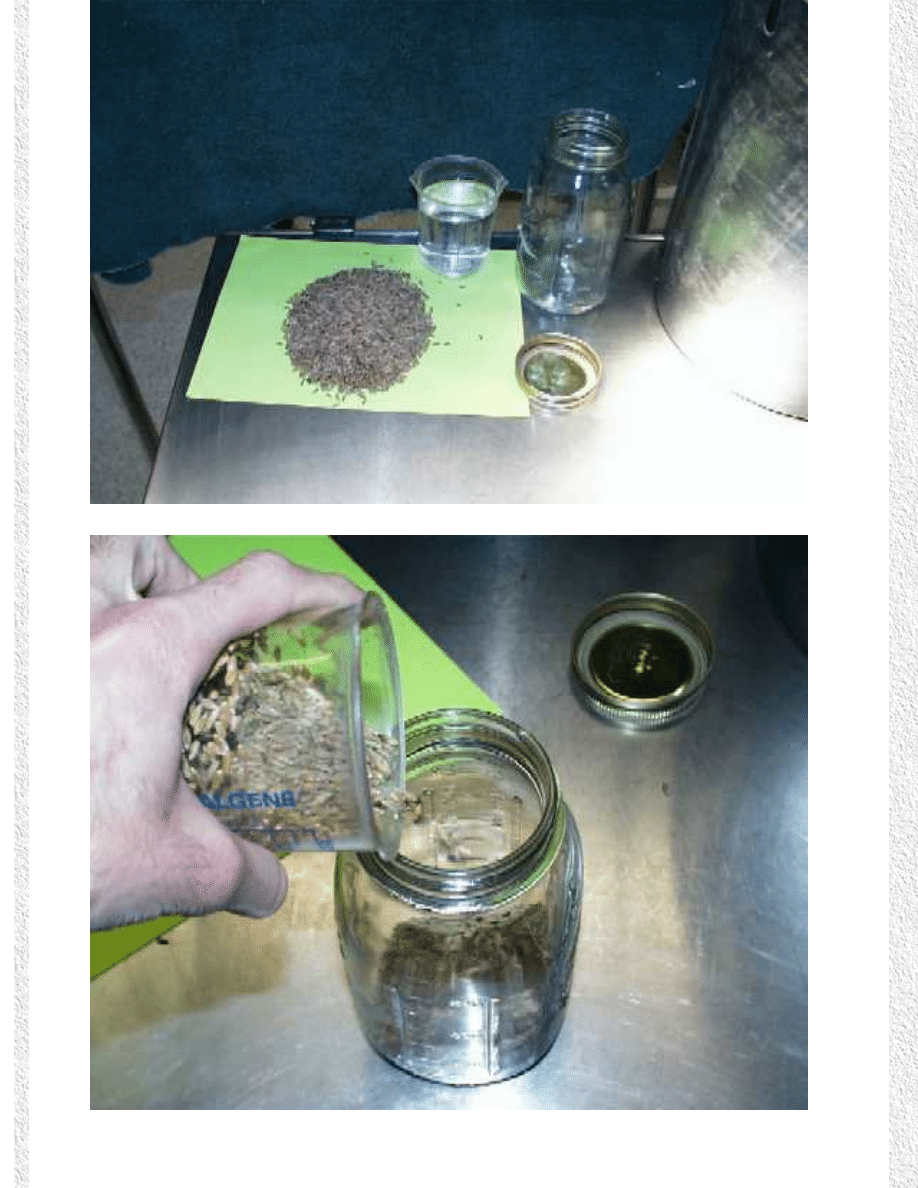
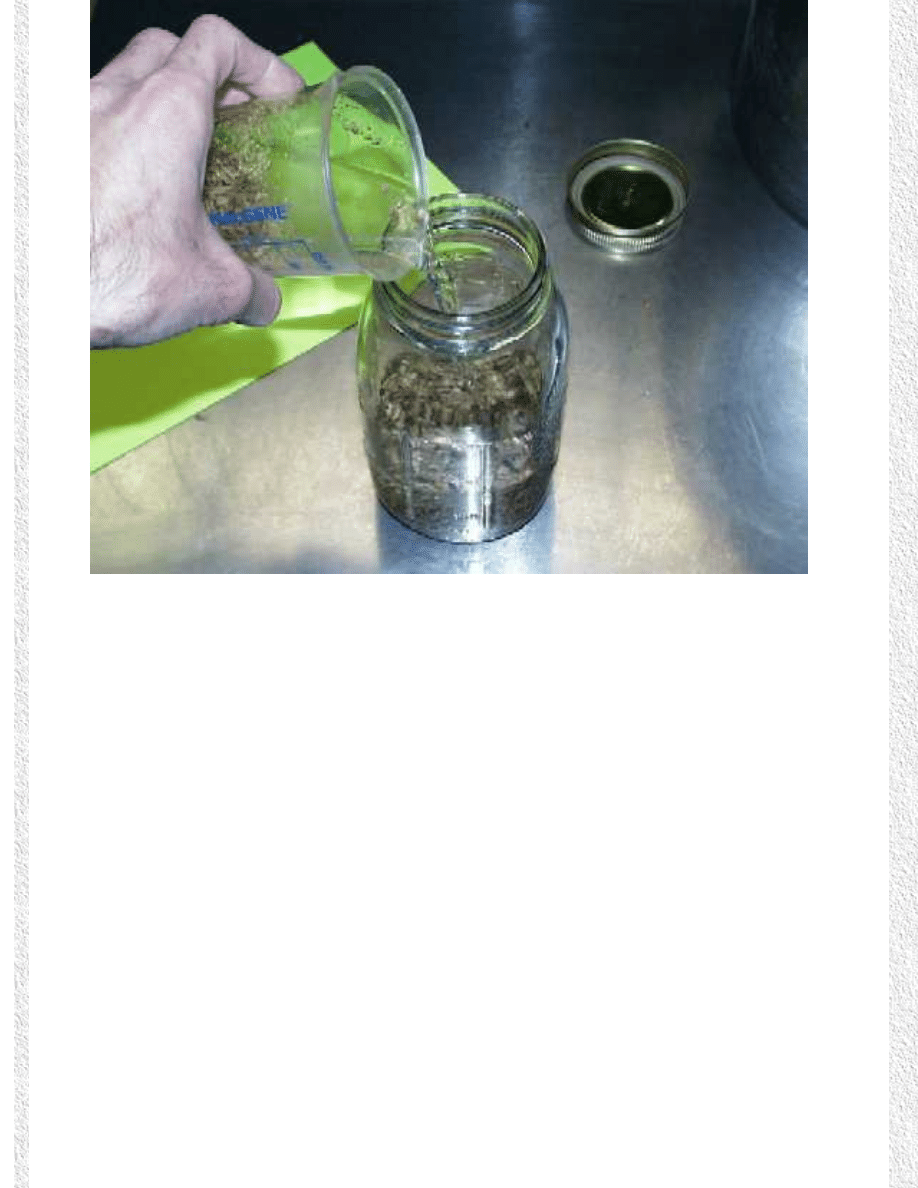
2.
You will need to punch a hole in the top of the lid, do this with the screwdriver and the
hammer.

3.
Now fill the hole with a cotton ball, this process allows for air exchange, without allowing
harmful bacteria into the jar.
4.
Place the lid on the Mason jar, and screw the lid down.
5.
Shake the bottle to mix the grain and water
6.
Cover the jar with a piece of aluminum foil, this will collect any dust that may collect on
top of the lid and can then be discarded later without allowing the contaminants to enter
the jars.
7.
Allow the mixture to set overnight
8.
Place the jars in the pressure cooker and cook for one hour at 15 p.s.i.
9.
Allow jars to cool and set overnight. Shake the jars to break up any clumps of grain then
recook them at 15 p.s.i. for another hour.

10.
Jars need to be shaken again, then they will be ready for inoculation with mycelium from
culture plates.
IT IS RECOMMENDED THAT ANYTIME THE JARS ARE NOT IN DIRECT USE, THEY BE
COVERED WITH FOIL
Copyright 1999 - A.W. Sears and C. Keller - All Rights Reserved

Tabletop Mushroom
Cultivation
Alson Sears, D.V.M.
Christopher Keller
Inoculating the Grain
Materials Needed
1.
Fully grown culture plate
2.
Knife
3.
Propane torch
4.
Sterilized grain jars
5.
Masking tape
6.
Marking pen
Procedure
1.
It is important that any culture plate or grain jar be opened only enough to allow the
necessary task to be completed. The longer the plates or jars are open, the more
susceptible to infection they will be.
2.
Pass the lid of the grain jar through the flame of the torch. Turn the jar as you move it
through the flame so the entire lid is heated.
3.
Loosen the lid of the jar.
4.
Heat the knife until it is red-hot. Allow the knife to cool.
5.
Transfer approximately ¼ of a culture plate into the jar. Cut the media into pieces then
lift each piece out separately and transfer it to the grain jar.
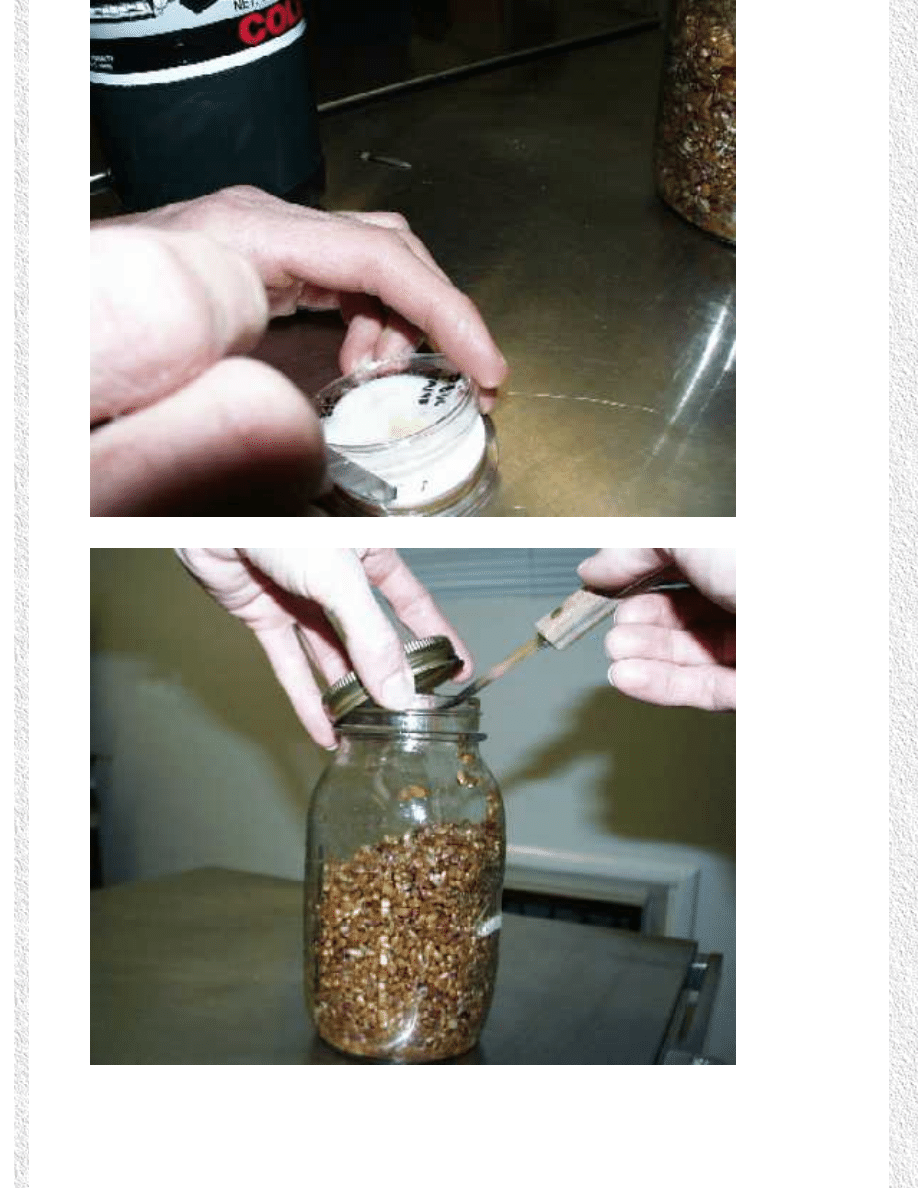
6.
Once the transfer is complete, immediately tighten the lids on both the culture plate and
the grain jars.
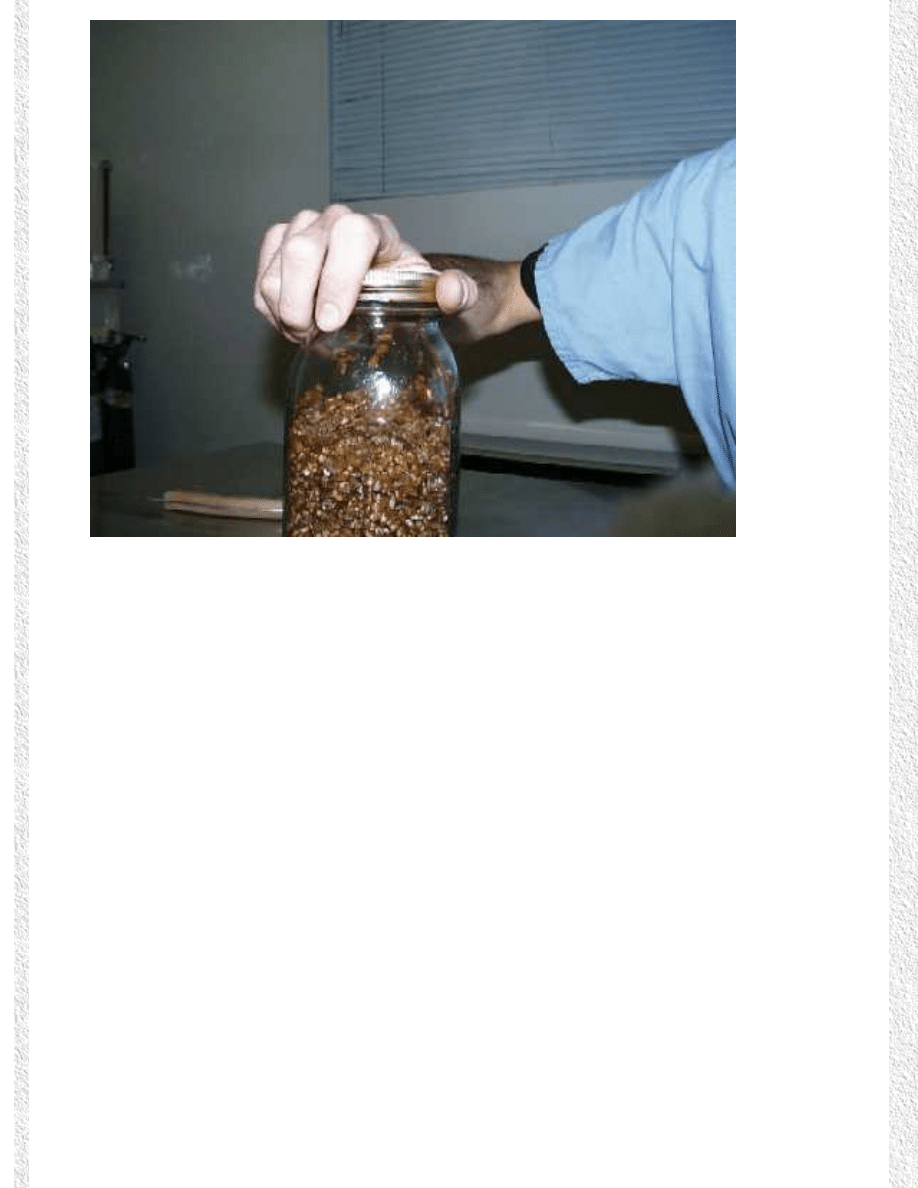
7.
Shake the grain jars, the goal is to distribute the pieces of media throughout the jjar and
to work them to the bottom of the jar.

8.
Label the jar with the type of mushroom you are growing and the date the grain was
inoculated with the media.
9.
Store the grain in a low traffic, dark, warm area.
Grain Evaluation
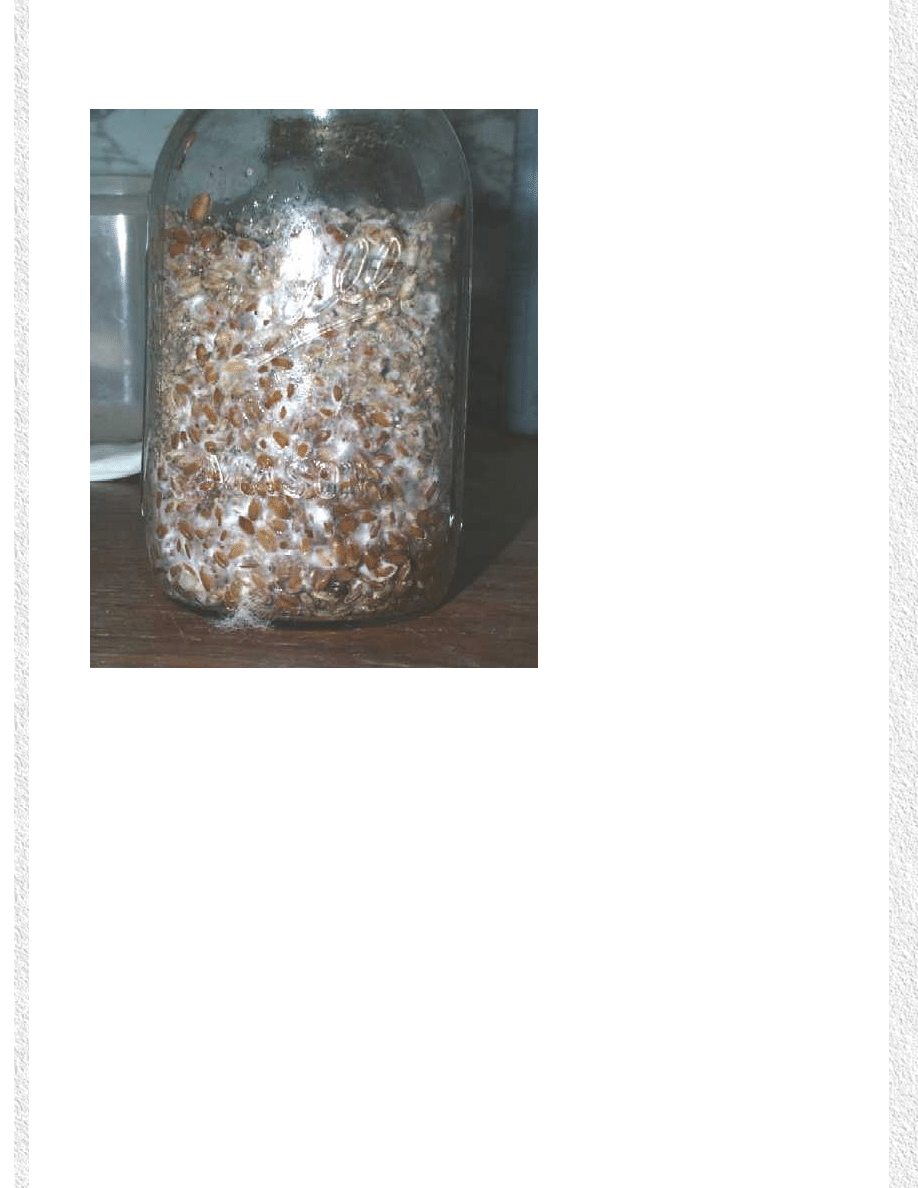
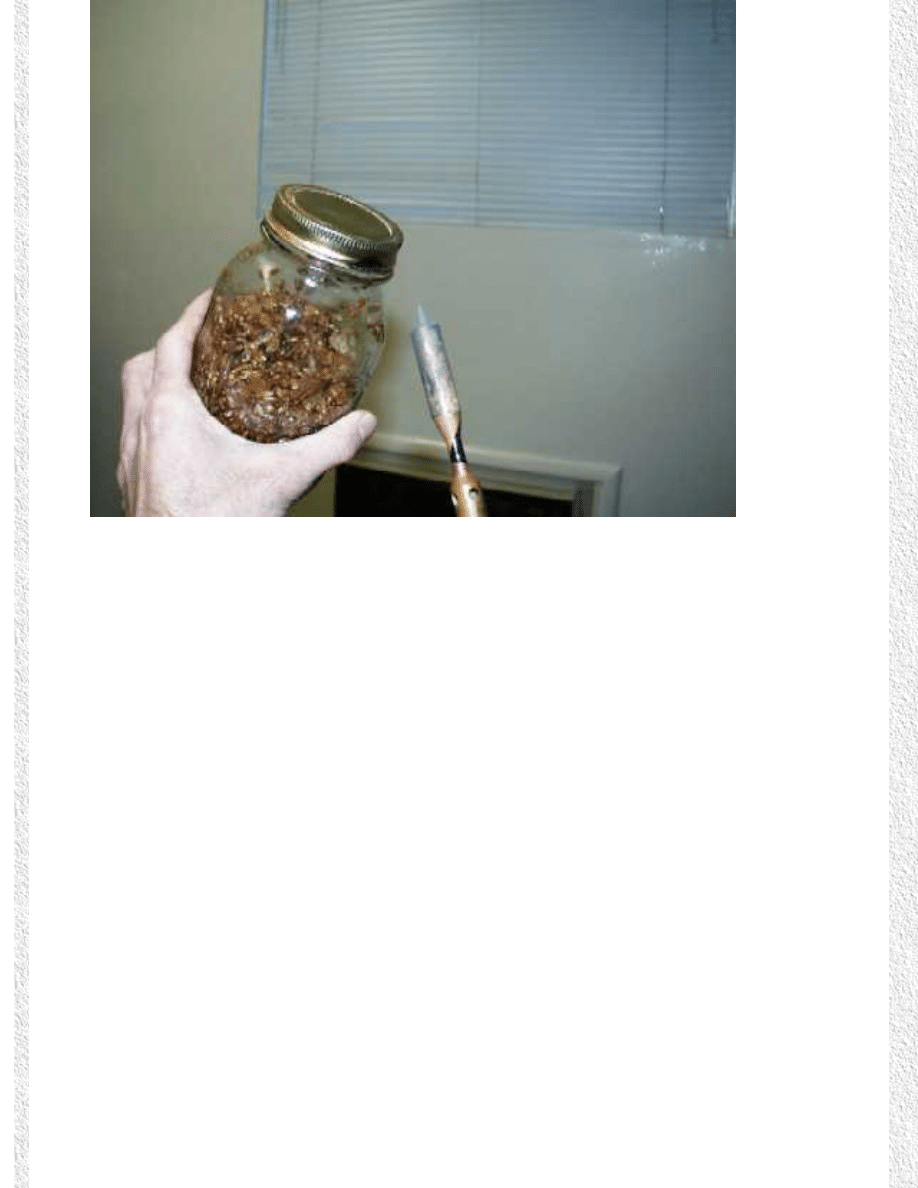
1.
Grain should have mycelium growing through it in several days. The mycelium will
appear white and will take over the entire grain jar.
2.
The growth will originate at the areas in direct contact with the culture that was added.
3.
Several days after the growth is observed, the grain jars need to be shaken. This is
accomplish the same way described earlier, the object is to distribute the grain with the
mycelium throughout the entire bottle.
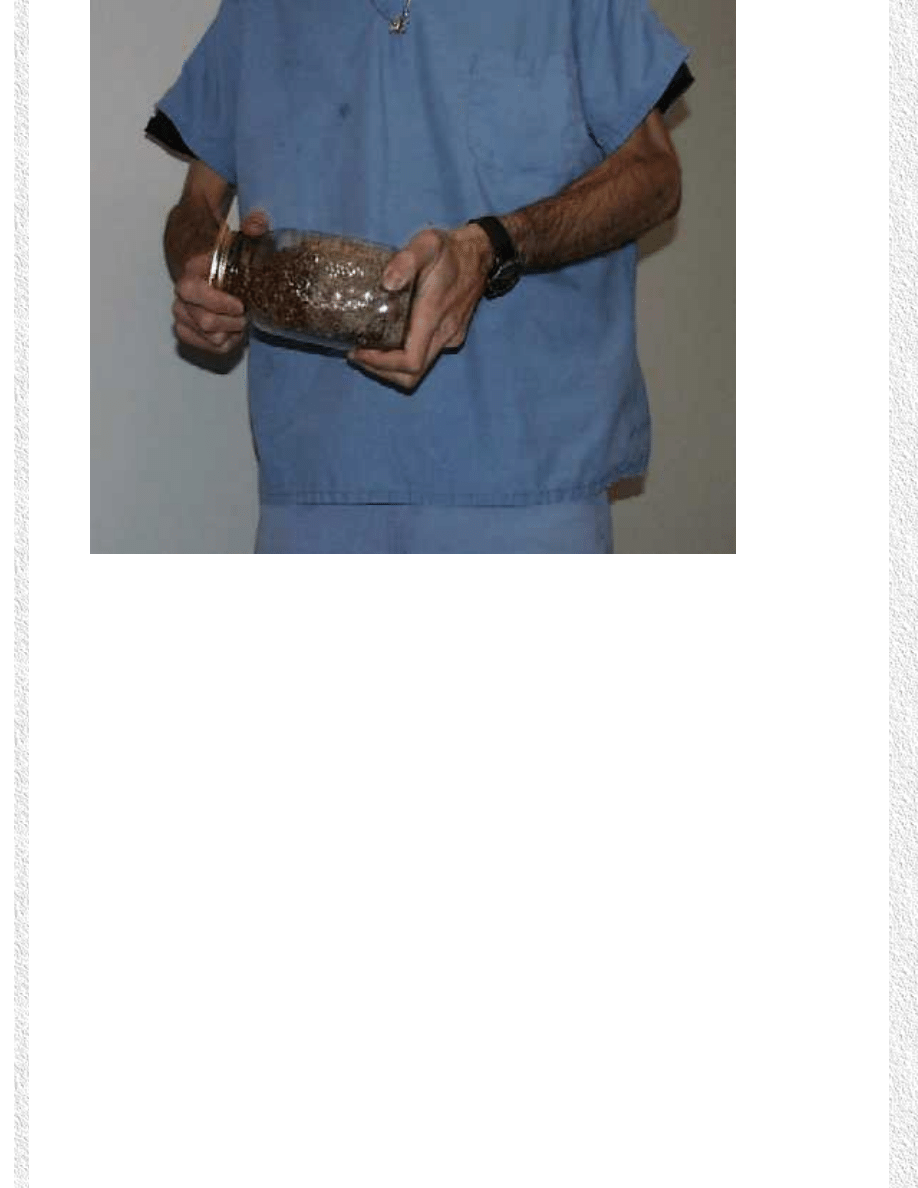
4.
Grain bottles are shaken every 2 to 3 days until the entire bottle is colonized.
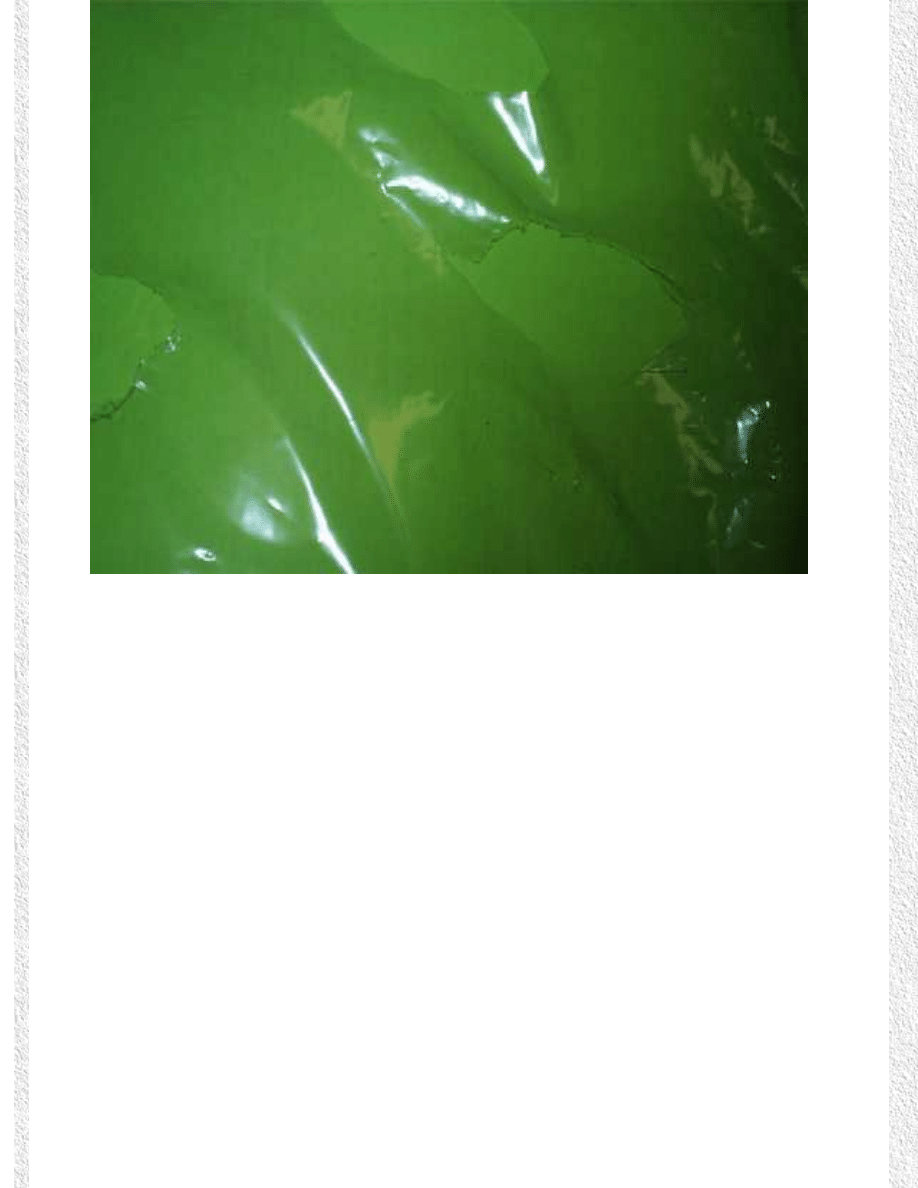
5.
If any growth other than white mycelium appears, the grain is contaminated and needs
to be discarded. This contamination may appear as any number of colored growths,
(including black, blue, green, gray, or slimy). The jars may be reused, but must first be
emptied and cleaned.
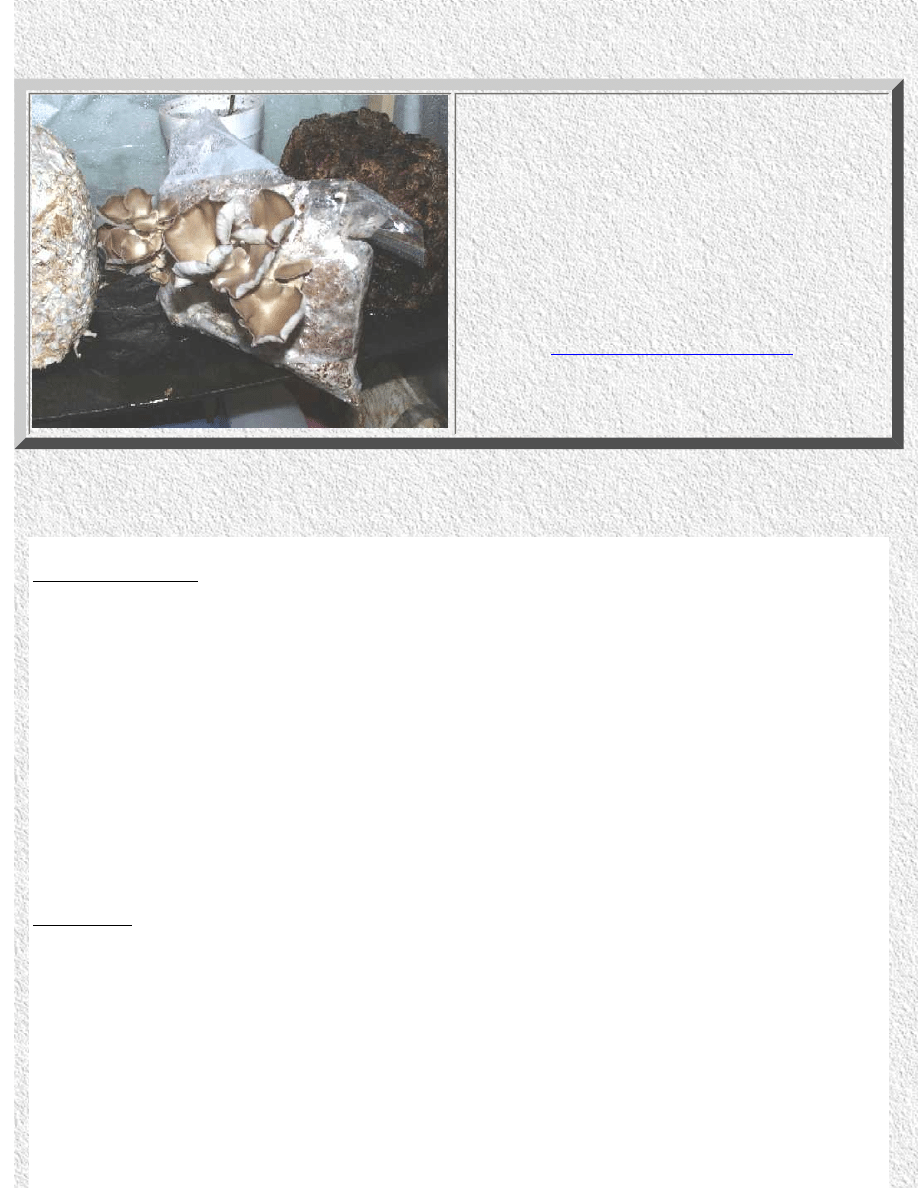
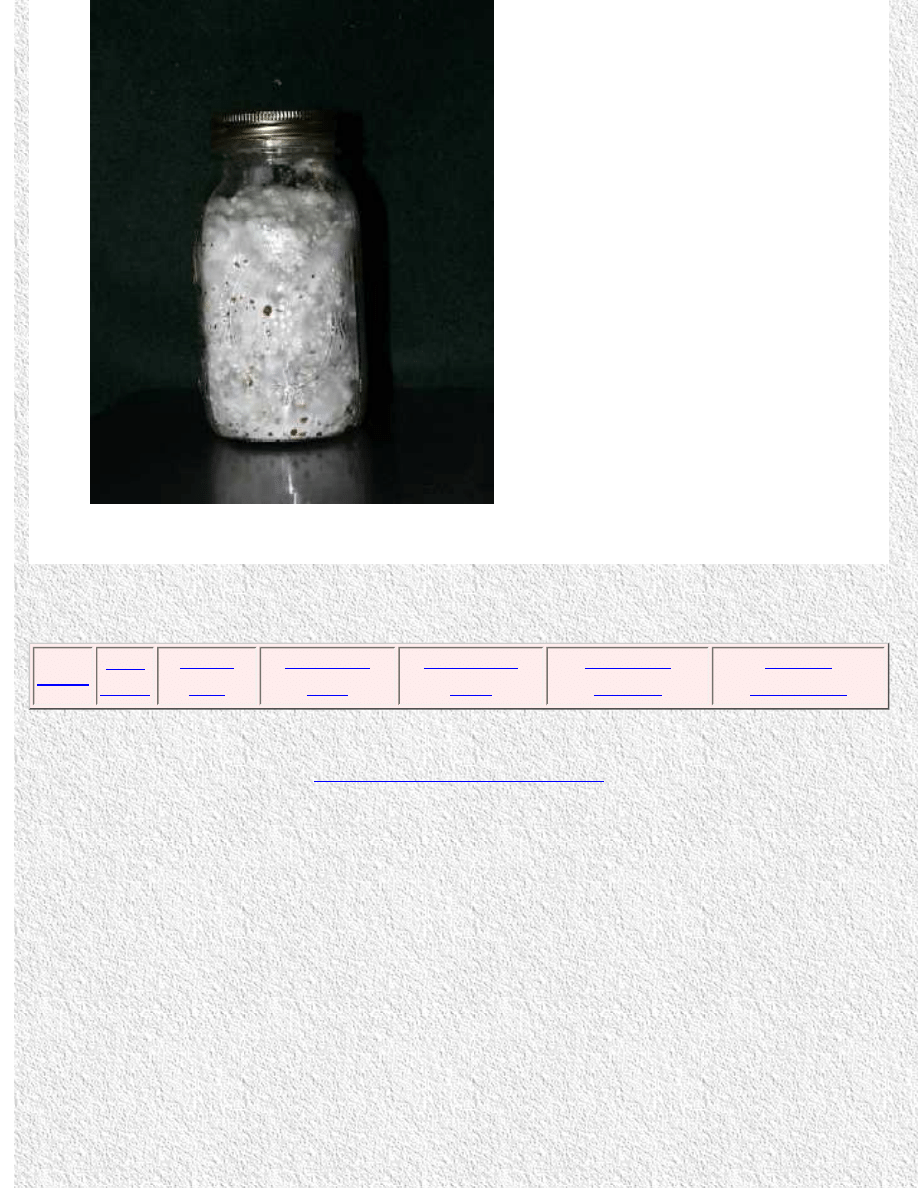
6.
Completely colonized grain jar

Tabletop Mushroom
Cultivation
Alson Sears, D.V.M.
Christopher Keller
Preparing Sawdust
Materials Needed
1.
Containers that will hold 5 quarts of hot water.
2.
Large spoon that has been sterilized by boiling in water for 20 minutes.
3.
Large (33 gallon) trash bag.
4.
Large strainer or 13 gallon trash bag.
5.
40 ounces of wood pellets (used for wood burning stoves). These pellets can be found in
most hardware stores.
6.
1 quart grain jar that has full growth of mycelium.
7.
Knife.
8.
5 quarts of water heated to 180 degrees.
9.
Aluminum foil.
10.
One gallon Ziploc Bags.
Procedure

1.
Into the container add the 40 ounces of wood pellets.

2.
To the wood pellets, add the 5 quarts of hot water. Cover the container with aluminum
foil and let set for one hour.
3.
The wood pellets will break down into sawdust. The excess water needs to be removed
from the sawdust. This can be accomplished by straining the contents of the container or
by dumping the contents into a 13-gallon trash bag, hanging the bag above a sink and
cutting small holes in it to allow for water draining. (Using the trash bag makes for easier
clean up as they are disposable). Allow the sawdust to drain for about 30 minutes.
4.
Cover a working surface with a 33-gallon trash bag. This surface needs to be, as always,
in a low traffic area.
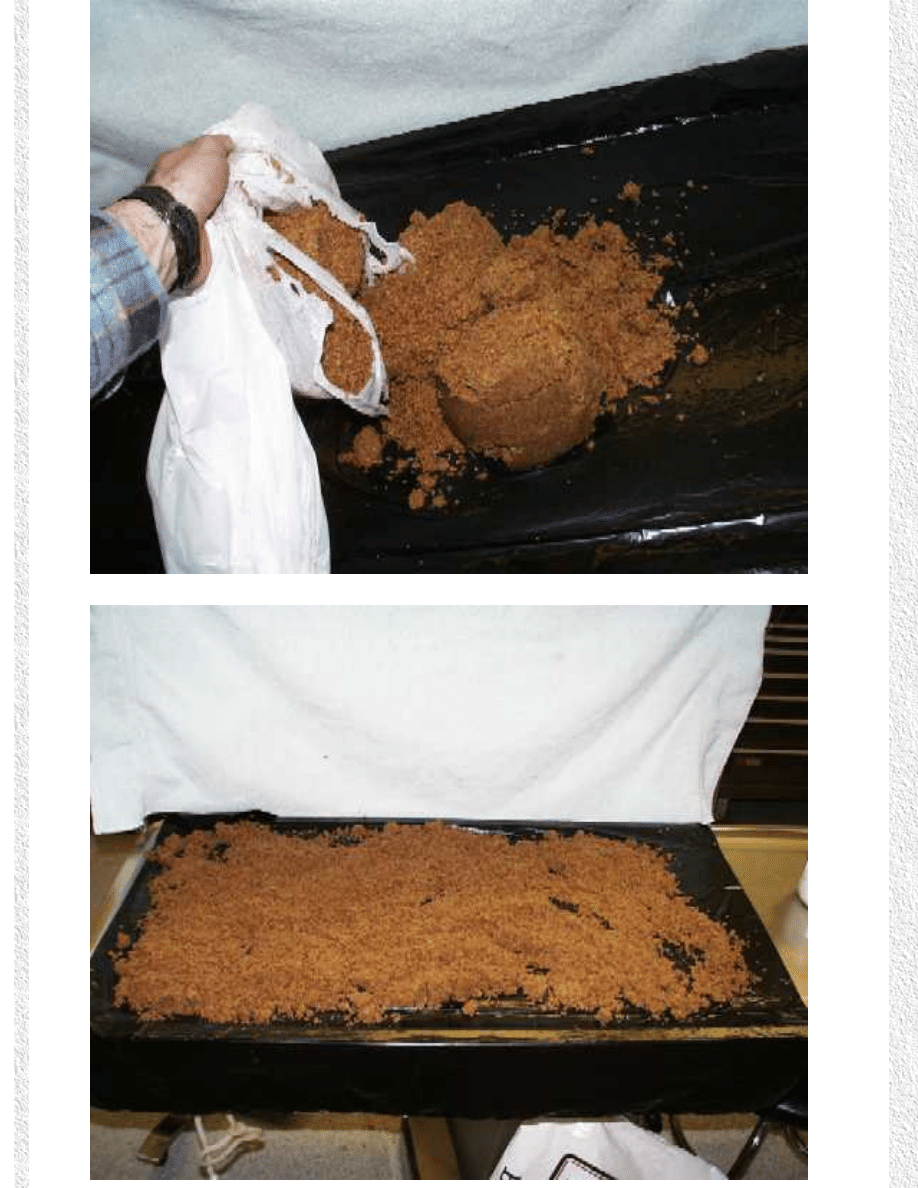
5.
Place the now strained sawdust on the 33-gallon trashbag and spread the material out. If
it is not already cool, allow cooling until the material is room temperature.
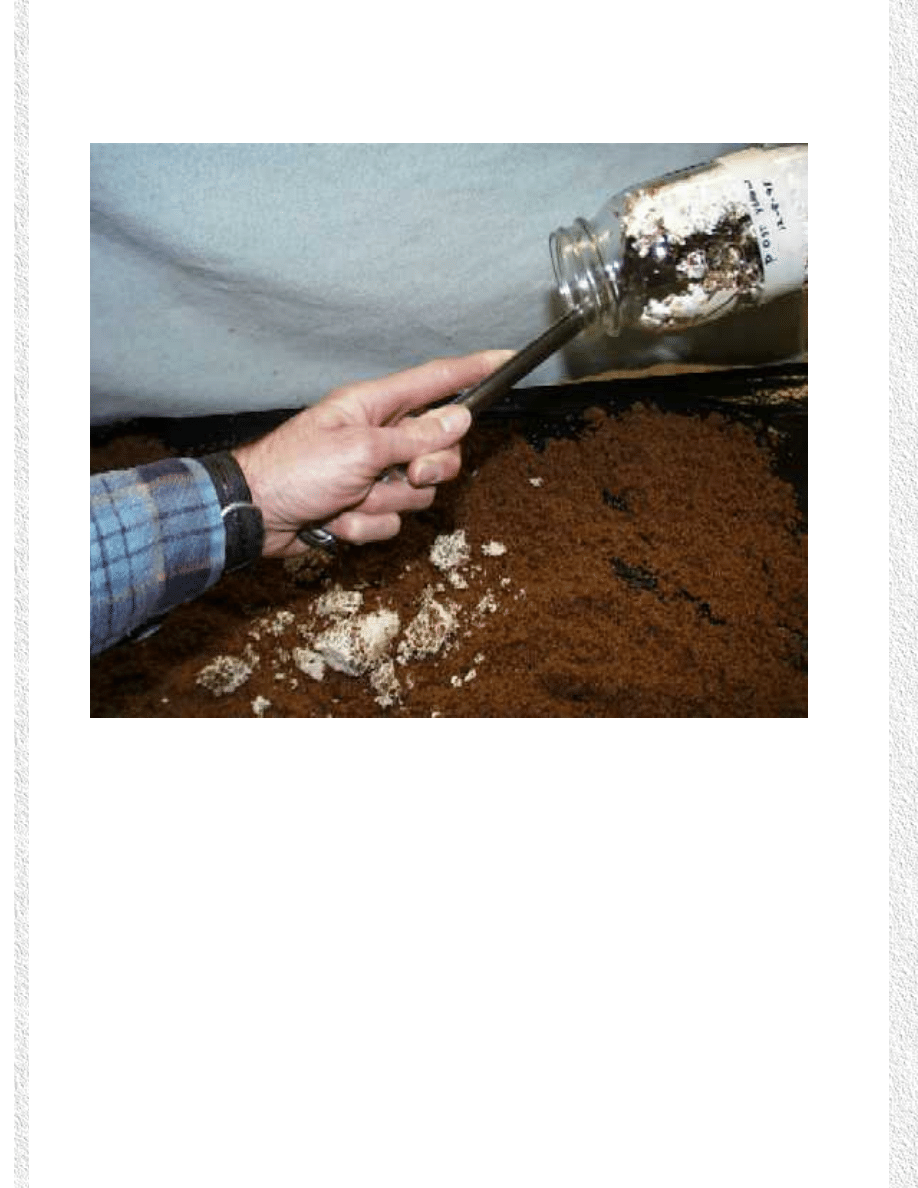
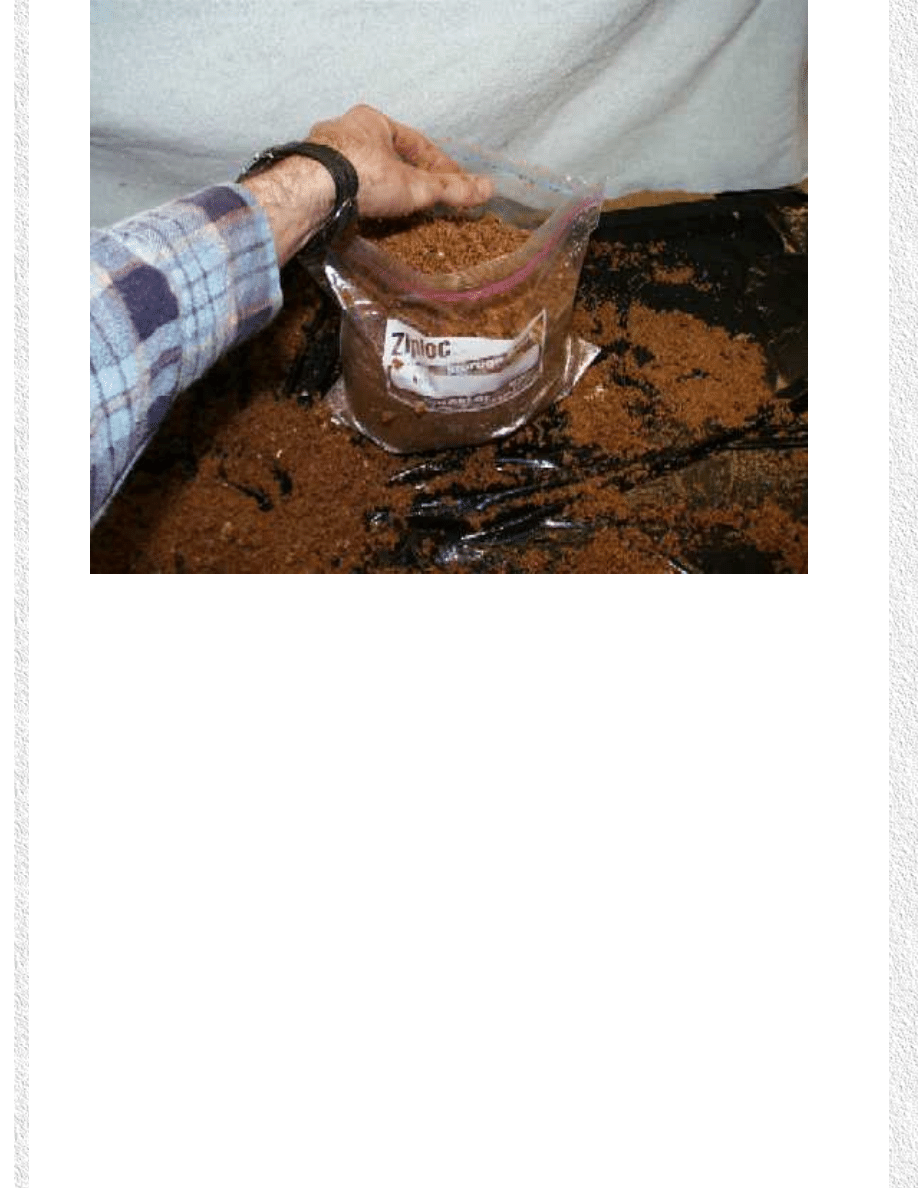
6.
Open the jar with the mycelium-covered grain. Using the sterilized spoon, scoop out the
grain and add it to the cooled sawdust.
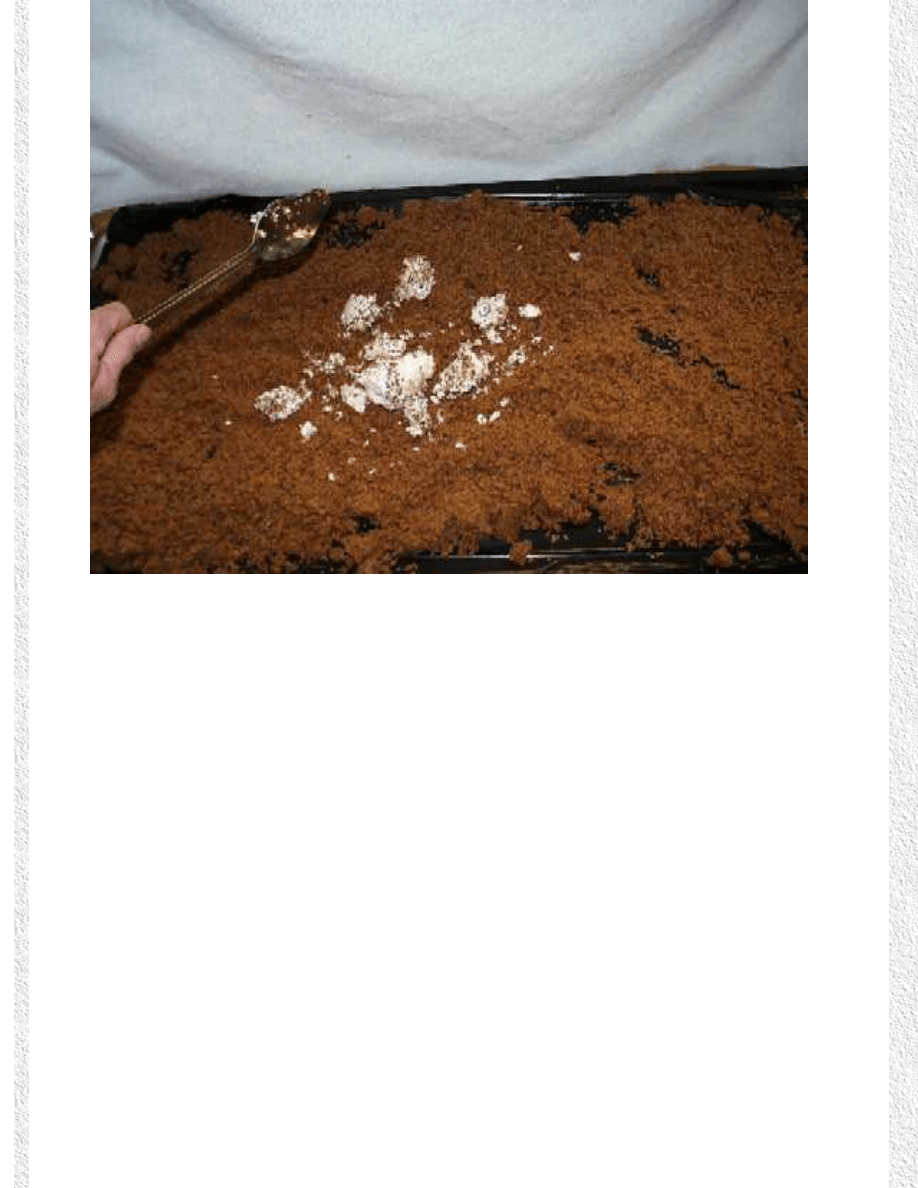
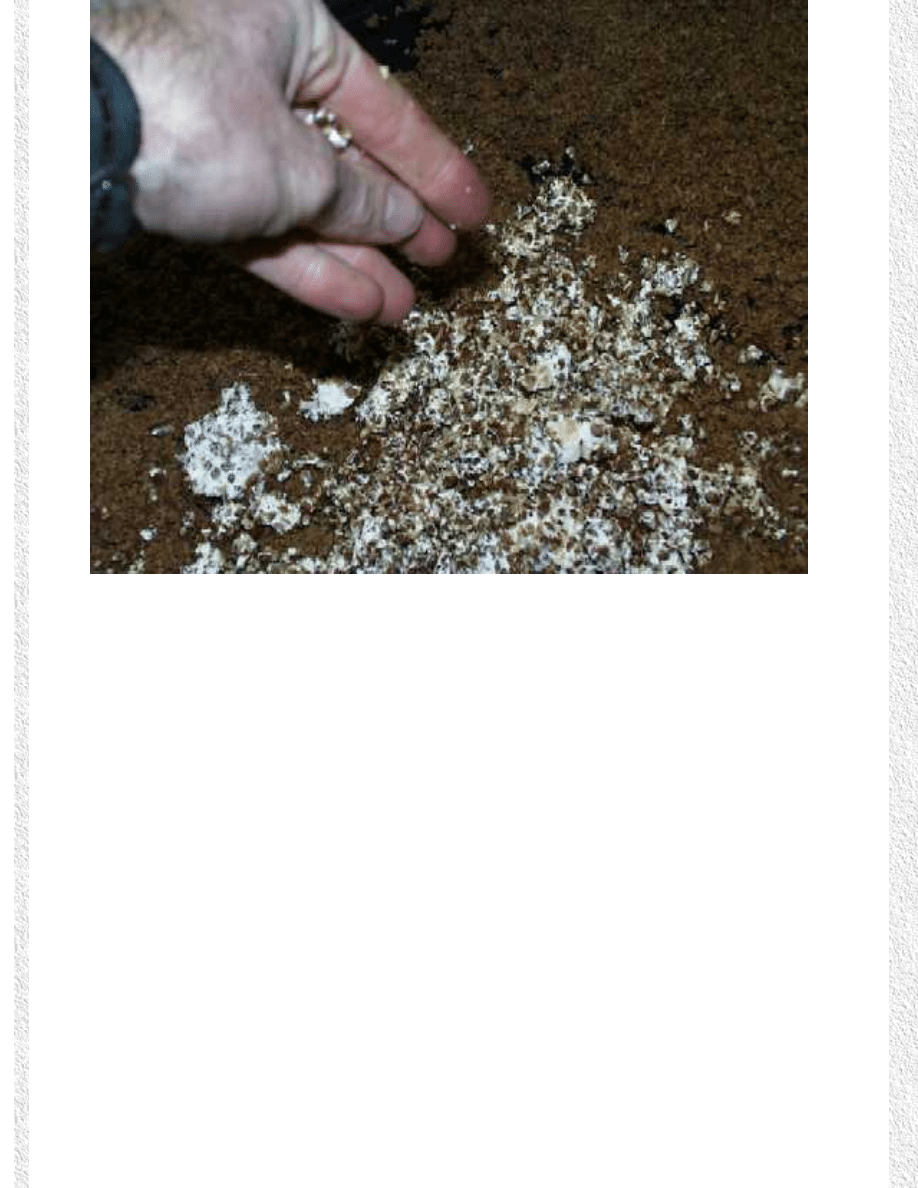
7.
Break up any large pieces of grain and mix the grain in with the sawdust.
8.
Pack the grain/sawdust mixture into a one-gallon Ziploc bag and seal the bag.
9.
Puncture four small holes on each side of the bag with the knife.
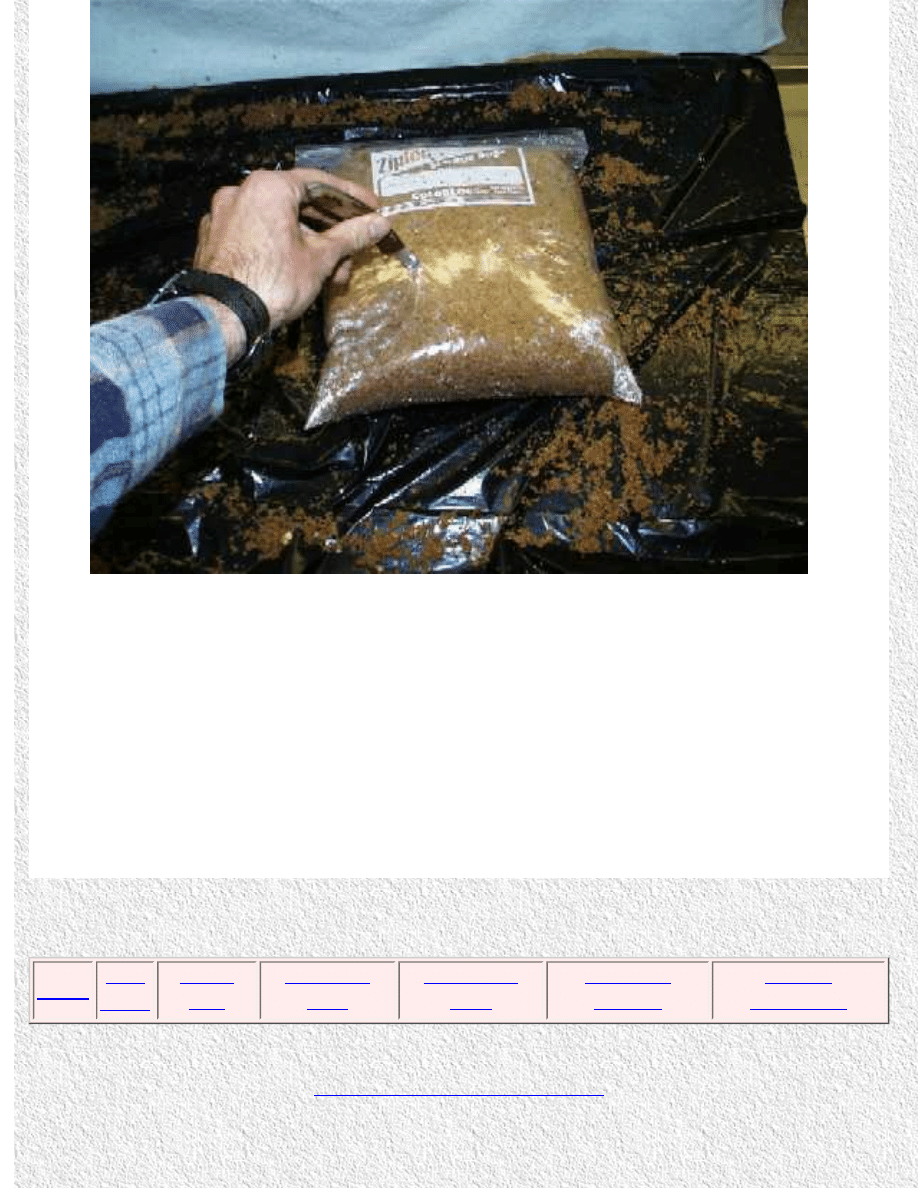
10.
Label the Zipoc bag with the date, and the type of mushroom.
11.
Place the Ziploc bag in a dark, warm, low traffic area. (NOTE: The sawdust may
continue to drain off excess water, so place the bag someplace where water drainage
will not cause a problem, and/or place a towel underneath it to catch any water drainage.)
12.
The 33-gallon trashbag can now be disposed of and should have made for easy clean
up of the work area. The jar and other materials may be cleaned and reused for other
cultures.
Copyright 1999 - A.W. Sears and C. Keller - All Rights Reserved

Tabletop Mushroom
Cultivation
Alson Sears, D.V.M.
Christopher Keller
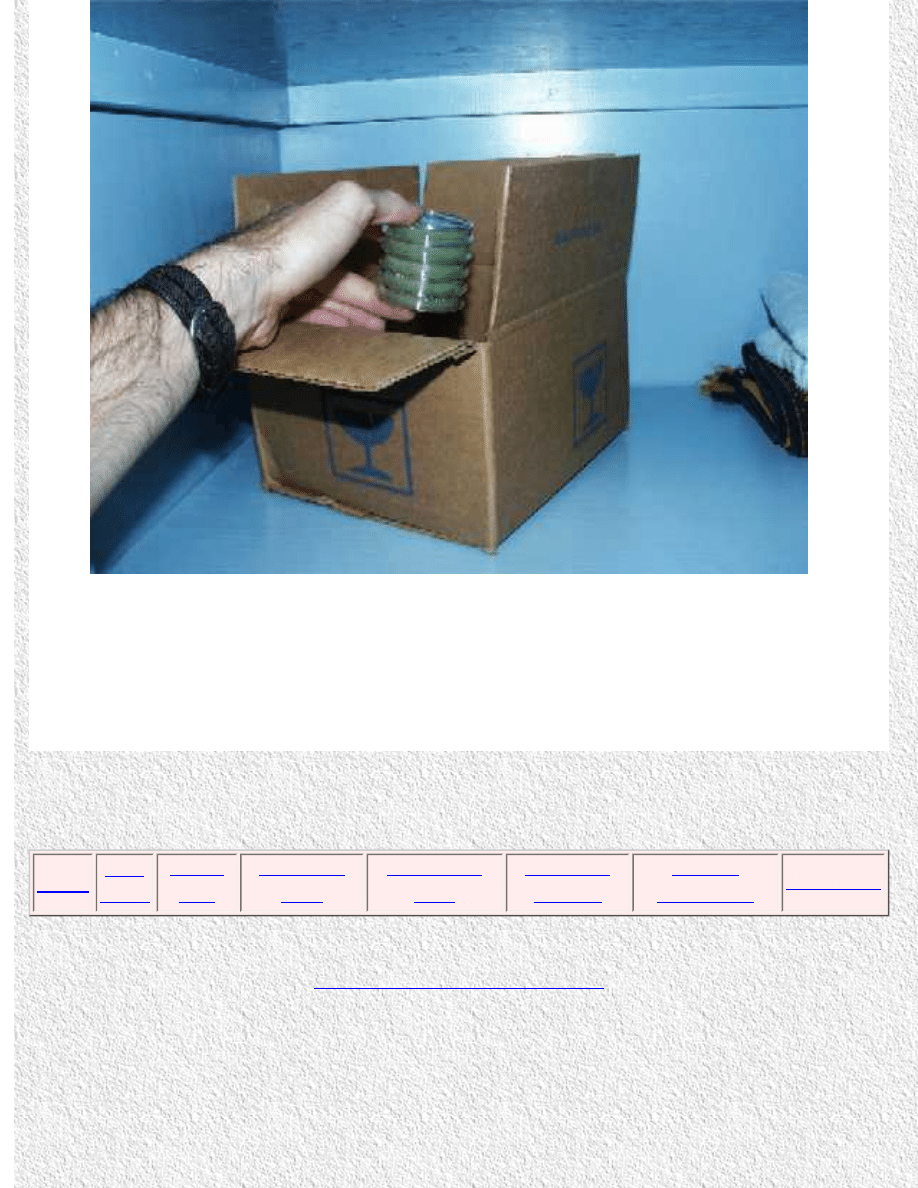
Soaking and Fruiting Mushrooms
Materials Needed
1.
Large Bucket
2.
Ice
3.
Water (Bottled water is best, however do not use distilled water)
4.
Completely colonized sawdust block
Procedure
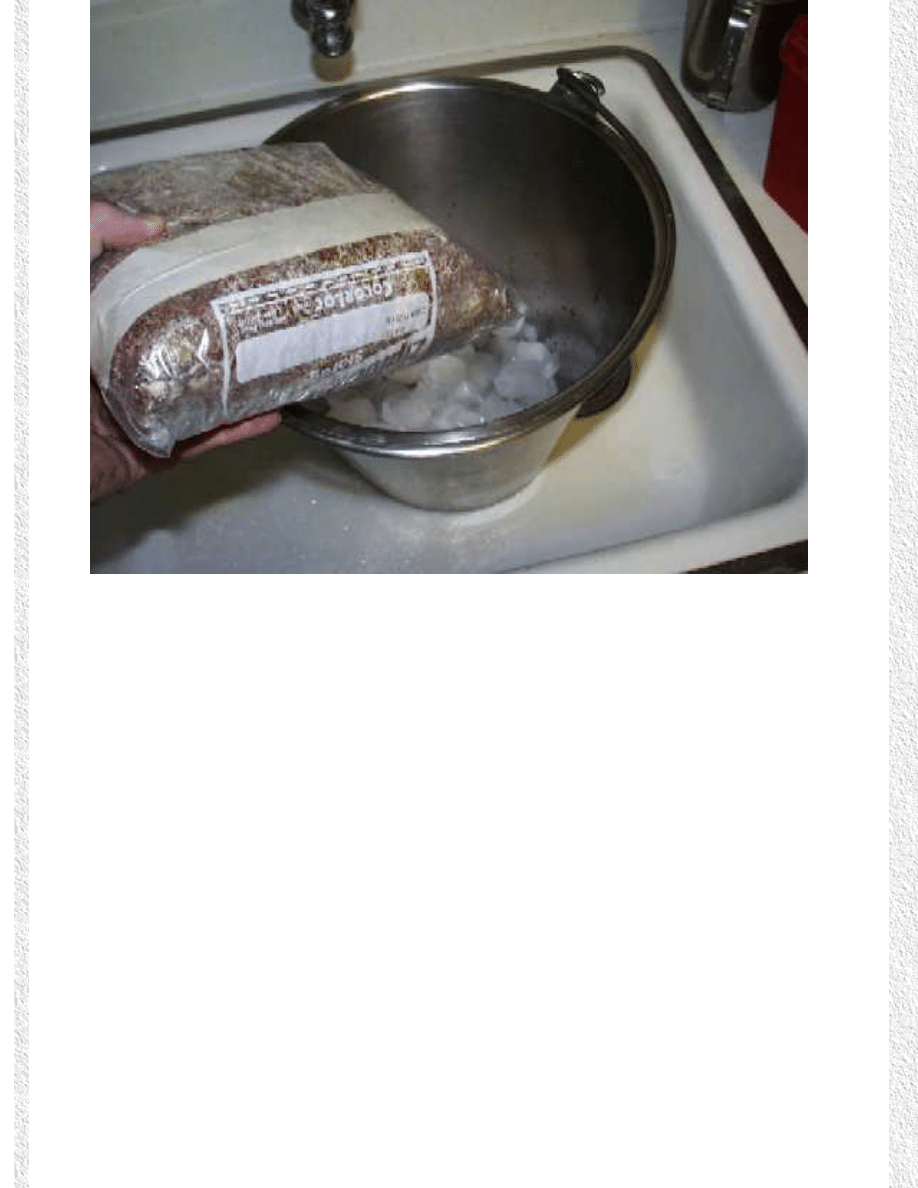
1.
Add ice to bottom of bucket.
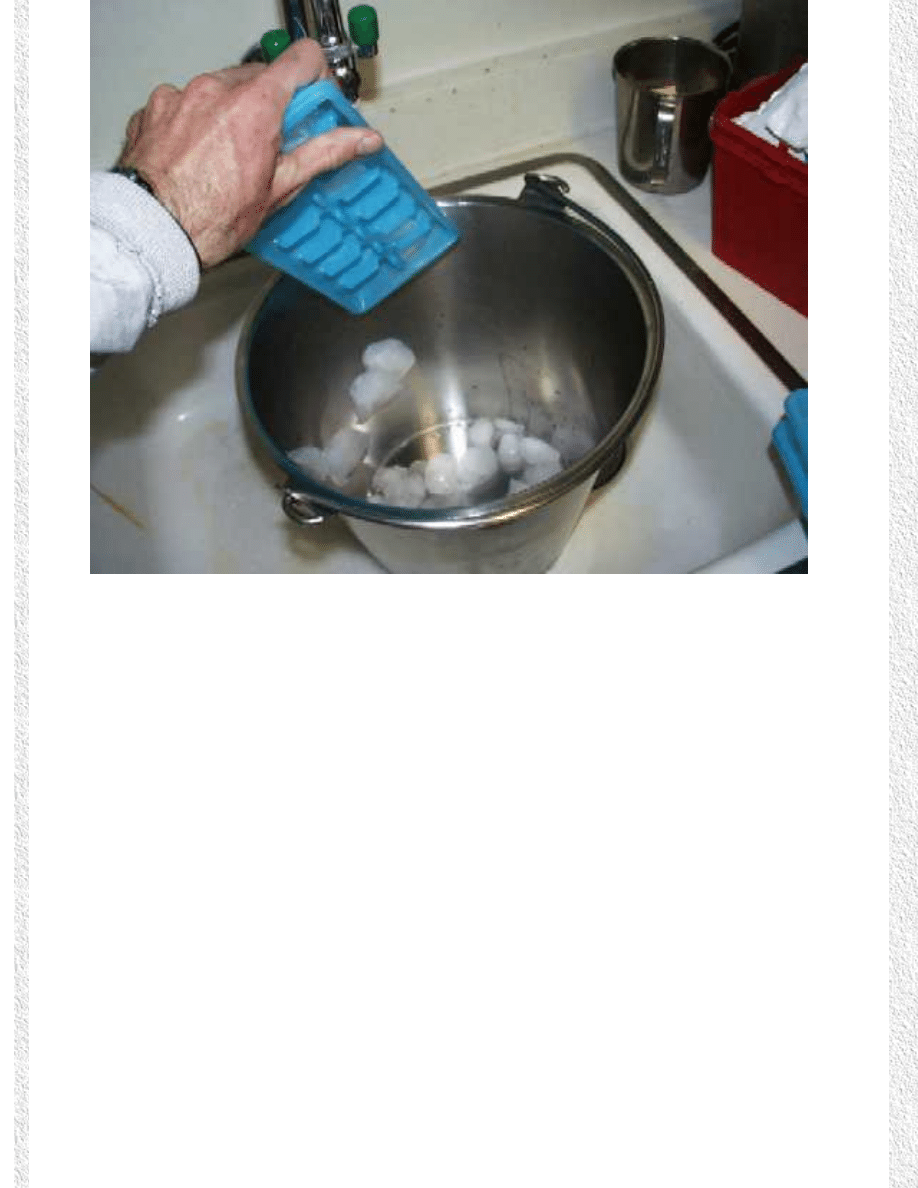
2.
Place colonized sawdust block in bucket.
3.
Place more ice on top of colonized block; completely fill bucket with ice.
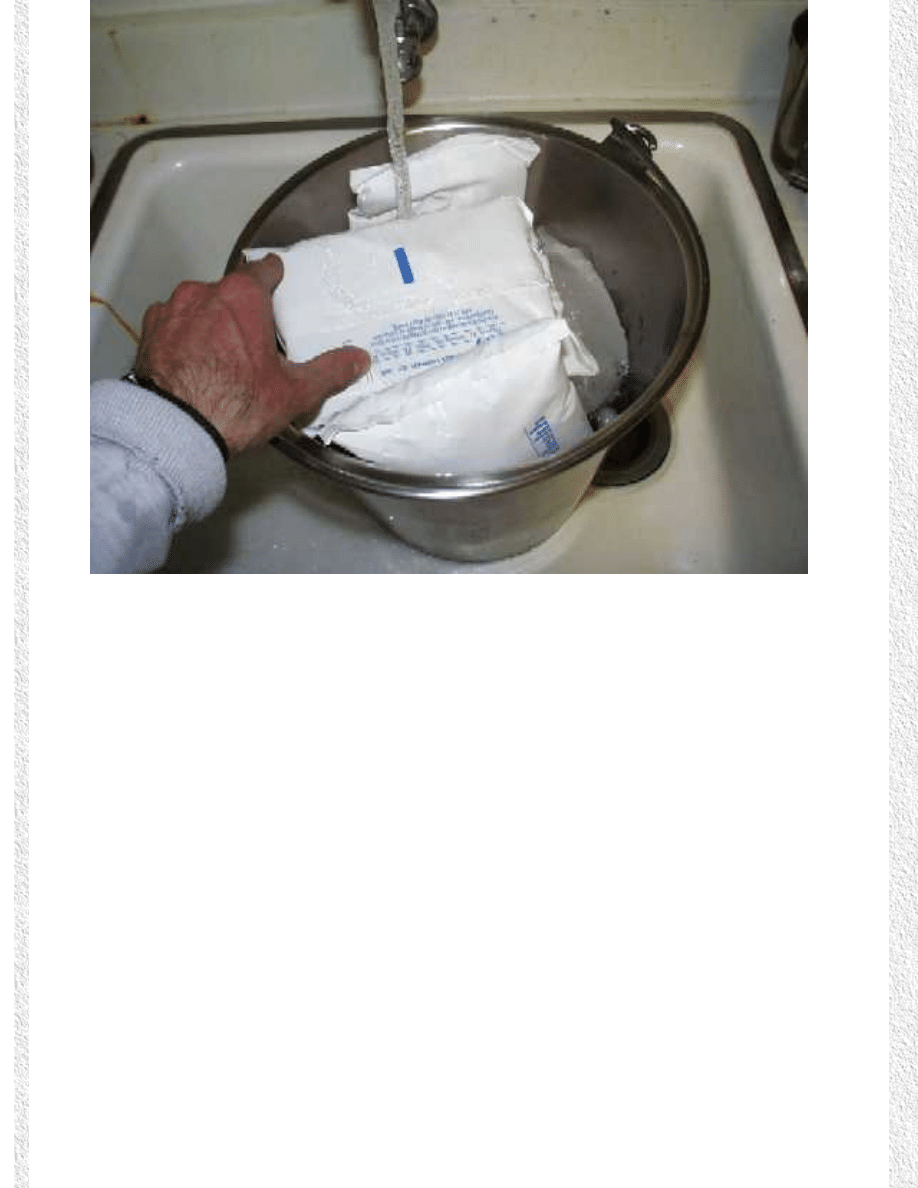
4.
Fill bucket with water.
5.
Sawdust block should be soaked in ice water for 2-3 days. Continue to add ice to keep
water cold. The bucket may be placed in the refrigerator to aid in cooling.
6.
After the colonized sawdust has been chilled for 2 - 3 days, remove it from the ice water
and allow it to drain for several hours.
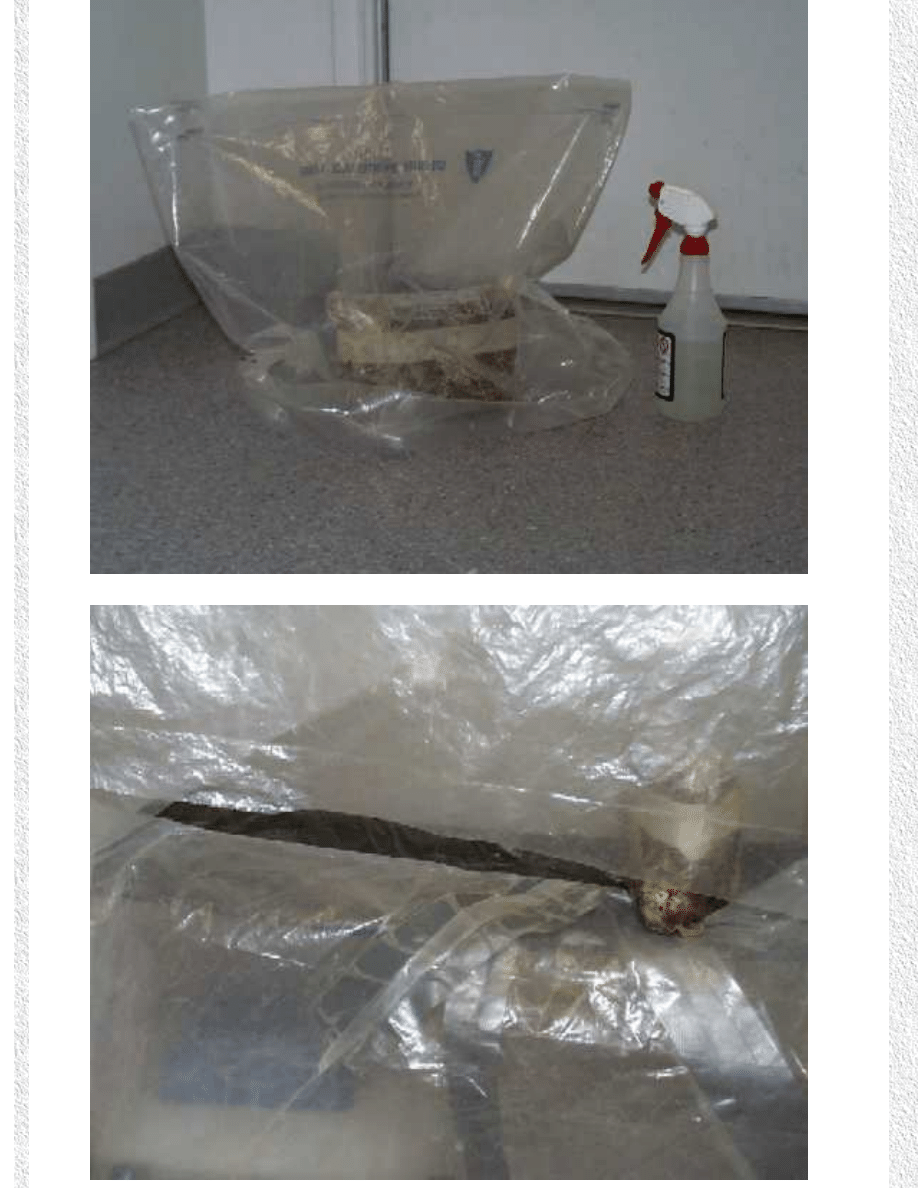
7.
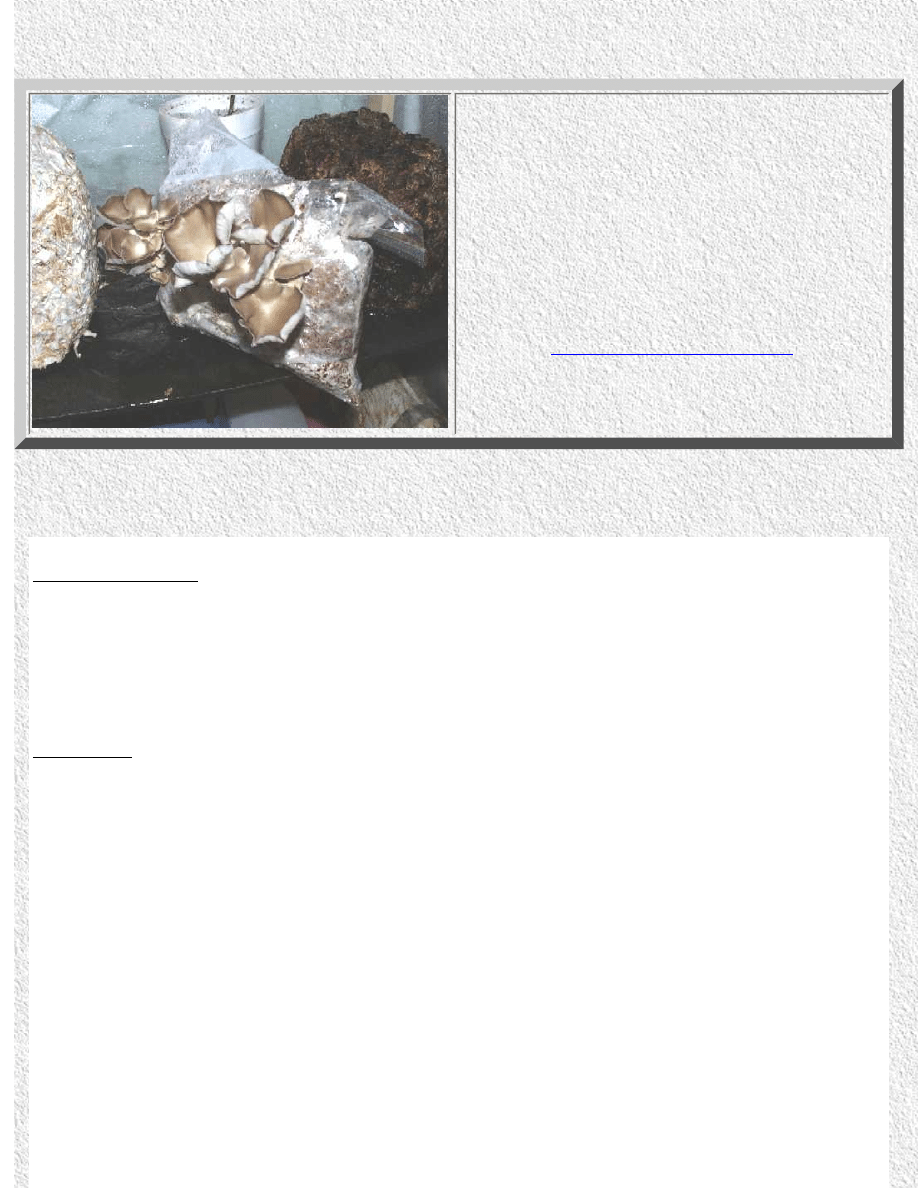
At this point, the mushroom block is set to fruit. For fruiting to take place, the sawdust
block must maintain certain climate conditions. The temperature should be kept between
70 and 80 degrees. The humidity needs to be between 80 and 90 percent. The
mushrooms also need sunlight and fresh air. All of these factors make fruiting very
challenging.
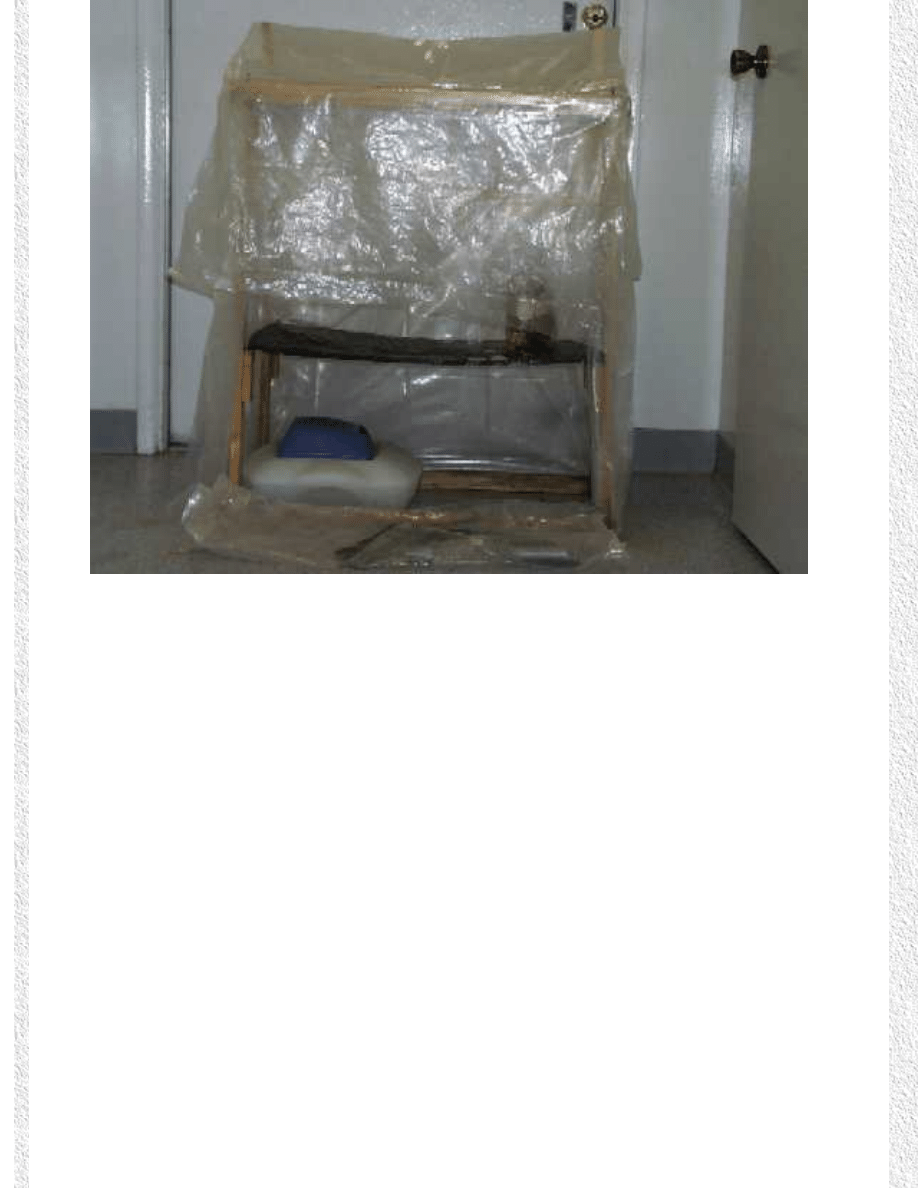
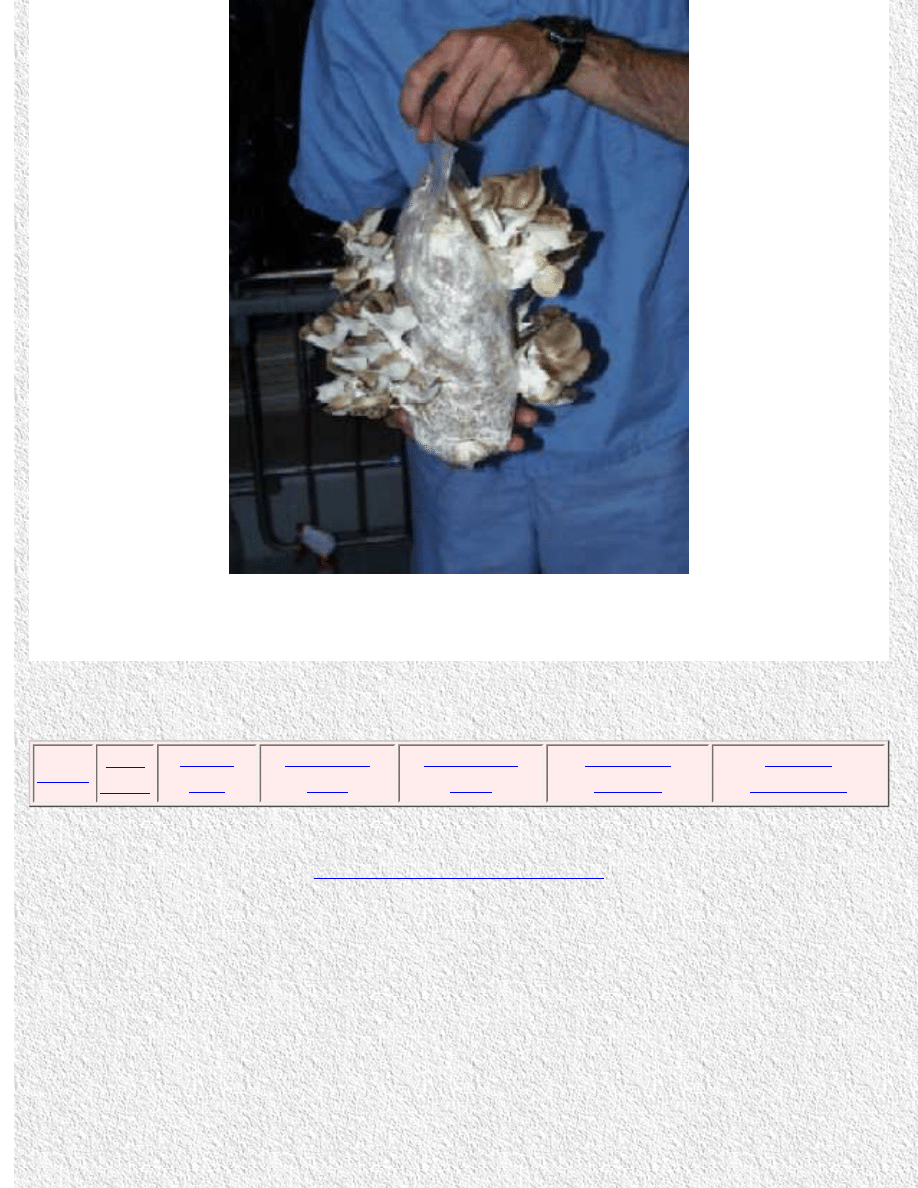
8.
How you achieve these conditions depends on time and space constraints. If you are
only fruiting one or two bags, you may wish to place the bags in a window covered by a
larger clear plastic bag with holes cut to allow air exchange. The high humidity can be
maintained by misting the block several times a day. The humidity should be high
enough that small water drops are always present on the inside of the bag.
9.
If you are planning on fruiting larger quantities of mushroom blocks, you may wish to
construct a small greenhouse. Depending on the size you construct it, you can use a
room humidifier instead of misting bottles. Just remember, fresh air is also important, so
allow for plenty of air exchange.

References
Many of the supplies needed for growing mushrooms can be found at local department,
grocery, or hardware stores. However, you may need (or want) to order some of the supplies
from other companies, following is a list of companies that can provide you with hard to find
items.
●
ICN Biomedical Research Products
Tel (800) 854 - 0530
●
Aldrich Chemical Company
Tel (800) 558 - 9160
●
Carolina Biological Supply
(800) 334 - 5551
●
Sigma Cell Culture
Tel (800) 325 - 3010
●
Fungi Perfecti
Tel (800) 780 - 9126
The first four companies will only be able to supply you with culture plates and possibly agar if
you cannot find it elsewhere. Fungi Perfecti will have everything else you may need.
GOOD LUCK
AND
HAPPY GROWING!
Document Outline
- kitchenculturekit.com
Wyszukiwarka
Podobne podstrony:
[Psilocybin]Experiment in the Home Cultivation of Psychedelic Mushrooms A journal of a growing proj
Ethnobotany of psilocybin mushrooms especially psilocybe cubensis J of Ethnopharmacology 10 (1984) 2
Mushrooms of the National Forests of Alaska US Forest Service Alaska Region (2013)
mushroom FOQ57VRU7NEAOJTRFAFEIWZM7SR6Q72ELMOQJXA
Poisonous and Edible Mushrooms An Introduction to Mushrooms in Norway (2012)
Mushroom
Ethnobotany of psilocybin mushrooms especially psilocybe cubensis J of Ethnopharmacology 10 (1984) 2
Eleanor Cameron Mushroom Planet 06 Time and Mr Bass
Eleanor Cameron Mushroom Planet 04 A Mystery for Mr Bass
Mushroom Culture (Patent 2,761,246)
Modeling and minimizing process time of combined convective and vacuum drying of mushrooms and parsl
Growing gourmet mushrooms from A to Z
mushroom sierra
[Ebook Fungi Gardening] Growing Mushrooms The Easy Way
Cute Mushrooms(1)
drug ! How to Grow Psychedelic Mushrooms
Drying kinetics and rehydration characteristics of microwave vacuum and convective hot air dried mus
więcej podobnych podstron