To complete this task you will need the following items:
• Wallpaper Scraper
• Bucket and Sponge
• Wallpaper Steamer (optional)
• Filler (if required)
• Sandpaper (if required)
When working at heights always ensure that the structure is safe and secure. Never
stretch out, always get down and re-position the scaffold.
Removing Old Wallpaper (normal coverings).
First take your wallpaper scorer and go round the entire room gently scoring the old paper
ensuring not to damage the plaster beneath.
Next go back around the room soaking the paper with warm soapy water (or your wallpaper
steamer), start from the bottom of each width of paper and work your way up to the ceiling.
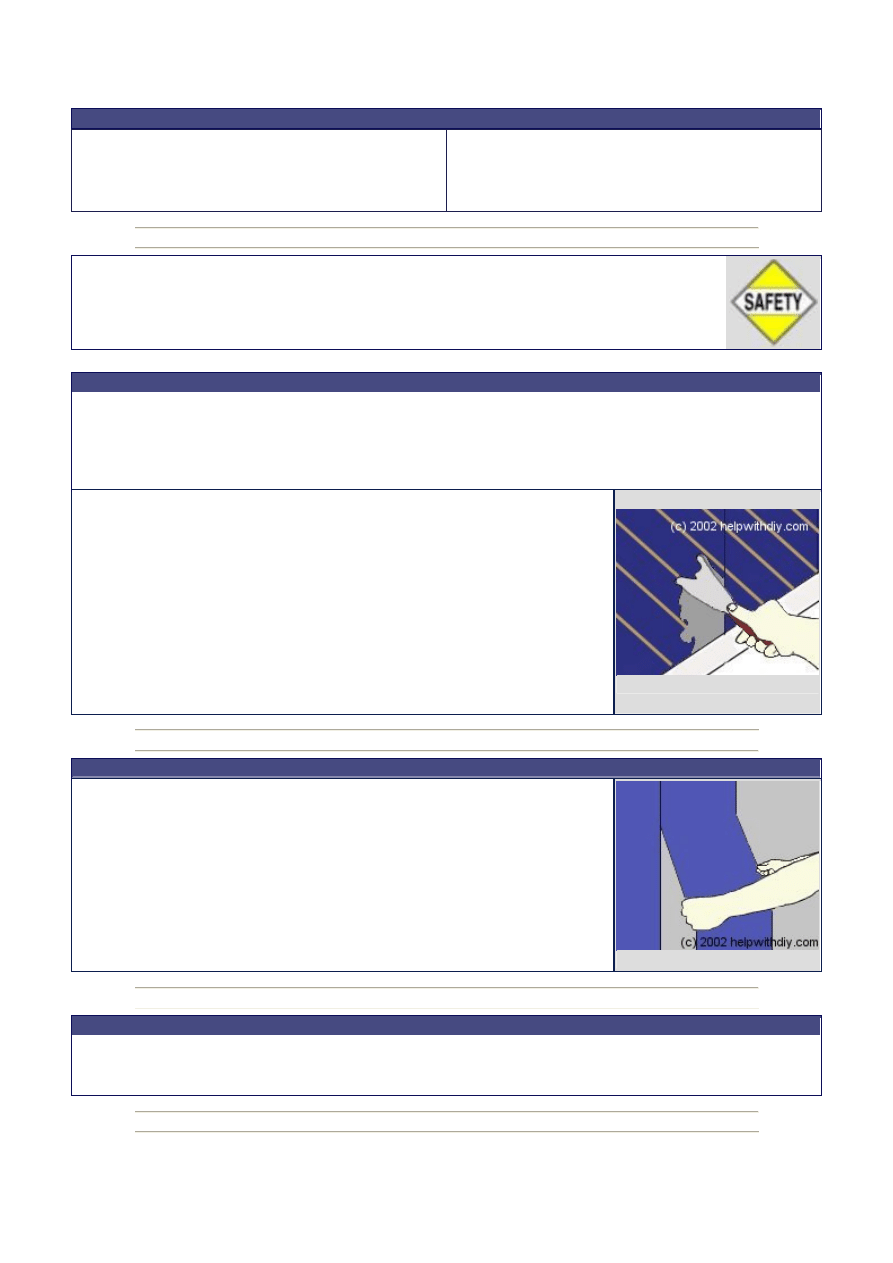
Now go back to the area where you started and re-soak 3 widths of
paper, then take you wallpaper scraper and starting at the bottom of
the first width scrap the paper ensuring not to damage the plaster
(see Fig 1.1), work your way up to the ceiling removing all traces of
paper from the wall. Now move onto the next width and repeat the
process.
When you have finished the second width re-soak (or steam) the next
3 widths so they will be ready for stripping when you get there.
Now work your way around the room re-soaking as necessary
removing all traces of paper.
Fig 1.1
Removing Old Wallpaper (vinyl Coverings).
Some vinyl coverings can be simply peeled off the wall, to do this take
your wallpaper scraper and lift one corner of a width and pull firmly,
the paper should come away from the wall fairly easily (see Fig 1.2).
Once you have peeled all of the vinyl away wash down the wall with a
suitable detergent to remove any old adhesive left by the covering.
Other vinyl coverings have a paper backing, to remove these
coverings lift one corner and pull the vinyl away from the backing
paper, then soak the backing paper and remove as you would normal
wallpaper (see above).
Fig 1.2
Light Switches and Electrical Sockets
Isolate the power at the main fuse box and then remove the face plate with the securing screws
this will allow you to remove any old paper that is stuck behind the socket/switch. Replace the
face plate when finished.

Finishing off
Finally inspect the walls for cracks, holes and any loose plaster.
For small cracks use a suitable fine filler, for larger cracks and holes
use a stronger more suitable filler (see manufacturer's instructions).
To check for any loose plaster, tap the wall around any suspect areas
and remove any loose flaky plaster.
When filling try and leave a nice smooth finish, it is better to leave the
filled area slightly proud of the surrounding area and then sand down
with a fine sandpaper and sanding block (see Fig 1.3) until flush.
Fig 1.3
Wyszukiwarka
Podobne podstrony:
Ammonia Stripping
Napoje z i?z alkoholu Strawberry Stripper
Caulking and Stripping
Hanging Wallpaper
C Gilman The Yellow Wallpaper
wallpainting
Al Stevenson 75 Tricks With A Stripper Deck
Stripped cat toys cats
Hanging Wallpaper 2
How to hang wallpaper
Stripped Bare by SydneyAlice COMPLETE
Caulking and Stripping
tressie lockwood stripped bear
Wallpaper a ceiling
Sahara Kelly The Glass Stripper
więcej podobnych podstron