htdctmw 109

As far as we know, this is the first time this technique has ever been offered to anyone outside the halcyon halls of Marvel! On the pages that follow, we’re going to show you, step by step, exactly how a page might be penciled for a comicbook.
Actually, the page you’re about to study was originally done for a strip called CAPTAIN BRITAIN, published by Marvel Comics for distribution and sale in Great Britain. The artist was given a plot description rather than a complete script containing dialogue. Therefore, we won’t concern ourselves with captions or dialogue balloons, but merely with drawing the panels according to the plot.
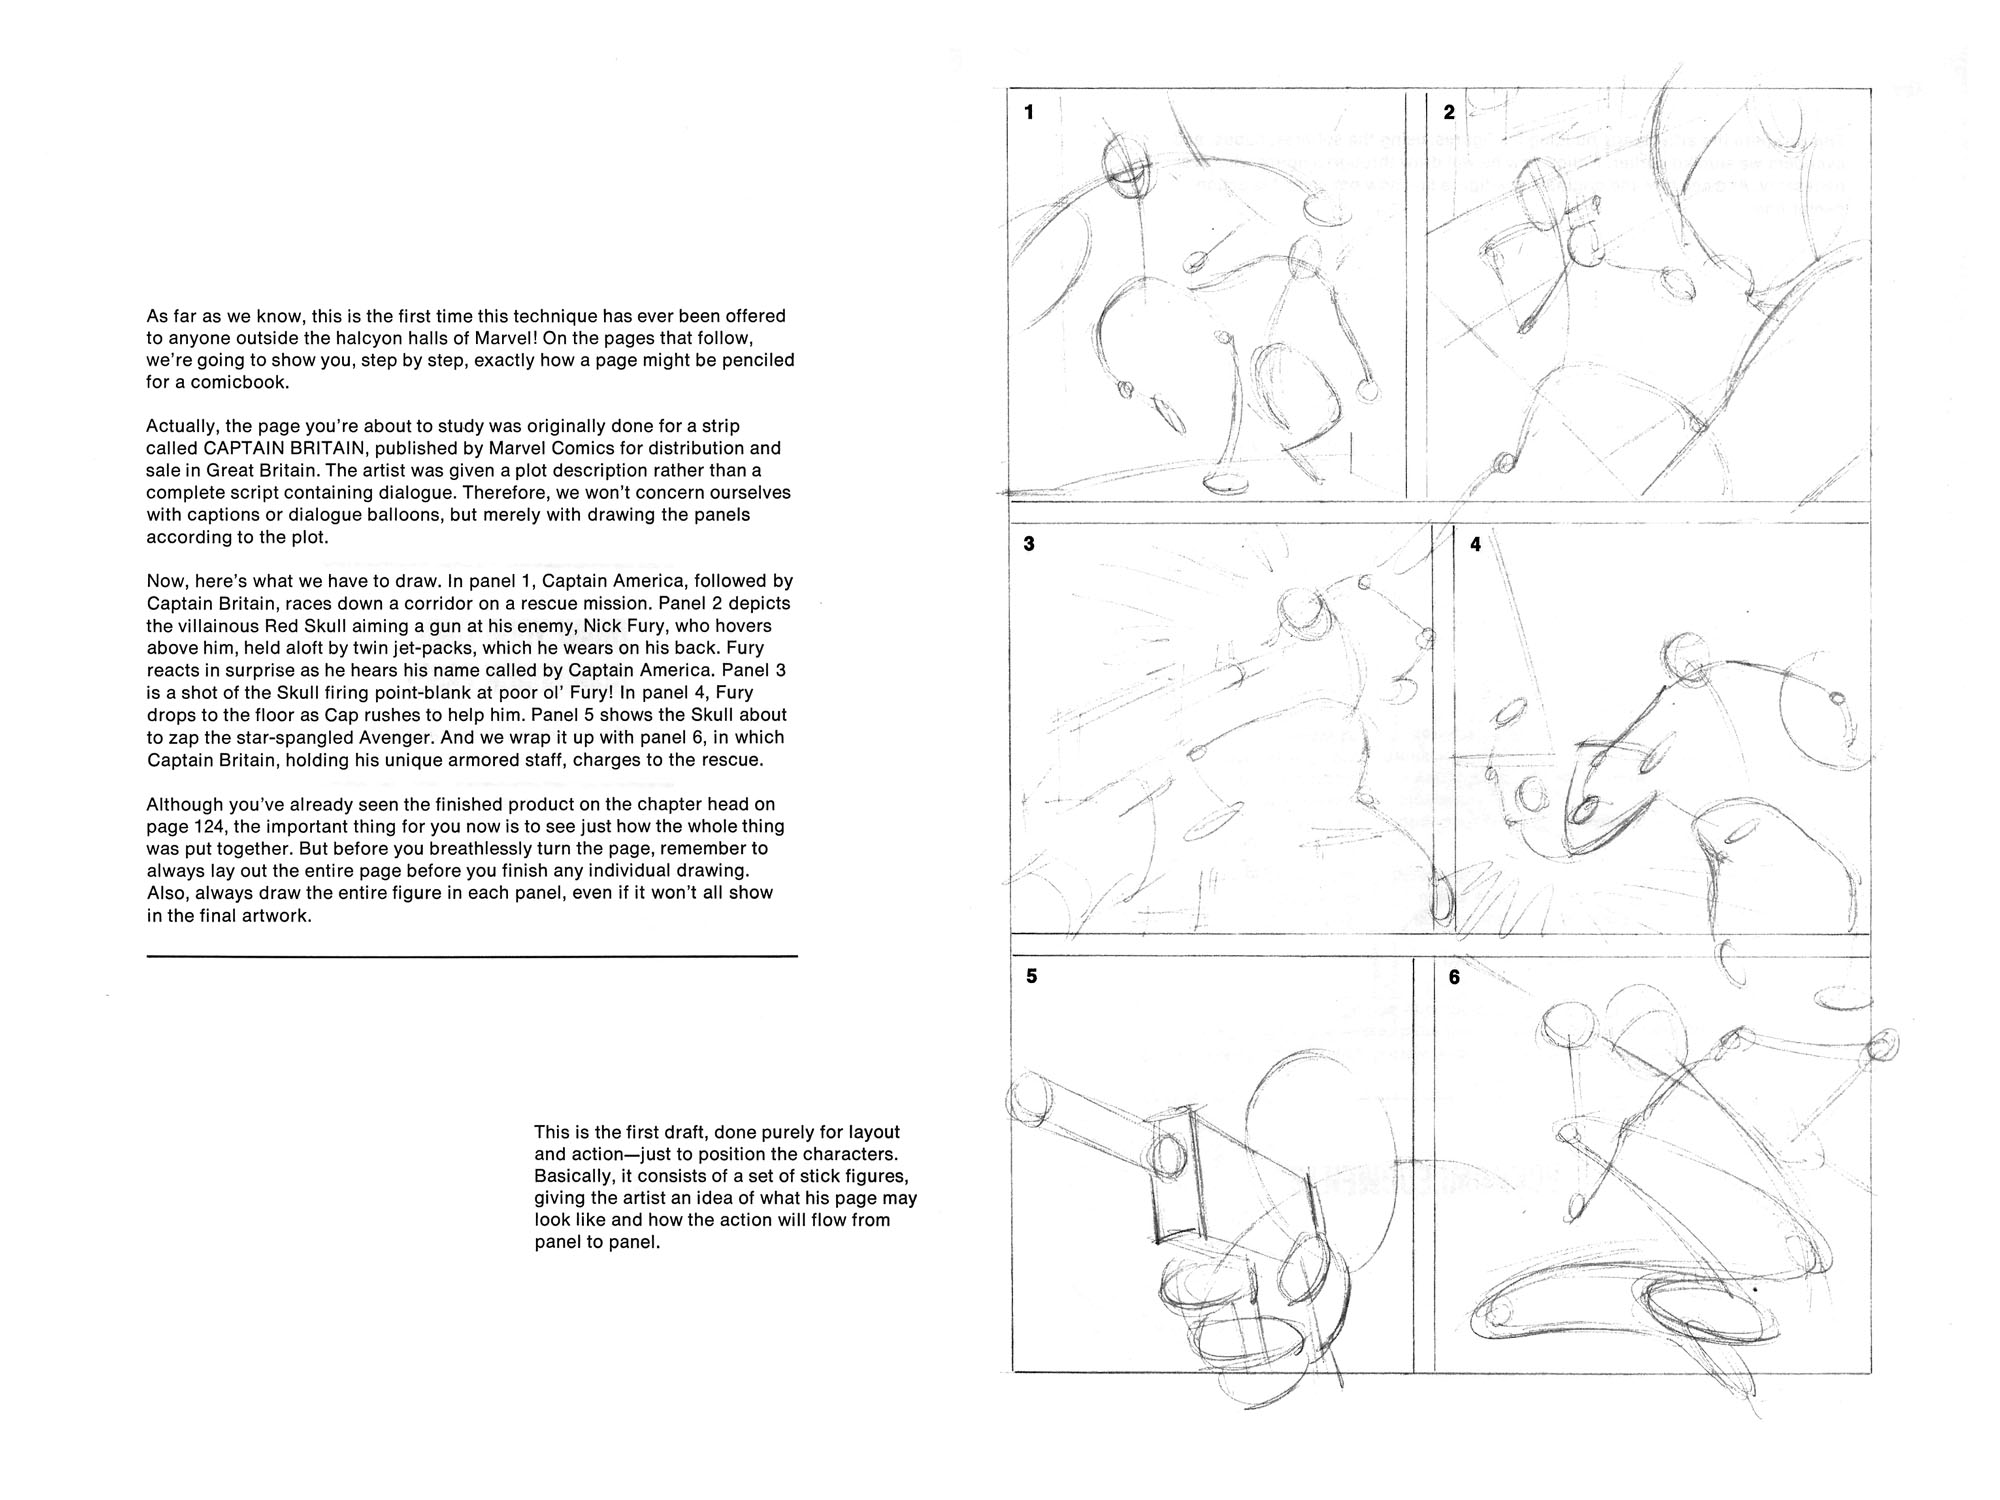
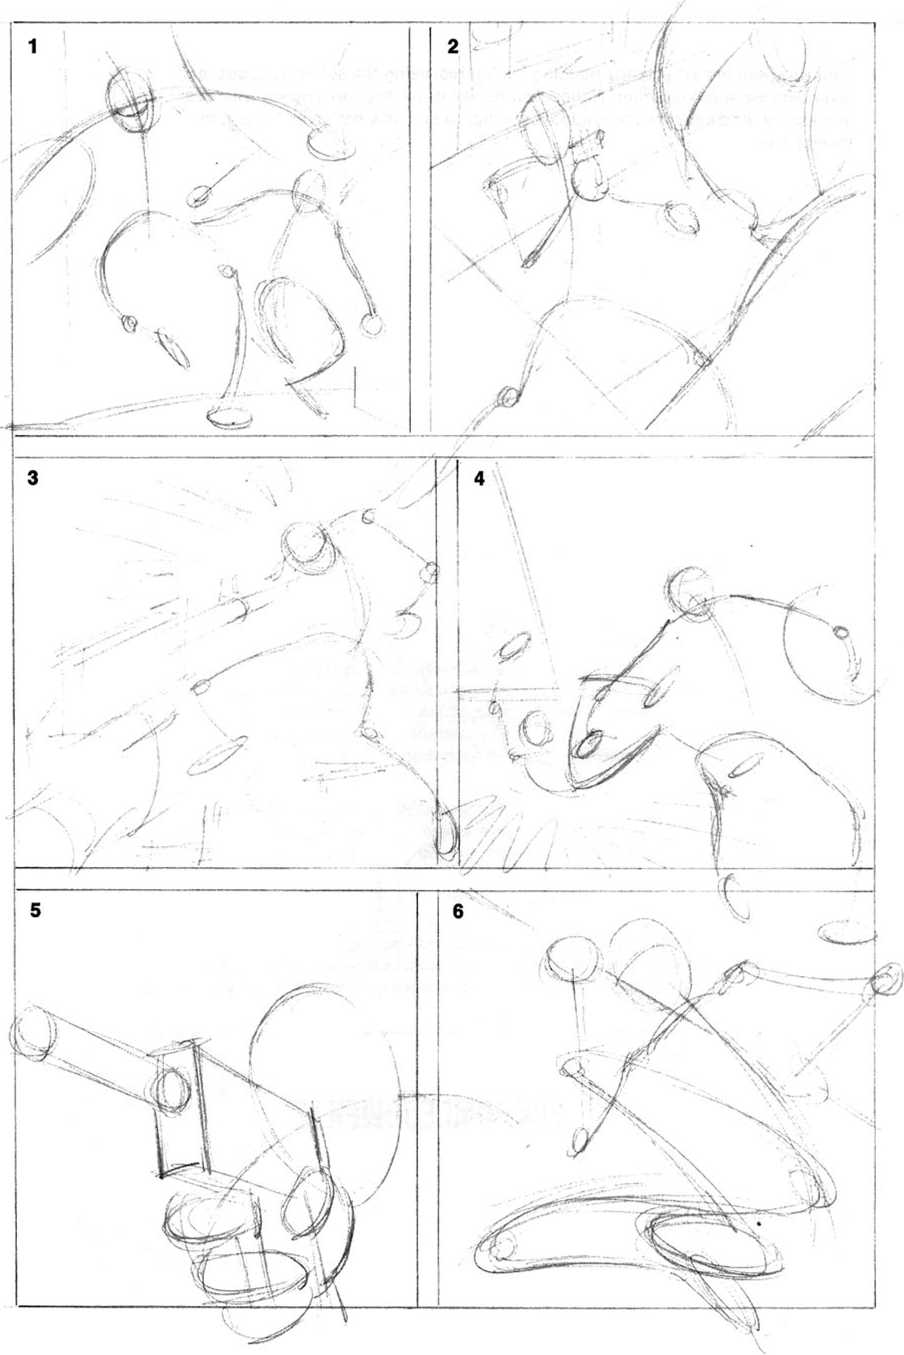
Now, here’s what we have to draw. In panel 1, Captain America, followed by Captain Britain, races down a corridor on a rescue mission. Panel 2 depicts the villainous Red Skuli aiming a gun at his enemy, Nick Fury, who hovers above him, held aloft by twin jet-packs, which he wears on his back. Fury reacts in surprise as he hears his name called by Captain America. Panel 3 is a shot of the Skuli firing point-blank at poor ol’ Fury! In panel 4, Fury drops to the floor as Cap rushes to help him. Panel 5 shows the Skuli about to zap the star-spangled Avenger. And we wrap it up with panel 6, in which Captain Britain, holding his unique armored staff, charges to the rescue.
Although you’ve already seen the finished product on the chapter head on page 124, the important thing for you now is to see just how the whole thing was put together. But before you breathlessly turn the page, remember to always lay out the entire page before you finish any individual drawing.
Also, always draw the entire figurę in each panel, even if it won’t all show in the finał artwork.
This is the first draft, done purely for layout and action—just to position the characters. Basically, it consists of a set of stick figures, giving the artist an idea of what his page may look like and how the action will flow from panel to panel.

Wyszukiwarka
Podobne podstrony:
HISTORY AS WE KNOW IT1189 Richard the Uorheart errbarks on the Thlrd Crusade. Ieaving the rok* of tn
life (3) life as we know it obc -SBSssaat. *$ęoo*n
HISTORY AS WE KNOW IT 1941 1945 2001 Hitler prepares to invade Russia Nazi Germany loses the
HISTORY AS WE KNOW IT AD 37 Calgula comes to pana as Emperor AD 41 AD 54 Cal gula
1888 Vktarian London the Rpper muidets are on go IngHISTORY AS WE KNOW IT 2043: London: an ovcr-<
S5002277 Figurę Z: as me snaon appnzawi iw» w w ... the rotat on of the part can actuafły puH the Tr
TWO DIFFERENT STATE OF MOBILE SCENE This is the functional character of the mobile scene. In this fo
NTRODUCTION The time flies, it seems that we have just celebrated the fiftieth anniversary of the Vo
THE CPTWD METHOD Besides this, the rangę of U has also been increased to 50 Bar in order to achieve
calibre cover etgarkęret •ME IS A BRILLIANT WRITER, ENTIRELY DIFFERENT FROM ANY OTMER I KNOW. HE IS
więcej podobnych podstron