
7
. A.C. GENERATOR
7-0
ZX / SCOUT 50
7
__________________________________________________________________________________
__________________________________________________________________________________
__________________________________________________________________________________
__________________________________________________________________________________
__________________________________________________________________________________
A.C. GENERATOR
__________________________________________________________________________________
SERVICE INFORMATION........................................................ 7-2
A.C. GENERATOR REMOVAL................................................. 7-3
A.C. GENERATOR INSTALLATION ........................................ 7-4
7
7
. A.C. GENERATOR
7-1
ZX / SCOUT 50
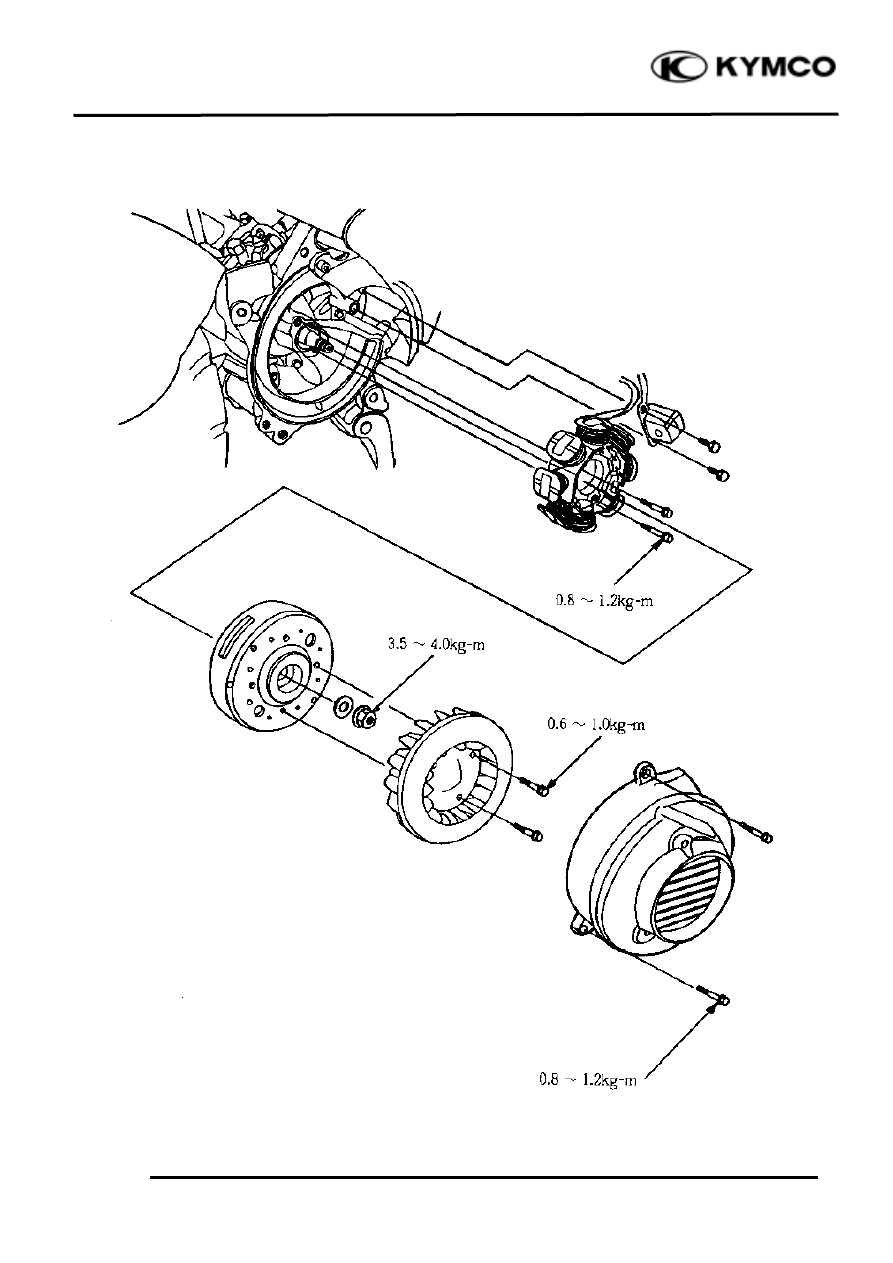
Torque: 3.5
4.0kg-
m
Torque: 0.8
1.2kg-
m
Torque: 0.6
1.0kg-
m
Torque: 0.8
1.2kg-m

7
. A.C. GENERATOR
7-2
ZX / SCOUT 50
SERVICE INFORMATION
GENERAL INSTRUCTIONS
• All A.C. generator maintenance and inspection can be made with the engine installed.
• Refer to Section 15 for A.C. generator inspection.
TORQUE VALUE
Flywheel nut : 3.5
4.0kg-m
SPECIAL TOOLS
Flywheel puller
Universal holder
7
. A.C. GENERATOR
7-3
ZX / SCOUT 50
A.C. GENERATOR REMOVAL
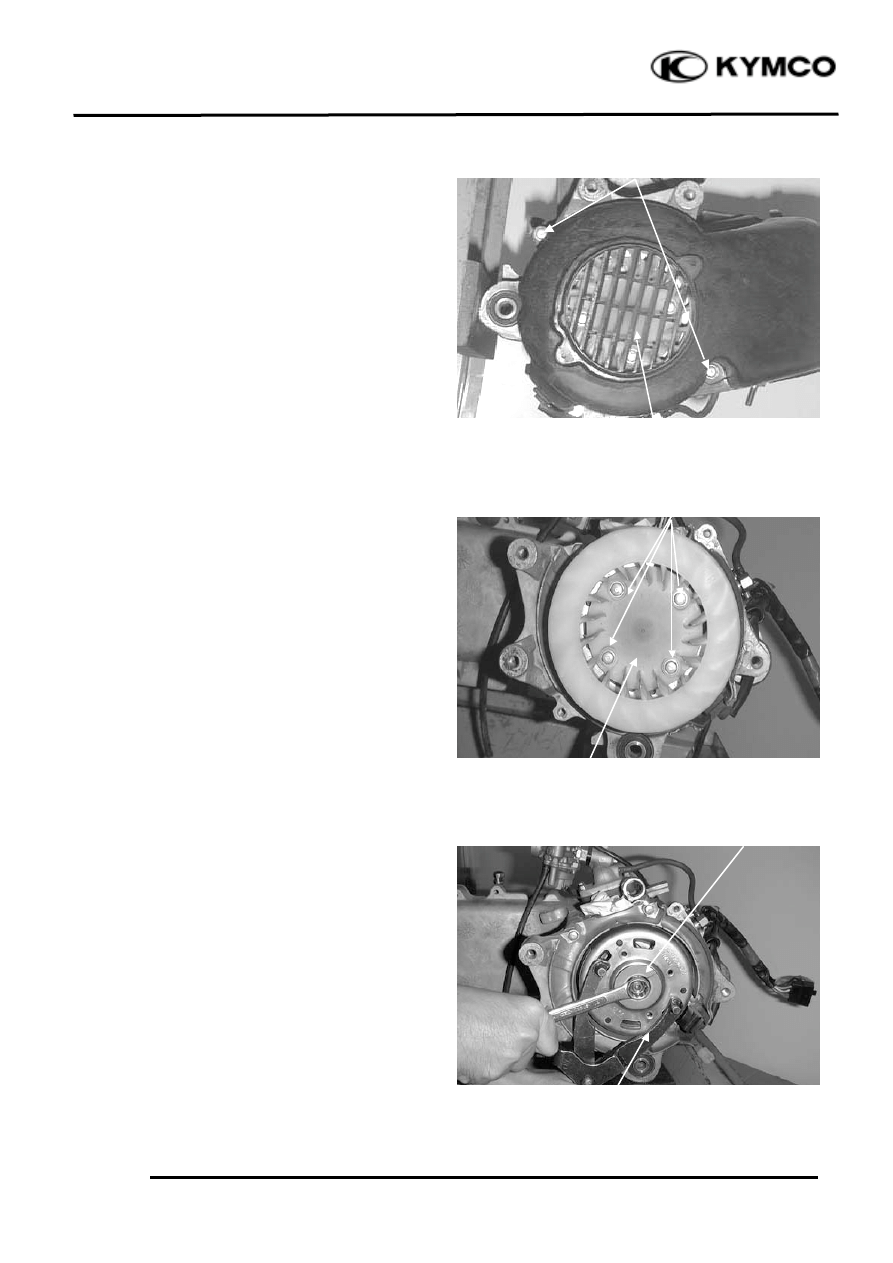
Remove the three bolts attaching the fan
cover to remove the fan cover.
Remove the cooling fan by removing the
four bolts.
Hold the flywheel with an universal holder
and then remove the flywheel nut.
Fan Cover
Bolts
Bolt
Nut
Universal Holder
Cooling Fan
7
. A.C. GENERATOR
7-4
ZX / SCOUT 50
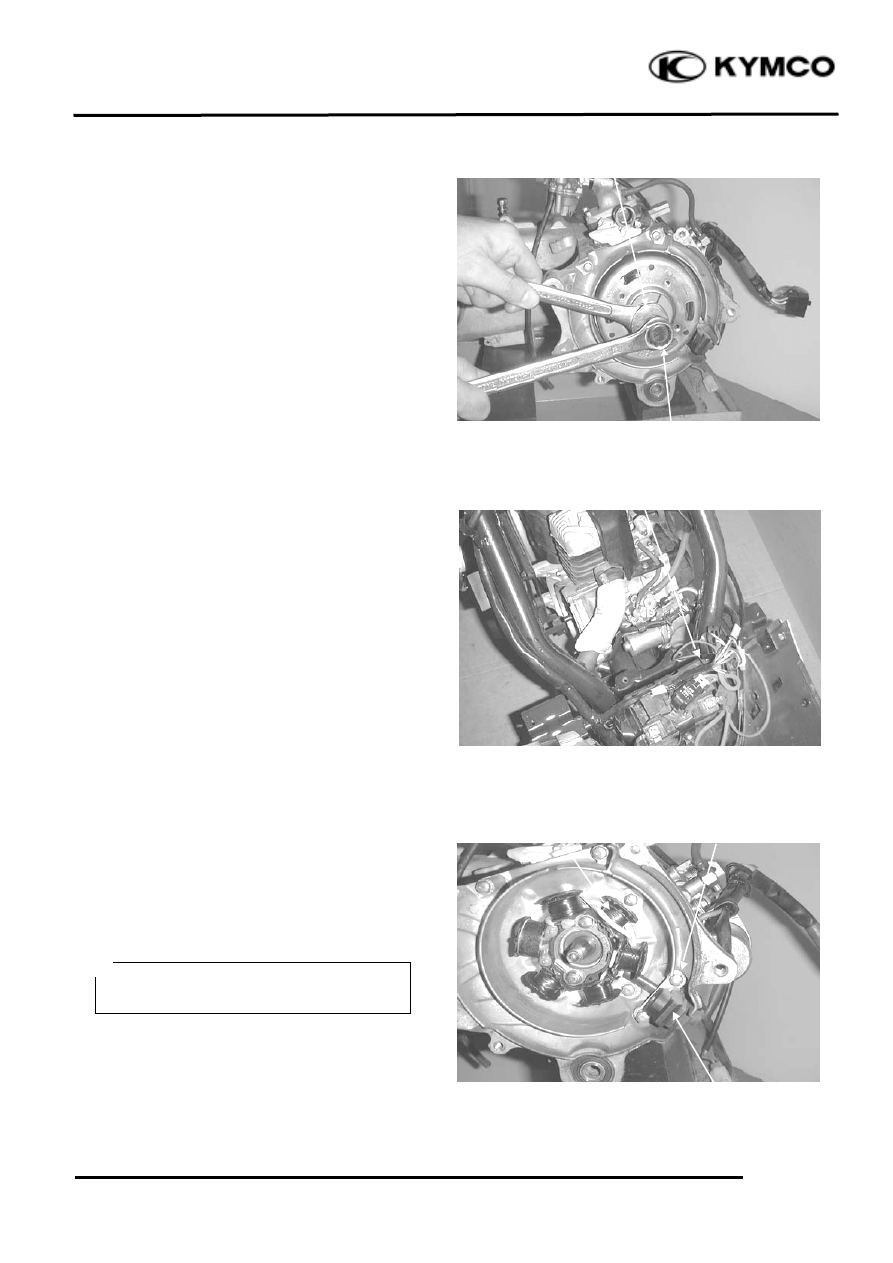
Remove the A.C. generator flywheel using
the flywheel puller.
Remove the A.C. generator wire connector.
Remove the two pulser coil bolts and pulser
coil from the right crankcase.
Remove the pulser coil wire clamp from the
right crankcase.
Remove the two bolts attaching the A.C.
generator stator.
A.C. GENERATOR INSTALLATION
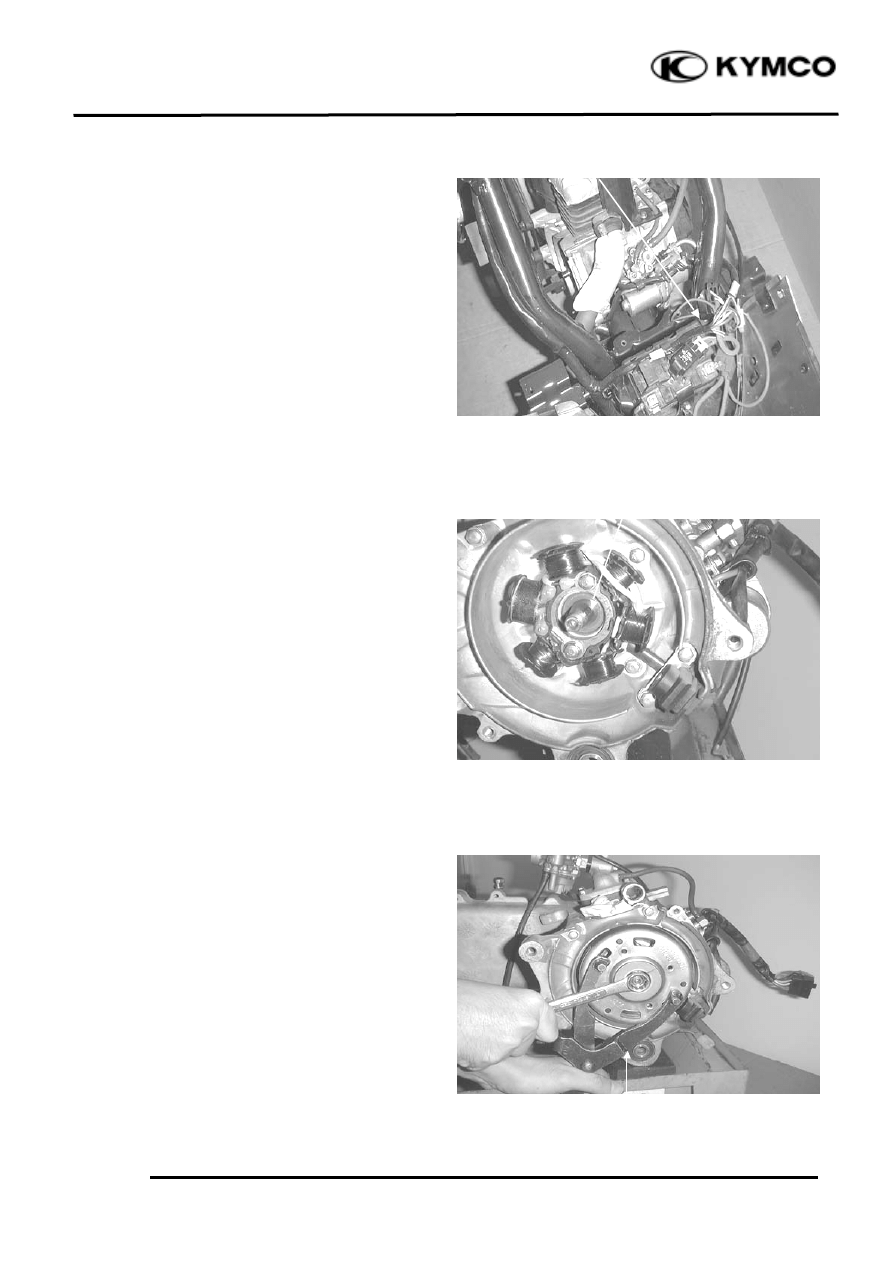
Install the A.C. generator stator and pulser
coil wire clamp onto the right crankcase,
and then install the pulser coil.
Be careful not to damage the discon-
nected wire.
Lock Nut Wrench
A.C. Generator Wire Connector
Stator
Flywheel Puller
Pulser Coil
Wire Clamp
7
. A.C. GENERATOR
7-5
ZX / SCOUT 50
Connect the A.C. generator wire connector.
Clean the taper hole in the flywheel off any
burrs and dirt.
Install the woodruff key in the crankshaft
keyway.
Install the flywheel onto the crankshaft
with the flywheel groove aligned with the
crankshaft woodruff key.
Hold the flywheel with the universal holder
and install the flywheel flange nut.
Torque: 3.5
4.0kg-m
Start the engine and check the ignition
timing. (!3-7)
Install other removed parts in the reserve
order of removal.
A.C. Generator Wire Connector
Woodruff Key
Universal Holder
Wyszukiwarka
Podobne podstrony:
ZX50 cap 12 (plastiche)
ZX50 cap 09 (riduzione finale)
ZX50 cap 08 (trasmissione)
ZX50 cap 00 (prefazione)
ZX50 cap 04 (lubrificazione)
ZX50 cap 11 (carburatore)
ZX50 cap 14 (ruota freno sospensione post)
ZX50 cap 01 (indice e specifiche)
ZX50 cap 16 (strumentazione interruttori luci)
ZX50 cap 13 (manubrio ruota freno sospens ant)
ZX50 cap 02 (info generali)
ZX50 cap 17 (imp scarico)
ZX50 cap 06 (testa cilindro pistone)
ZX50 cap 05 (rimozione motore)
ZX50 cap 03 (manutenzione)
ZX50 cap 15 (imp elettrico)
ZX50 cap 12 (plastiche)
ZX50 cap 09 (riduzione finale)
więcej podobnych podstron