
Page 1 of 6
IP Version 6
This lab will provide an introduction to configuring IPv6 on an OmniSwitch.
Equipment Required:
One OmniSwitch
Two IPv6 enabled PCs
Objective:
This lab will introduce the IPv6 protocol. IPv6 is the next generation IP
protocol that allows for an increased number of IP address and ease of IP
address management.
Related Commands:
show ipv6 interface, ipv6 interface <int_name>,
ping6 <ipv6 address>,
Supported Platforms:
All
Lab Steps
Enabling IPv6 on an OmniSwitch
– Link Local Addressing
Enabling IPv6 on an OmniSwitch is similar to enabling IPv4. An IPv6 interface
will need to be enabled and associated with a VLAN. The OmniSwitch will
automatically create a Link Local IPv6 address.
Type/perform the following.
1. Remove any existing configuration from the WORKING
directory and reboot.
2. Connect your PC to the switch to activate VLAN 1
3.
-> show ipv6 interface
-> show ipv6 interface
Name IPv6 Address/Prefix Length Status Device
--------------------+-------------------------------------------------+-------+----------
loopback ::1/128 Active Loopback
You may see some IPv6 addresses already setup. In IPv6, the address ::1
indicates an IPv6 loopback address.
Type the following:
4.
-> ipv6 interface vlan1_v6 vlan 1
5.
-> show ipv6 interface
6.
-> show ipv6 interface vlan1_v6

Page 2 of 6
-> show ipv6 interface
Name IPv6 Address/Prefix Length Status Device
--------------------+-------------------------------------------------+-------+----------
vlan1_v6 fe80::2d0:95ff:fe6b:943/64 Active VLAN 1
loopback ::1/128 Active Loopback
You should see the newly created interface with an IP address in the fe80 range.
The fe80 range indicates that this is a Link Local address and was automatically
created by the IPv6 interface. The address breaks down as follows:
fe80 - Link local as stated in the IPv6 protocol
::
- Replaces a string of zeros
02d0:95ff:fe6b:9430
– MAC address of OmniSwitch router interface with
2
nd
bit of leftmost byte complemented and fffe inserted after the 3
rd
octet.
This is part of the IPv6 protocol
/64
– Network Prefix
Now t
hat IPv6 is enabled on the switch, let’s try a basic connectivity test using
PING to the loopback interface.
Type the following:
7.
-> ping6 ::1
-> ping6 ::1
Ping6(56=40+8+8 bytes) ::1 --> ::1
16 bytes from ::1, icmp_seq=0 hlim=64 time=424 usec
16 bytes from ::1, icmp_seq=1 hlim=64 time=506 usec
16 bytes from ::1, icmp_seq=2 hlim=64 time=482 usec
16 bytes from ::1, icmp_seq=3 hlim=64 time=473 usec
16 bytes from ::1, icmp_seq=4 hlim=64 time=475 usec
16 bytes from ::1, icmp_seq=5 hlim=64 time=682 usec
--- ::1 ping6 statistics ---
6 packets transmitted, 6 packets received, 0% packet loss
round-trip min/avg/max = 0.424/0.507/0.682 ms
8.
-> ping6 fe80::02d0:95ff:fe##:#### vlan1_v6
(##:#### is your IPv6 interface address)
(vlan1_v6 indicates which interface to send from)
Device connectivity using IPv6 and Link Local Addressing
Using IPv6, the process of getting PCs and switches to communicate is
simplified. The IPv6 protocol uses Link Local addressing to allow communication.
This lab assumes you’re using the Windows XP machines provided in the
classroom.
Type/perform the following:
9.
c:\ipv6 install
10.
c:\ ipconfig /all
You should see that your PC automatically configured itself with an IPv6 Link
Local address. This allows communication between the PC and the switch.

Page 3 of 6
Type/perform the following:
11.
c:\ ping fe80::02d0:95ff:fe##:####%4
(Note: replace ‘4’ with the appropriate source interface)
Enabling IPv6 on an OmniSwitch
– Site Local Addressing
Link Local addresses are automatically created by interfaces running the IPv6
protocol. However, Link Local addresses are not routable. In order to route IPv6
traffic between VLANs on an OmniSwitch we must create a Site Local Address.
Type the following:
12.
-> ipv6 address fec0::/64 eui-64 vlan1_v6
13.
-> show ipv6 interface
-> show ipv6 interface
Name IPv6 Address/Prefix Length Status Device
--------------------+-------------------------------------------------+-------+----------
vlan1_v6 fe80::2d0:95ff:fe6b:943/64 Active VLAN 1
fec0::2d0:95ff:fe6b:943/64
You should now see that a Site Local Address in the fec0:: range has been
created and associated with the vlan1_v6 interface.
Type/perform the following
14.
c:\ipconfig
You should see that the PC also has an IP address in the
fec0: range. IPv6 uses Neighbor Advertisements to tell the
PC its Site Local Address, matching that of the OmniSwitch.
Type the following:
15.
-> ping fec0::02d0:95ff:fe##:####%1
Routing IPv6 on an OmniSwitch
Now that VLAN 1 has a Site Local routable address, perform the same steps for
another VLAN on the OmniSwitch and connect an IPv6 enabled PC to that
VLAN. Then use PING to test routing connectivity from one PC to another.
Perform the following: (Quick Steps)
16. Create another VLAN on the OmniSwitch
17. Move a port into that VLAN
18. Connect an IPv6 enabled PC to that port
19. Create another IPv6 interface and associate it with the VLAN
20. Test connectivity to the Link Local Address from the PC
21. Create a Site Local Address in a different network. (i.e.
fec1)
Page 4 of 6
22. Test connectivity to the Site Local Address of both VLANs
23. Test connectivity to the Site Local Address of both PCs
You should see that the OmniSwitch is now routing between the VLANs using
IPv6.
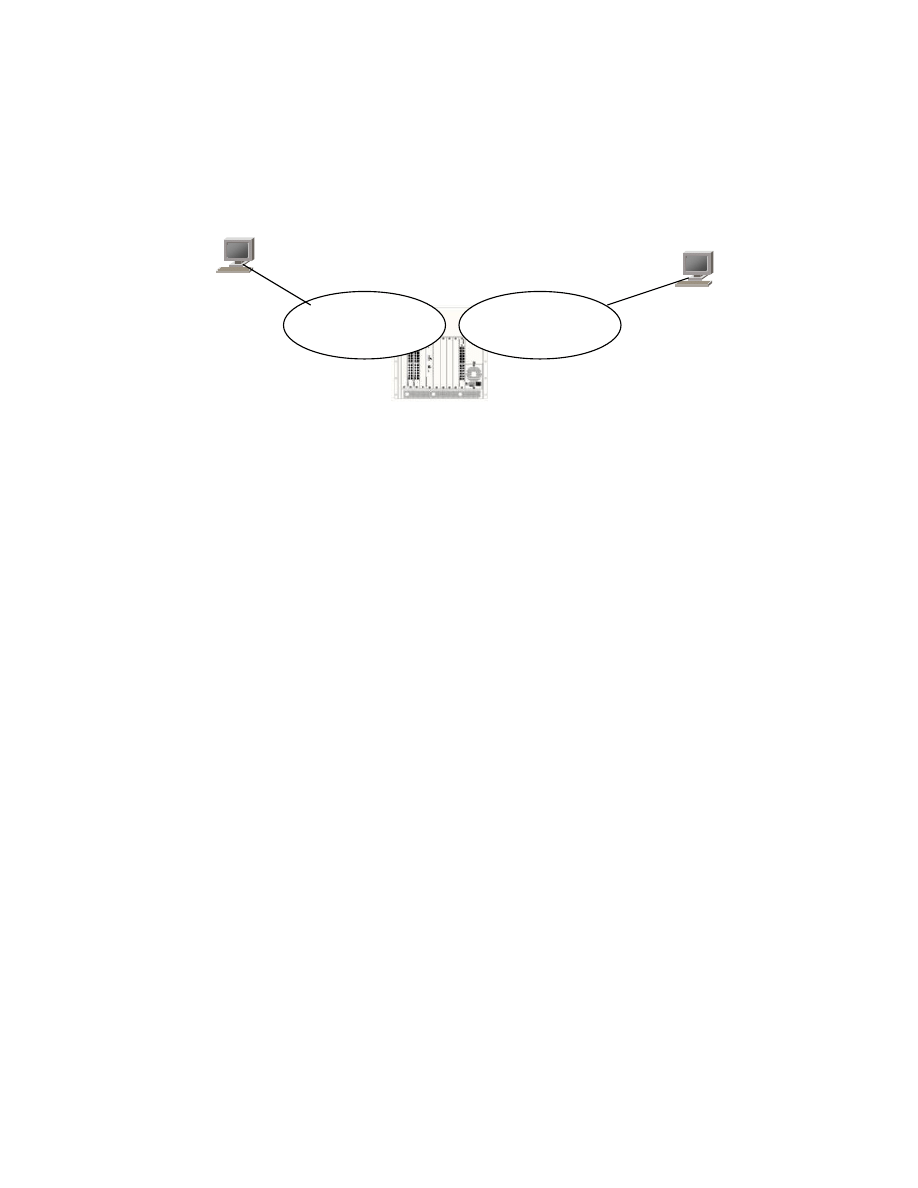
VLAN 1
IPv6 Link Local
IPv6 Site Local
IPv6 – Link Local
IPv6 Site Local – VLAN 2
Gateway VLAN 2 Site Local
VLAN 2
IPv6 Link Local
IPv6 Site Local
IPv6 – Link Local
IPv6 Site Local VLAN 1
Gateway VLAN 1 Site Local

Page 5 of 6
Summary
This lab introduced the basics of the IPv6 protocol on an OmniSwitch.
Lab Check
1. How does an IPv6 interface get its Link Local address?
2. How does an IPv6 interface get its Site Local Address?
3. PCs running IPv6 need to have their address statically
defined. (T/F)
4. Does your company have any plans to implement IPv6?

Page 6 of 6
NOTES PAGE
Wyszukiwarka
Podobne podstrony:
C1 R6 OK
BAT met niez r6
5a 6 5 2 5 Lab Rozwiązywanie problemów związanych z trasami statycznymi IPv4 oraz IPv6
R6?sic
IPv4 oraz IPv6, Prace - dokumenty
K1 R6, Edukacja, Elektrotechnika Magisterskie, Semestr 1, Maszyny Elektryczne
Pasowanie Ø40H7 r6
R6 Środki dowodzenia
inne, pervin r6, Podłużne badania życia ludzkiego
Pytania6-7, R6-R7
R6-2 Rozczłonkowanie i kondensacja norm prawnych, Prawo, Prawoznawstwo- Konserwatoria
8 2 5 4 Lab Identifying IPv6?dresses
lab2 IPv6
Ładowarka akumulat Typu R6
wykład R6
IPv6 2 Datagram IPv6
R6 90-99
więcej podobnych podstron