
©Eastman Kodak Company, 1999
March 1999
•
AB-20
CUSTOMER SERVICE PAMPHLET
Close-up Photography with 35 mm
Cameras
Dewdrops on a fern, the vein structure of a leaf, the detail of
a bumblebee's wing—much of close-up photography is
concerned with recording details or small subjects.
Naturalists use close-up photography to reveal delicate
beauty sometimes hidden from the human eye.
Because of many advances in cameras and lenses,
close-up photography is now easy even for the beginning
photographer.
This information will help you to use a 35 mm
single-lens-reflex (SLR) camera to record the wonder and
beauty of the miniature world and to discover and explore
small objects.
THE GIVE AND TAKE OF CLOSE-UPS
Close-up photography is a balancing act. The subject matter
is so close to the camera lens that you must carry out each
step with great care.
To make close-ups, you must consider the following
factors and the relationships between them:
• The greater the magnification, the more limited the
depth of field. In close-up pictures, depth of field is very
shallow.
• Smaller apertures produce greater depth of field.
• Medium to small apertures, such as f/8, f/l1, and f/16,
require longer exposure times. You may need to use a
tripod to hold the camera steady.
Selecting a high-speed film or adding flash illumination
will let you use smaller apertures for greater depth of field
and/or higher shutter speeds to minimize subject movement
or the effects of an unsteady camera.
RULES OF THE ROAD
Here are four simple rules that will guide you in learning
how to take close-up photographs:
1. Know your camera well enough so that you can focus,
set the aperture and shutter speed, make the exposure,
and advance the film without thinking too much about
the sequence.
2. Use a camera and lens of the best quality. Choose
features that appeal to you for both conventional and
close-up photography. (See “Cameras” and “Lenses.”)
3. Experiment with different camera angles and subject
distances to view as many possibilities as you can before
making the exposure. Consider what features you most
want to show; then get close enough to fill the frame
with the subject.
4. Keep a written record of each exposure so that you can
learn from your successes and your mistakes. Your notes
should include the film type, the aperture and shutter
speed, and the close-up equipment and lighting you
used.
FILMS
Kodak makes a variety of films suited for close-up
photography.
Basically there are two types of film: negative film and
transparency (slide) film. The result with a negative film is a
color or black-and-white print. Negative films have greater
exposure latitude and can handle contrasty lighting better
than slide films.
The result with a slide film is a transparent color photo that
matches the original scene. Slide films require more accurate
exposure than negative films. You can project slides or have
prints made from them.
Films are available in low, medium, high, and very high
speeds.
Low-speed films have the finest grain and best resolution.
With a low-speed film, you will need to use flash, work in
bright sunlight, or mount your camera on a tripod. If you
prefer slides, KODACHROME 25 Film has extremely fine
grain and excellent color rendition.
Medium-speed films offer a good compromise between
speed and image quality. KODACHROME 64 Film has
remarkable sharpness and excellent color rendition. KODAK
GOLD 100 and 200 Films offer high sharpness and more
color saturation under general lighting conditions. KODAK
ROYAL GOLD 100 Film is a medium-speed film with
microfine grain. For slides with rich, saturated color and
excellent sharpness, you can use medium-speed KODAK
ELITE Chrome 100 Film.
With high- and very-high-speed films, you can
photograph in low-light conditions, obtain more depth of
field, extend flash-distance range, or use a shutter speed fast
enough to stop action or handhold the camera.

2
Close-up Photography with 35 mm Cameras
•
AB-20
KODAK GOLD 400 Film offers high speed, medium
sharpness, and very fine grain. KODAK ROYAL GOLD
1000 Film is a very high-speed film with medium grain, high
sharpness, and medium resolving power. ELITE Chrome
400 Film (for color slides) offers high speed and the option
of push processing to ISO 800.
Black-and-white films are a good choice for
photographing subjects that are highly textured, detailed, or
patterned. KODAK Technical Pan Film processed in
KODAK TECHNIDOL Developer gives large-format
performance from a 35 mm black-and-white film. The very
high resolving power, extremely fine grain, and extremely
high sharpness of KODAK T-MAX 100 Professional Film
make it great for detailed subjects. The high speed of
KODAK T-MAX 400 Professional Film will enable you to
handhold your camera and stop action, and its extremely fine
grain will yield excellent enlargements.
EQUIPMENT
Beginning photographers are often fearful of close-up
photography. They think it is difficult and that only
professionals can take compelling photographs of flowers,
insects, coins, and similar subjects. With an SLR camera and
some close-up equipment, taking close-up photos is easy.
Several devices can help you move in close for sharp
pictures. They include supplementary lenses, close-focusing
lenses, reversing rings, teleconverters, extension tubes, and
bellows.
Cameras
You can take close-up photos with just about any camera, but
the 35 mm single-lens-reflex (SLR) camera is the easiest to
use. It is the most popular and widely used camera because
you see exactly what your camera sees. The SLR camera has
through-the-lens (TTL) viewing and focusing systems. It is a
very versatile camera that features interchangeable lenses
that you can remove or attach easily and quickly. The SLR
camera is also lightweight for easy carrying. Because SLR
cameras have built-in meters behind the lens, they eliminate
exposure calculations for most photography.
Some close-up photographers use larger-format cameras.
The advantage is that the larger film size (120 or 4 x 5-inch
film) requires less magnification than 35 mm film to make an
enlargement of equal size. Therefore, the film grain of larger
format film is less apparent in an enlarged print. Larger
format cameras are excellent for photographing stationary
objects. However, they are much heavier and larger than
35 mm SLRs, and you need a tripod to hold these cameras
steady.
The immediate ancestor of the 35 mm SLR is the
rangefinder camera. Most modern rangefinder cameras are
autofocusing. Rangefinder cameras are not well suited for
close-ups. Close-up accessories are limited, and accurate
framing of the subject is difficult. The rangefinder camera
has a separate viewfinder located slightly higher than, and
sometimes to one side of, the lens. Because you can’t view
the subject through the lens that takes the picture, you cannot
tell exactly what will be in the picture. This problem is called
parallax. You can correct for parallax by tipping the camera
slightly in the direction of the viewfinder after you have
composed the picture.
Supplementary Lenses and Other Close-up
Devices
Supplementary Close-up Lenses.
The simplest devices
for making close-ups are supplementary lenses. These lenses
attach to your camera lens just as filters do. They are
available in different powers such as +1, +2, and +3.
These varying strengths are called diopters. The larger the
diopter value, the greater the magnification. With your
camera lens set at infinity, a +3 lens gives you a focusing
distance of about 13 inches.
You can use one or more of these lenses on your camera.
No exposure compensation is necessary. Put the most
powerful lens closest to your camera lens. If you link more
than three of these lenses, the quality of your close-ups will
suffer. You will get better sharpness if you use lens openings
of f/8 or smaller. Supplementary lenses are usually sold in
inexpensive sets for use with most cameras.
Variable close-up lenses are a combination of various
diopters all in one lens. A ring on the lens allows you to
change the diopter without changing to, or adding, another
lens.
The instructions that come with the lenses will tell you
how to use them.
Close-up Photography with 35 mm Cameras
•
AB-20
3
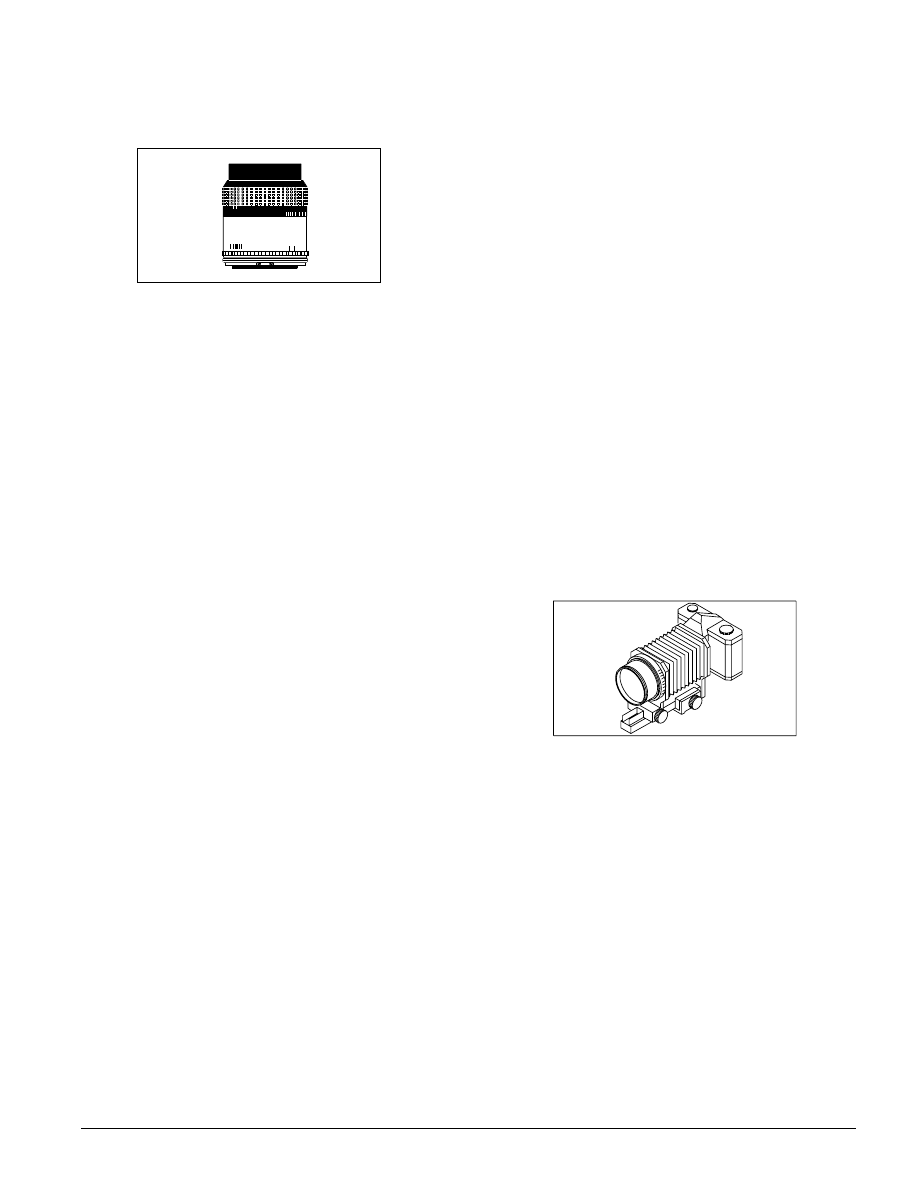
Close-Focusing Lenses.
These lenses, also called macro
or micro lenses, are specially designed for close-up
photography. You can also use them for normal subject
distances all the way to infinity. They range from
50 to 200 mm in focal length.
The focal length of a close-focusing lens determines the
camera-to-subject distance needed to produce a particular
image size. For example, the camera-to-subject distance
needed to obtain a 1:1 image size with a 50 mm lens is
8 inches. With a 105 mm lens, it is 16 inches. Short focal
lengths have a shorter working distance than long focal
lengths. A short working distance is an advantage for
close-ups of small or flat objects when you are working in a
cramped area or have your camera mounted on a copystand.
For outdoor close-ups, it is often better to have a longer
working distance so that you have more space to move
around in, set up equipment, and avoid casting shadows on
or frightening your subject.
Close-focusing lenses require an exposure increase at
close subject distances. However, your built-in meter will
indicate the exposure required. If you use a non-dedicated
flash or a separate exposure meter, you will have to calculate
the exposure compensation yourself.
Zoom Lenses.
A zoom lens has a range of focal lengths. It
is the equivalent of several fixed-focal-length lenses. By
adjusting the zoom ring of a 28 to 80 mm zoom lens, you can
use any focal length between 28 and 80 mm. Most zoom
lenses have a macro mode for close-up photography. For the
photographer who wants a versatile, general-purpose lens, a
zoom lens with a macro mode would be ideal. However, for
critical close-ups, a zoom lens in the macro mode will not let
you get close enough for a 1:3 magnification ratio. Also, it
will not produce as sharp an image or have as flat an optical
field over the entire frame as a fixed-focal-length macro lens
designed for close-up photography.
Reversing Rings and Teleconverters.
You can make
good close-ups with your normal lenses by using these
inexpensive devices. Reversing rings (available at most
camera stores) allow you to reverse your camera lens.
Because most lenses are asymmetrical (not identical power
on both ends), you get greater magnification when you
reverse them. A normal lens reversed and mounted on the
camera body will increase the lens magnification and project
an image up to 2/3X onto the film.
Reversing many wide-angle lenses will give even more
magnification, depending on focal length and design.
Determine exposure by using your built-in meter.
You can also reverse a short-focal-length lens onto a
longer-focal-length lens by using a macro-coupling ring.
This ring is threaded on both ends, one for the short lens and
one for the long lens. The effect is similar to that produced
by using an extension tube.
Teleconverters are multiple-element lenses that go
between the camera lens and the body to increase the focal
length of the lens. Reversing a normal lens onto a
3X teleconverter produces a 2X magnification. A
2X teleconverter will turn a 135 mm telephoto lens into a
270 mm lens. You can also use teleconverters with a long
lens such as a 400 mm telephoto lens to magnify the image
of distant subjects.
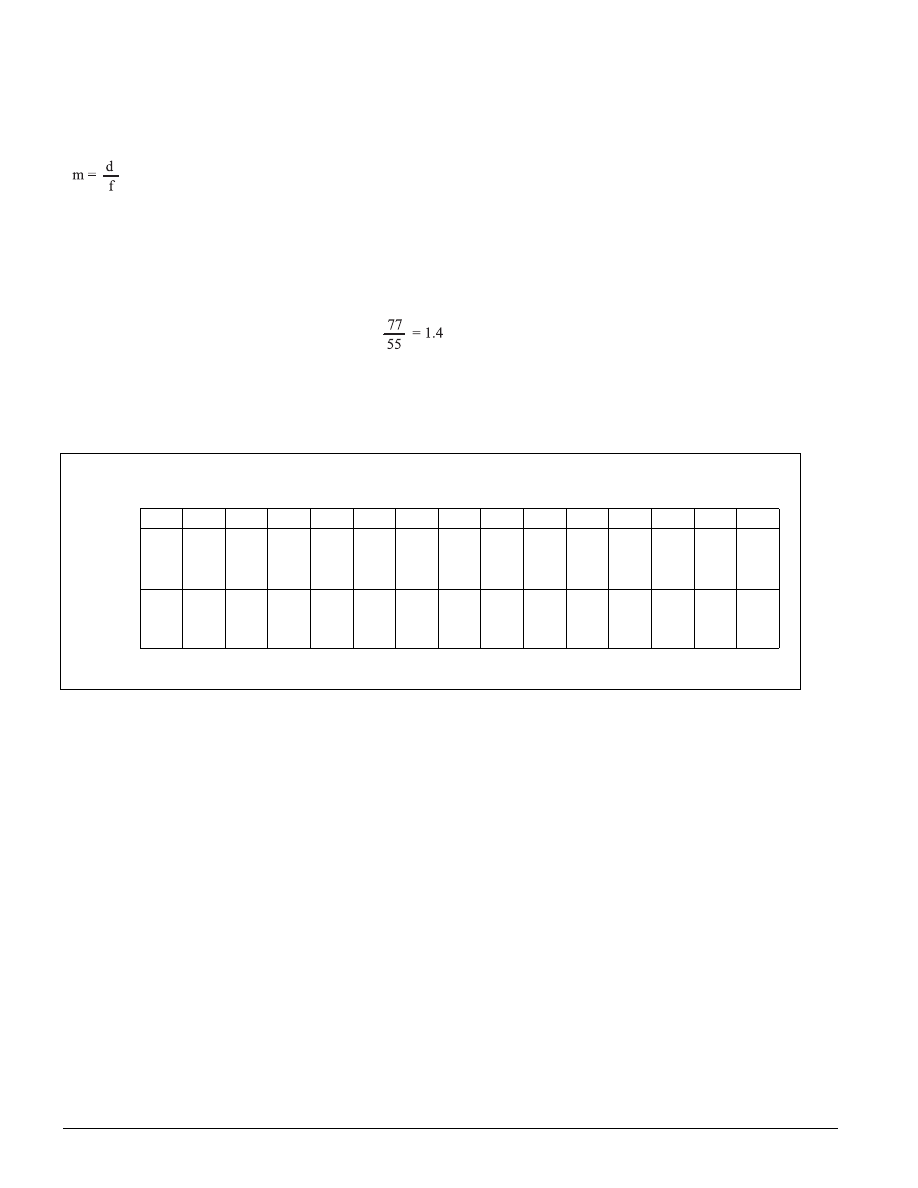
Bellows and Extension Tubes.
These devices fit between
the camera body and lens. Both extend the lens-to-film
distance to permit close focusing. Depending on the lens
extension you choose, you can obtain a wide range of
magnifications and get high-quality, larger-than-life-size
images.
Extension tubes are rigid rings of metal with no glass.
They usually are sold in sets of three, which you can use
separately or in combination. They are lightweight and
relatively inexpensive.
A bellows unit is a flexible extension unit that is a
precision instrument. You must use a tripod with a bellows
unit to keep the camera steady.
Because an extension tube or a bellows unit moves the
lens farther from the film, you must compensate for the light
loss. The longer the extension, the greater the exposure
increase must be. A built-in meter will indicate the exposure
required, except when you use a non-dedicated flash unit.
(See “Exposure Compensation.”) High-speed films such as
KODAK ROYAL GOLD 1000 and KODAK GOLD MAX
400 Film are excellent for use with an extension tube or a
bellows attached to your camera. High-speed films allow
you to use a higher shutter speed and a smaller lens opening
for greater depth of field.
4
Close-up Photography with 35 mm Cameras
•
AB-20
Exposure Compensation.
When you extend the lens-to-film distance
with bellows or extension tubes, less light reaches the film. If your camera
has a built-in meter, it will automatically indicate the correct exposure. If
your camera lacks a built-in meter, see the formula and table below or use
the instructions that came with your close-up equipment.
To use the table, first calculate the magnification by using this formula:
m = magnification
d = length of bellows extension or extension tube in millimetres
f = lens focal length in millimetres
To determine a value for “d” measure the distance from the film plane to
the front of the lens in millimetres. Take the distance measurement “d” and
the lens focal length “f” and put them into the above formula.
For example if d = 77 mm and f = 55 mm, then
Take 1.4, the value of “m,” and find it under magnification in the
table below. Then multiply the shutter speed or increase the
aperture by the number in the columns below the magnification.
EXPOSURE CORRECTIONS FOR EXTENSION TUBES OR BELLOWS
Magnification
0.2
0.4
0.6
0.8
1.0
1.2
1.4
1.6
1.8
2.0
2.2
2.4
2.6
2.8
3.0
*Multiply
Exposure
Time by
1.4
2.0
1.6
3.2
4.0
4.9
5.8
6.8
7.9
9.0
10.2
11.6
13.0
14.4
16.0
–OR–
1
⁄
2
1
1
1
⁄
4
1
3
⁄
4
2
2
1
⁄
4
2
1
⁄
2
2
3
⁄
4
3
3
1
⁄
4
3
1
⁄
4
3
1
⁄
2
3
3
⁄
4
3
3
⁄
4
4
Increase
Aperture
by (stops)
* Fractions have been rounded to one decimal place.
Electronic Flash
Electronic flash is ideal for many close-up subjects. Its short
duration freezes subject motion and camera shake, and its
bright light allows you to use smaller lens openings for more
depth of field. Automatic and dedicated units are the most
popular types available for 35 mm SLR cameras. Although
both types connect to a hot shoe on the camera, use a sync
cord for close-ups so that you can hold the flash off the
camera and aim it accurately.
Automatic flash units are compatible with any 35 mm
SLR camera. They have a built-in sensor that measures the
amount of light reflected by the subject. When the sensor
detects enough light for proper exposure, the flash stops
emitting light. If you use bellows or extension tubes, you
need to compensate for light loss (see “Exposure
Compensation,” above).
A dedicated flash unit is designed to function with a
specific SLR camera. With your autoexposure camera set on
“P” or “A,” the flash will communicate with the camera and
set it to the proper shutter speed and aperture. Exposure is
measured through the lens (TTL) or off-the-film (OTF) by a
sensor at the film plane. When the sensor measures enough
light for proper exposure, the flash is automatically shut off.
Dedicated flash units greatly simplify close-up photography.
Because most dedicated flash units measure light at the film
plane, they automatically give the correct exposure with
most close-up attachments.
You can diffuse electronic flash to eliminate glare on the
subject by placing a thin white handkerchief over the flash.
You also can bounce the light off a white reflector to achieve
the same effect.
Flash mounted on the camera gives harsh frontal light.
With the flash off the camera, you can change the angle to
emphasize form and texture. Base exposure on
flash-to-subject distance. With off-the-camera automatic
flash, keep the sensor pointed at the subject. Dedicated flash
units require a special cord designed for the particular model
of flash you are using.

Close-up Photography with 35 mm Cameras
•
AB-20
5
A ringlight is an electronic flash unit specially designed
for close-up photography. It is a circular device that you can
attach to the front of a lens, filter, or close-up lens with an
adapter ring. A ringlight is so close to the lens axis that the
light it emits is shadowless, and its compactness makes it
easy to use in tight spaces.
Many photographers use flash outdoors. Depth of field
will be greater because you can use a smaller lens opening.
When you use smaller openings and fast shutter speeds, the
background will go dark. This helps eliminate distractions.
Flash also lets you use slow, fine-grained films.
You can also obtain pleasing close-ups outdoors without
using a flash. Try using an aluminum-foil reflector to reflect
light into shadow areas. Close-ups of flowers are enhanced
greatly by back- and sidelighting. To compensate for the
excess blue light from reflected skylight, you may want to
use a No. 81A (yellowish) filter over your lens. Don't let an
overcast day stop you from a close-up outing. Overcast skies
provide soft, even lighting that is pleasing for many close-up
subjects.
Photolamps
For indoor close-ups, you can also use photolamps to
illuminate your subjects. To get the correct color rendition
when you use slide film with photolamp illumination, use a
film such as ELITE Chrome 160T Film (Tungsten), which is
balanced for 3200 K tungsten lamps.
Other Accessories
Along with your choice of close-up equipment, you will
need several accessories.
A tripod is essential for many close-up situations. It will
hold the camera steady, allow you to use slow shutter speeds,
and give you more accuracy in focusing and framing. A
tripod that allows you to get close to the ground will be
useful for outdoor close-up work.
A handheld light meter will extend the limited range of the
built-in meters found in some SLRs.
A focusing rail will help you obtain the precise focus
necessary for close-up photographs. The camera is mounted
on the rail. A knob allows you to move the camera and lens
smoothly, a millimetre at a time.
Some ordinary black or white posterboard is good for
backgrounds. White poster board or aluminum foil makes an
excellent reflector when you need to bounce light onto your
subject. (See “Lighting.”)
TECHNIQUES
Lighting
Basically, light can strike your subject from three directions.
Frontlighting strikes the front of your subject. This type of
lighting is flat and reveals little texture.
Sidelighting comes from either side of the subject. It
brings out texture and produces shadows. If you want to
lessen the shadows, use a white cardboard or aluminum foil
reflector to bounce light into those areas. Make sure the
reflector does not show in your photograph.
Backlighting comes from behind the subject. Backlighting
works well with translucent subjects such as leaves,
revealing their intricate vein system. With an opaque subject,
backlighting produces a silhouette.
Depth of Field
The distance range between the nearest and farthest objects
that appear in acceptably sharp focus is called depth of field.
When you are photographing at a moderate or long distance,
the depth of field is great. The greater the magnification, the
shallower the depth of field becomes.
You will have no problem photographing a flat subject
that is parallel to the film plane, because it has little depth.
But a subject that has volume will require more depth of
field.
Here are ways to increase depth of field in close-up
photography:
1. Use a shorter-focal-length lens or increase the
camera-to-subject distance, to produce a smaller image
on the film.
2. Use a small aperture such as f/11 or f/16. This will also
reduce the amount of light that reaches the film, so you
may want to select a high-speed film, such as KODAK
GOLD 400 Film. To use small lens openings with an
autoexposure camera, change the exposure mode to
aperture priority or manual.
Many close-up photographers use shallow depth of field
to their advantage. You can focus sharply on one area of the
subject, and let the rest of the photograph blur. This is called
selective focus. The shallow depth of field emphasizes the
subject by eliminating distracting backgrounds.

Close-up Photography with 35 mm Cameras
Close-up Photography with 35 mm
Cameras
KODAK Publication No. AB-20
Minor Revision 3/99
Printed in U.S.A.
Consumer Imaging
EASTMAN KODAK COMPANY
•
ROCHESTER, NY 14650
THE SUBJECT
Now that you know how to use your camera for close-up
photography, let's look at the most important part of your
photograph—the subject.
Photographing static subjects is fairly uncomplicated.
You must deal with shallow depth of field and learn to
control reflections. For practice, try making a close-up
inventory of valuables in your home. This can be useful for
insurance claims in case of fire or theft. Keep a photographic
record of collections such as coins, stamps, gems, or
miniature art objects. If you build models, try building
background scenery for your miniatures and go to work with
your close-up equipment.
In outdoor nature photography, you must learn to deal
with motion. A fast shutter speed or electronic flash will stop
the motion of animals. Try to confine your subject without
upsetting or hurting it. A trip to a pond to capture a frog on
film is much easier at night than during the day. Shining a
flashlight on the frog will keep it immobile long enough for
you to snap your close-up. Another consideration outdoors is
the background. Don't be afraid to change your backgrounds.
Add a stick, stone, or piece of bark. However, don't pick
wildflowers; many are protected by law. When you have
finished photographing, return everything you moved to its
original place. You can make your own backgrounds for
outdoor photography. Using flat-finish oils, spread natural
colors such as brown and green, orange and yellow, and blue
and green onto cardboard. Blend the colors together to give
an out-of-focus effect. Your photographs will be exotic and
exciting.
Kodak, Kodachrome, Elite, Gold, Max, Royal, Technidol, and T-Max are trademarks.
Wyszukiwarka
Podobne podstrony:
Minnesota Nature Photography Club Close up and Macro Photography
ARRL QST Magazine Clean up Signals with Band Pass Filters (part 1) (1998) WW
Numbers up to 9 with animals
More than gatekeeping Close up on open access evaluation in the Humanities
128 Warm up – Running with the ball in a 10 x 10m grid
Numbers up to 9 with animals
come up stairs with me
Nial Fuller Why I Only Trade With New York Close Forex Charts
M Kaufmann Programming Cameras and Pan tilts With DirectX and Java fly (2)
Cinematographers Field Guide Kodak Motion Picture Camera Films
General Training Reading Chinese Stretch to Catch up with Teenage Model
Kodak How to Make a Pinhole Camera Can or Box
Close Encounters with the Truth
Firearms Blueprints M1911 Frame With close ups
friends listening joey breaks up with janine
Kodak Darkroom Design for Amateur Photographers
więcej podobnych podstron