1
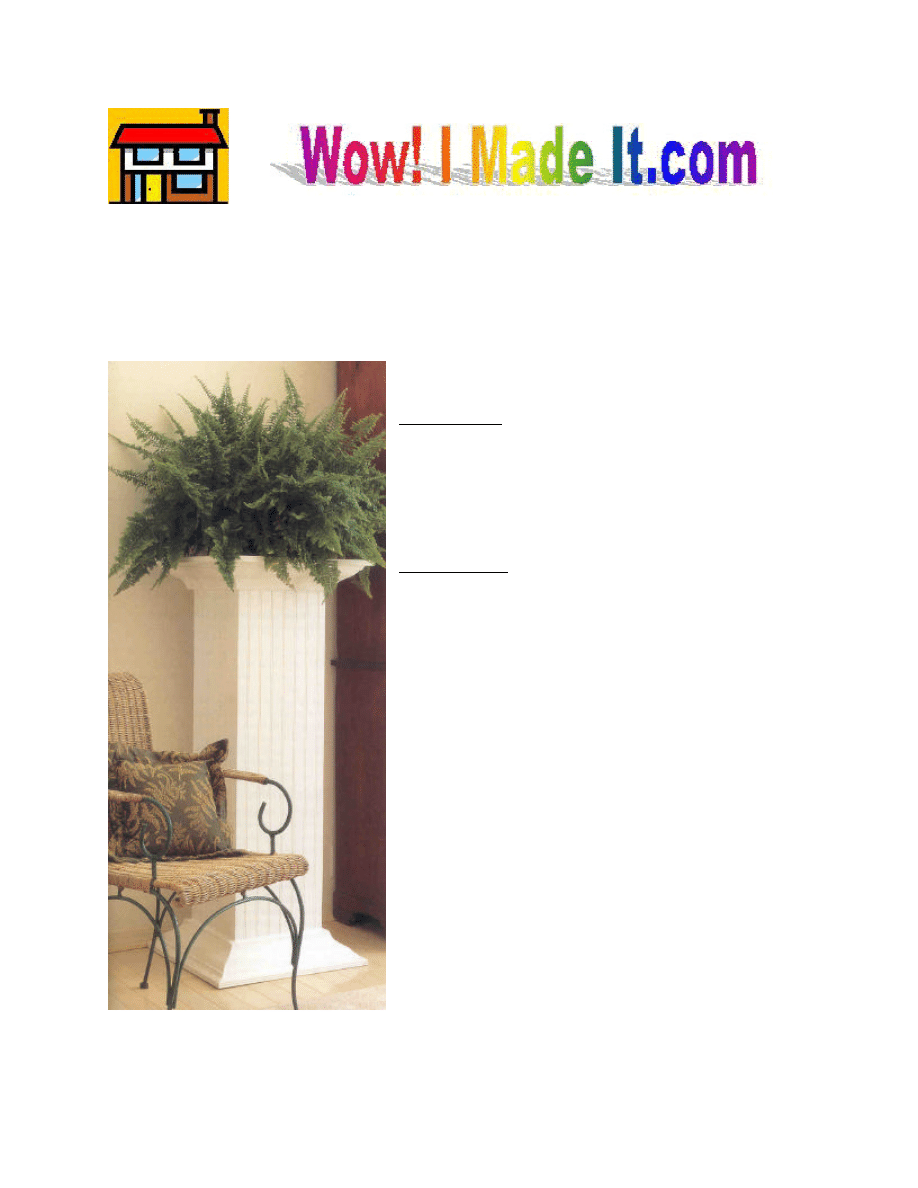
ern Pedestal
We searched high and low for a substantial-looking pedestal for our favorite fern. The ones we
found were either too skimpy looking or so expensive that it would require a second mortgage on
our home to purchase one. This pedestal is not only good looking, but really cheap to build.
Materials
§ 1 sheet (4’ x 8’) of 3/8” plywood
§ 12 linear feet of 1 x 2 pine
§ 15 linear feet of 5-1/4” crown molding
§ 12 linear feet of ¾” screen molding
Hardware
§ 24 1-1/2” screws
§ 60 1-1/4” screws
§ Handful of 1” 2d finishing nails
F
2
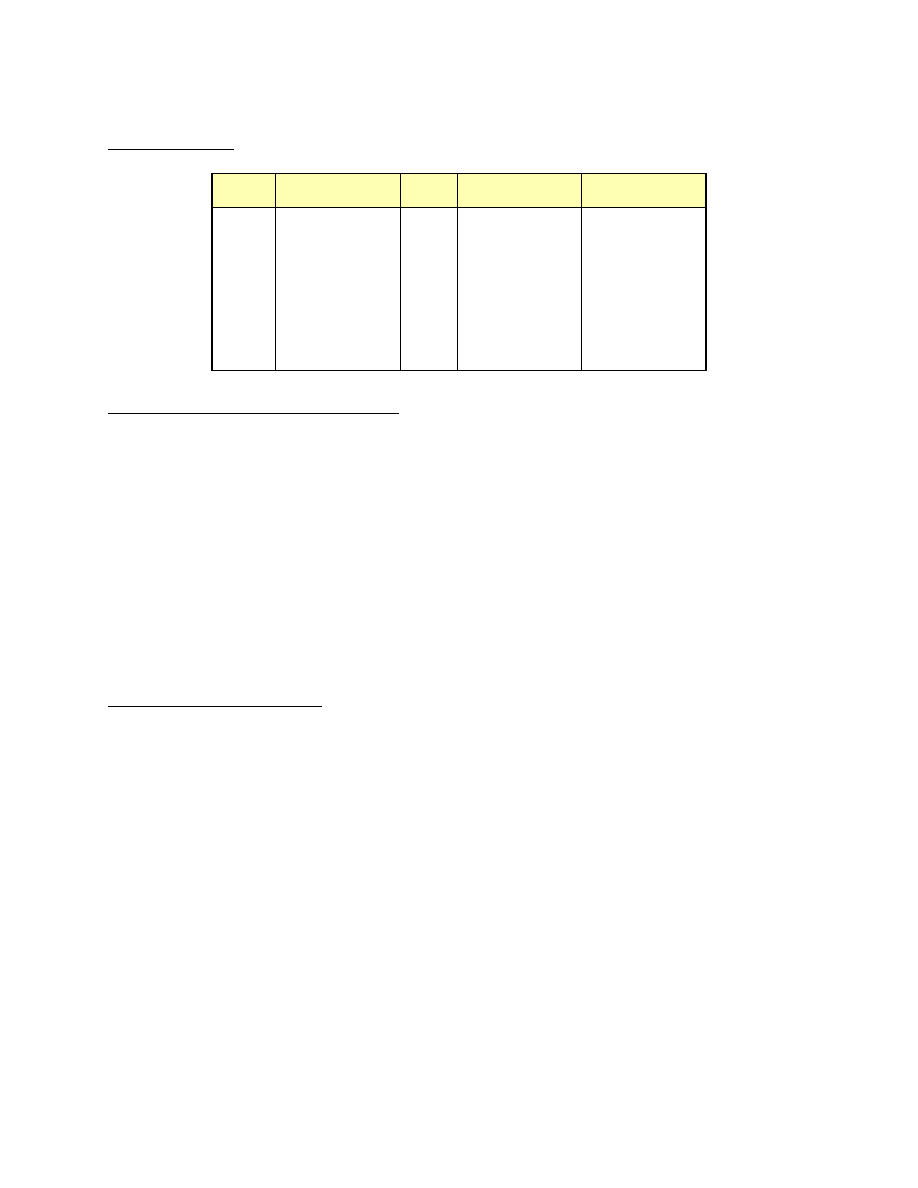
Cutting List
Code Description
Qty. Materials
Dimensions
A
Long Support
6
1 x 2 pine
11-1/4” long
B
Short Support
6
1 x 2 pine
9-3/4” long
C
Narrow Side
2
3/8” plywood
11-1/4” x 48”
D
Wide Side
2
3/8” plywood
12” x 48”
E
Top/Bottom
2
3/8” plywood
20” x 20”
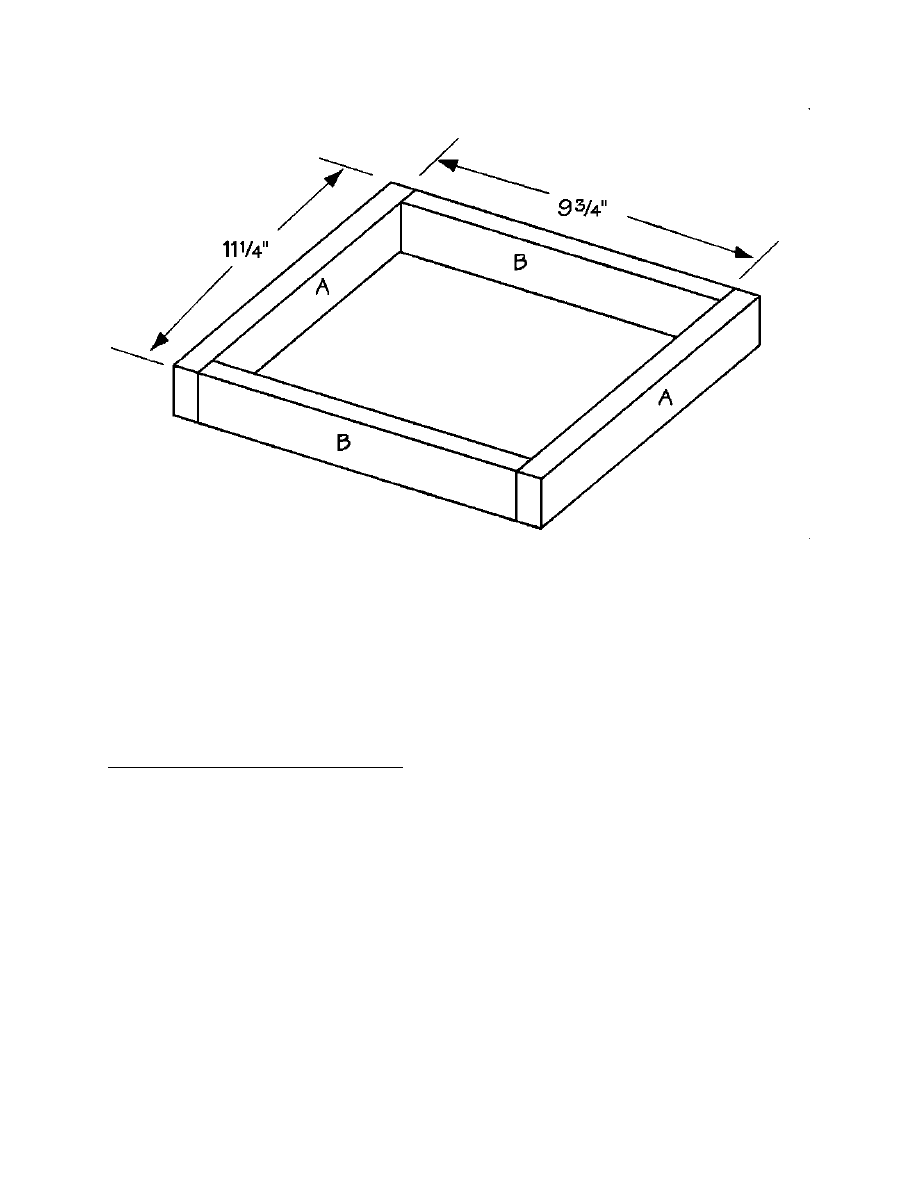
Making the Inner Supports
1. Because it is made of relatively thin plywood, the pedestal requires inner supports. Cut
six long supports (A) from 1 x 2 pine, each measuring 11-1/4” long.
2. Cut six short supports (B) from 1 x 2 pine, each measuring 9-3/4” long.
3. Place two long supports (A) on a level surface, parallel to each other and 9-3/4” apart.
Fit two short supports (B) between the ends of the two long supports (A), as shown in
Figure 1. Screw the long supports (A) into the ends of the short supports (B), using two
1-1/2” screws on each joint.
4. Repeat Step 3 twice to construct two more support assemblies.
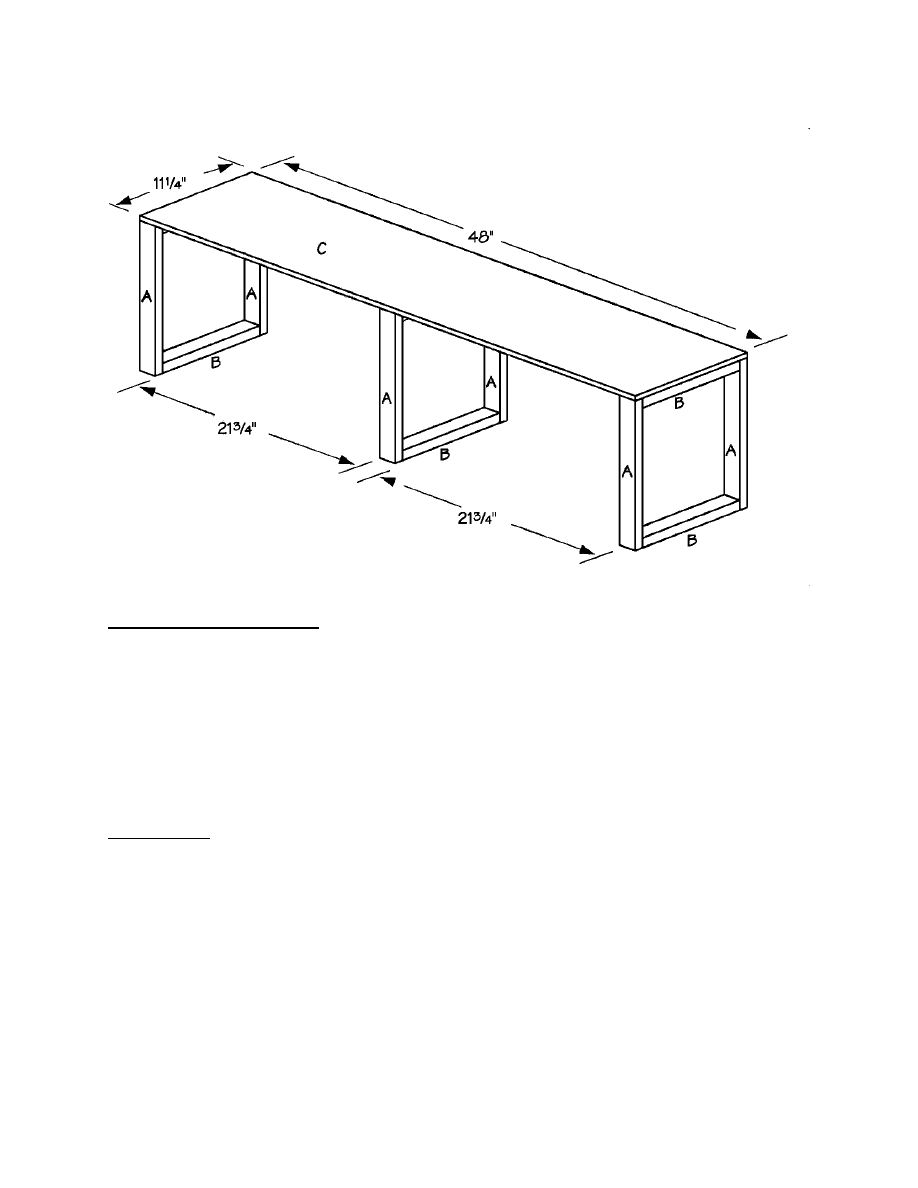
Adding the Plywood
5. Cut two narrow sides (C) of 3/8” plywood, each measuring 11-1/4 x 48 inches. Make
certain that you cut the plywood so that the surface design runs along the 48” length.
6. Place the three support assemblies, short inner support (B) side down, on a level surface,
parallel to each other and 21-3/4 inches apart. Fit one narrow side (C) over the three
support assemblies, as shown in Figure 2. The two outer support assemblies should be
flush with the ends of the narrow side (C). Apply glue to the meeting surfaces, and screw
through the narrow side (C) into the support assemblies, using three 1-1/4” screws on
each joint.
7. Repeat Step 2 to attach the remaining narrow side (C) to the opposite side of the three
support assemblies.
8. Cut two wide sides (D) from 3/8” plywood, each measuring 12 x 48 inches. Again, make
certain that the plywood design runs with the 48-inch length.
3
9. Place the support assemblies and attach narrow sides (C) on a level surface. Fit one wide
side (D) over the edges of the narrow sides (C). Apply glue to the support assemblies and
the edges of the narrow sides. Screw through the wide side (D) into the support
assemblies, using three 1-1/4” screws on each joint, and nail through the wide side (D)
into the edges of the narrow sides (C), using 1-inch 2d finishing nails spaced every 6
inches.
10. Repeat Step 5 to attach the remaining wide side (D) to the support assemblies.
Adding the Top and Bottom
11. Cut two top/bottoms (E) from 3/8” exterior plywood, each measuring 20 x 20 inches.
12. Center one top/bottom over one open end of the pedestal assembly, so that the top/bottom
extends 4 inches over each of the plywood sides. Apply glue to the meeting surfaces, and
screw through the top/bottom (E) into the support assembly using three 1-1/4” screws on
each side.
13. Repeat Step 2 to attach the remaining top/bottom (E) to the other open end of the pedestal
assembly.
Figure 1
4
Adding the Molding
14. Carefully cut and fit the crown molding on all four sides of the top and bottom of the
completed planter. It should be attached to the top/bottom (E) and the sides of the
pedestal. Apply glue to the meeting surfaces, and use 1” 2d finishing nails about every 3
inches. Make sure the nails don’t go through the top/bottoms (E).
15. Cut and fit ¾” screen molding to cover the exposed plywood edges of the top/bottom (E).
Apply glue to the molding, and use 1” 2d finishing nails about every 3 inches.
Finishing
16. Fill any cracks, crevices, or screw holes with wood filler and thoroughly sand all surfaces
of the completed pedestal.
17. Seal and paint or stain your pedestal the color of your choice.
Figure 2
Wyszukiwarka
Podobne podstrony:
plant pedestals stojak na kwiaty
potting bench stojak na kwiaty stojak na kwiaty
potting bench stojak na kwiaty stojak na kwiaty (2)
Potting Bench stojak na kwiaty
hammock stand2 stojak na hamak
ławka ze skrzynką na kwiaty
adjustable plant shelf polka na kwiaty
Skrzynka na kwiaty
planter for cuttings skrzynka na kwiaty
Miejsce na kwiaty 1
A Nine Pot Stand Stojak pod kwiaty
Kolorowanki na Dzień Matki Kwiaty dla Mamy
szablony na witraże (kwiaty)
Kwiaty z lizaków, PRZEDSZKOLE, POMYSŁY NA ZAJĘCIA PLASTYCZNE
więcej podobnych podstron