1
lant Pedestals
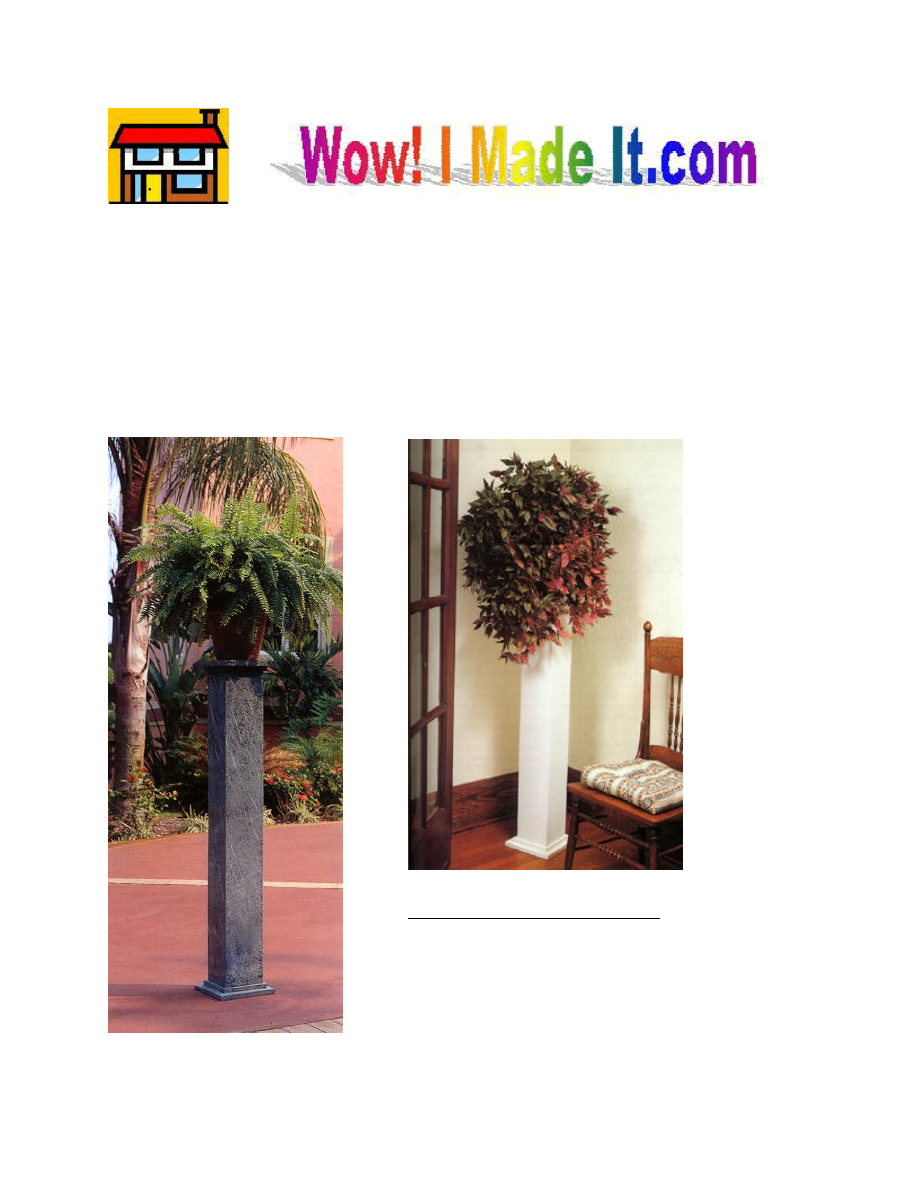
This plant pedestal is so practical and easy-to-build, you'll probably want several like we
did. We had fun designing two simple pedestals that were attractive and substantial enough to
support a healthy fern or prized wandering jew. The finished size is 51" tall, but you could
build several with varying heights to make a corner grouping.
We finished one to look like marble and painted the other one white. The pedestal looks great in
an entry, on a porch, or in a corner of a deck.
P
Materials and Supplies
§ 17 linear feet of 1 x 6 pine
§ 2 linear feet of 1 x 8 pine
§ 2 linear feet of 1 x 10 pine
§ Marbleizing paint kit (comes in
several different colors, and
includes instructions)
2
Hardware
§ 3d x 1-1/4” nails
§ 6d x 2” nails
Cutting List
Code Description Qty. Materials Dimensions
A
Side
4
1 x 6 pine
48” long
B
Small Base
2
1 x 8 pine
7-1/4” long
C
Large Base
2
1 x 10 pine
9-1/4” long
Cutting the Pieces
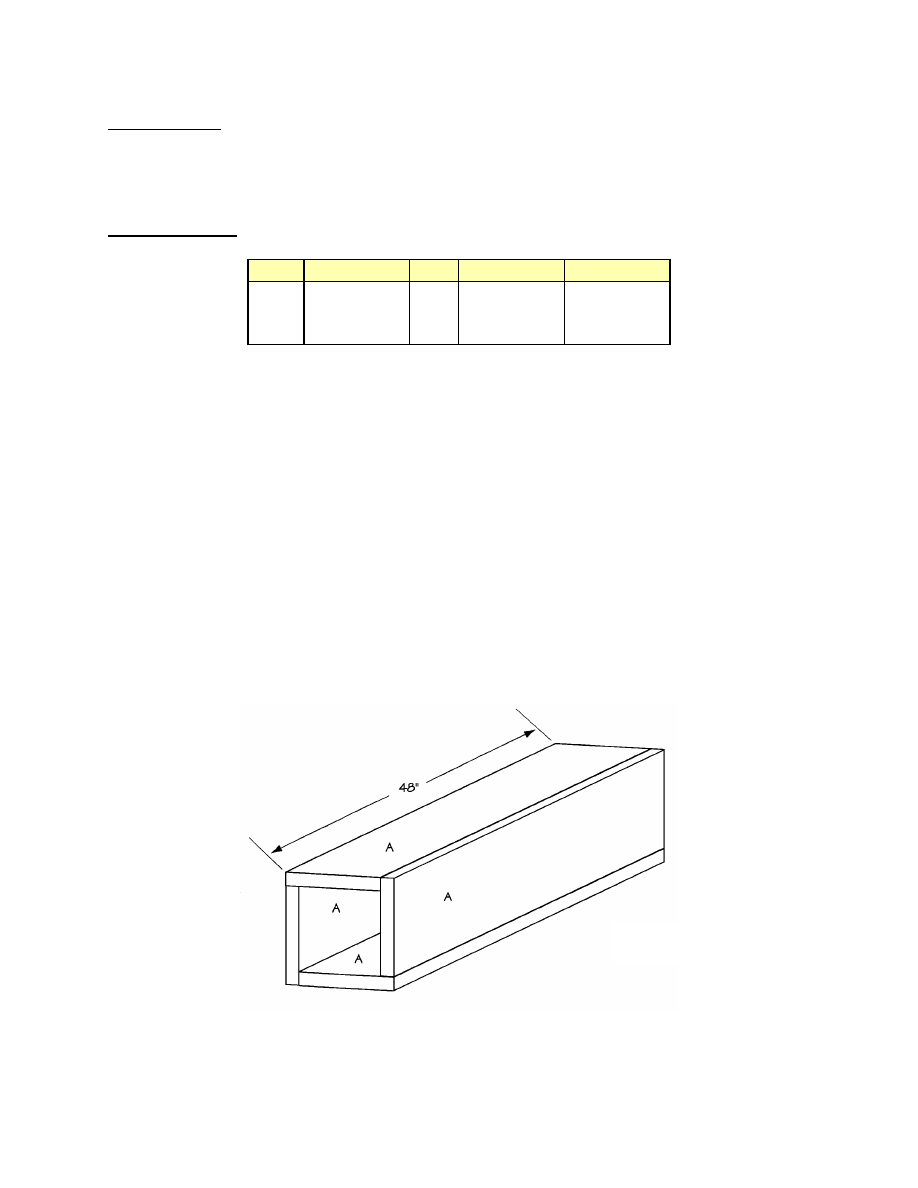
1. Cut four sides (A) from 1 x 6 pine, each 48” long. It’s essential that you cut the ends
perfectly square to avoid creating a tower that leans like the famous one we all know about.
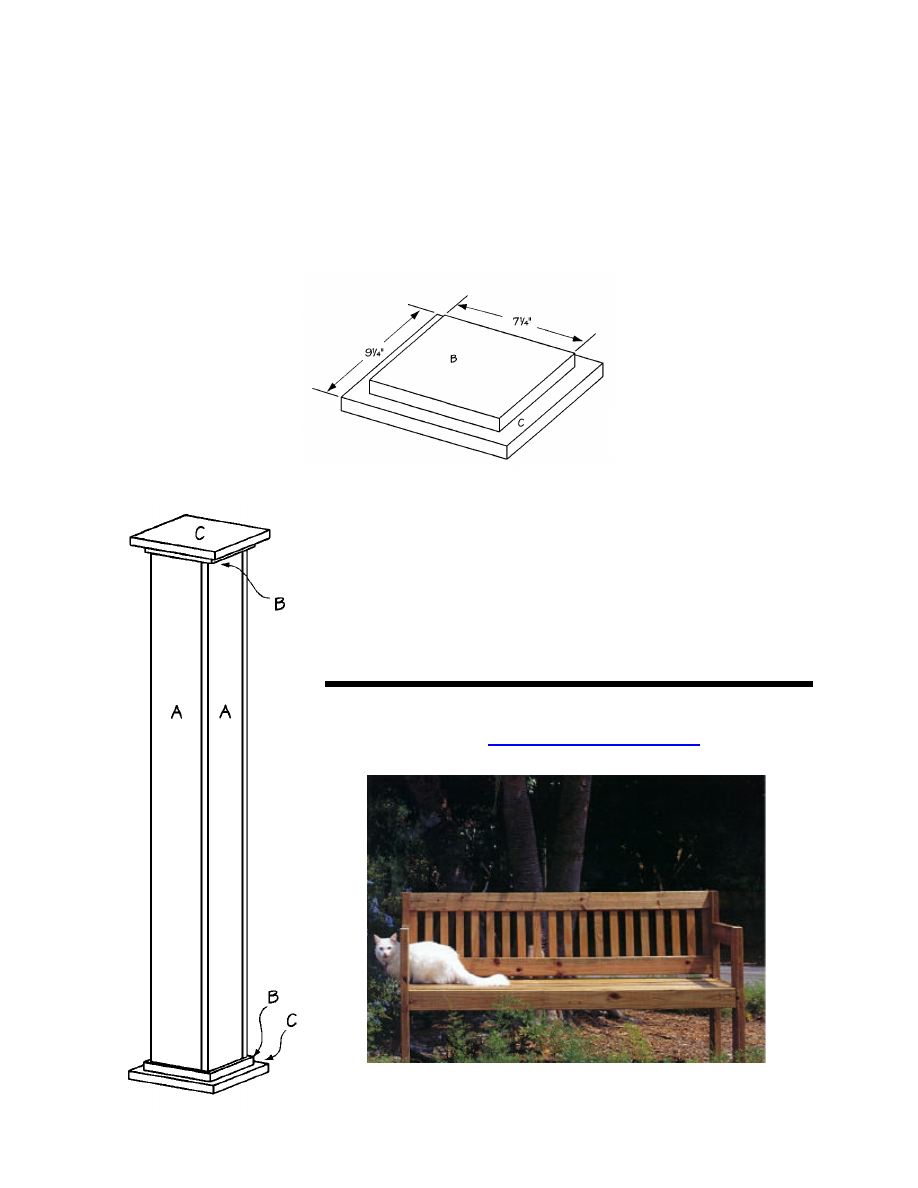
2. Cut two small base pieces (B) form 1 x 8 pine, each 7-1/4” long.
3. Cut two large base pieces (C) form 1 x 10 pine, each 9-1/4” long.
Assembly
1. Assemble the four side pieces (A), overlapping each piece in rotation, as shown in Figure 1.
With the four sides (A) in position, the stand measures 6-1/4” wide on all sides. Nail all
four sides (A) along their entire length, using the 3d nails, spaced about 6” apart.
Countersink the nails.
2. Center one small base (B) over one large base (C), as shown in Figure 2. Nail the two
pieces together using 3d nails. Countersink the nails.
Figure 1
3
3. Repeat Step 5 using the other small base (B) and large base (C).
4. Center one base assembly on top of the stand. The large base should be facing up (see
Figure 3). Attach the base to the stand using the larger nails. Countersink the nails.
5. Turn the stand over and repeat Step 7 to attach the remaining base assembly.
Finishing
1. Fill any cracks, crevices, or nail holes with wood filer, and
thoroughly sand all surfaces of the completed pedestal.
2. We finished our plant stand using a purchased marbleizing
kit. It was fun to do, and the results are impressive.
Build other exciting indoor and outdoor projects
from
www.wowimadeit.com
Figure 2
Figure 3
Wyszukiwarka
Podobne podstrony:
fern pedestal stojak na kwiaty
potting bench stojak na kwiaty stojak na kwiaty
adjustable plant shelf polka na kwiaty
potting bench stojak na kwiaty stojak na kwiaty (2)
Potting Bench stojak na kwiaty
hammock stand2 stojak na hamak
ławka ze skrzynką na kwiaty
Skrzynka na kwiaty
planter for cuttings skrzynka na kwiaty
Miejsce na kwiaty 1
A Nine Pot Stand Stojak pod kwiaty
Stand Building a Plant Pedestal
Kolorowanki na Dzień Matki Kwiaty dla Mamy
szablony na witraże (kwiaty)
Kwiaty z lizaków, PRZEDSZKOLE, POMYSŁY NA ZAJĘCIA PLASTYCZNE
więcej podobnych podstron