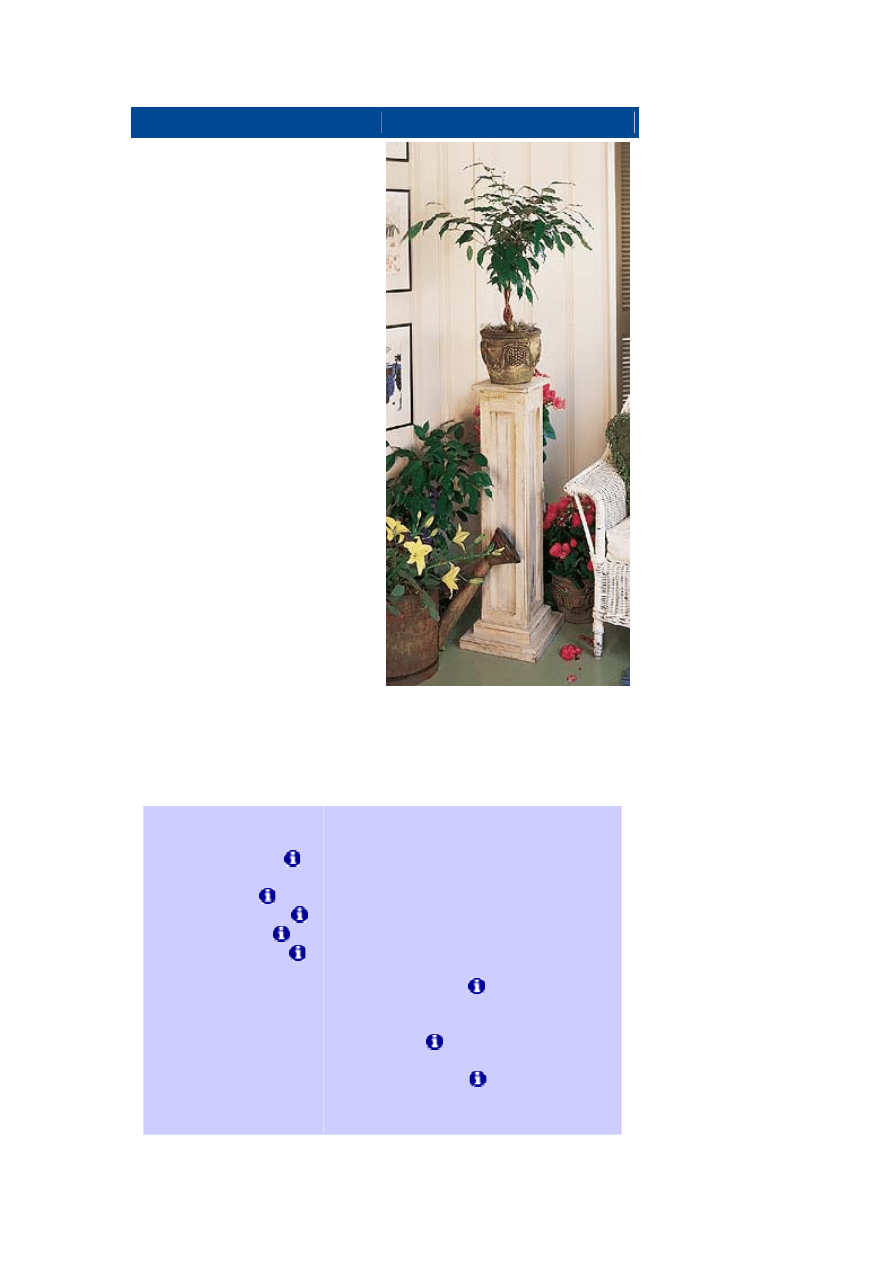
Building a Plant
Pedestal
Project Level: Intermediate
Proudly display your favorite
houseplant with this easy-to-
make wooden pedestal. The
pedestal is easy to make and
can be built in a day for around
$25. This attractive plant
pedestal could also display a
lamp or artwork. Beaded-board
paneling, simple moulding, and
a whitewashed finish contribute
to the time-worn appearance.
Safety Note: To avoid inhaling
sawdust, it is a good idea to
wear a dust mask when cutting
or sanding wood.
Follow these simple instructions
to build a perfect plant stand.
These dimensions will render a
pedestal approximately 36
inches tall with an 11-inch-
square base, an 8-1/2-inch-square top, and a 6-5/8-inch-square
column. The dimensions can easily be adjusted for the size you
require.
Tools
• Table saw
• Biscuit joiner
• Router
• Router bits
• Hammer
• Paintbrush
• Dust mask
• Goggles
• Hearing
Protection
Materials
• 1 (8-foot) 1 x 4 white pine
board
• 1 (8-foot) 1 x 6 white pine
board
• Biscuits
• 1 (4- x 8-foot) beaded-board
paneling
• Wood glue
• Wire brads
• 8d finishing nails
• Paint
• Wax
• Sandpaper
• Stain
Step 1: Begin construction by building panels to make the sides
of the column. Cut two (33-inch-long) 1x4 pine boards. Rip them
into four boards that are 1-1/2 inches wide. Rip another 33-inch-
long board into four more boards that are 5/8 inch wide. Rip a
30-inch board to 3 inches, and cut into eight 3-5/8-inch lengths.
(Note: You will have a small amount of scrap left over; it can be
discarded.) All of these pieces will make the rails and stiles of
the sides.
Step 2: Take two 1-1/2- x 33-inch boards and two 3-5/8- x 3-
inch boards. The longer boards will make the stiles of one side of
the pedestal, the shorter boards will make the rails. Join the rails
and stiles together with a biscuit joiner to complete one side.
Repeat Step 2.
Step 3: Now take the two 5/8- x 33-inch boards and two 3-5/8-
x 3-inch boards, and make a side, following the process in Step
2. Repeat to complete the last side. Cut the beaded-board
paneling into four pieces that measure 4-1/2 x 28 inches with
the beaded detail running the longest length. Glue and brad
these pieces to the rails and stiles that you just assembled.
(Note: It is important to keep the beaded detail parallel to the
rails of the sides. This will give a more professional look when
finished.) After the glue dries, you are ready to assemble the
column.
Step 4: Assemble the column by gluing one wide panel and one
narrow panel together, and securing with 8d nails. (Note: When
assembling the sides, the narrow panel is joined to the back of
the wide panel.) Repeat with the other panels. Now assemble
both of these pieces together to make the column. Take a router
with a 45-degree chamfering bit. Run the router down the
corners of the pedestal (be careful to not hit any of the nails
holding the sides together). This detail will add interest to the
finished piece.
Step 5: It is time to
assemble the bottom.
With the biscuit joiner,
join two 1- x 6- x 11-inch
pine boards, and glue
together to form an 11- x
11- x 3/4-inch board.
After the glue dries,
route the edges of the
board with any router bit
that suits your taste.
Now, rip a 50-inch 1x4 to
3/4 inch wide. Cut and
miter these four pieces to
the bottom of the 11- x 11- x 3/4-inch board. Glue and nail this
assembled piece to one end of the column. This forms the
bottom of the column. Now, take a 1x4 that is approximately 40
inches long, and rip it to 1-1/4 inches wide to form four pieces.
Route one edge of each board with the same bit that was used
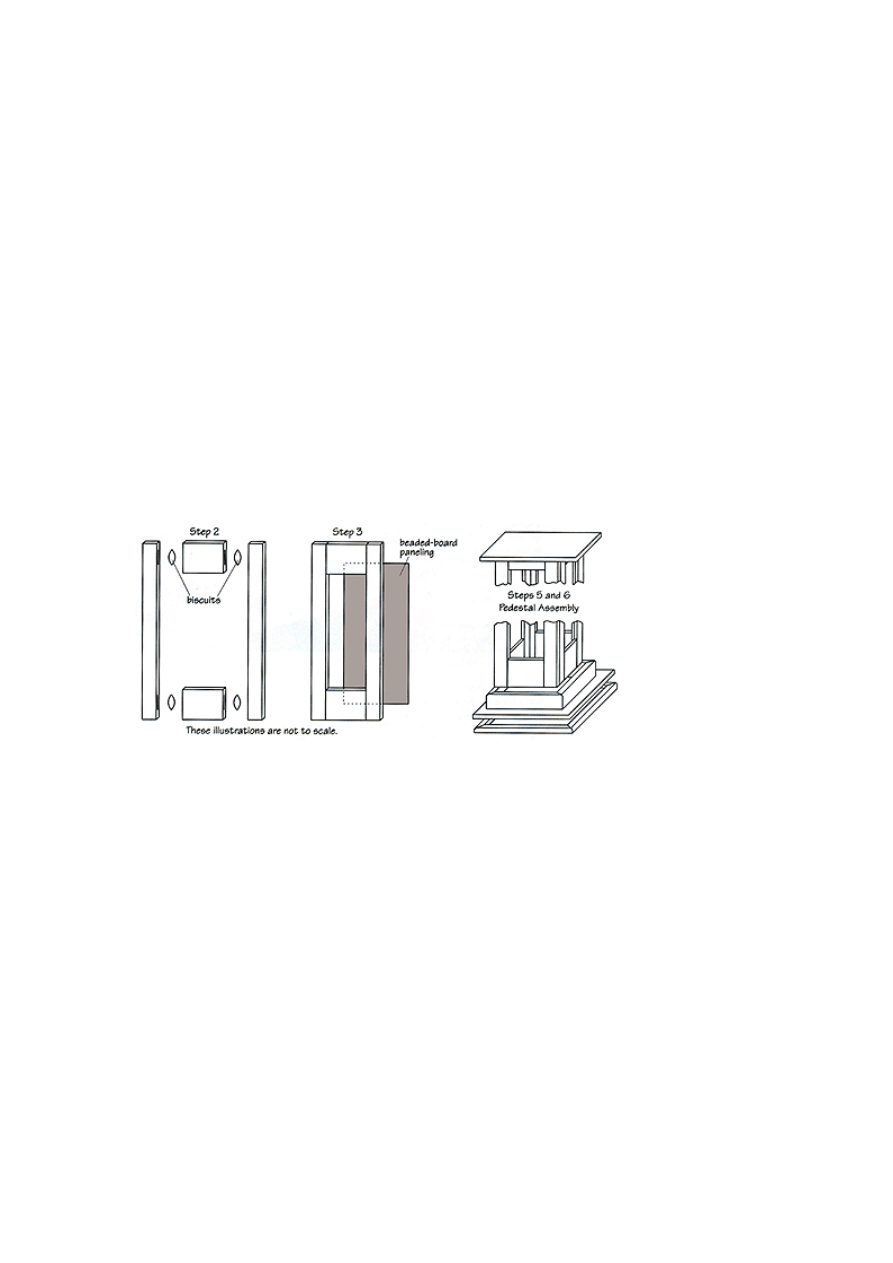
on the bottom. Cut and miter these pieces, and nail and glue
them around the column where it attaches to the base. This
detail will add decorative interest and visual weight to the base
to keep it from looking top-heavy.
Step 6: It is now time to assemble the top, which measures 8-
1/4 x 8-1/2 x 3/4 inches. With the biscuit joiner, join two 1- x 6-
x 8-1/4-inch pine boards, and glue together. After the glue dries,
rip it to a finished width of 8-1/4 inches. To chamfer the top
edge, set a table saw at a slight angle, and trim all four sides.
The top is now ready to be glued and nailed to the top of the
column.
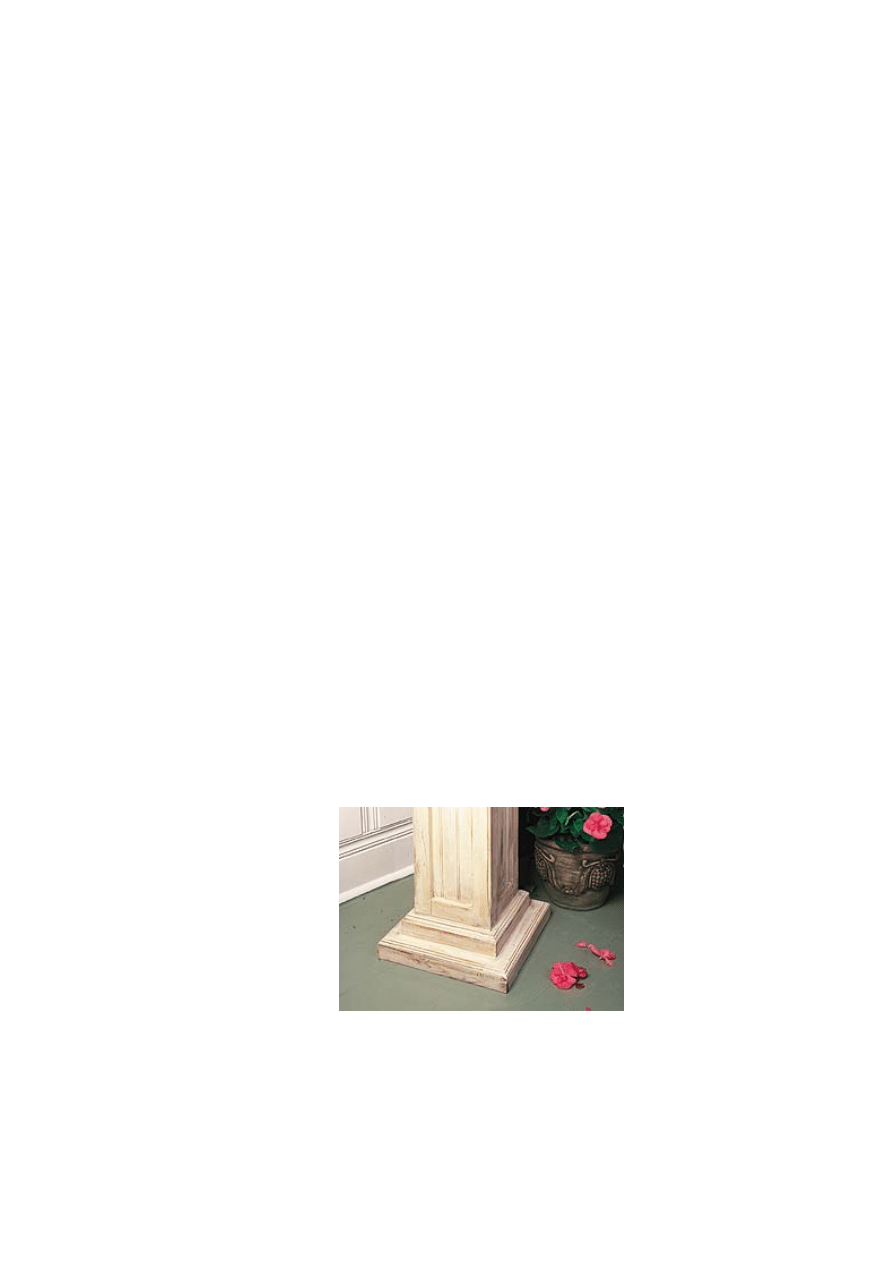
Step 7: The last step is to apply a paint finish to the pedestal.
First, set and fill all nail holes. Sand the entire column smooth,
and apply a coat of wood stain. Then, apply a coat of flat
exterior latex paint in the color of your choice. If you want a
white-washed look, like the one shown here, thin the paint with
water. For a distressed look, lightly sand the column again to let
the wood show through in places, and then apply a coat of paste
wax. Now you can relax and enjoy the pedestal.
Wyszukiwarka
Podobne podstrony:
plant pedestals stojak na kwiaty
Plant Stand
nine plant pot stand, Do ogrodu
Pedestal Table Stand
Stand plant stand
Plant Stand
Stand Display Pedestal Plans
PLANT EVOLUTION
4 Plant Structure, Growth and Development, before ppt
plant cloning
Building a Greenhouse
LOGO! in Building Automation
'Building the Pack 3 The Alpha's Only
Building A Wind Machine
Audyt wewnetrzny (SGHowy) Stand Nieznany (2)
#07 Flue Gas Plant
więcej podobnych podstron