-1-
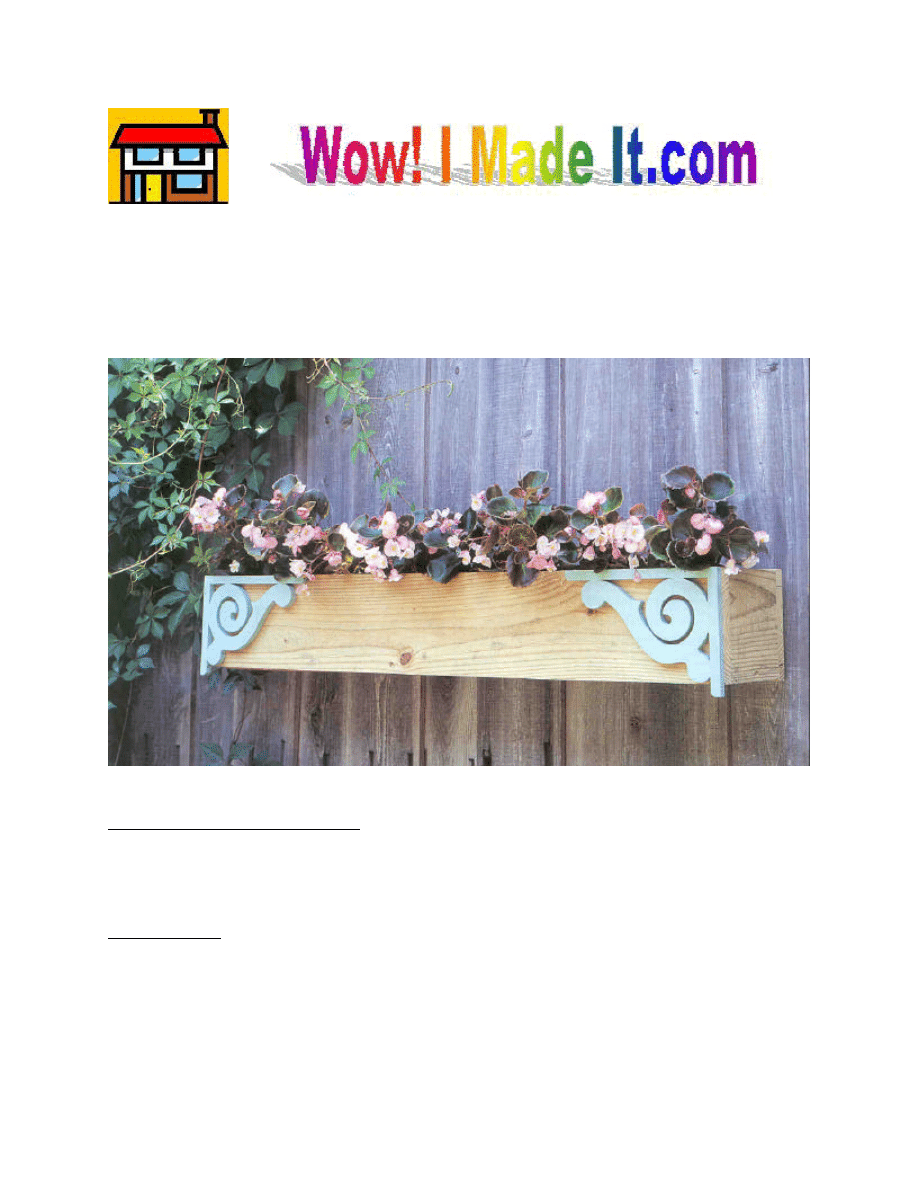
ence Planter
This project transforms a plain fence into a fabulous decorative element. It’s quick to
make, and, with the addition of some charming (albeit pre-made and readily available)
ornamental gingerbread, it will certainly perk up an uninteresting space in your yard.
Materials and Supplies
§ 10 linear feet of 1 x 6 pine
§ 2 pre-made wooden gingerbread ornaments, approximately 6 x 8 inches each
Hardware
§ 50, 1-5/8” wood screws
§ 20 1” (2d) finish nails
§ 3, 3-1/2” wood screws
F
-2-
Cutting List
Code Description Qty. Materials
Dimension
A
Front/Back
2
1 x 6
36" long
B
Side
2
1 x 6
5-1/2" long
C
Bottom
1
1 x 6
34-1/2" long
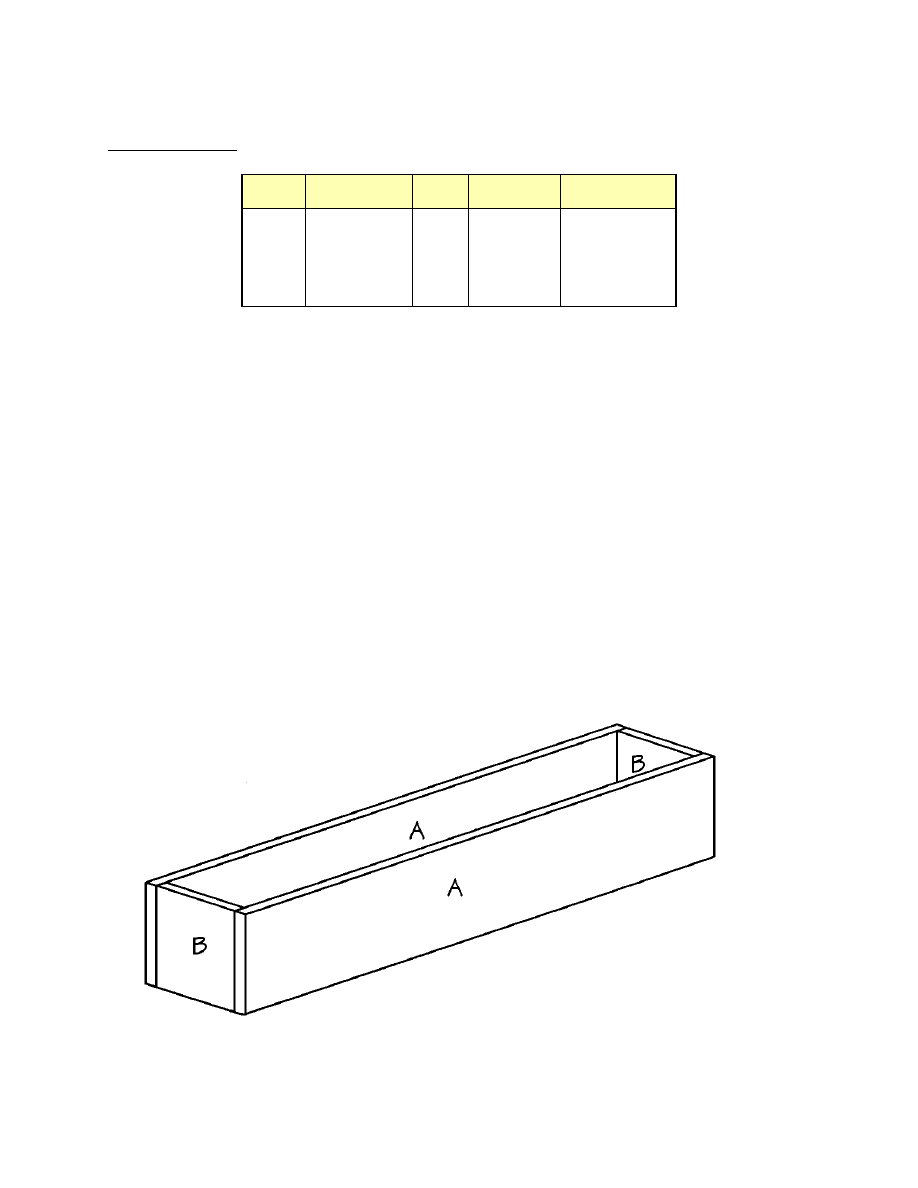
Making the Planter Box
1. Cut two Front/Backs (A) from 1 x 6 pine, each measuring 36 inches.
2. Cut two Sides (B) from 1 x 6 pine, each measuring 5-1/2 inches.
3. Position the two Front/Backs (A) on a level surface, parallel to each other and 5-1/2 inches
apart. Fit the two Sides (B) between the two Front/Backs (A) to form a rectangle measuring
36 x 7 inches, as shown in Figure 1. Apply glue to the meeting surfaces, and screw through
the Front/Backs (A) into the Sides (B) using three evenly spaced 1-5/8” wood screws on
each joint.
4. Cut one Bottom (C) from 1 x 6 pine measuring 34-1/2 inches.
5. Insert the Bottom (C) inside the assembled rectangle, flush with the bottom edges of the
Front/Backs (A) and Sides (B). Screw through the Front/Backs (A) and Sides (B) using 1-
5/8” wood screws about every two inches.
Figure 1
-3-
Finishing
1. Sand the assembled fence planter thoroughly. An optional step is to drill several drainage
holes through the bottom of the planter to allow the plants to drain properly.
2. Paint or stain the planter and gingerbread ornament the colors of your choice--or leave the
planter its natural color. (If you decide to paint or stain the planter and ornaments the same
color, you may do so after the project is completely assembled.)
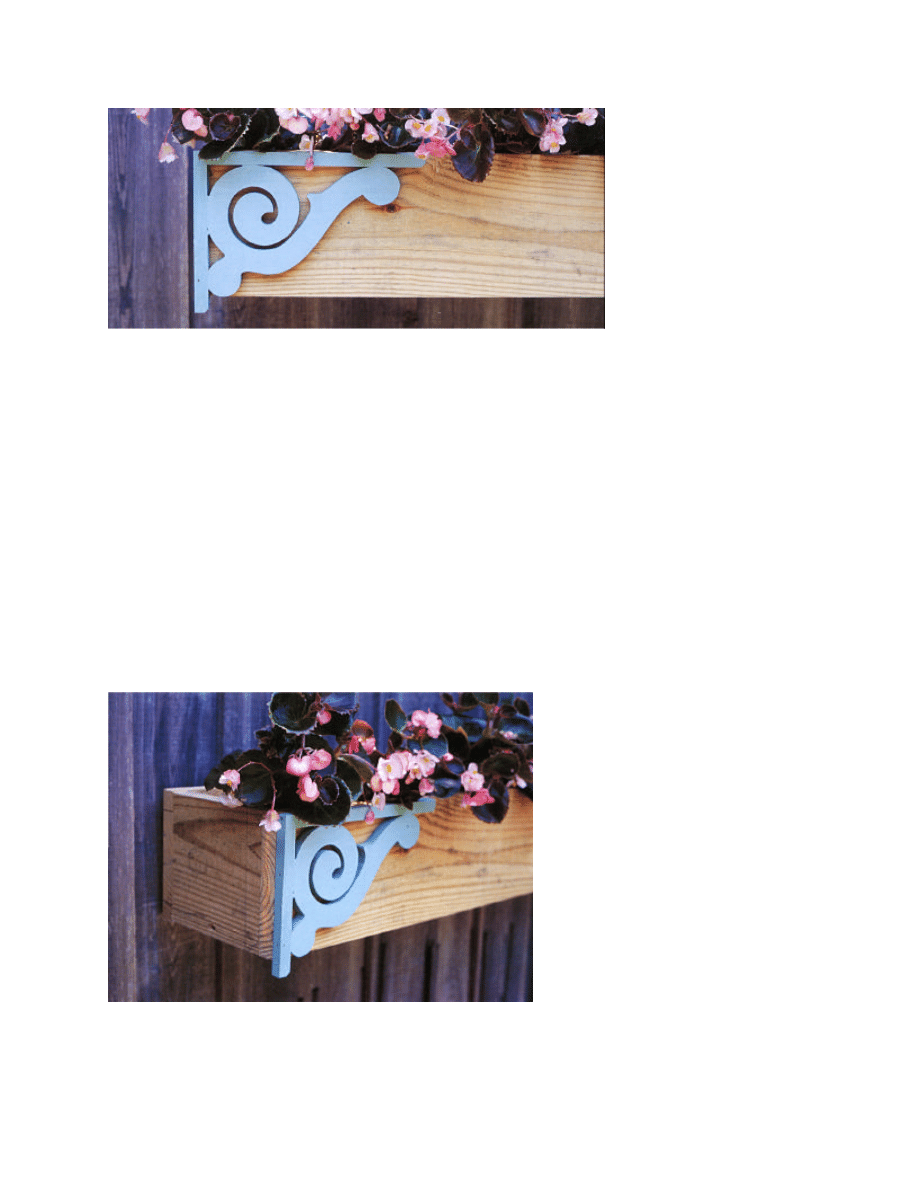
3. Attach the gingerbread ornament to the front corners of the planter using several 1-inch
finishing nails.
4. Attach the planter to the fence. It is a good idea to use 3-1/2” wood screws and attach the
planter to the fence and to a fencepost behind it. (When the planter is full of dirt and flowers
it may be too heavy for some fences.)
-4-
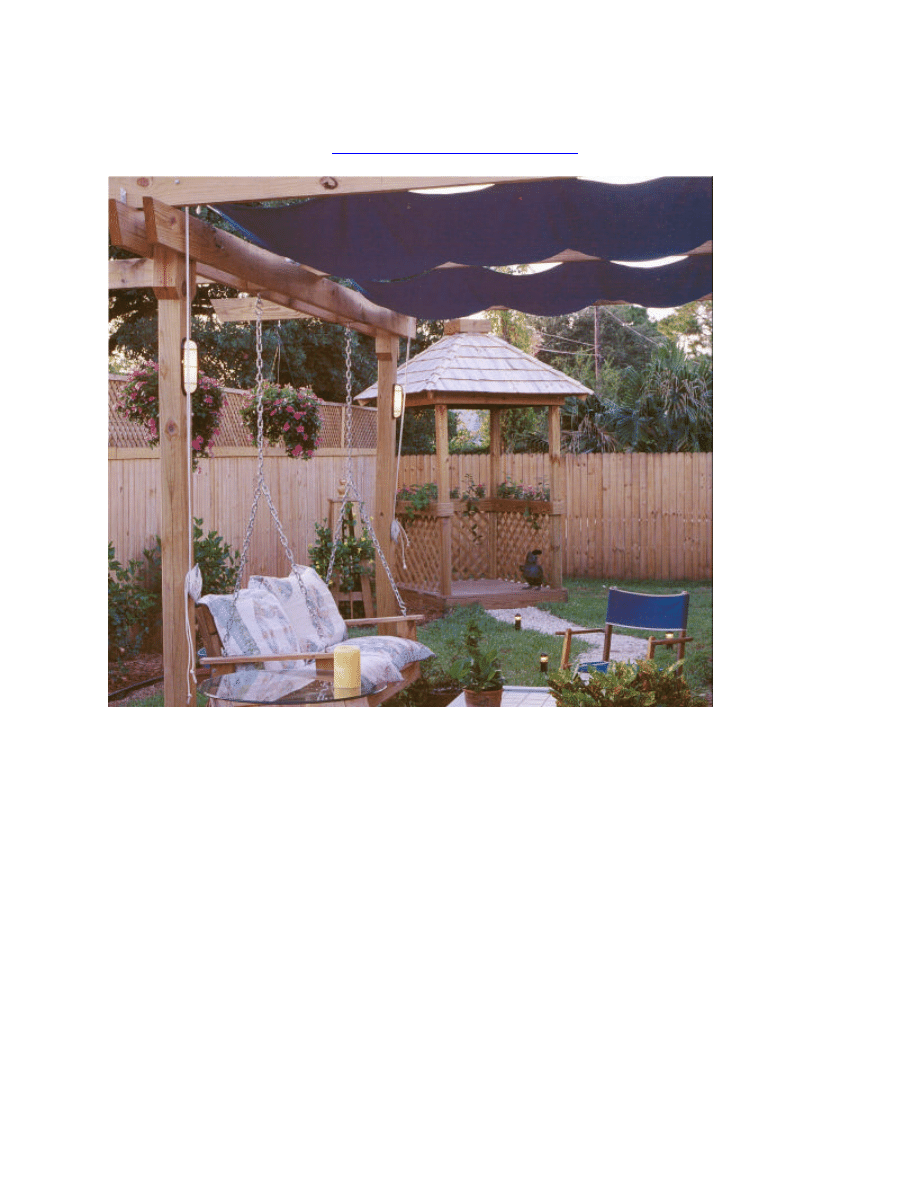
Enjoy other indoor and outdoor projects from
www.wowimadeit.com
!
When your friends and neighbors see your terrific backyard, they’ll want to know where you got
such customized outdoor furniture! Even if they’re not experienced woodworkers, they’ll find an
easy project to get them hooked at www.wowimadeit.com!
Wyszukiwarka
Podobne podstrony:
picket fence planter
Picket fence Planter
Picket Fence Planter Box
Plantene opis
planter bench
OBLICZANIE POWIERZCHNI PLANTACJI WIERZBY ENERGETYCZNEJPRZY POMOCY PROGRAMU PLANTENE
523, PlanTestowMoj, Punkty funkcyjne
planter bench plan
Planter Bench another
Planters Cocktail
planter box 2
planter box
Lynda La Plante Civvies (V1 0) RTF
Planter
Planter Bench
Planter1
planter bench plan, Do ogrodu
więcej podobnych podstron