1
reakfast Tray
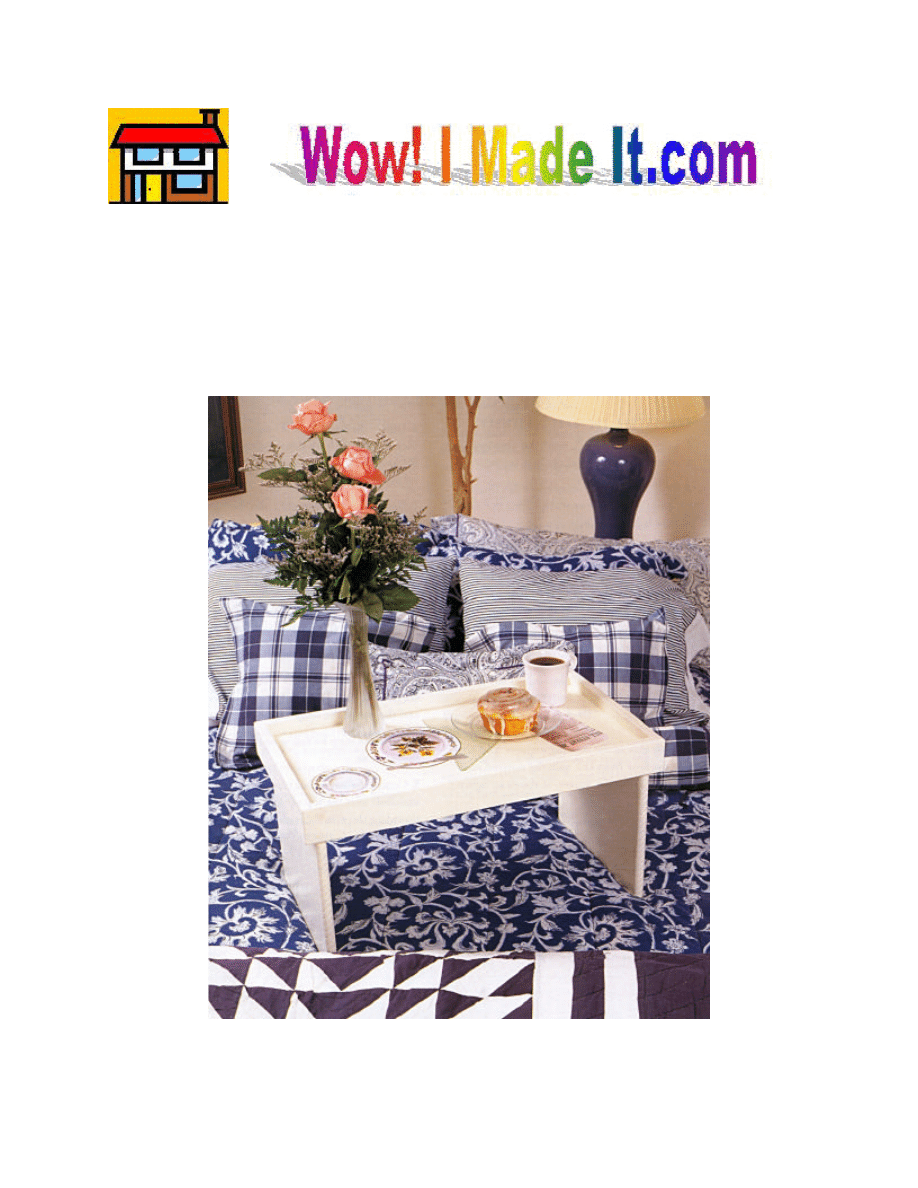
If you’re a pushover for lazy weekend mornings in bed, you’ll love this generously sized
breakfast tray. It’s large enough for a newspaper, a pot of coffee, and a plate of delectable
goodies. For fun, we decoupaged color copies of breakfast plates and The Wall Street Journal
on the tray. It’s way too cute!
B
2
Materials
§ 2’ x 4’ sheet of ¾” plywood
§ 7 linear feet of 1 x 3 pine
§ 1 linear feet of ¾”-wide rope molding
Hardware
§ 2-, 2” finish nails
§ 6, 1-5/8” wood screws
§ 4, 1’ finish nails
Cutting List
Code
Description
Qty.
Materials
Dimensions
A
Tray Stands
2
¾” plywood
12” x 13”
B
Tray Top
1
¾” plywood
24” x 13”
C
Long Tray Sides
2
1 x 3 pine
24” long
D
Short Tray Sides
2
1 x 3 pine
14-1/3” long
E
Stand Trims
4
¾”-wide rope molding
11-1/4” long
Making the Tray
1. Cut two Tray Stands (A) from ¾” plywood, each measuring 12 x 13 inches.
2. Cut one Tray Top (B) from ¾” plywood, measuring 24 x 13 inches.
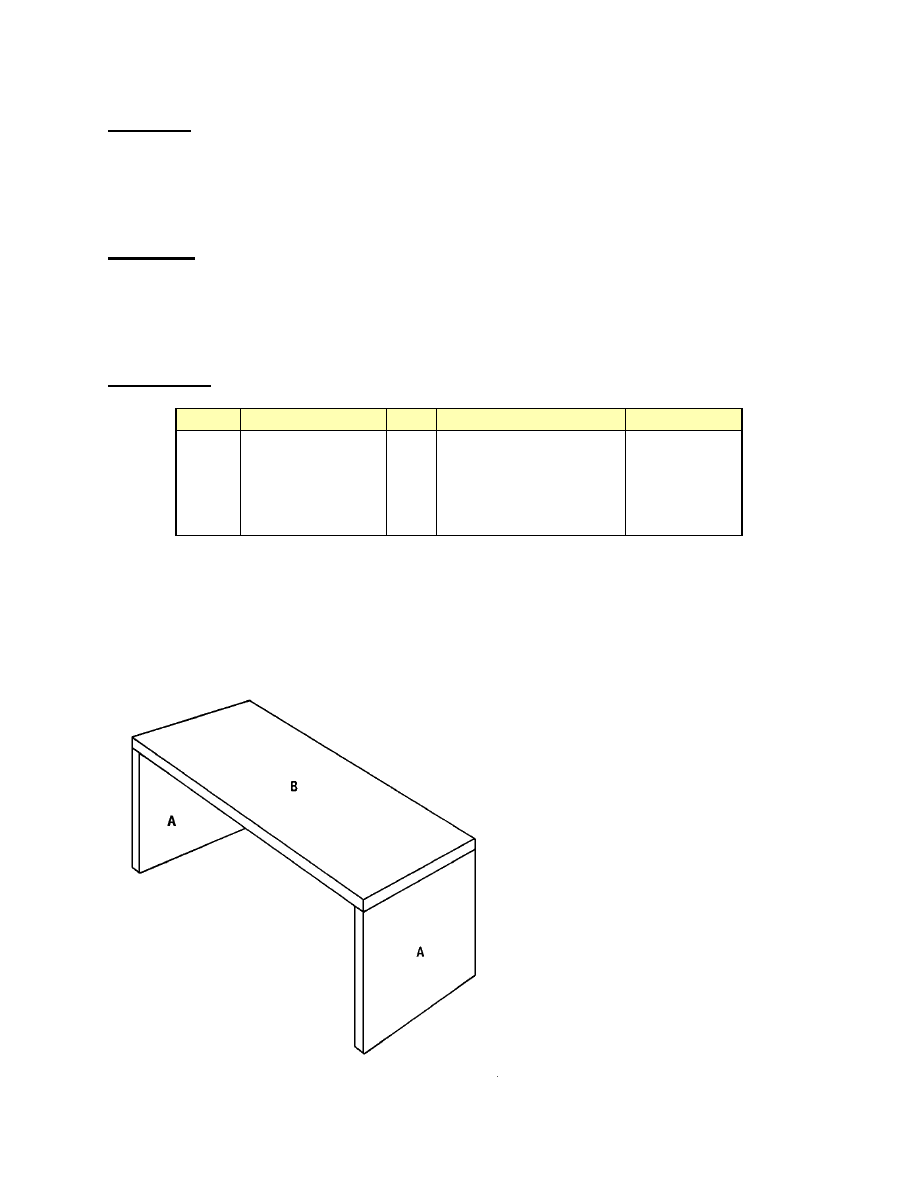
3. Using Figure 1 as a guide, place the
two Tray Stands (A) on edge 22-
1/2” apart with the 13-inch edge at
the top. Place the Tray Top (B)
over the ends of the Tray Stands
(A). Apply glue to the meeting
surfaces, and nail through the face
of the Tray Top (B) into the edges
of the Tray Stands (A) using four 2-
inch nails.
4. Cut two Long Tray Sides (C) from
1 x 3 pine, each measuring 24
inches.
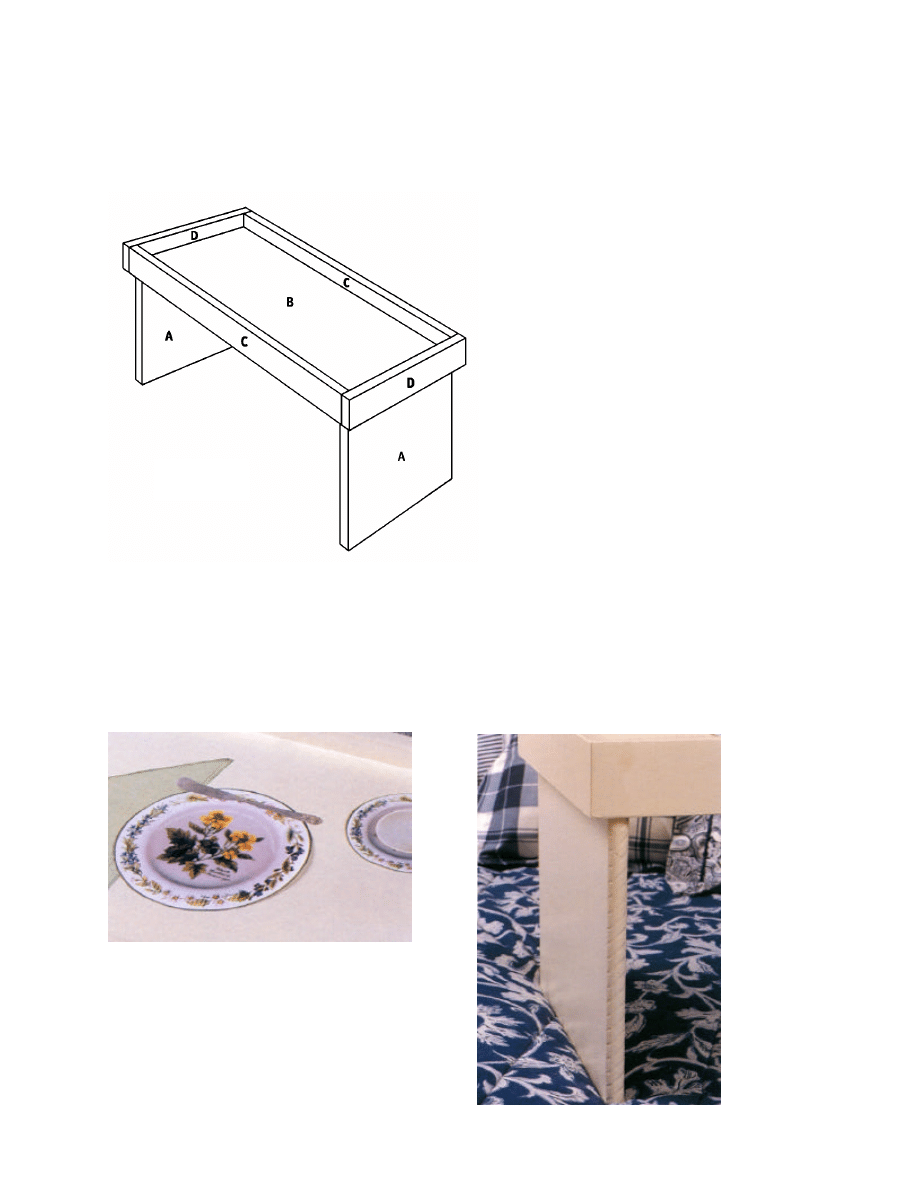
5. Place the Long Tray Sides (C) over
the 24-inch edges of the Tray Top
(B). The Long Tray Sides (C) will
Figure 1
3
extend one inch above and ¾ inch below the Tray Top (B), as shown in Figure 2. Apply
glue to the meeting surfaces, and nail through the Long Tray Sides (C) into the edge of the
Tray Top (B), using 2-inch nails spaced 5 inches apart.
6. Cut two Short Tray Sides (D) from 1 x
3 pine each measuring 14-1/2” inches.
7. Place the two Short Tray Sides (D)
over the ends of the Tray Top (B), as
shown in Figure 2. Apply glue to the
meeting surfaces, and nail through the
Short Tray Sides (D) into the edges of
the Tray Top (B) using four 2-inch
nails.
8. Using three 1-5/8” screws on each
side, screw through the Short Tray
Sides (D) into the Tray Stands (A).
This will give added support to the
Tray Stands (A).
Adding the Trim
1. Cut four Stand Trims (E) from ¾”-wide rope molding, each measuring 11-1/4 inches.
2. Place the Stand Trims (E) over the exposed plywood edges of the Tray Stands (A). Apply
glue to the meeting surfaces. Nail through the Stand Trims (E) into the Tray Stands (A)
using four 1-inch nails.
Figure 2
4
Finishing
1. Fill all cracks, crevices, and nail holes with wood filler.
2. Thoroughly sand the completed breakfast tray.
3. Paint or stain the tray the color of your choice.
4. After our paint dried, we added a little whimsy to our breakfast tray. We went to a color
copy store and copied a place, butter knife, napkin, and cup and saucer; then we cut out the
copies and decoupaged newsprint and the color copies to the top of the tray. The finished
project was then sealed with a coat of polyurethane.
Enjoy many other indoor and outdoor projects from
www.wowimadeit.com
!
Wyszukiwarka
Podobne podstrony:
śniadanie do łóżka
Śniadanie do łóżka Piaseczny A, Teksty piosenek
417 Dale Ruth Jean Sniadanie do lozka
Piasek śniadanie do łóżka
breaktray taca sniadaniowa
Piasek śniadanie do łóżka
Sandra Brown Śniadanie do łóżka
Brown Sandra Śniadanie do łóżka(1)
Brown Sandra Namiętności 48 Śniadanie do łóżka
Brown S 1983 Śniadanie Do Łóżka
162 Andrzej Piaseczny Śniadanie do łóżka
Brown Sandra Śniadanie do łóżka
Śniadanie do łóżka
48 Brown Sandra Sniadanie do lozka
Dale Ruth Jane Sniadanie do lozka
Śniadanie do łóżka 2
Śniadania, Pasta bakłażanowa do chleba, Pasta bakłażanowa do chleba
Śniadania, Pasta bakłażanowa do chleba, Pasta bakłażanowa do chleba
więcej podobnych podstron