Disassembly and Reassembly
DISASSEMBLY
REMOVE
COIL SPRING
ZOOM
SIZED FOR PRINT
Page 1 of 4
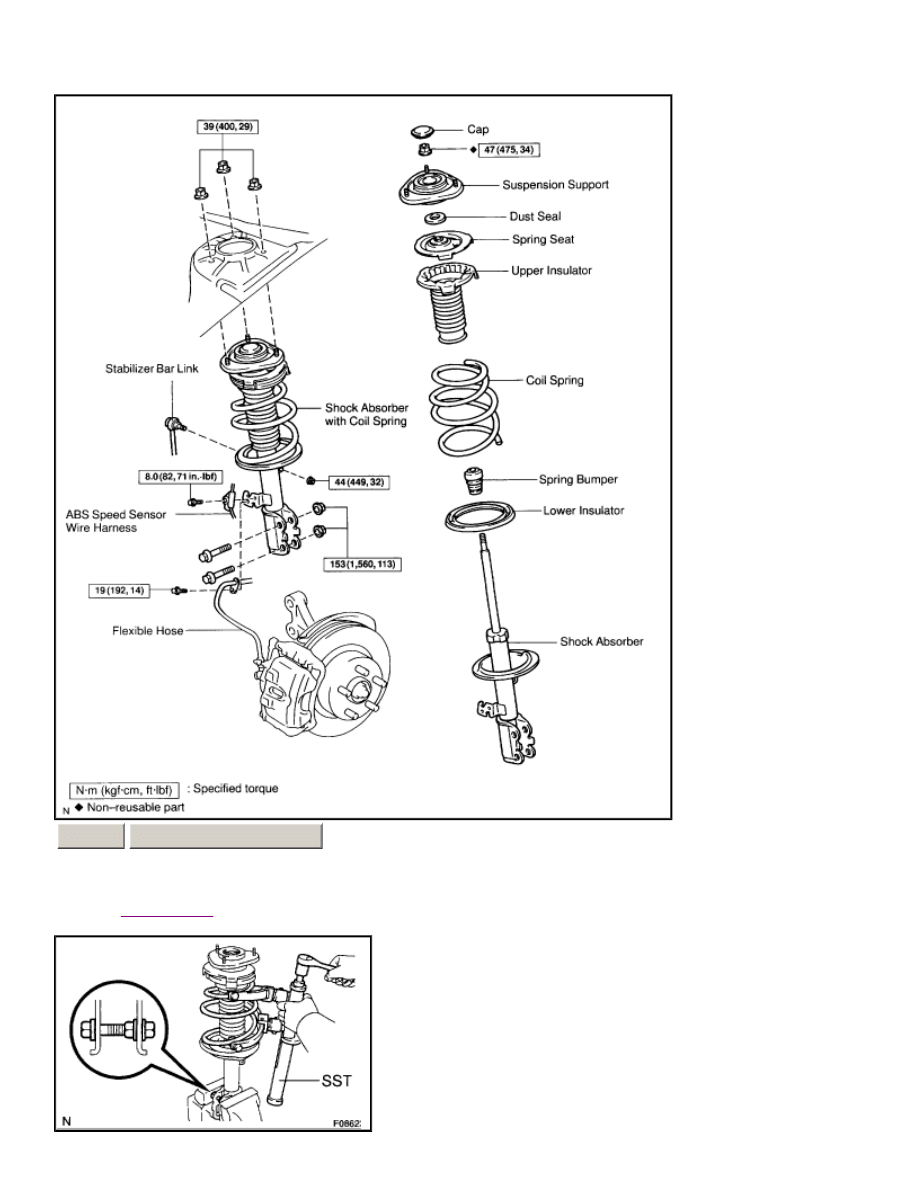
a.
Install 2 nuts and a bolt to the bracket at the lower side of the
shock absorber
and secure it in a vise.
b.
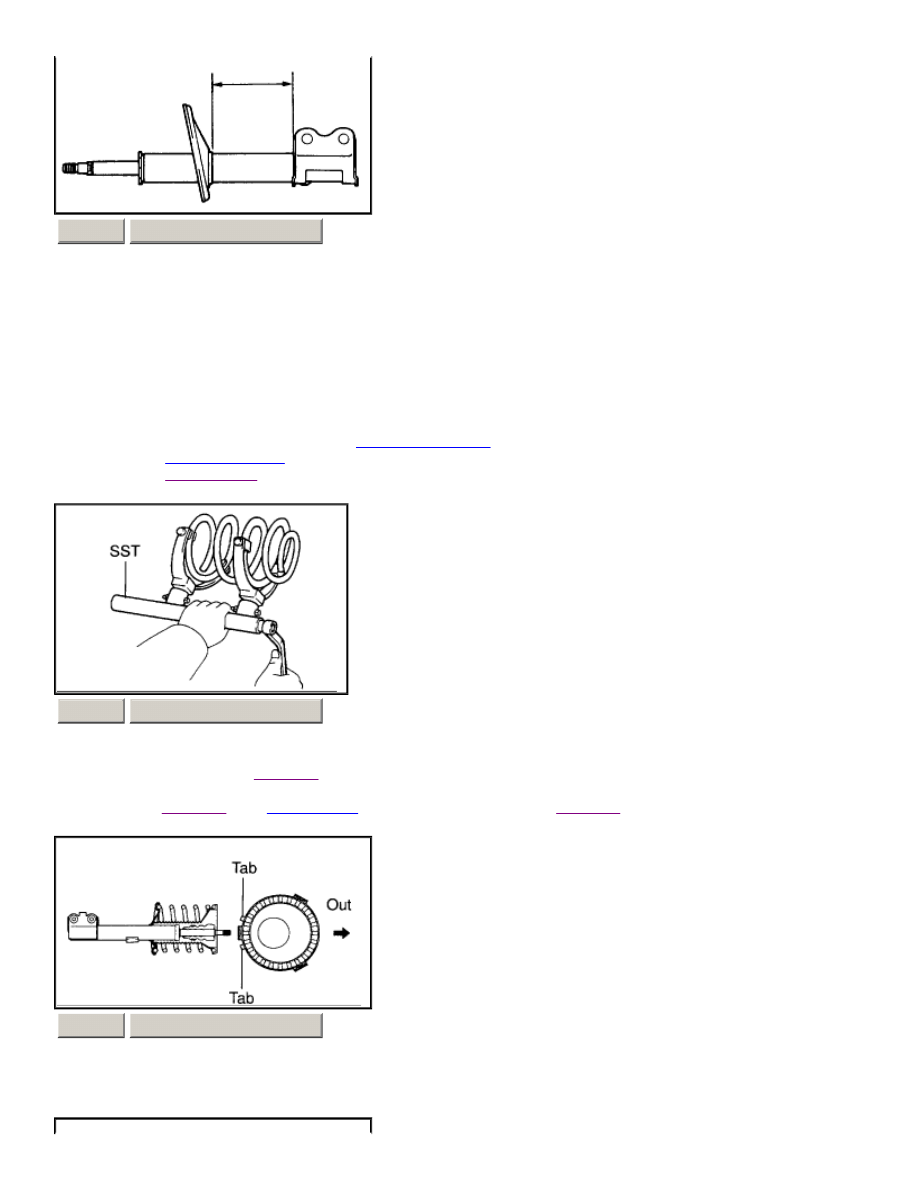
Using SST, compress the
coil spring
. SST 09727-30021 (09727-00010, 09727-00021, 09727-00031) NOTICE: Do not use an
impact wrench. It will damage the SST.
c.
Remove the cap from the suspension support.
d.
Using SST to hold the spring seat, remove the nut. SST 09729-22031
e.
Remove the suspension support, dust seal, spring seat, upper insulator,
coil spring
,
spring bumper
and lower insulator.
INSPECTION
INSPECT
SHOCK ABSORBER
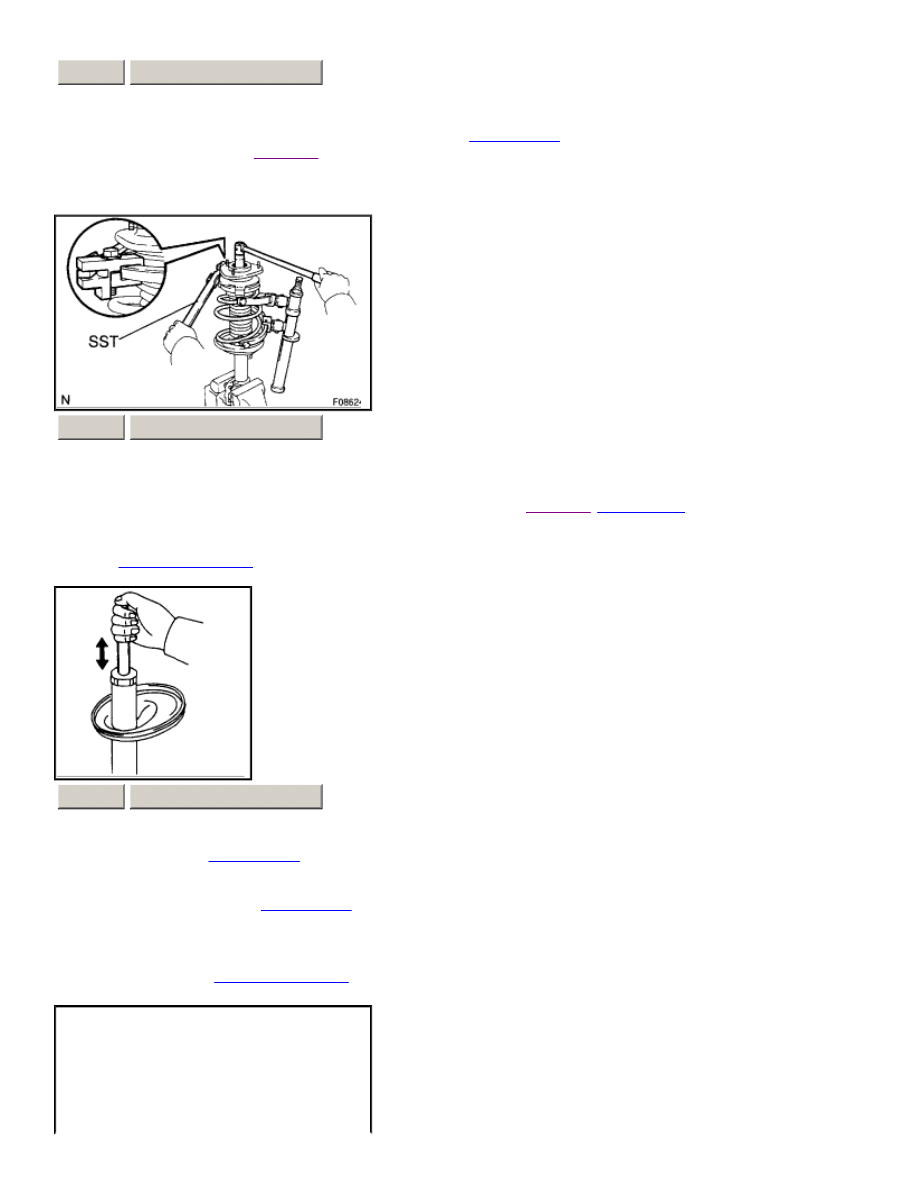
Compress and extend the
shock absorber
rod and check that there is no abnormal resistance or unusual sound during operation. If there
is any abnormality, replace the shock absorber with a new one.
NOTICE: When disposing of the
shock absorber
, see DISPOSAL.
DISPOSAL
1.
FULLY EXTEND
SHOCK ABSORBER
ROD
ZOOM
SIZED FOR PRINT
ZOOM
SIZED FOR PRINT
ZOOM
SIZED FOR PRINT
Page 2 of 4
2.
DRILL HOLE TO DISCHARGE GAS FROM CYLINDER Using a drill, make a hole in the cylinder as shown in the
illustration to discharge the gas inside. CAUTION:
¡
When drilling, chips may fly out, work carefully.
¡
The gas is colorless, odorless and non-poisonous.
REASSEMBLY
1.
INSTALL LOWER INSULATOR ONTO
SHOCK ABSORBER
2.
INSTALL
SPRING BUMPER
TO PISTON ROD
3.
INSTALL
COIL SPRING
a.
Using SST, compress the
coil spring
. SST 09727-30021 (09727-00010, 09727-00021, 09727-00031) NOTICE: Do not use an
impact wrench. It will damage the SST.
b.
Install the
coil spring
to the
shock absorber
. HINT: Fit the lower end of the
coil spring
into the gap of the spring lower seat.
c.
Install the upper insulator as shown in the illustration.
ZOOM
SIZED FOR PRINT
ZOOM
SIZED FOR PRINT
ZOOM
SIZED FOR PRINT
Page 3 of 4
d.
Install the spring seat to the
shock absorber
with the "A" mark facing to the outside of the vehicle.
e.
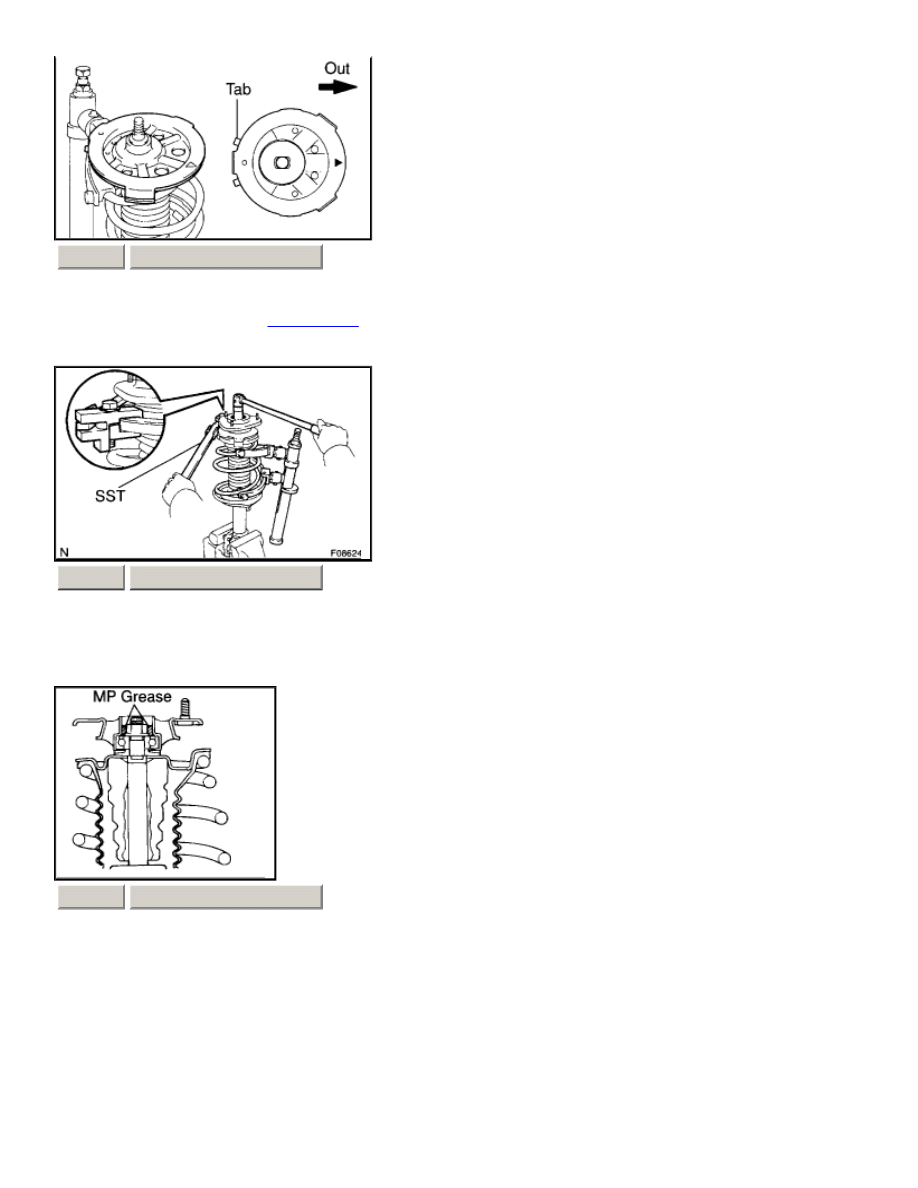
Install the dust seal and suspension support.
f.
Using SST to hold the suspension support, install a new nut. SST 09729-22031 Torque: 47 Nm (475 kgf.cm, 34 ft. lbs.)
g.
Remove the SST. SST 09727-30021 (09727 -00010, 09727-00021, 09727-00031)
h.
Apply MP grease into the suspension support.
i.
Install the cap.
ZOOM
SIZED FOR PRINT
ZOOM
SIZED FOR PRINT
ZOOM
SIZED FOR PRINT
Page 4 of 4
Wyszukiwarka
Podobne podstrony:
ARTICLE SUSPENSION STRUT REAR DISASSEMBLE REASSEMBLE
ARTICLE SUSPENSION STRUT FRONT REPLACE INSTALL
ARTICLE SUSPENSION STRUT FRONT REPLACE INSTALL
ARTICLE SUSPENSION STRUT REAR REPLACE INSTALL
ARTICLE SUSPENSION LOWER CONTROL ARM FRONT SERVICE
ARTICLE SUSPENSION STABILIZER BAR FRONT SERVICE
Front suspension strut
Disassembly & Reassembly
ARTICLE SUSPENSION STABILIZER BAR REAR SERVICE
ARTICLE SUSPENSION UPPER CONTROL ARM REAR SERVICE
ARTICLE SUSPENSION LOWER CONTROL ARM REAR SERVICE
Disassembly & Reassembly
Disassembly & Reassembly
więcej podobnych podstron