Recreation & Hobbies
To print: Select File and then Print from your browser's menu.
This page can be found at:
http://www4.diynet.com/DIY/article/0,2058,6643,00.html
Digital Darkroom: Removing Red -Eye, Contrast Adjustment, Cropping
From "
Digital Photography: The Digital Darkroom
" Episode DPG-103
The Digital Darkroom
Taking digital pictures is just half the fun of digital photography. Taking your pictures from
camera to computer opens up a whole range of capabilities that once were available only
to professionals. With some basic digital tools, you'll be able to manipulate, enhance and
"fine -tune" photos after they've been taken.
Using a PC, image-based software such as Adobe's Photoshop (TM), a scanner and a
color printer, the photographer has a number of practical and special -effects options
available that once required a full-blown darkroom with enlargers, photographic
chemicals, specialized filters, etc. Now, with little more than the click of a mouse, it's
possible to remove "red -eye" and other unwanted elements from a photo, adjust
brightness and contrast, create photo montages and special effects, and even restore old
or damaged photos. In some instances, imaging software can allow you to turn a bad
photo into a good one.
Removing Red-Eye from Flash Photos
The red-eye effect is a common problem with indoor flash photography. The familiar red
glow that appears in the center of a photo-subject's eye is actually caused, at the instant
the flash goes off, by light reflecting off the retina at the back of the eye. Guest expert
Rob Sheppard demonstrates how easy it is to remove the red-eye effect from a photo
using Adobe's Photoshop Elements (TM) program.
l
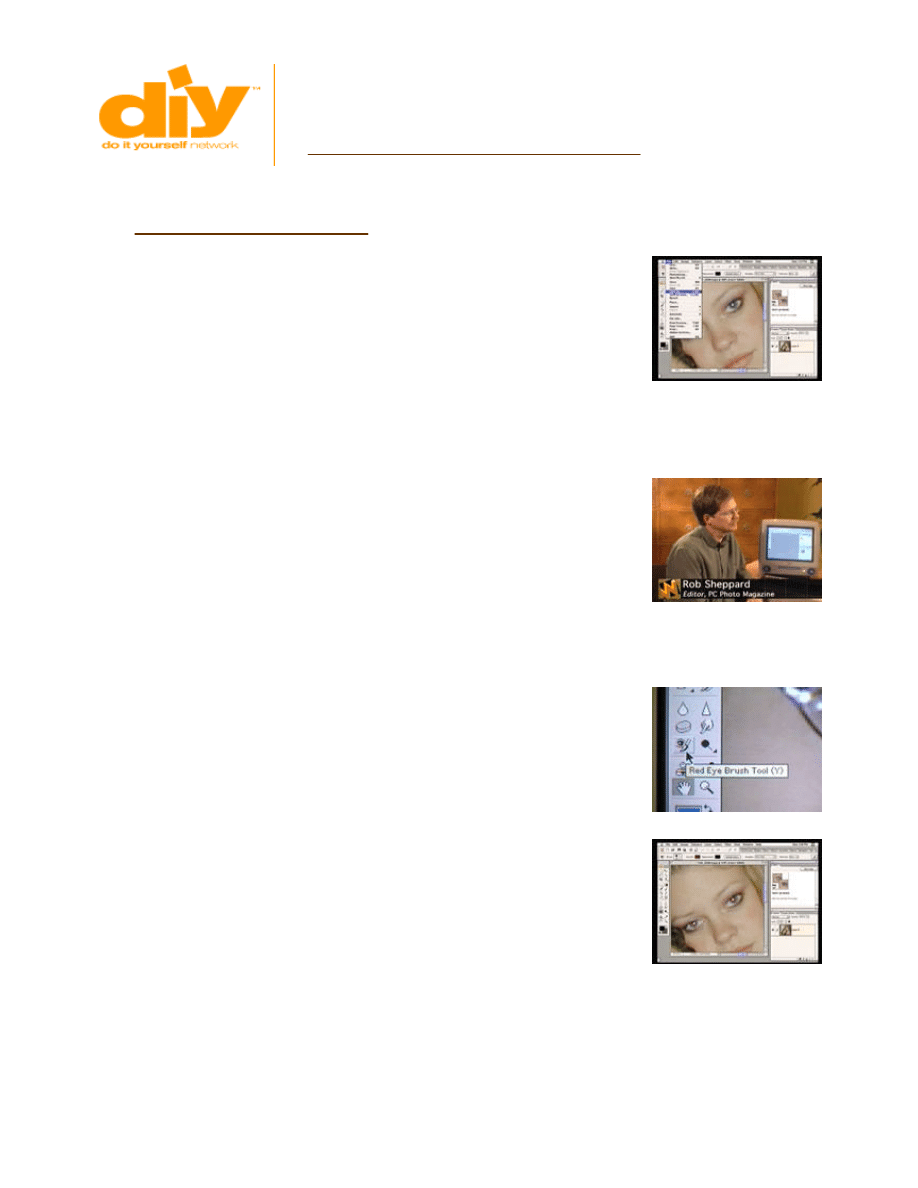
With the picture loaded onto the computer and opened in Photoshop, the first
step is to use the magnifying tool to enlarge the portion of the image with the red-
eye effect.
l
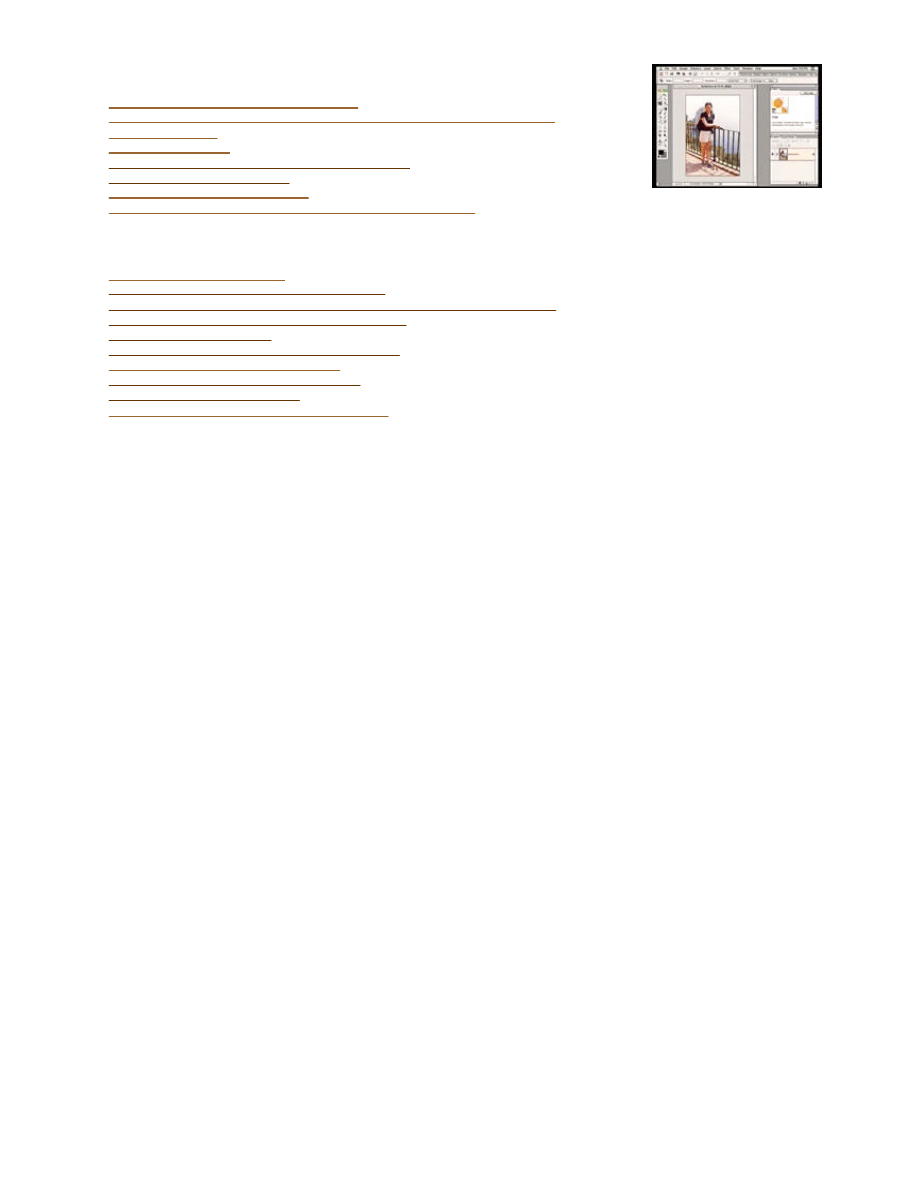
The program has a useful tool, designed just for this purpose, called a red-eye
brush tool. Simply click on the red-eye icon (figure A ) to access the tool. Next,
click the icon labelled "Default Colors."
l
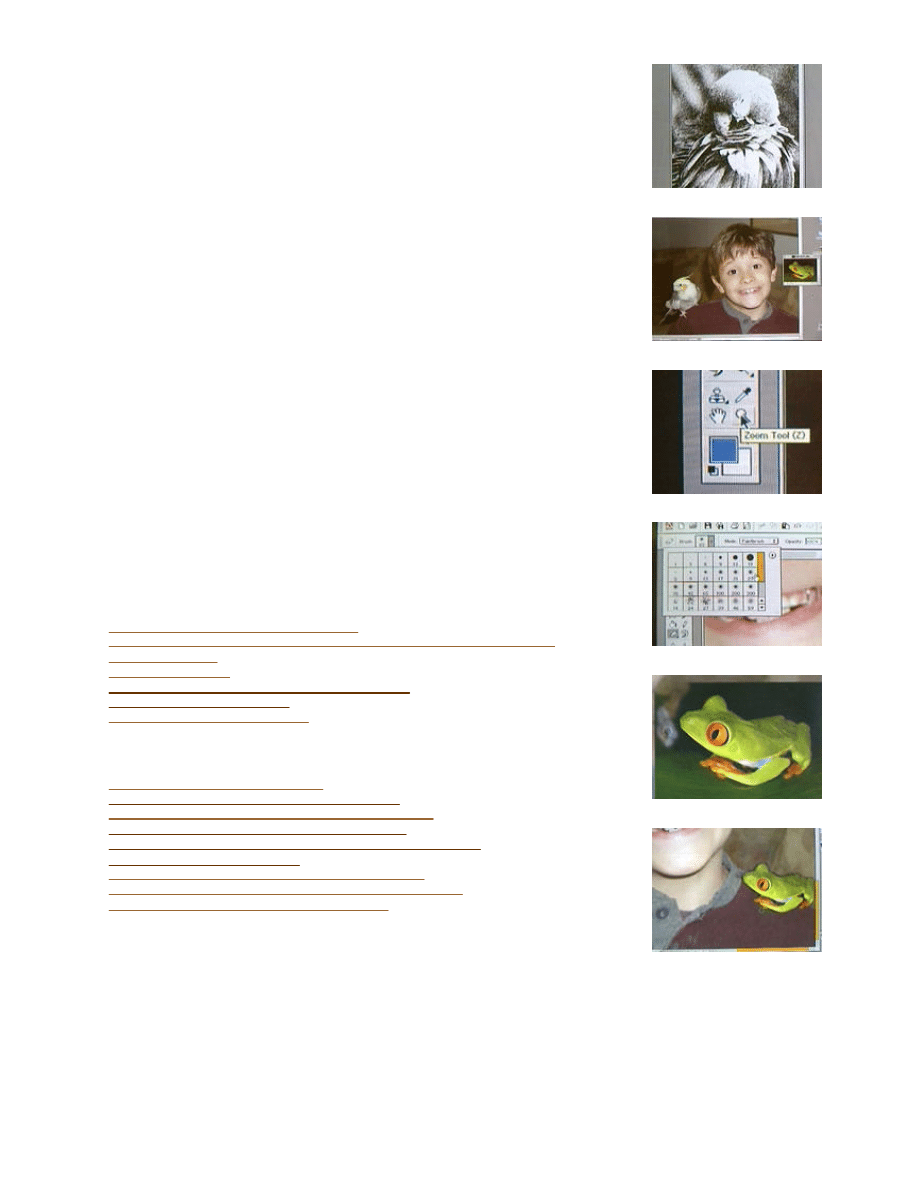
With the picture magnified to show the red-eye in detail, simply place the tool -
cursor (it appears as a cross-hair) over the red area (figure B ) and click your
mouse. The red-eye will begin to disappear, being replaced with black or dark
pixels to match the normal black pupil of the eye.
l
Repeat these steps for each red-eye problem area.
There are other methods for altering photos digitally to remove red-eye, but the fact that
this program offers a specialized tool just for this purpose makes the process very fast
and easy.
Salvaging a Dark Image Using Brightness/Contrast
Another common problem with snapshot photos is underexposure of the subject. This
Image-based software like
Photoshop enables you to
manipulate and enhance your
photos in ways that once
required professional
darkroom techniques.
Rob Sheppard, editor of PC
Photo magazine, talks with
Rick Sammon about some of
the things that you can do in
the "digital darkroom."
Figure A
Figure B
can be due to photographing in low-light situations without a flash or shooting your
subject against a light background so that the subject's features appear dark and
shaded.
If the problem isn't too severe, a dark photo like this can sometimes be salvaged or
improved using the brightness and/or contrast adjustments in the image software. Here
are the steps:
l
In Photoshop, open your image, then select the menu item "Enhance." Under the
Enhance menu, select the "Brightness/Contrast" option (figure C ).
l
This will open a window with an interface that will allow you to adjust either
brightness or contrast (or both) by dragging slide controls back and forth with
your mouse (figure D).
l
In some cases, a photo that's too dark can be fixed simply by raising the overall
brightness level of the photo. If, however, there are light and dark areas, raising
the overall brightness to adjust the darkened area may result in the lighter areas
(such as a light-sky background) becoming too light, or "washed out." Try playing
with the brightness and contrast controls to see whether you can achieve a
balance that gives good detail in the subject without overbrightening the
background. Your image will adjust to reflect your enhancements as you make
changes. Once you strike a balance that you're happy with, simply click "OK" to
save your changes and make them permanent.
l
Photoshop offers a special menu-tool for this situation called "Fill Flash" (figure
E). When selected, this tool will assess the overall picture and calculate changes
necessary to lighten only the darker areas of the image without overadjusting or
washing out the brighter background. In many cases, this tool may be the most
effective means to get the best results.
l
As with the "Brightness/Contrast" adjustment, the "Fill Flash" tool provides an
interface (figure F) with a slider that allows you to choose the degree of
brightening. It also has a "Preview" button that allows you to compare the
unaltered image with your enhanced one. Once you're happy with your
enhancements, simply click "OK" to save the changes.
Cropping Images
With some photos, you may want to crop out an unwanted portion of an image to feature
only the main subject of the photograph. In traditional photography, this is done using an
enlarger to magnify the image so that only a portion of the image will be printed on the
photographic paper. With digital image-enhancement, this is even simpler.
l
Photoshop provides a crop tool that's designed specifically for this purpose.
Simply click on the crop icon (figure G) to access the crop tool.
l
Use your mouse and cursor to draw a box around the the portion of the image
you want to include and highlight the key area (figure H). You can use your
cursor to move the lines of the box, if you wish, to adjust the size of the
highlighted area.
l
Once you're happy with the area you've selected, click "OK" to crop the image.
The areas outside the highlighted box will be removed, leaving only the area of
the image you've specified (figure I).
l
To make your changes permanent, select "Save" under the "File" menu.
Figure C
Figure D
Figure E
Figure F
Figure G
Figure H
Resources
>
Rick Sammon, professional photographer
>
Special Thanks for DIY's Digital Photography workshop, episodes 101-105
>
Adobe Photoshop
>
PC Photo magazine
>
The Complete Idiot's Guide to Digital Photography
>
Complete Digital Photography
>
50 Fast Digital Photo Techniques
>
Rob Sheppard, photographer and photo -computing specialist
Related Projects
>
Creating a Digital Slide Show
>
Digital Cameras: Memory Cards and Batteries
>
Digital Cameras: Shutter Delay, Continuous Mode and Action Photography
>
Creating Greeting Cards With Your Digital Photos
>
Digital Photography Primer
>
Digital Photography: Printing Your Digital Photos
>
Turning Digital Photos into Graphic Art
>
Digital Photography: Controlling Exposure
>
Creating Photo Albums Digitally
>
Digital Photography: Presenting Digital Images
Figure I

Recreation & Hobbies
To print: Select File and then Print from your browser's menu.
This page can be found at:
http://www3.diynet.com/DIY/article/0,2058,6644,00.html
Digital Darkroom: Special Effects and Photo Montages
From "
Digital Photography: The Digital Darkroom
" Episode DPG-103
Image-software packages such as Photoshop (TM) offer a wide range of menu options
and commands that allow you to do some pretty amazing things with your photographs.
Filter Effects
Under the Filters menu item, the cutout filter allows you to turn an ordinary photograph
into a graphic image that looks like a collage made from from cut-out paper. In our
demonstration, we began with a color photo of a macaw (figure A ).
By opening the image in Photoshop, then selecting the menu item "Filters," and the
options "Artistic" and "Cutout," an interface appears (figure B) that allows you to set
several levels and tolerances. By watching the preview screen within the interface, you
can see the effects of the changes you're making. Once you're satisfied with your
selections, click "OK" to initiate the changes.
The program will go through some calculations that will take a few seconds, then will
display the new image with the cutout effect (figure C ).
A much different effect can be achieved with the graphic pen filter. Simply select
"Sketch," under the "Filters" menu, then select "Graphic Pen." As before, you'll then see
an interface (figure D) that will let you set some parameters with respect to this filter.
Adjust the levels as you wish, then click "OK" to initiate your changes.
After a few seconds, the graphic pen effect will be displayed (figure E).
These are only two examples of a great many filters and effects that are available in this
program. Experiment with these, and others, to expand your creative options.
NOTE : As you make changes to an image, you can always reverse the changes you've
made by selecting the "Undo" menu option. To make your changes permanent, select
"Save" from the File menu.
Creating a Photo Montage
One fun application of the Photoshop software is the creation of photo montages from
several digital photographs or scanned images.
In our demonstration, Rick Sammon superimposed a photo of a frog into a snapshot of
his son Marco and his pet cockatiel -- giving the effect that both the frog and the bird
were perched on the boy's shoulders. He began with two separate digital photos open in
Photoshop: the snapshot and the color picture of the frog (figure F).
Rick Sammon shows how to
use digital darkroom
techniques to achieve special
effects such as this photo
montage created with digitally
overlaid images.
Figure A
Figure B
Figure C
Figure D
l
To do this, he first selected and copied the frog image. He then activated the
window of the snapshot by clicking on that image. From the edit menu, he pasted
the frog image into the snapshot image.
l
Using his cursor, he dragged the frog image to the part of the snapshot where he
wanted it superimposed.
l
The background of the frog image didn't match the background of the snapshot,
so some image alteration was needed.
l
To create a uniform background, the frog image was first magnified, using the
"Zoom" tool (figure G), to enlarge the area of the image to be altered.
l
With the image enlarged so he could see it better, Sammon then selected the
"Erase" tool.
l
Once the erase tool was selected, he was able to pick the size of his "digital
eraser" from an array of brush-sizes (figure H ). He opted for a brush selection
that simulates an airbrush effect, to create soft edges and better transitions
between the superimposed images.
l
He then used the selected tool to erase the dark areas from around the frog
image (figure I), so that the superimposed image blended seamlessly into the
snapshot for a believable effect.
l
In the finished image (figure J), it would be difficult to discern that the frog was
only superimposed and not part of the original snapshot.
l
With a little imagination, you can achieve some surprising effects by combining
individual photos to create montages.
Resources
>
Rick Sammon, professional photographer
>
Special Thanks for DIY's Digital Photography workshop, episodes 101-105
>
Adobe Photoshop
>
PC Photo magazine
>
The Complete Idiot's Guide to Digital Photography
>
Complete Digital Photography
>
50 Fast Digital Photo Techniques
Related Projects
>
Printing a Digital Image on a T-Shirt
>
Digital Photography: Printing Your Digital Photos
>
Digital Photography: Digital Cameras, Quick and Easy
>
Creating Greeting Cards With Your Digital Photos
>
Digital Photo Tips: Using Color Modes and Color Manipulation
>
Creating Photo Albums Digitally
>
Digital Darkroom: Restoring Old or Damaged Photos
>
Creating a Personalized Calendar from Your Digital Photos
>
Digital Photography: Presenting Digital Images
Figure E
Figure F
Figure G
Figure H
Figure I
Figure J
Recreation & Hobbies
To print: Select File and then Print from your browser's menu.
This page can be found at:
http://www3.diynet.com/DIY/article/0,2058,6645,00.html
Digital Darkroom: 360 -Degree Panoramas
From "
Digital Photography: The Digital Darkroom
" Episode DPG-103
Most people are familiar with the popular panoramic cameras that take impressive, extra-
wide photos. The pictures made with these cameras provide an expanded perspective
and a greater sense of "being there" by including more of the scene within the picture.
For that reason panoramic cameras are particularly popular with vacationers, and the
feature is even available on a number of the throwaway cameras you can pick up almost
anywhere.
Some people will also try to achieve a similar makeshift effect by simply taking two or
more photos from a specific location, then splicing the prints together with tape (figure
A).
As you might expect, computers have enabled a new means of taking the panoramic
effect to some impressive new heights. It's now possible to take photographs in such a
way as to reproduce a landscape or scene that allows the viewer to see in all directions.
With some very specialized software, it's possible to take a series of digital photos from a
fixed point, then digitally splice all of the images together to create a seamless,
scrollable, interactive panorama. The end product is a composite picture that allows the
viewer to "look all around" the image by scrolling with the mouse. This high-tech digital
effect gives the illusion that the viewer is, in effect, "inside the photograph," and able to
look in all directions. This can be particularly impressive when used with photos of
beautiful landscapes, but there are many other creative uses for this technology.
Several companies have authored software that achieve this 360-degree -image effect. In
our demonstration, Rick Sammon utilized a program called Cool 360 (TM) by Ulead
(TM). This particular program is designed for personal use and is user -friendly enough
for beginners. Following are the steps that go into creating one of these interactive vistas.
1.
Select a good vantage point that provides an interesting view in all directions.
2.
Set up your camera on a tripod (figure B) that will allow it to swivel on a
horizontal plane in all directions. The tripod will help you line up your pictures and
ensure that the horizon line in all of the photographs will be level. This will later
enable you to create an even and seamless panorama.
3.
With the vantage point selected, and your camera mounted on the tripod, take
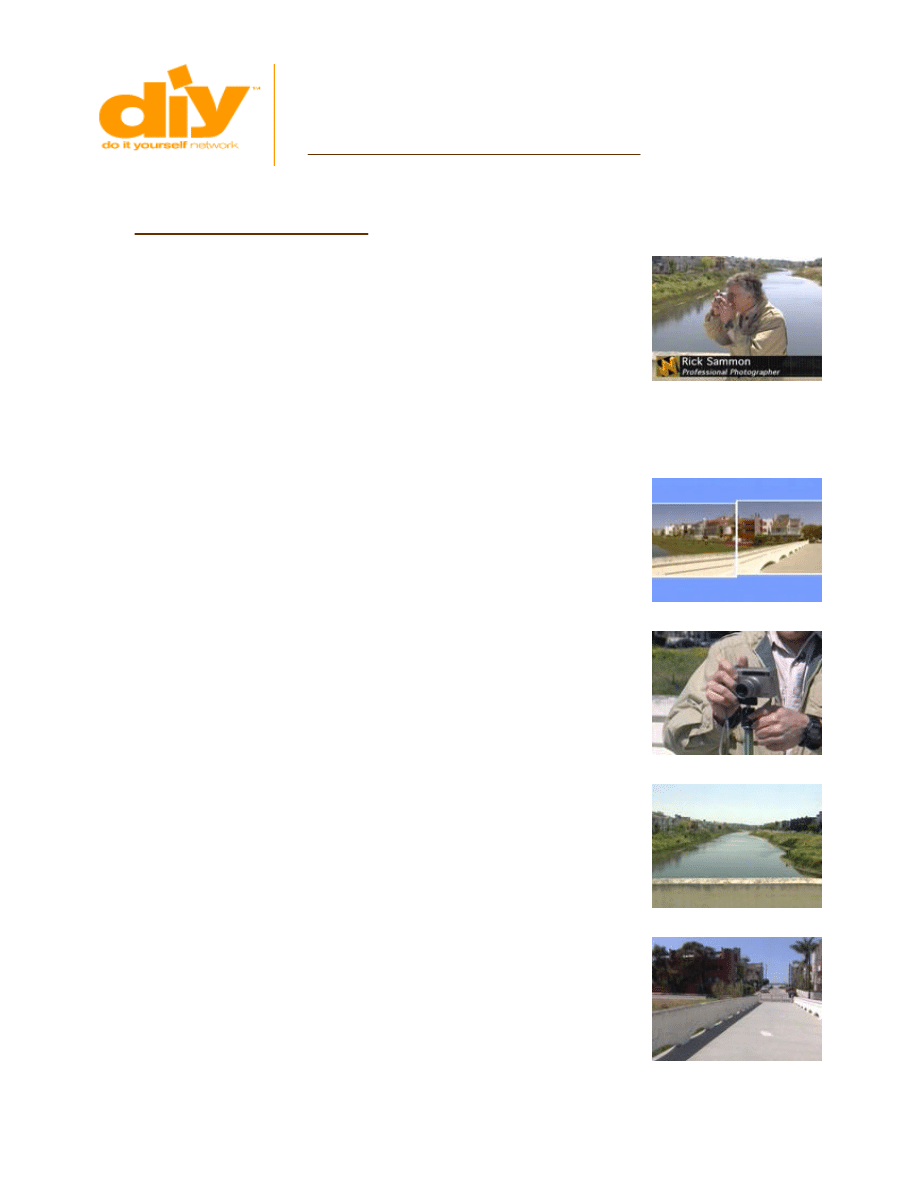
Host Rick Sammon shoots a
series of images at the Venice
Canals near Los Angeles.
Later, he'll "stitch them
together" to create a striking
interactive panorama.
Figure A
Figure B
Figure C
Figure D

your series of pictures, taking care to include all of the necessary shots to
encompass the entire 360-degree vista (figures C, D, E, F, G, H ). In our
demonstration, Sammon took six shots. (With a wide-angle lens, this will require
fewer shots.)
Important: Take your series of pictures so that sequential pictures overlap by
about 15 percent. This will help ensure that the image program will later be able
to stitch the images together seamlessly, without visible breaks or transitions.
4.
Once you've taken your pictures, you're ready to transfer them into the computer.
(For information on this process, see "Transferring Digital Images to Your
Computer" in episode 101 of the Digital Photography workshop.) For ease in
importing the pictures into the Cool 360 program, name your photos with
numbers to indicate their sequence, and place them in a single folder on your
desktop.
5.
With your photos downloaded onto your computer, and the Cool 360 program
launched, select "New Project" from the initial screen.
6.
The next screen will give you some menu choices. Under "Project Type," select
"Full 360-Degree Panorama" (figure I). Click "Next" to continue.
7.
Browse to the folder containing your photos, open the folder and begin adding
your images into the program (figure J ). In this program, you may choose to add
your photos one at a time or a all at once. Once you've added all of your photos,
click "Next" to continue.
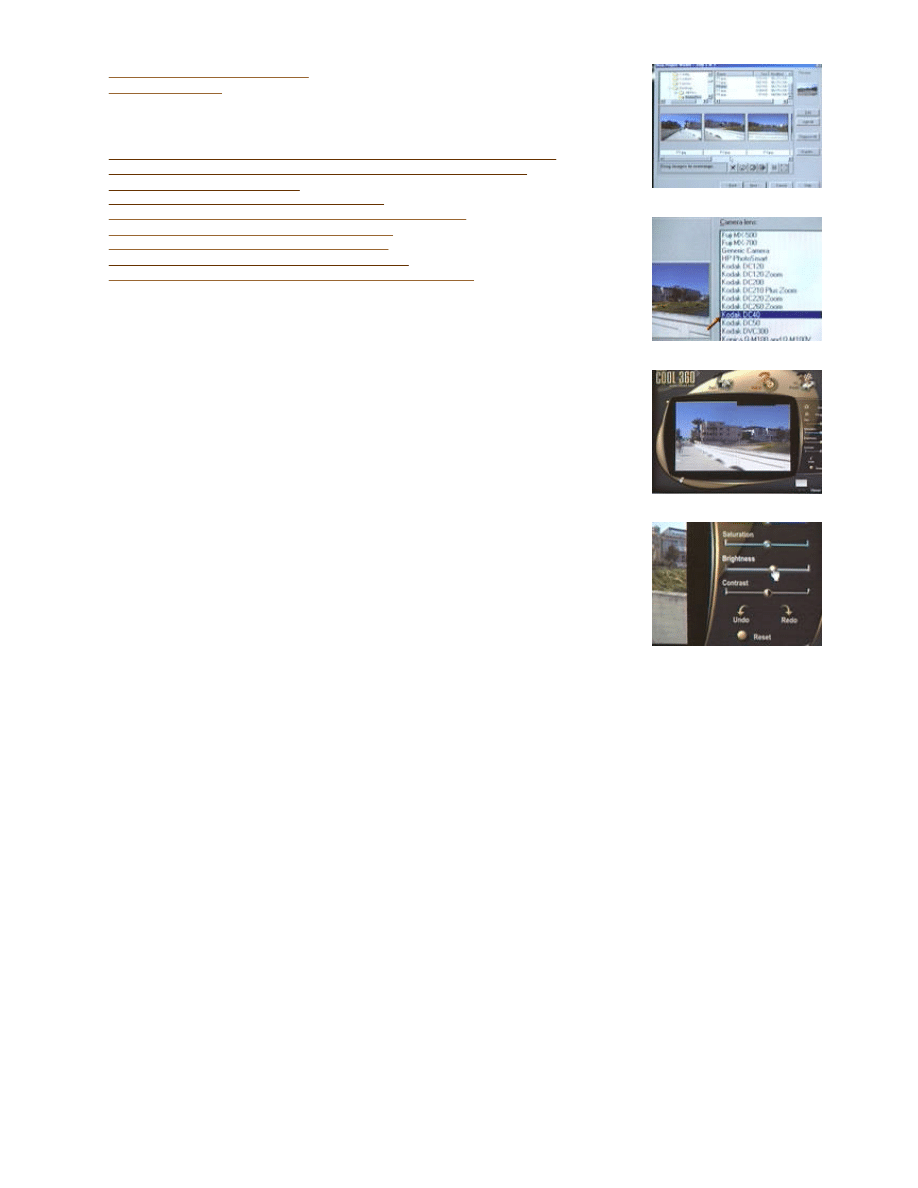
8.
You'll then need to select your camera's lens-type from a lens menu (figure K ).
This will allow the program to properly present your images based on the optics
of your camera's lens. In our demonstration, our lens was a Kodak DC40.
9.
Once you've added your images and selected your lens type, click "Finish" to
initiate the finalizing process. The program will then create a continuous,
panoramic image from your individual photographs (figure L).
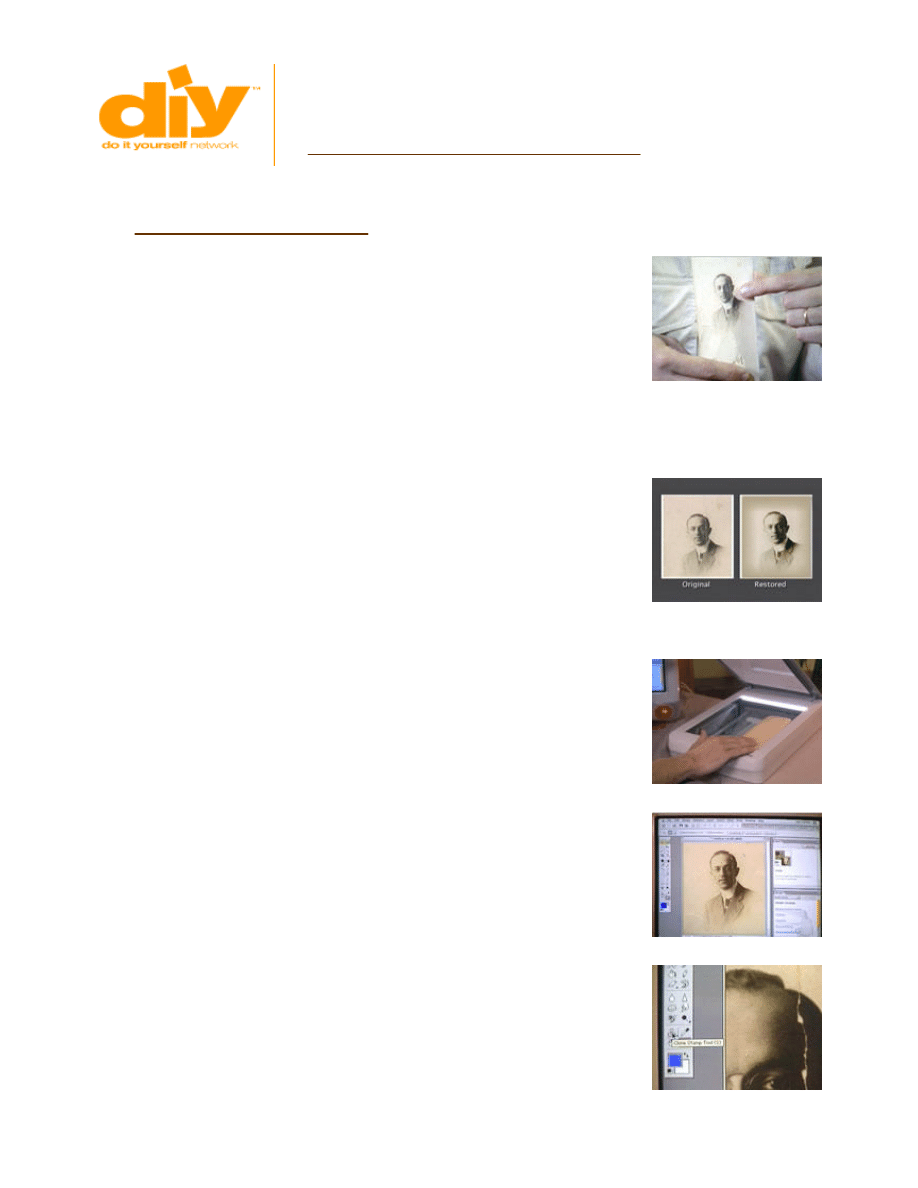
10.
There is one final step. In the newly created 360-degree image, you may need to
adjust the brightness or contrast of the individual pictures to make sure the
transitions are invisible. Visible transitions can be caused by variations in lighting
between individual shots. Click on any photo that you want to adjust, then use the
adjustment menu (figure M) to make changes to the brightness, contrast, hue
and color saturation. With some minor tweaking, you should be able to match all
of the pictures so that the transitions are practically imperceptible.
11.
Once you're satisfied with your changes, click "Finish" to complete the project.
Resources
>
Rick Sammon, professional photographer
>
Special Thanks for DIY's Digital Photography workshop, episodes 101-105
>
The Complete Idiot's Guide to Digital Photography
>
Complete Digital Photography
Figure E
Figure F
Figure G
Figure H
When shooting a panoramic
series, it's important to overlap
adjacent images by about 15
percent to ensure you get
good transitions between
individual images.
Figure I
>
50 Fast Digital Photo Techniques
>
Ulead's Cool 360®
Related Projects
>
Digital Cameras: Shutter Delay, Continuous Mode and Action Photography
>
Digital Darkroom: Removing Red -Eye, Contrast Adjustment, Cropping
>
Creating Photo Albums Digitally
>
Digital Cameras: Pixels and Image Resolution
>
Digital Photography: Transferring Images to Your Computer
>
Digital Photography: Digital Imagery via the Net
>
Digital Photography: Presenting Digital Images
>
Digital Cameras: Automatic and Manual Exposure
>
Digital Photography: Digital Images Without a Digital Camera
Figure J
Figure K
Figure L
Figure M
Recreation & Hobbies
To print: Select File and then Print from your browser's menu.
This page can be found at:
http://www3.diynet.com/DIY/article/0,2058,6653,00.html
Digital Darkroom: Restoring Old or Damaged Photos
From "
Digital Photography: The Digital Darkroom
" Episode DPG-103
With a scanner and some photo-enhancing software, you can create duplicate images of
old photos and digitally eliminate scratches, cracks or spots that appear on the original.
This is a process that until fairly recently would have involved sending your photographs
to a retouch specialist. Now you can do the same thing at home on your PC. You may
even be able to enhance the duplicate image so that it looks better than the original --
bringing out contrast and detail and counteracting the effects of aging and fading.
The first step is to digitize the image so that it can be loaded onto your computer. To do
this, you'll need a scanner -- a computer accessory that acts much like a copy machine
but creates digital rather than paper duplicates of images. The scanned image is
imported into the computer as a digital file.
Lay your photo face down on the scanner (figure A ) and scan in the image according to
the instructions that come with your scanning software.
With the image scanned into your computer (figure B), you're ready to begin work
restoring and enhancing the image.
Removing Water Spots or Age Spots
In our demonstration, the aged family photo had some spots due to aging as well as a
prominent crack and some fading. To remove the spots from the digital image:
l
Use the Zoom tool to magnify the area of the image with one of the age spots so
that it is easily visible.
l
Select the Clone-Stamp tool, sometimes called the rubber-stamp tool (figure C).
This tool allows you to sample a small area from the photograph -- from a location
near the spot you'll be removing -- and superimpose this sampled section over
the damaged spot.
l
The stamp tool works in such a way as to avoid visible, sharp lines, and
effectively replace the discoloration with the corrected color, shade and pattern
(figure D). With a little practice in sampling, you'll be able to remove most
imperfections so that correction is virtually invisible.
Fixing a Cracked or Scratched Photo
Surface imperfections like cracks (figure E) and scratches can also be removed from a
digitized photo using similar methods:
Precious family photos that
have become damaged or
faded can be digitally restored
using a scanner and some
basic photo-enhancing
software.
The original photo (BEFORE)
and the digitally restored
duplicate (AFTER).
Figure A
Figure B
Figure C
l
Use the zoom tool to magnify the area of the image with the crack.
l
Select the clone-stamp tool. With that tool selected, we opted for a smaller brush
size (figure F) since the width of the crack is fairly narrow. This tool allows you to
sample a small area from the photograph -- from a location near the spot you'll be
removing -- and superimpose this sampled section over the damaged spot.
l
The stamp tool is used in much the same way that it was to remove the age spot,
sampling from the areas near the crack and then, bit by bit, replacing the lighter
crack area with the darker surrounding areas (figure G). This technique requires
a little artistry, but you'll get better with practice. The advantage of doing this
digitally is that, if you should make a mistake, you can simply rescan the photo
original and try again.
The results are a restored photo-duplicate (figure H) with the damaged areas digitally
"repaired."You may want to go a step or two further, however:
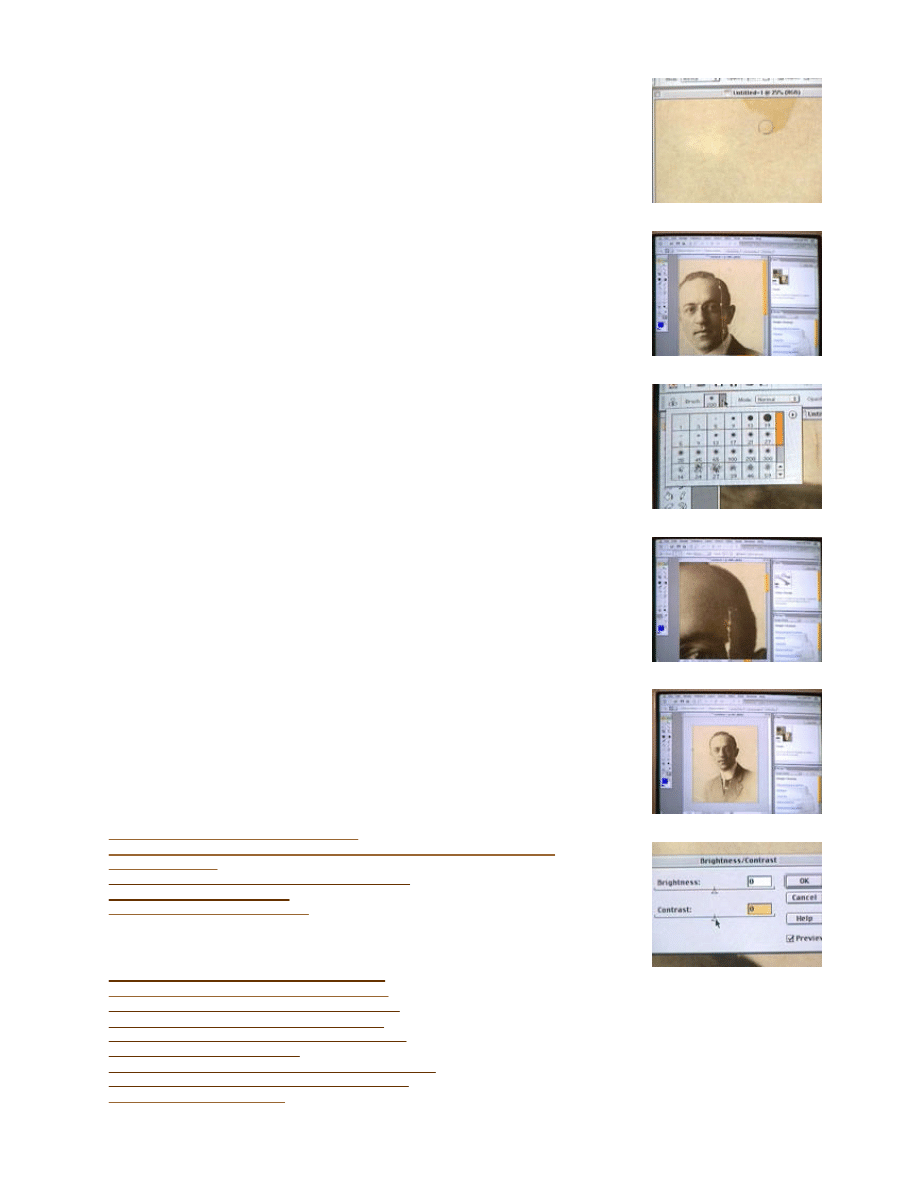
l
Old photographs are sometimes lacking in contrast and definition because of the
limitations of early photo techniques, and age may worsen this problem with
fading. You may be able to bring out some detail and definition and make for a
more dramatic -looking image by adjusting the brightness and contrast (figure
I ) under the "Enhance" menu. Make these adjustments slowly and carefully to
avoid overadjusting.
l
Photoshop also provides burning and dodging tools, which emulate a technique
used in real darkrooms. With these digital tools, you can judiciously lighten
particular areas to accentuate detail. A common use of burning is to darken the
outer areas in a portrait, drawing the viewer's focus to the subject at the center of
the photo.
l
Another technique you might try is to use the dodging tool -- selecting a very
small brush size -- to brighten the whites of a portrait subject's eyes.
The cumulative effect of contrast adjustment and selective burning and dodging can
result in a more dramatic photo (figure J). These techniques can be used in a variety of
ways in other types of photos as well. Read the manual and documentation that come
with your image software for more tips and examples.
Resources
>
Rick Sammon, professional photographer
>
Special Thanks for DIY's Digital Photography workshop, episodes 101-105
>
Adobe Photoshop
>
The Complete Idiot's Guide to Digital Photography
>
Complete Digital Photography
>
50 Fast Digital Photo Techniques
Related Projects
>
Digital Cameras: Memory Cards and Batteries
>
Digital Photography: Presenting Digital Images
>
Digital Photography: Printing Your Digital Photos
>
Digital Cameras: Pixels and Image Resolution
>
Creating Greeting Cards With Your Digital Photos
>
Creating Photo Albums Digitally
>
Digital Darkroom: Special Effects and Photo Montages
>
Digital Cameras: Automatic and Manual Exposure
>
Creating a Digital Slide Show
Figure D
Figure E
Figure F
Figure G
Figure H
Figure I

Figure J
Document Outline
- Digital Photography: The Digital Darkroom
- Removing Red-Eye
- Special Effects and Photo Montages
- 360-Degree Panoramas
- Restoring Old or Damaged Photos
Wyszukiwarka
Podobne podstrony:
The Digital Photography Book Scott Kelby Volume 2
The Digital Photography Book Scott Kelby Volume 1
The Digital Photography Book Scott Kelby Volume 3
The Dirty Truth?out The Cloud And The Digital Age
Installing the Digital Sc
[Photography Ebook] digital photography hacks
Lost Not Found The Circulation of Images in Digital Visual Culture
Stephenson, Neal Dreams and Nightmares of the Digital Age
Digital Photography Course
Exploring Digital Photography
Butler, Kris; Canning, Stephen & Cooper, Robert Photography Going Digital A Guide To Digital Phot
The biology of digital organisms
Oral History in the Age of Digital Possibilities
Joseph Viscomi, Digital Fascimiles Reading the William Blake Archive
Digital Booklet The East (Original
Digital SLR photography Guide
John Ryan A History of Internet and the Digital Future
więcej podobnych podstron