
EdLand Manual, the Level Editor for Conflict Zone
1. Presentation___________________________________________________2
2. Starting Up____________________________________________________2
3. Creating a map_________________________________________________2
3.1
Size of the map _____________________________________________________ 3
3.2
Types of environment ________________________________________________ 3
3.3
Type of atmosphere__________________________________________________ 4
4. The interface __________________________________________________6
4.1
Menu _____________________________________________________________ 7
4.1.1 'File' ____________________________________________________________ 7
4.1.2 Edit _____________________________________________________________ 8
4.1.3 'View' ___________________________________________________________ 8
4.2
Icon bar ___________________________________________________________ 9
4.2.1 New map_________________________________________________________ 9
4.2.2 Open ____________________________________________________________ 9
4.2.3 Save ____________________________________________________________ 9
4.2.4 Editing mode______________________________________________________10
4.2.5 Type of environment ________________________________________________10
4.2.6 Atmosphere_______________________________________________________10
4.2.7 Zoom ___________________________________________________________10
4.2.8 Viewing modes ____________________________________________________11
4.2.9 Grid ____________________________________________________________11
4.2.10
Movement mode _________________________________________________11
4.3
Radar minimap ____________________________________________________ 11
4.4
Main view ________________________________________________________ 12
4.5
Décor elements ____________________________________________________ 12
4.6
Patterns __________________________________________________________ 13
5. Saving a map _________________________________________________14
6. Modifying an existing map ______________________________________14
7. Playing with maps created by EdLand _____________________________14
8. Retrieving maps made by other players ____________________________15
1.
Presentation
The ‘EdLand’ level editor supplied with Conflict Zone is based on the tool used by the
development team to create game missions and the ‘multi’ maps supplied on the game CD-Rom.
You can use it to create new maps to access in ‘multi’ mode and in ‘skirmish’ mode.
2.
Starting Up
Double-click on ‘Edland.exe.’ in the directory where you installed Conflict Zone to start the editor.
You can also use the shortcut in the Start Up \Ubsoft games\Masa\Conflict Zone\ menu.
3.
Creating a map
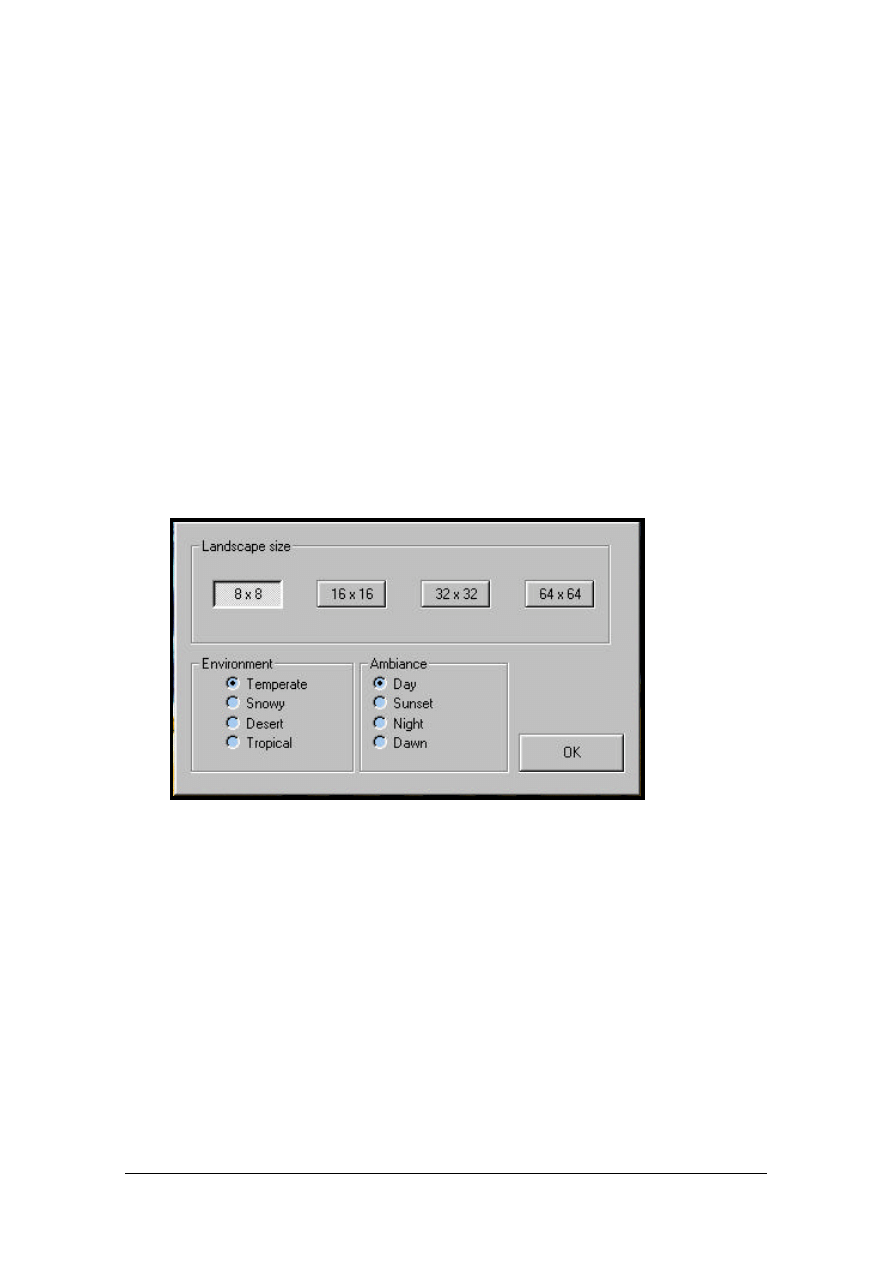
A panel opens and asks you to decide:
•
The size of the map
•
The type of environment
•
The type of atmosphere
By default, EdLand suggests creating an 8 by 8 map, with a temperate environment and ‘daytime’
atmosphere.
3.1
Size of the map
EdLand offers 4 different sizes, from 8 by 8 patches (less than 1 km2) up to 64 by 64 patches
(more than 25 km2). Choosing the size of your map will depend mainly on the maximum number
of participants you wish to authorize and the style of game you want to create. The smaller the
maps, the more violent the game-style, because overcrowding leads to distrust and rivalry and is
conducive to rapid confrontations. A size of 8 by 8 is ideal for rapid confrontations between 2
players. Use 16 by 16 for 4 players, and larger still for 6 to 8 players.
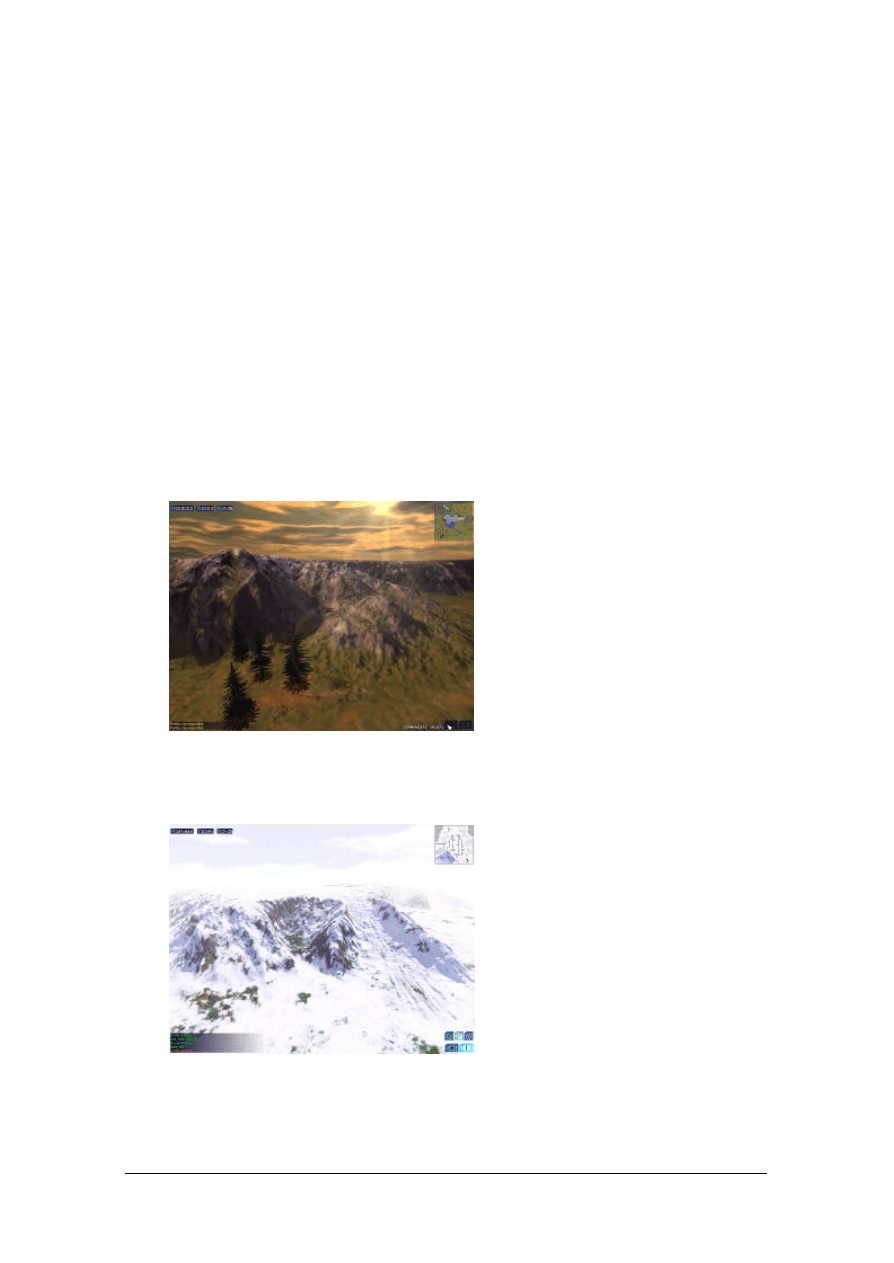
3.2
Types of environment
The same types of décor – plains, hills, mountains, canyons, rivers, etc. – can be accessed
regardless of the environment. The choice you make is mostly a question of taste and atmosphere.
Besides the décor, each environment is distinguished by its civilian houses and different native
populations.
•
'Temperate': same type of environment as in the the Ukrainian conflict in the Solo campaign.
•
'Snowy': same type of environment as in the Himalayan conflict in the Solo campaign.
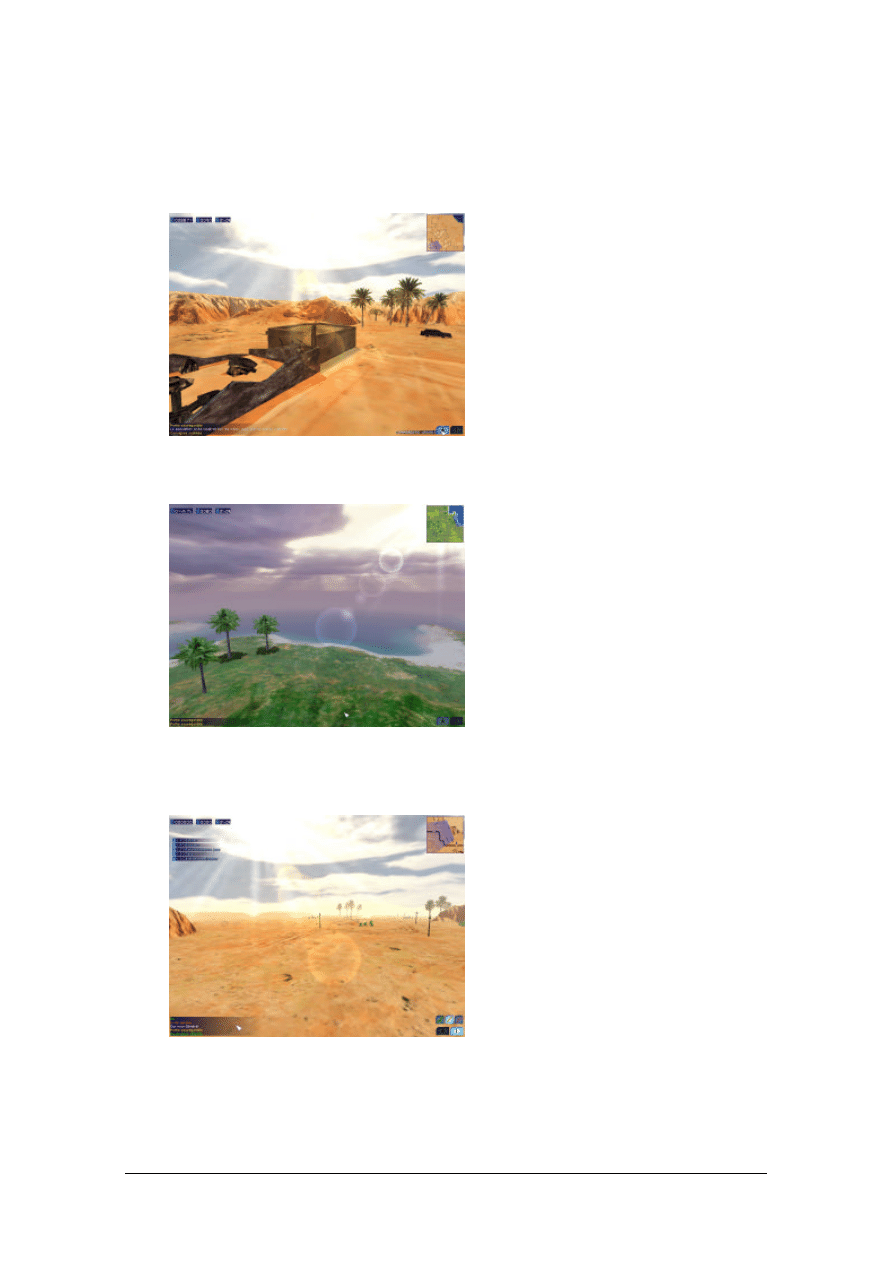
•
'Desert': same type of environment as in the Nigerian conflict in the Solo campaign.
•
'Tropi cal': same type of environment as in the Malayan conflict in the Solo campaign.
3.3
Type of atmosphere
•
'Day': the middle of the day, with the sun high in the sky.
•
'Sunset': the sun going down.
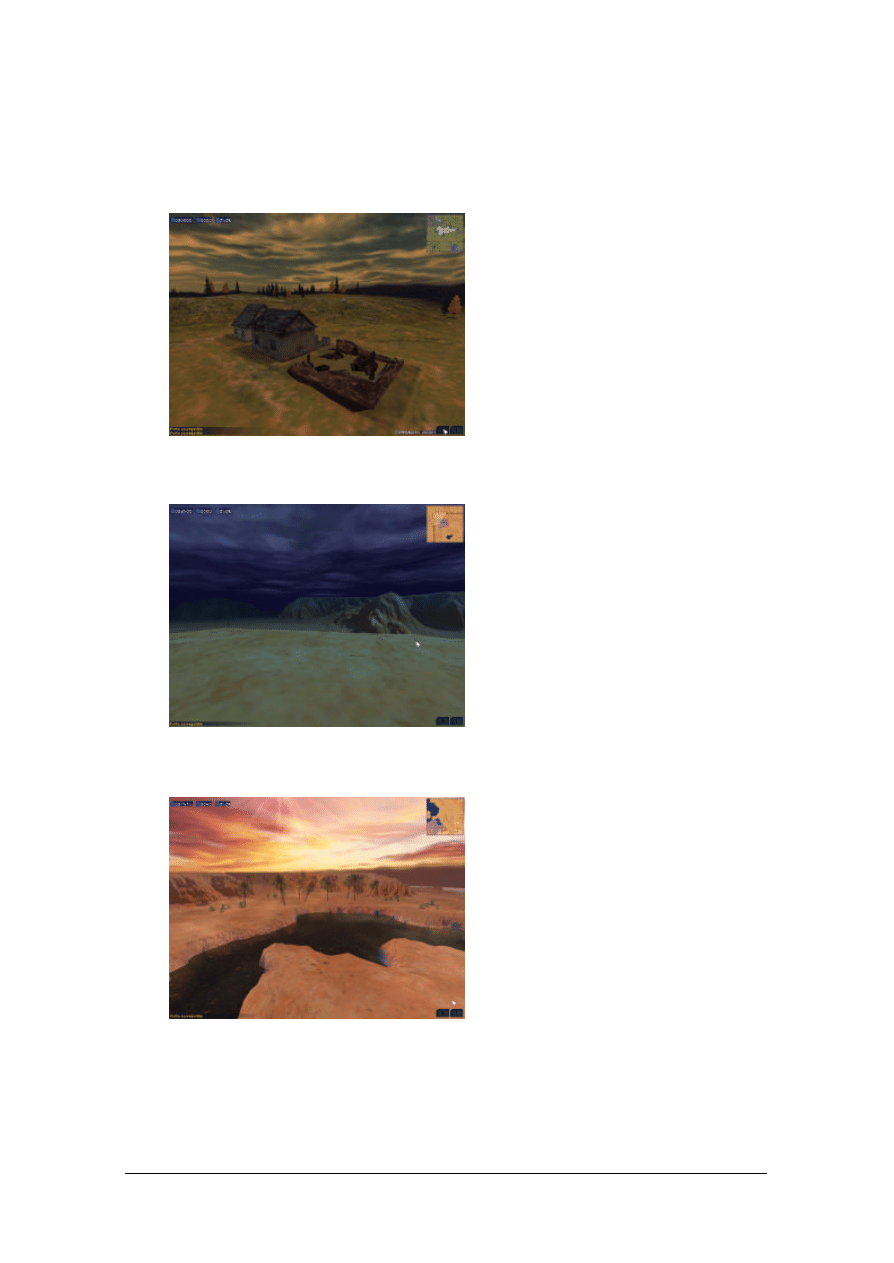
•
'Night': night time with a bright full moon, making it possible to see the décor and units.
•
'Dawn': sunrise.
When you have chosen all your parameters, click on OK to create a blank map with the parameters
you have selected.
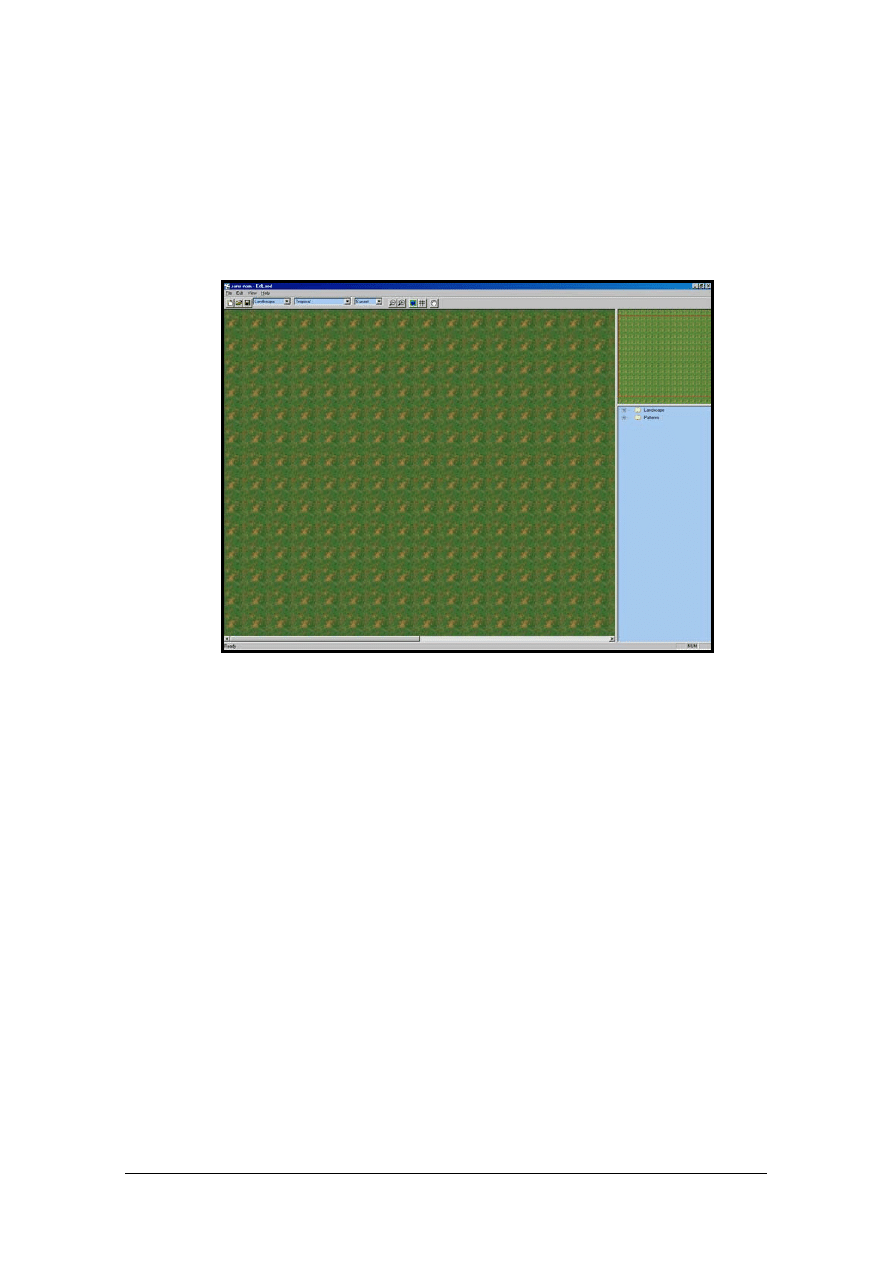
4.
The interface
EdLand’s interface is made up of a menu, an icon bar, a work zone, a radar minimap and a
scrolling list.
4.1
Menu
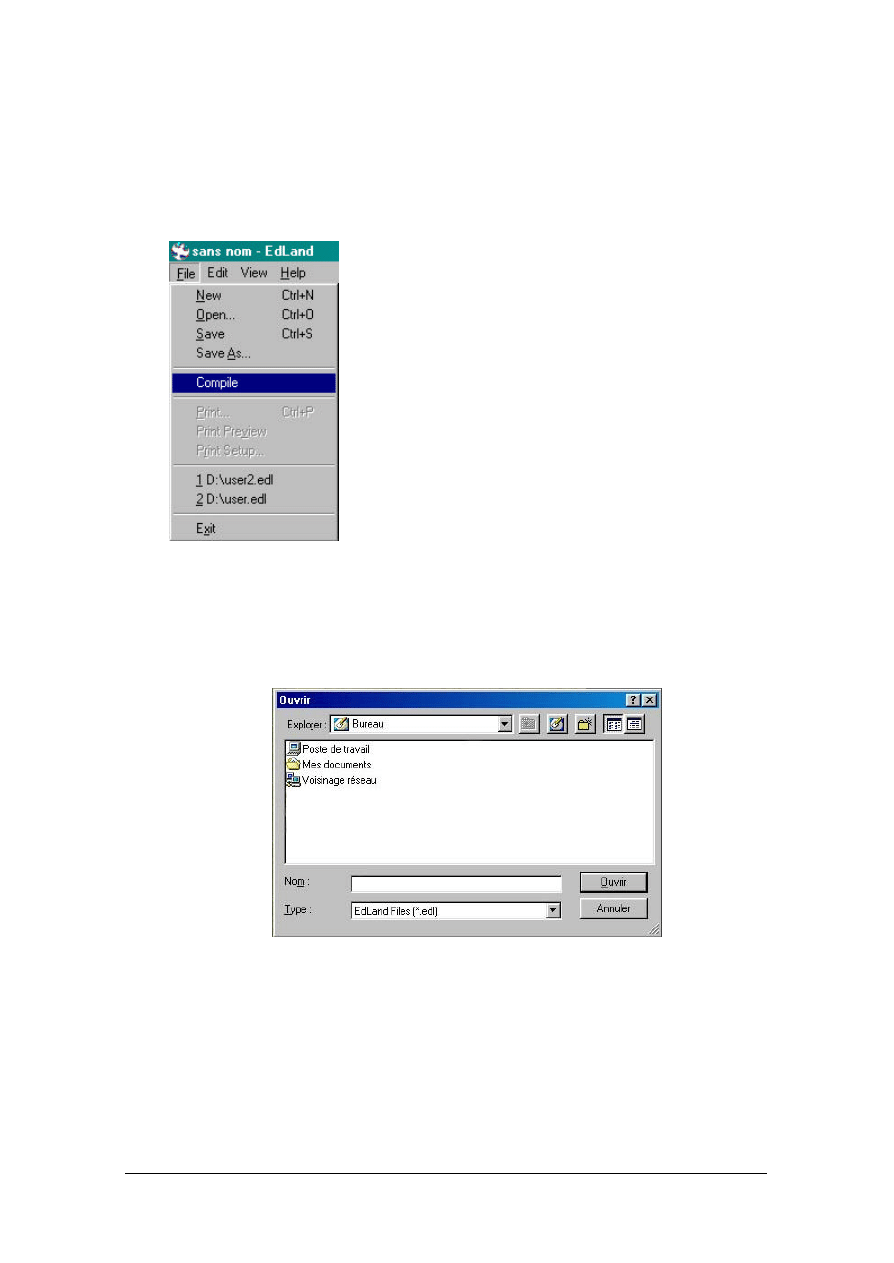
4.1.1 'File'
'New': creates a new map and opens the initial panel to choose size, environment and atmosphere.
If you have not saved the changes you have made, EdLand asks you if you want to save before
moving on to the new map. If you do not save, your changes will be lost.
'Open': opens a panel which allows you to select the map you want to open on your hard disk.
'Save': saves the map in its current state. If the map has already been saved, EdLand asks you if
you wish to overwrite the old version. If you do not wish to do this, EdLand allows you to give a
new name to your map.
'Save as': enables you to save your map under a new name so as not to overwrite the previous
version.
'Compile' : this command creates additional files required to use cards created with EdLand in the
Conflict Zone. If you attempt to use a card without having compiled it, the game will perform the
compilation at the start of the game, but this may take several minutes.
'Exit': to quit EdLand. If you have not saved your changes, EdLand asks you if you want to save
before quitting. If you do not save, your modifications will be lost.
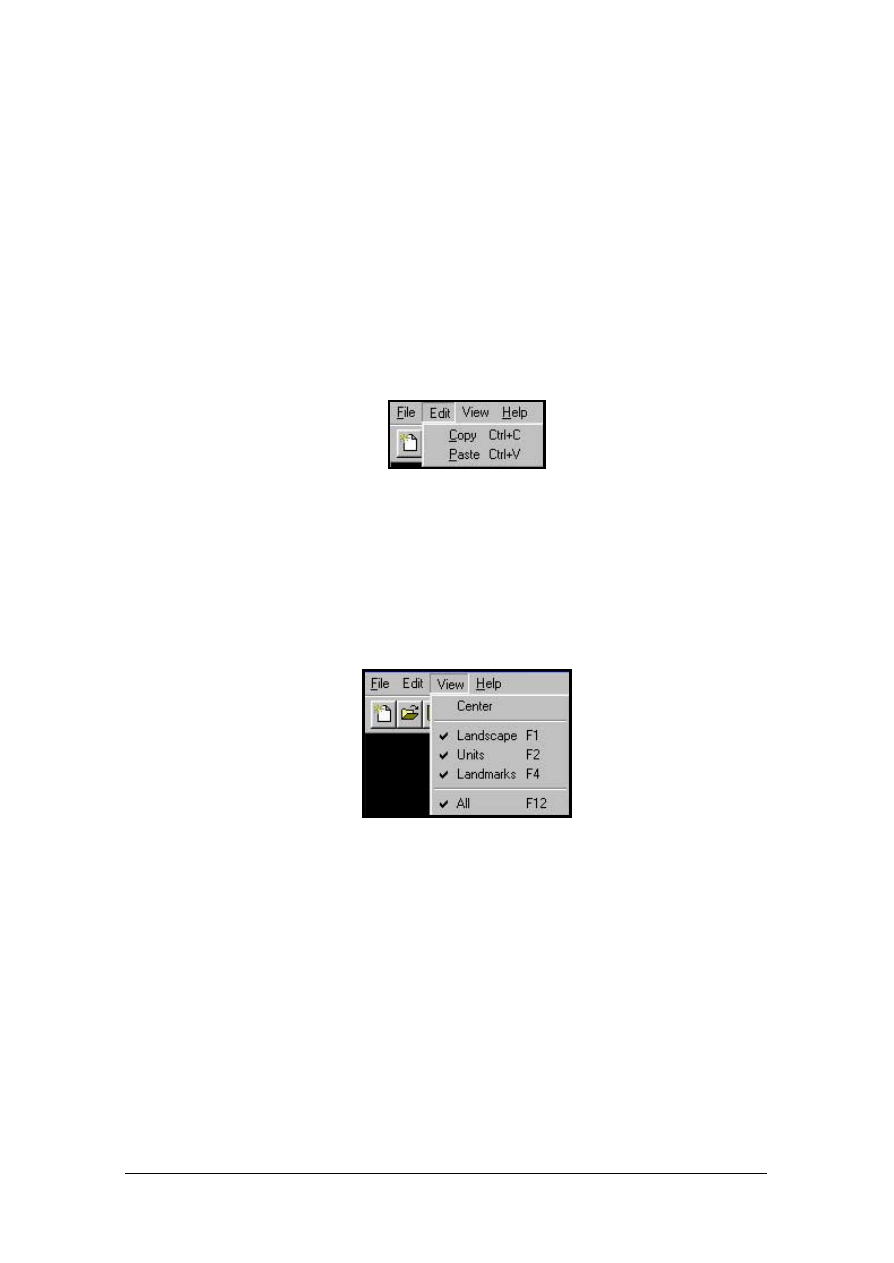
4.1.2 Edit
'Copy': to copy the present selection into buffer memory. By default, the selection only concerns
the ground. If CTRL is kept pressed down while making the selection, it will include the ground
and everything on it (base, village, civilians).
'Paste': to paste the contents of the buffer memory onto the currently selected position.
4.1.3 'View'
'Center': centers the view on the middle of the map in main view.
'Landscape': click to activate or deactivate the display of the ground.
'Landmarks': click to activate or deactivate the display of bases and villages.
'Units': click to activate or deactivate display of units.
'All': click to activate or deactivate display of all elements on the map.
4.2
Icon bar
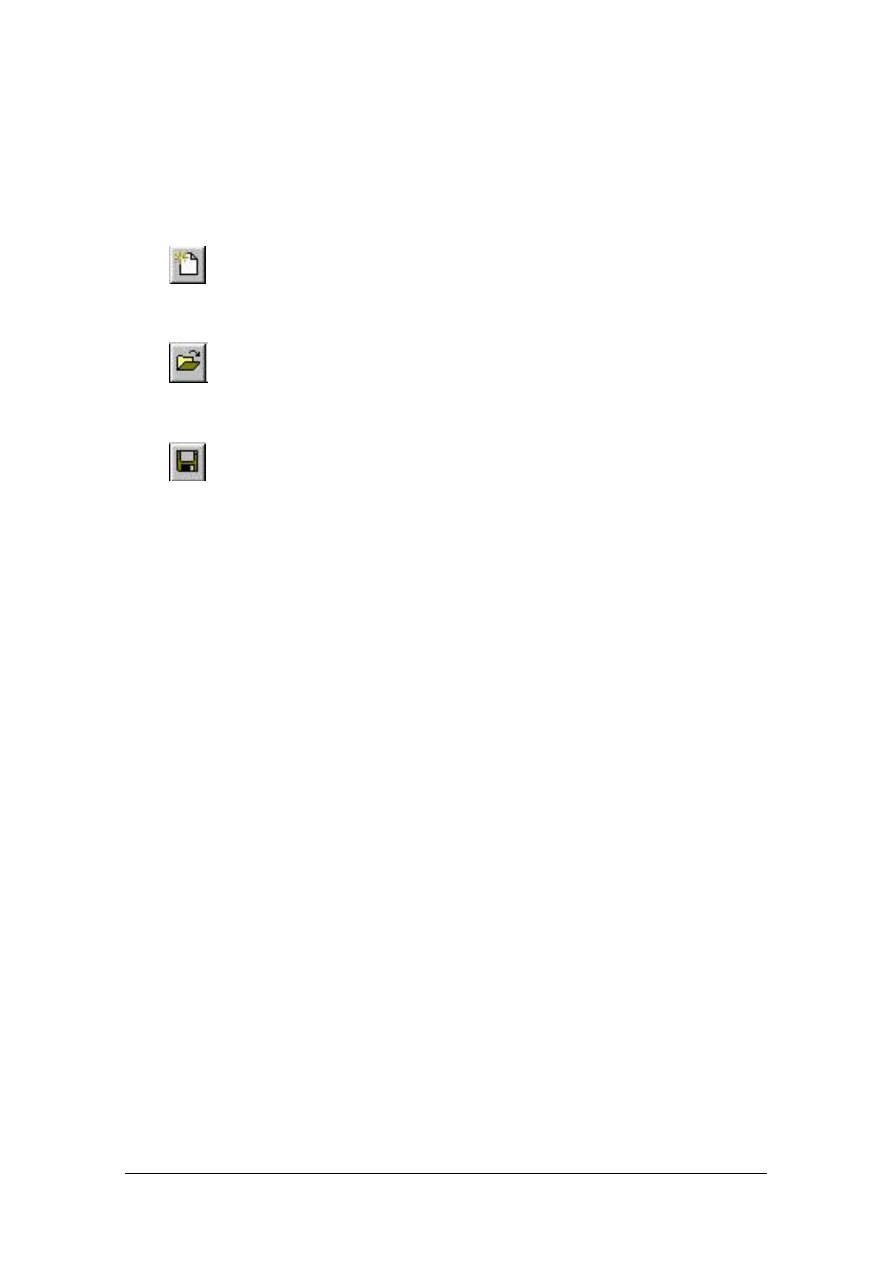
4.2.1 New map
Shortcut to 'File/New'.
4.2.2 Open
Shortcut to 'File/Open'.
4.2.3 Save
Shortcut to 'File/Save'.
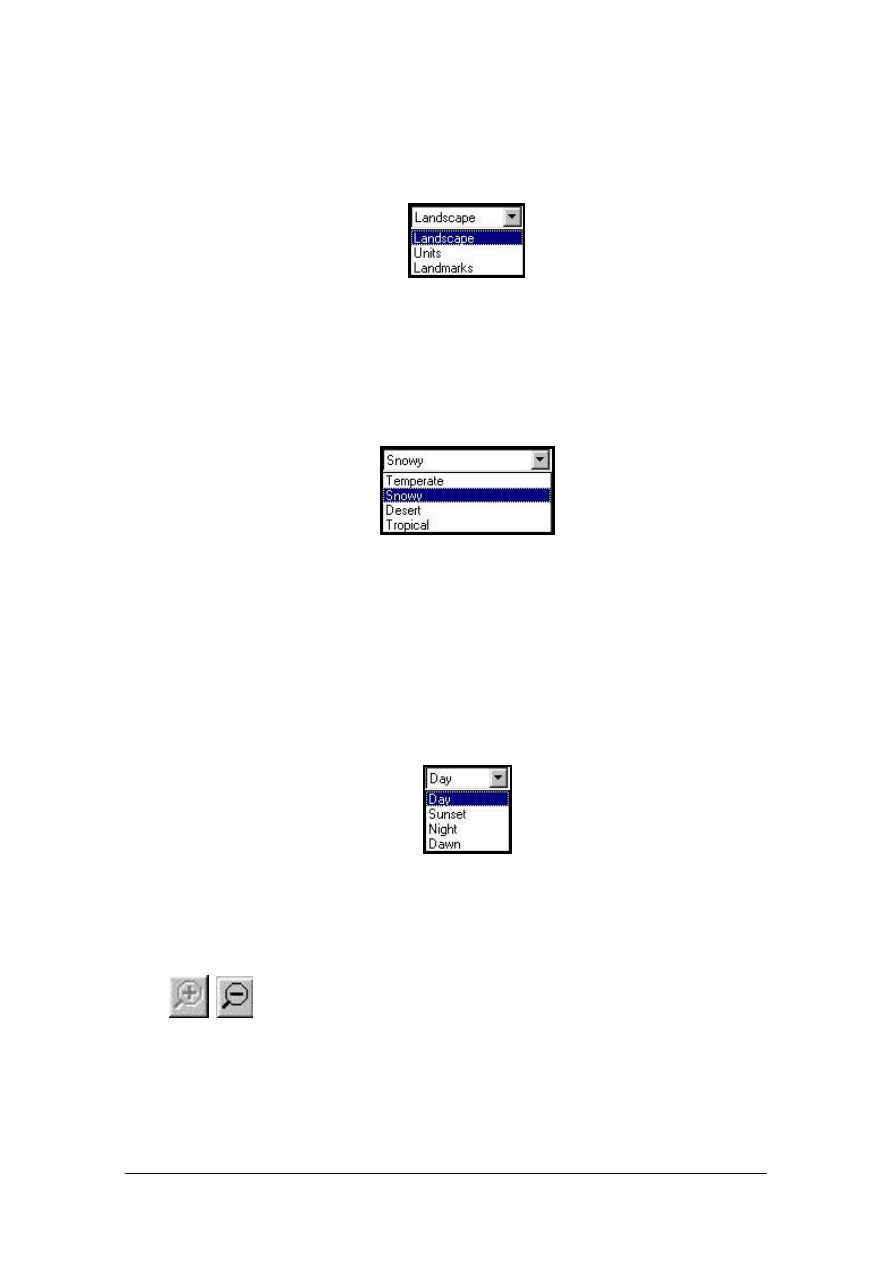
4.2.4 Editing mode
With this selection list, you can change the editing mode.
•
In ‘units’ mode, you can only add or remove units to or from the map.
•
In ‘landmarks’ mode, you can only add or remove bases and villages.
•
In ‘landscape’ mode, you can only modify the ground.
4.2.5 Type of environment
With this selection list, dynamic changes to the current type of map environment can be made. The
changes take effect immediately.
Note: it may happen that the map is changed in such a way that it is no longer valid after a change
of environment, because certain décor elements (‘patches’) do not coincide exactly between 2
environments. So this function is provided with no total guarantee that the result will be
successful. All the same, in most cases it will help you save precious time rather than having to
begin your map all over again.
4.2.6 Atmosphere
With this selection list, dynamic changes can be made to the type of atmosphere on your map.
The difference cannot be perceived until you have loaded your map into the game.
4.2.7 Zoom
With these 2 icons, you can zoom in and out on the map.
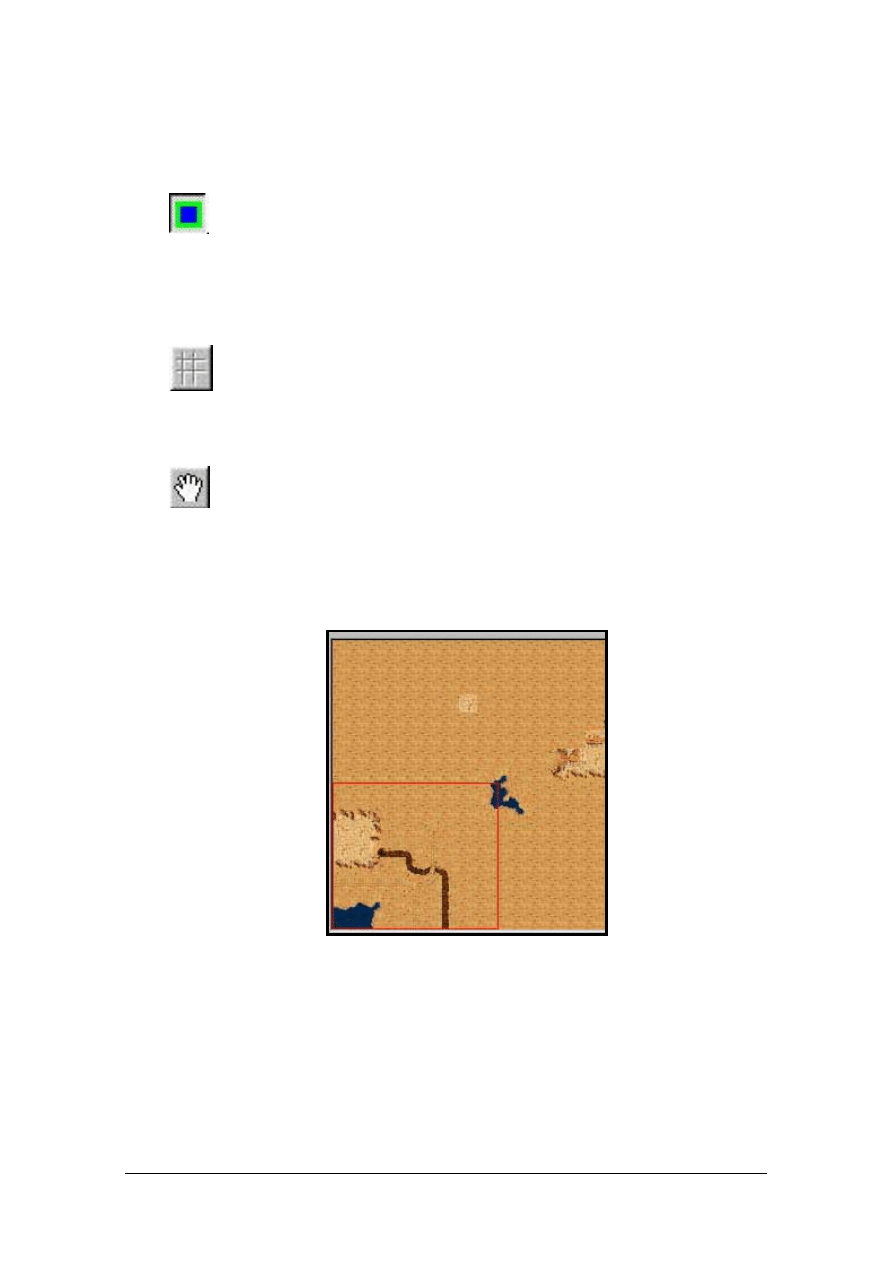
4.2.8 Viewing modes
This icon allows you to switch between 2 modes of viewing the ground. Press it to move
into ‘landscape check’ mode. In this mode, you will see black bars appear indicating linkage
problems between elements of the ground that have incorrectly placed. When a map has such
linkage problems, it is not valid. Press the icon again to move back into normal viewing mode.
4.2.9 Grid
Using this icon, you can display or hide the separation grid that lies between décor
elements (patches). You can only use this icon if the ‘landscape check’ mode is not activated.
4.2.10 Movement mode
With this icon, you can shift into movement mode. In this mode, the mouse cursor turns
into a multidirectional cross. You can click inside the work zone to cling on to the ground, then –
so long as you do not release the mouse button –you can move around on the ground by moving
your mouse.
4.3
Radar minimap
Figure 1.
This radar minimap allows you to move around within a map that is too large – or too closely
zoomed-in – to be fully displayed on the screen. If this is the case, a red rectangle indicates the
portion of the map that is presently on-screen.
•
Click with the left-hand button on the mouse inside the minimap to center your view on the
point you are aiming at.
•
Click within the radar minimap, without releasing the left-hand button of the mouse, and
move your mouse to shift your view in real time on the map.
4.4
Main view
This is the map’s viewing and editing zone.
Within this zone, you can position and maneuver the ground patches and patterns which go to
make up your maps.
4.5
Décor elements
It is possible to place incompatible patches, which do not link up, side by side, but you should
make sure that such situations do not arise.
If you are uncertain about your map, you can access the ‘landscape check’ viewing mode from the
icon bar: this allows you to check which patches placed on the map pose a problem.
To select a patch, click on it with the left-hand button on the mouse. Then click on the map
position where you want to put it. The map changes immediately.
Once your patches are in place, you can turn or position them in many different ways. To turn a
positioned patch - or shift to a variant - click on it with the right-hand button on the mouse. If you
go too quickly and pass over the variant you want, you can go on changing variants until you get
back to the one you are looking for (the variants are displayed on a continuous loop).
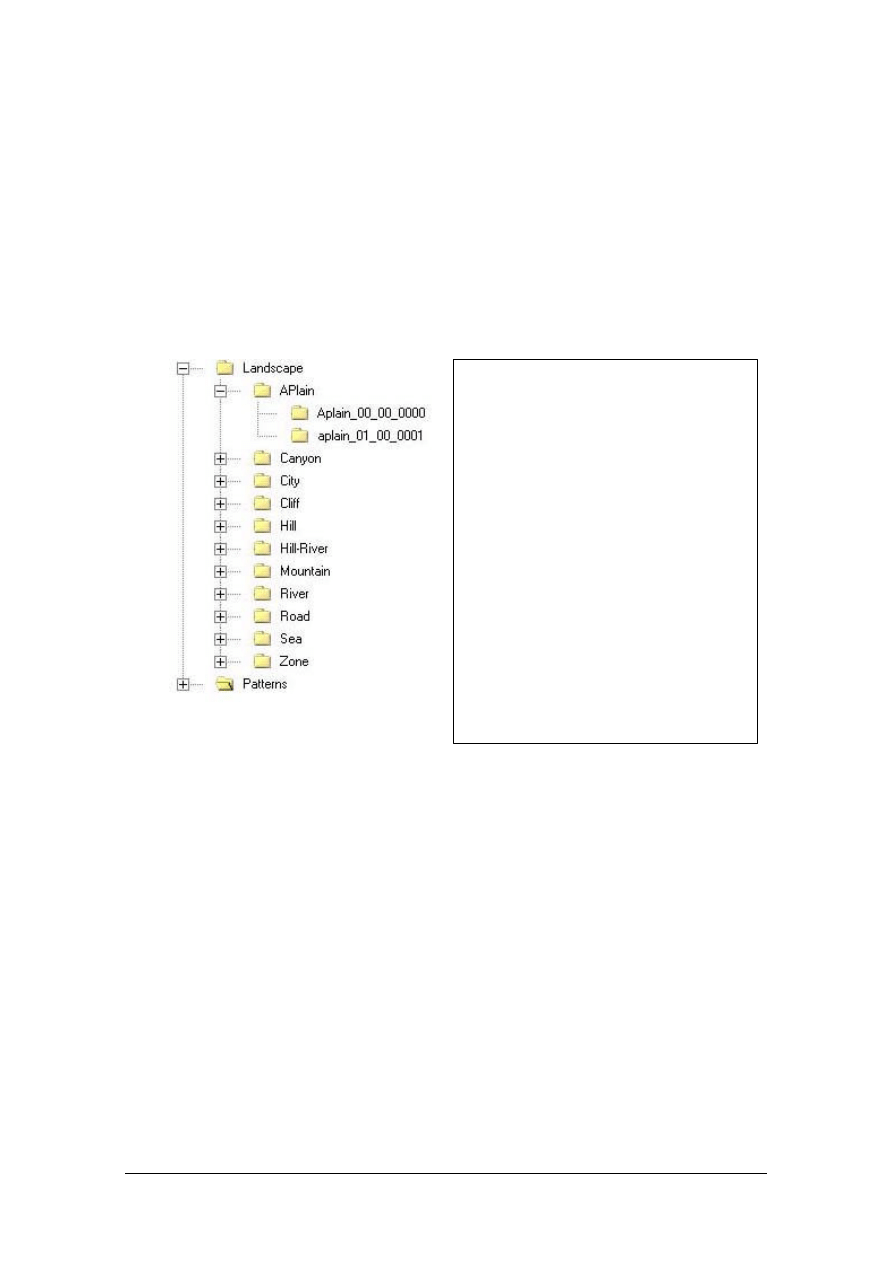
A patch is a square element of ground. The
maps are made up of a collection of patches
(the smallest of which are 8 by 8).
For each of the 4 environments, there is an
assortment of 64 different types of patches to
create a map’s décor.
Patches are classifed according to 11
categories. All the patches in a single category
are mutually compatible (provided they are
turned in the right direction) and they are also
compatible with some patches in other
categories.
Open the ‘Landscape’ list (by clicking on [+])
in the right-hand window to display the list of
all available categories of patches. Open each
category individually by pressing [+] to see
the list of patches that make up the category.
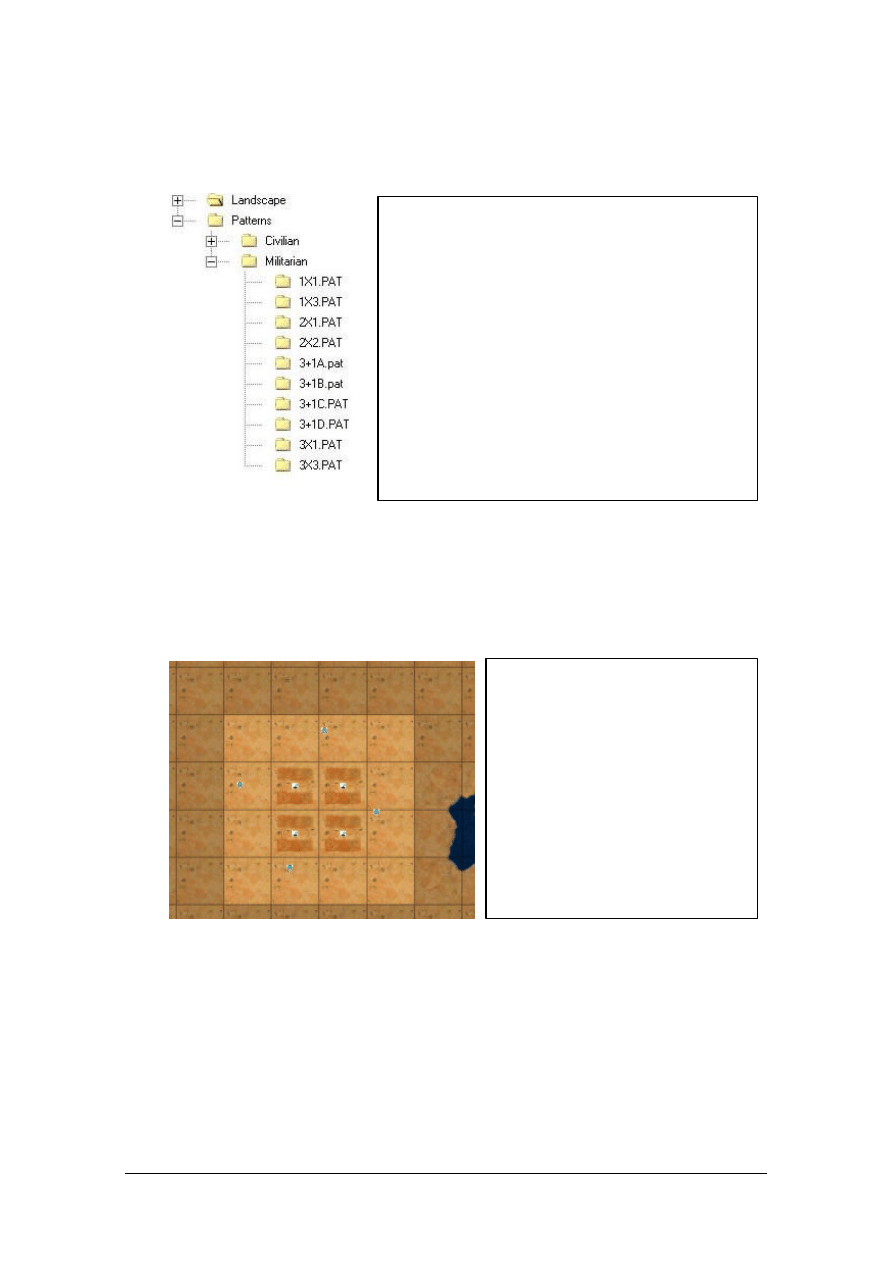
4.6
Patterns
If you change the ground on a pattern or in the immediate vicinity of a pattern placed on a map,
you may make the pattern invalid. If this happens, the pattern is automatically deleted to avoid the
risk of problems. Likewise, if you place a pattern on top of another pattern, the latter will be
deleted to avoid ambiguity.
Example of a positioned military patch:
A pattern is a bit of map that is ready-made and ready for
use. A pattern comprises patches of ground and possibly
houses and even units.
The most important patterns are village patterns (civilian)
and army base patterns (military).
A map is valid as soon as a minimum of 2 basic patterns
have been put down.
You can access the pattern list in the scrolling window to
the right of the work zone. To choose a pattern, click on its
name, then click on the map position where you want to
place it. The map changes immediately.
The base will be made up of 4 patches
where building is permitted, but the
pattern is made up of a total of 16
patches – that is, the base itself plus the
other patches.

Example of a positioned civilian patch:
Note: the placing of village patterns (‘civilian’) is dependent on the presence of civilians on the
map: it is therefore essential if you want to exploit all the capacities of the game to the full
(functions linked to civilians and the media).
5.
Saving a map
Use the save icon or ‘File/Save’.
The name you give your file will be used in the game to identify the map. The map’s maximum
number of players is determined by the number of military bases placed on the map.
Several files are created when saving. The file with the suffix ‘EDL’ comprises the map with the
décor and all the parameters. The ‘JPG’ file corresponds to what is seen on the radar minimap
display (and the strategic map).
6.
Modifying an existing map
To modify a map that has already been created, launch EdLand and, once within, click on the
‘Open’ icon or choose ‘File/Open’, then search your hard disk for the file you want to change.
When the map is open, you can change it as you please, then save it using the icon bar or
‘File/Save’. The original map will be overwritten by the new one. If you prefer not to overwrite the
original map when creating a new map, use ‘File/Save as’.
If a compiled card is modified, you must recompile it.
Note: Solo game maps cannot be modified with EdLand.
7.
Playing with maps created by EdLand
Launch Conflict Zone and choose Multiplayer/Create. On the game creation screen, look through
the list of available maps. All created or retrieved maps appear in the scrolling list, in addition to
the maps provided with the game. The maps are identified by the name they were given when they
were saved.
Civilians houses and civilians can be
seen.

Note: it is perfectly possible to save an invalid map so as to continue working on it later. However,
if you put the files you create into the Data\Land\ multi directory and launch the game, you will not
see the invalid maps in the list of available maps.
8.
Retrieving maps made by other players
Drag the 5 files required to run your map into the Data\Land\ multi directory.
If you only retrieve the ‘EDL’ file and the radar ‘JPG’ – and not the ‘DAT’ files – the game will
be able to generate maps, but the process will take some time.
Note: If some files are invalid, the map will not be displayed amongst the available maps.
Wyszukiwarka
Podobne podstrony:
Delta Force 2 Mission Editor Manual
Reiki Shiki Ryoho Level III Manual (ebook)
F 22 Lightning 3 Mission Editor Manual
editor manual
Delta Force Black Hawk Down Mission Editor Manual
F 16 Multirole Fighter Mission Editor Manual
Conflict Zone poradnik do gry
Delta Force 4 Task Force Dagger Mission Editor Manual
Cheltenham Excel 2000 Manual Advanced Level sample
Reiki Shiki Ryoho Level 1 Manual
2610 Manualo transmission, checking & correcting oil level
Cheltenham Word 2003 Manual Advanced Level sample
Cheltenham Word 2003 Manual Advanced Level USA sample
więcej podobnych podstron