By Jackie Clay
F
or some reason, (definitely
unknown to me) canning, as a
method of very long term food
storage, fell into disuse. Maybe it’s
the hurry/rush syndrome many folks
have become addicted to, necessitat-
ing “instant” foods, microwave ovens,
and mixes for everything from pan-
cakes to casseroles. But for people of
a self-reliant inclination—raising a
good portion of their own wholesome,
chemical-free food and establishing a
storage method that is easy and results
in tasty food, even years down the
road—home canning is the way to go.
And remember, no power outage or
mechanical failure will cause your
pantry full of home canned food to go
bad, as can happen with frozen food.
This is the reason I do not freeze food
now. I lost half a freezer full of food
due to a two-week-long ice storm
power outage. Besides, where food
only stays good for a year, max, in the
freezer, it stays great tasting for years
on the pantry shelf
neatly packaged in
shining glass jars.
I regard home can-
ning as essential to
self-reliance as any
other facet of my
lifestyle. Canning
allows my family to
eat chemical-free,
delectable fruits, veg-
etables, nutmeats,
pickles, preserves,
jams, and jellies, as
well as meats and
fish, already cooked
and tender, just wait-
ing for a meal.
I can year-round,
making up such
things as chili, stews,
dry beans, (like pintos
for refried beans), spaghetti sauce,
pizza sauce, smoked trout, elk stew,
etc. Whatever the season, there’s
always something special to can up
for later meals. Nearly anything you
can find on a store shelf can be canned
easily at home.
When I tell this
to people, I’m
usually met with
the same blank
stare and the
questions: Isn’t
home canning
hard to do?
Won’t eating
home canned
food give you
food poisoning?
Won’t the canner
blow up?
No. Canning is
very easy. If you
can boil water
and tell time you
can home can.
Properly canned food will not give
your family food poisoning. I’ve
canned for 35 years and no one has
ever suffered from the least bit of ill
effect from my delicious home canned
food. And no, the canner will not blow
up despite the old cartoons to the con-
trary. My old canner is 20 years old,
has received very heavy use, and is
still going strong, with no repairs nec-
essary.
It is simple to start out. Canning
doesn’t even require a pressure can-
ner, which can be a bit expensive—
about $130-$150. (Remember,
though, that this is often a once-in-a-
lifetime expense, bringing the cost
down to less than $10 a year.) A per-
son may begin canning with a water
bath canner, available at most dis-
count stores for under $20. These are
the big blue pots with a lid and wire
rack you may already be familiar with.
You can also find them at yard sales
for as little as a dollar. Just hold them
up to the light and stick your head
September/October 1998 Backwoods Home Magazine
11
Canning 101—pickles,
fruits, jams, jellies, etc.
SELF-RELIANCE
Check each jar after it cools with one finger, being sure it is
tightly indented; if it is not, it is not sealed, and must be
redone or eaten soon. It needs refrigerating until then.
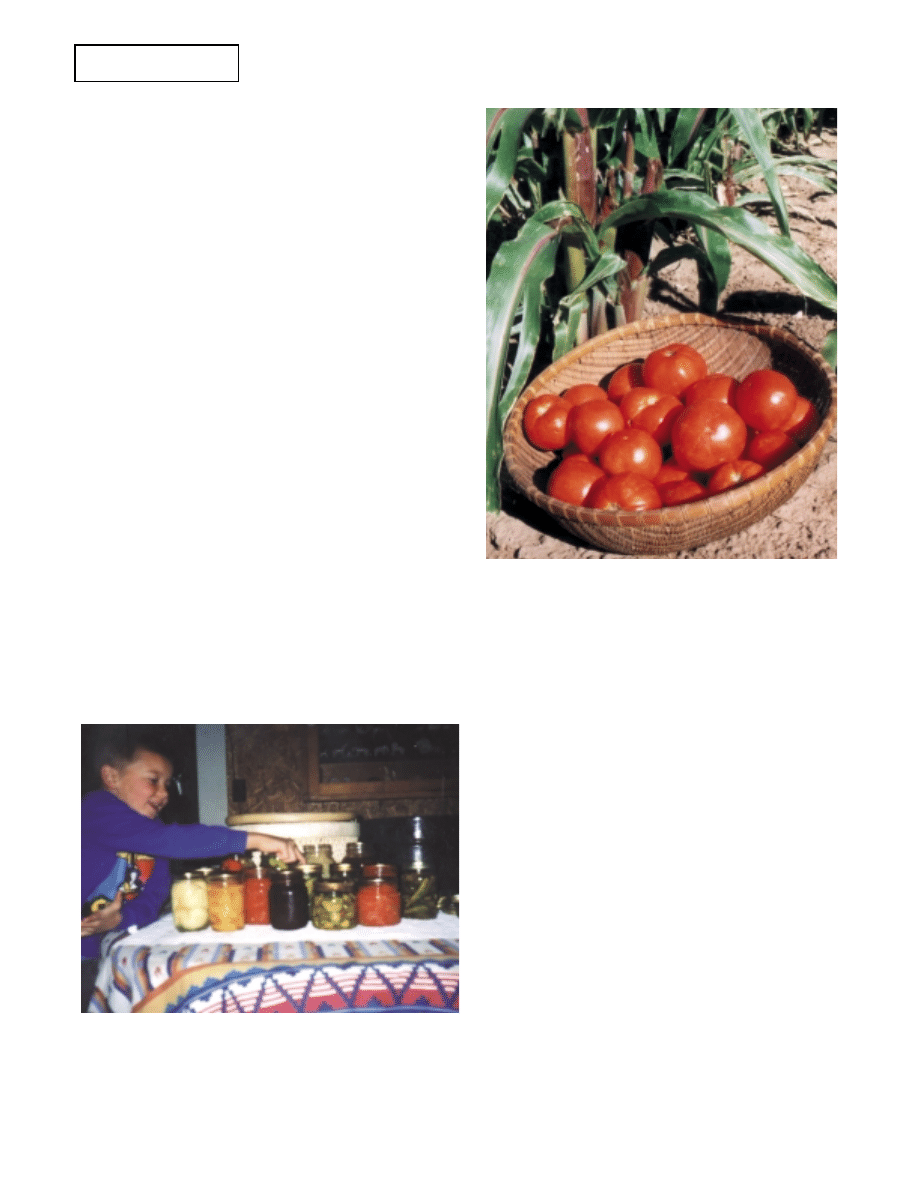
Tomatoes: 15 minutes from garden to spaghetti
sauce, pizza sauce, tomato paste...
inside to be sure there are no small
holes allowing leakage.
Jars do not have to be purchased
new. Just get word around to your
neighbors and
friends that you
are going to be
canning and need
jars. A note
tacked up on a
grocery store or
feed store bulletin
board or placed in
your local adver-
tiser paper will
also work won-
ders. Any jar that
a canning jar lid
and ring will fit
on—and is chip
and crack free—
will work.
Despite rumors,
such jars—previ-
ously containing
such things as
honey, mayon-
naise, Sanka,
etc.—will work
for home canning.
I have used them
for many years even for such things as
corn, meat, and fish, all of which
require long, pressure canning. They
do not break any more often than do
brand name canning jars. And canning
jars last for generations. I am canning
with a few of my grandmother’s old
blue Mason Jars.
Pick up a good, fairly recent canning
book. This is a “must,” as it contains
time tables, specific directions for
many, many different foods, as well as
a lot of recipes for home canned good-
ies. You can also ask your county
extension office for literature on home
canning. It’s usually free for the ask-
ing. Or go to your library. But, if you
plan to keep up with your new
endeavor, you will want a detailed
book or booklet of your own.
Do not try to can using those “coun-
try style” cute jars with zinc lids, glass
lids, and rubbers. Not only are they
expensive, but you cannot tell if they
are properly sealed. A jar improperly
sealed will allow the food to spoil—
not a good thing.
Often, when
your friends or
neighbors give
you jars or you
buy them at a
flea market, auc-
tion, or yard
sale, you will
also get some
rings. These are
reusable for
years and years,
serving only to
hold the flexible
metal lid down
on the jar rim
during the can-
ning process.
The rings need
only to be solid
and strong. Rust
is of no conse-
quence, unless it
is so bad that the
rings are flimsy.
Lids need
to be
bought new for each use, for if
the lid has been bent on opening
it will not reseal, and the rubber
is usually only good for a one-
time use. Further use may result
in seals which come loose or a
lid that will not seal. Both condi-
tions are a waste of money, time,
and the result can be dangerous,
i.e., food spoilage.
Canning with the hot water
bath is a simple process:
cleaned, sterilized (boiled) jars
are filled with (often) hot high-
acid food. The jar rim is wiped
clean. A hot, boiled new lid is
placed on the jar. And a clean
ring is screwed firmly onto the
jar. The filled jars are then
placed carefully in the boiling
water bath of the canning kettle
and settled into an individual
place on the wire rack. When
filled, the water level needs to be one
to two inches above the top of the
tallest jars. The cover is put on the
kettle and it is allowed to return to a
full rolling boil, at which time the pro-
cessing time is begun.
At the end of the processing time
each jar is carefully lifted out and
placed on dry folded towels where
sealing will occur as the jar cools.
Usually you can hear the loud, musi-
cal ping as each jar seals. (I’ve noticed
that my wide-mouth jars usually seal
first). Leave the jars alone until they
are cool. Don’t wipe, poke or move
them, or you may end up with an
incomplete seal. And do not screw the
rings tighter thinking it will “help” the
jar to seal. Tightness doesn’t equal
good sealing. It happens due to the
vacuum caused by the processing.
After the jars have cooled (usually
overnight), you may remove the rings,
wash the jar, and place it in a cool,
dark, dry area to store. It is a good
idea to mark the lid with the contents
and date, in order to allow for the best
rotation. Often, foods such as spaghet-
ti and taco sauce look alike, and you
September/October 1998 Backwoods Home Magazine
12
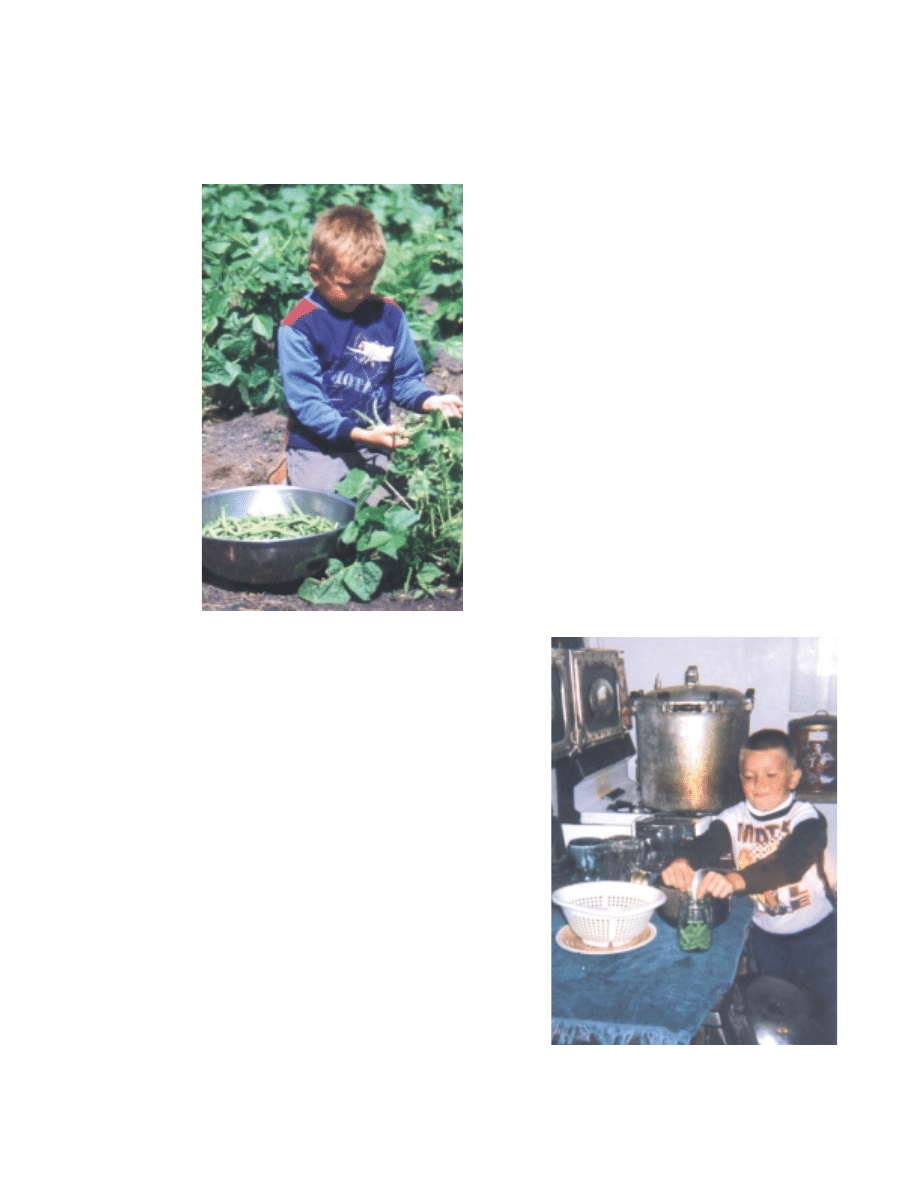
Green beans: 15 minutes from
garden to canning jars!
David filling jars with green beans
really don’t want spaghetti sauce in
tacos.
What foods can you can with the hot
water bath? A lot! This processing
method will be good for all high acid
foods—jams, jellies, preserves, nut
meats, pickles, tomatoes, tomato
sauce, (without mushrooms or meat),
all fruits and fruit products such as
butters, conserves, fruit cocktail,
juices etc., barbecue sauce, chili
sauce, catsup, relish, and more. This
list would be huge if we took into con-
sideration all the possibilities with
fruits and pickles. I can prickly pear
jelly and jam, chokecherry jelly, corn
relish mix, barbecue sauces, tomato
relish, eight types of pickles, water-
melon pickles, six fruit juices, and
combinations such as raspberry-apple
and many more, often forgotten by
countless home canners.
Hot water bath tips
•
A combination of hot and cold
will crack and break jars. Put hot
food into hot jars, cold into
warm jars. Do not put hot jars
onto cold surfaces or in cold
drafts.
•
Using a jar with a tiny chip in the
top or a small crack in the side
will result in either a broken jar
or an incomplete seal. Before
filling them, check each jar care-
fully. I routinely run my clean
finger around each top as I am
about to fill it, just to double
check.
•
Be sure to adjust your processing
time according to altitude. Most
charts are calculated to altitudes
of 1,000 feet or less. You must
increase the processing time by
five minutes for altitudes of
1,000 to 3,000-feet, ten minutes
for 3,001 to 6,000-feet, fifteen
minutes for altitudes of 6,001 to
8,000-feet etc.
•
Do not remove the jar rings for
those pickles that are not
processed before placing in jars,
such as some types of dill pick-
les. Again, read your can-
ning book.
•
If the boiling water does not
come over the tops of the
jars by at least one inch, add
more boiling water to
accomplish this.
•
Always use the wire rack of
your canning kettle, as the
boiling water must circulate
well under, over, and
between jars. The wire rack
will also prevent overheat-
ing (and possible cracking)
of the jar bottoms and will
keep the jars from bumping
together while processing, which
might result in breakage.
•
Always check the seal as you
store the jars. Each jar lid should
be indented in the center, having
no give as you gently press down
with a finger. If it makes a noise
on pressure, or if it can be
moved downward, it is not
sealed and must either be
reprocessed with a new lid or
eaten soon.
•
When canning tomatoes or toma-
to products, use “regular” high-
acid tomatoes, not low-acid
tomato varieties. If unsure—for
instance if you bought them at a
farm market—add two table-
spoons of lemon juice or ½ tsp.
citric acid (vitamin C) to each
quart to ensure the product is
acid enough not to spoil. Neither
product affects the taste a bit and
only increases the nutritional
value.
•
Don’t try to double recipes or
otherwise alter them. You may
run into trouble, especially if
inexperienced.
•
Always be careful of steam and
hot jars as they can burn you.
Lift canner lid away from you to
allow steam to escape safely,
away from your face.
Two easy projects
Bread and butter pickles:
(Called thus because they are good
enough to eat at every meal)
7 slim medium cukes
5 crisp medium onions
1 bell pepper, chopped
1 small sweet red pepper (chopped)
¼ c salt
cracked ice
Pickling solution:
2½ c white vinegar
2 ½ c granulated sugar
1 Tbsp mustard seed
1 tsp celery seed
½ tsp whole cloves
¾ tsp turmeric
September/October 1998 Backwoods Home Magazine
13
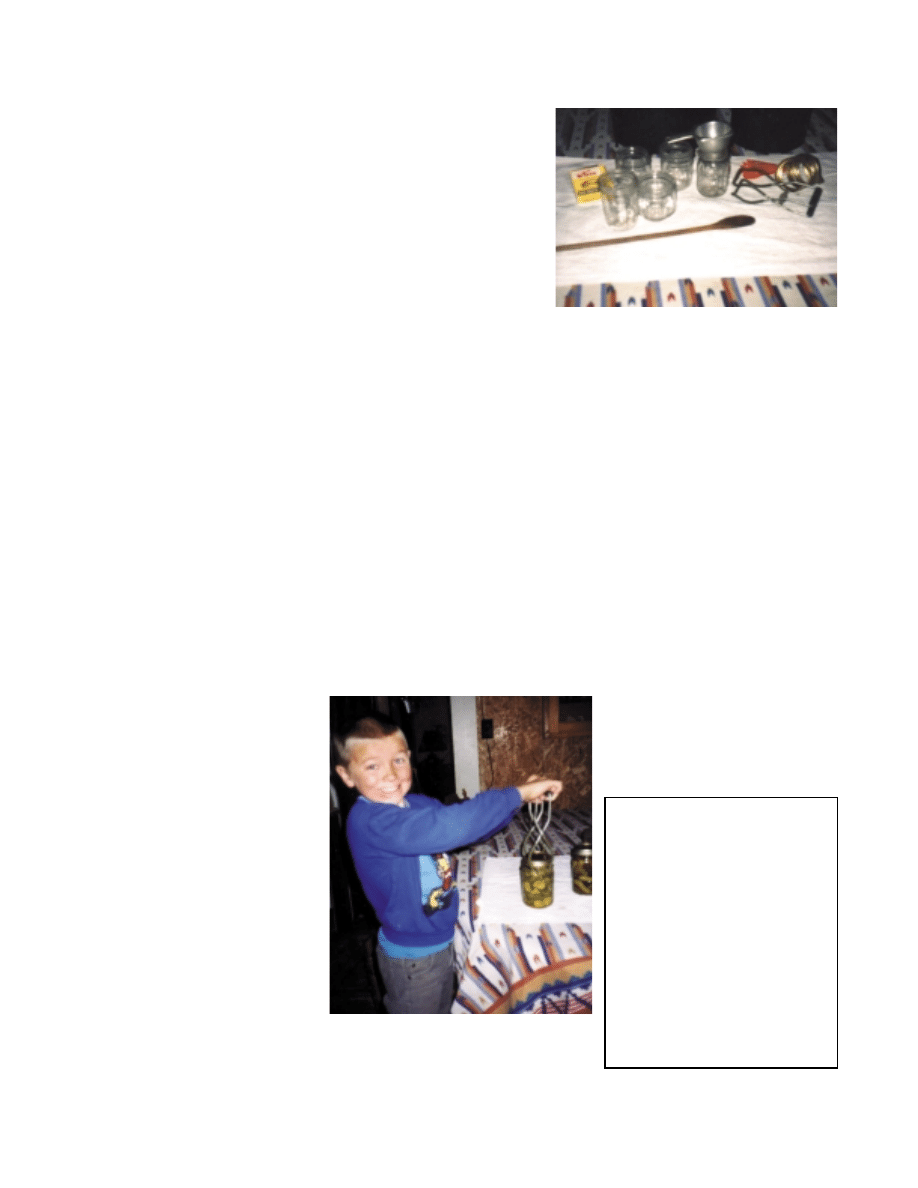
The finished product being lifted to a
folded dry towel to cool and seal.
The jar lifter prevents burns.
Canning tools of the trade: lids, jars, wooden
long handled spoon, canning funnel, jar
lifter, measuring spoons, jar rings

Mix veggies, mix in salt and cracked
ice. Put in fridge or a cool place and
let stand for at least three hours, then
drain.
Mix pickling solution. Add to
drained veggies in kettle. Bring mix to
boiling, remove veggies to clean, ster-
ilized jars immediately. Pour hot liq-
uid over to cover leaving ½-inch of
headspace (no more). Wipe jar rims,
checking for nicks, with a clean damp
cloth, then place hot, sterilized lids on
and screw the rings on firmly-tight.
Place filled jars on a dry folded towel.
Quickly repeat this process with the
rest so that the veggies do not cool
down. If pickles in the kettle are
allowed to boil, they will soften.
These pickles are very crisp and fresh
tasting. Our favorites. (I also slice a
batch of smaller cukes lengthwise for
spears, and use the same recipe with
great results).
Canned tomatoes:
Fill a large pot with water up to ¾
full and put on to boil. Fill a clean
water bath canner ½ full and bring it
to a boil, with the wire rack in place.
Wash the jars in warm soapy water
and rinse. Check each one for minute
cracks and nicks in the rim. Leave the
jars in the hot water until needed.
Separate the lids and place them in a
sauce pan of water. Bring to a boil,
then leave in the water until you need
them.
Wash sound, ripe, high-acid toma-
toes and dip them in the boiling water
of your large pot (I use a wire basket)
for about a minute or until the skins
crack. Then place the tomatoes in cold
water. This allows the skins to slip off
easily. Core out the stem and discard.
Leave the tomatoes whole or cut,
depending on size and preference.
Pack into jars and either mash down,
so that the juice covers them, or cover
with hot water leaving a ½-inch of
space between the product and jar rim.
Add ½-tsp of salt to each pint or 1
tsp. to each quart, if desired for taste.
Remove any large air bubbles with a
wooden spoon. Wipe off jar rim with
damp cloth, place the lid on, and
screw ring down firmly. Place the jars
into boiling water bath carefully and
process pints for 40 minutes and
quarts for 45 minutes counting from
when the water returns to a full rolling
boil. (Remember to adjust time
according to altitude). Remove care-
fully and place jars on dry folded
towel until cool and sealing is com-
plete.
See how easy canning is? Neither of
these projects takes a rocket scientist
or over an hour of your time. The total
cost to me is about 10-cents a quart
canned on the wood range, or 12-cents
a quart on the propane stove. Not bad
for really great eating—picked fresh
from our garden 15 minutes before,
and absolutely no chemicals added.
Even my seven-year-old son, David,
can put up a surprising number of
crops with very little assistance. So
you see, canning truly is for every-
body, men included. After all, some
men are our best cooks. Just look at
Richard Blunt, Backwoods Home’s
illustrious food editor. Like I said, if
you can boil water and tell time, you
can definitely learn to can on your
first try. My oldest son, Bill, who is
unmarried, makes fantastic meals
including wonderful apple pies from
scratch. And he, like David, learned to
can at an early age. Home canning is a
definite life skill worth developing.
∆
September/October 1998 Backwoods Home Magazine
14
IMPORTANT NEW ONE-OF-A-KIND-BOOK!!!
“Get Down To Brass Tacks”
None of the survivalist writers have addressed this area.
Measurement and time/date keeping in a survivalist situation. This
little book will prepare you with tools, sources, needs, etc. in non
tech-ie language. Can you determine the date without turning on
the TV? Will you be able to barter fairly, or worse, have frontier
justice turned on you for shorting someone? Find out now how this
area can be a life or death matter. I am a Quality Control Engineer
with many years of experience in measurements. I’ll be ready for
my post crash business, will you? Get your copy today, BEFORE
Y2K!!!
Send $10 today to:
John, PO Box 630, Maysville, KY 41056
Postage Paid - Add $1 for first class
Wyszukiwarka
Podobne podstrony:
Long term food storage By Jackie Clay
More long term food storage by Jackie Clay
101 Things A Six Sigma Black Belt Should Know By Thomas Pyzdek 2
(cooking) Making Jams and Jellies
101 Zen Stories tr by Nyogen Senzaki & Paul Reps first published 1940 (2010)
eBooks Business 101 Things A Six Sigma Black Belt Should Know By Thomas Pyzdek(1)
Home canning safety tips By Liz Case
101 Facts You Should Know About Food by John Farndon
101 Garb zniewolenia sowieckiegoid 11503 ppt
4 pomiary by kbarzdo
Praca dyplomowa Strona tytułowa etc
dymano teoria by demon
Mazowieckie Studia Humanistyczne r1998 t4 n1 s79 101
Fruits 1
GR WYKŁADY by Mamlas )
Assessment of cytotoxicity exerted by leaf extracts
Alignmaster tutorial by PAV1007 Nieznany
Efficient VLSI architectures for the biorthogonal wavelet transform by filter bank and lifting sc
Budowa samolotow PL up by dunaj2
więcej podobnych podstron