
Saving seed
After flowering, all plants produce
seed. This is one way in which plants
reproduce. Seed comes in many dif-
ferent types, shapes and sizes. Seeds
are also spread in many ways.
Seeds in pods—when ripe, the pods
such as those on Broom can explode
and split open and the seeds shoot
out.
Hooked seeds—tiny hooks on the
seeds of plants such as stick to peo-
ple’s clothes and animal fur.
Fruit—some seeds like blackberries
have a juicy covering. Birds and other
animals eat the fruit and when seeds
pass through the animals, they are
deposited on the ground where they
can start growing.
Winged seeds—these seeds, for ex-
ample ash and sycamore have wings.
Wind catches the wings and blows the
seeds far and wide.
Seeds on parachutes—these are very
light seeds with their own parachute to
keep them in the air. Dandelion seeds
and seeds of straw flower Helichrysun)
are examples of this.
By one method or another seeds get
everywhere, which is why we often see
plants growing in cracks in walls and in
other out-of-the-way places, where no-
one would have planted them.
It is easy to collect and save seeds
when they are ripe. You can store them
over winter and sow them the follow-
ing spring. In this way you’ll get a wide
variety of free plants. If you swap
seeds with friends and family you’ll get
an even greater range.
Saving the seed
1.
Look for ripe seeds. After flower-
fall the seeds usually found at the
base of the flower are likely to be
green. The time to harvest the
seed is when they turn brown.
2.
Cut off the seed heads and put
them into paper bags so they can
finish drying.
3.
Label each bag clearly with the
plant name.
4.
Leave the bags open so any mois-
ture still present can evaporate.
5.
Put the open bags in a warm dry
place—an airing cupboard is
ideal – until the seed pods are
completely dry. You may need to
split the pods and shake them to
get all the seed out.
6.
Blow all the casings away to clean
the seeds.
7.
Put each batch of seed in a paper
envelope and label clearly. Don’t
use plastic or foil for wrapping.
See the instructions on the back of
this leaflet to make your own seed
packets
8.
Store over winter in an airtight
container, such as an old clean
coffee jar.
9.
Early next spring find out when
your seeds should be sown. You
will find this information in garden-
ing books.
10. Before sowing let the seeds rest
for a few days , open to the air, to
absorb some natural moisture.
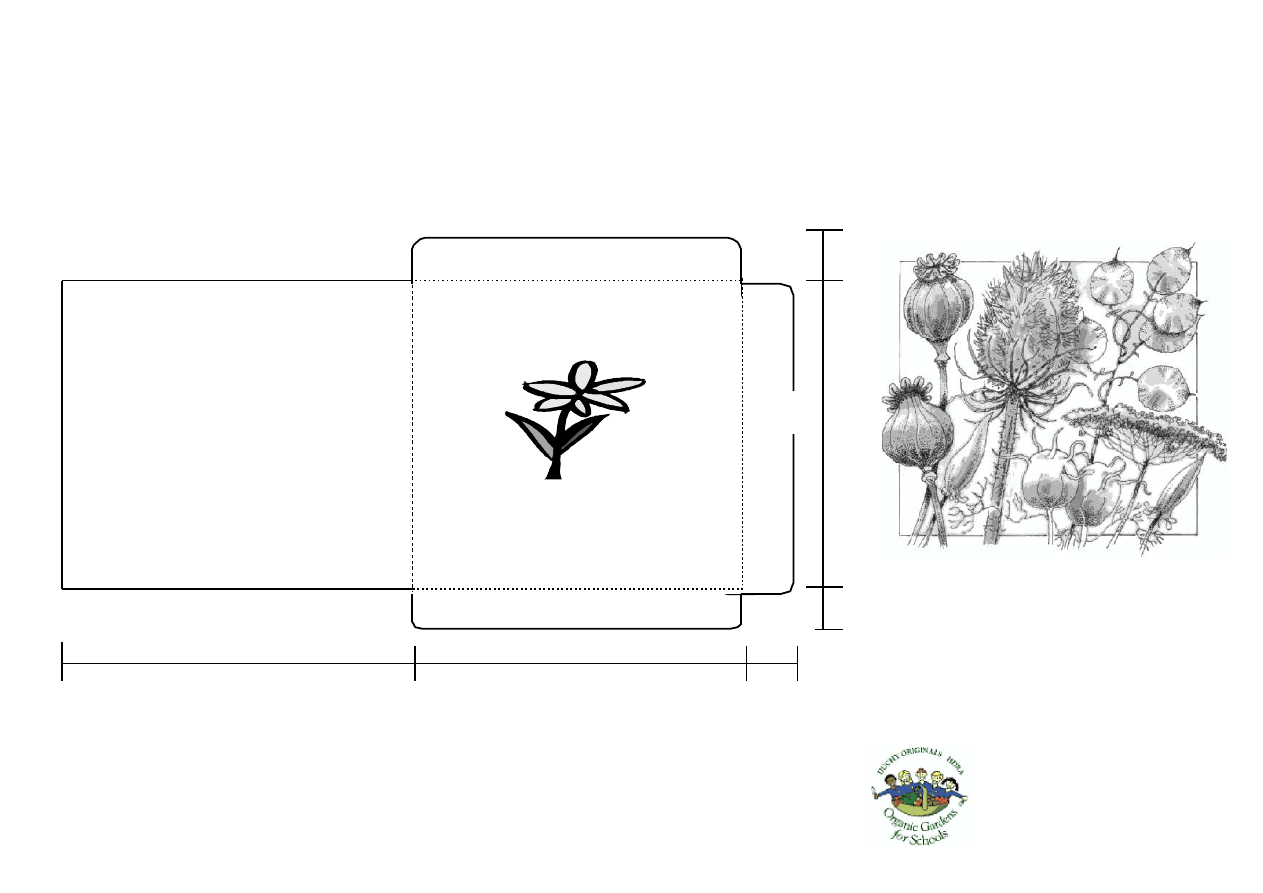
Make your own seed packets
You need a piece of card or brown pa-
per that measures at least 18cm x
15cm.
1.
Use the template below to draw
your seed packet outline.
2.
Cut out your template, then make
folds along the dotted lines.
3.
Stick tabs A and B to the back of
the packet.
4.
Stick or draw a picture of your
plant on to the front of the packet.
Include information about the plant
on the front and back of your
packet.
5.
Once the packet has dried, place
your collected seed inside.
6.
Stick down tab C to seal the
packet.
7. Store in an airtight container.
Name of plant
Date collected and who
they were collected by
On the back include:
•
when to sow the seed
•
how large the plants get.
•
flower colour
•
where they like to grow.
2cm
10cm
1cm
1cm
8cm
8cm
C
B
A
A guide
to
saving seed
DUCHY ORIGINALS HDRA
Organic Gardens for Schools
Saving
seed
Wyszukiwarka
Podobne podstrony:
(gardening) Growing From Seed
(Gardening) Crop Rotationid 1322
Potting and Garden Shed Gazebo
Gardena 02
130821122154 bbc vwitn garden
Build a Garden Bench(1)
6) Market Garden
Akumulator do?LOS Garden tractor Garden tractor?6?7
Barańczak Garden party interpretacja
HaMC Garden of my heart
Gardening Bench
Flowered fences flowers garden
Gardena 01
Gardena 02
garden 6
gardenshed buda dla psa
Marillion Garden Party
więcej podobnych podstron