01C

Use
'-H
▲
Use
+
e
Use
▲
■f.
UJ
O
▲
Use
r
Use
■f

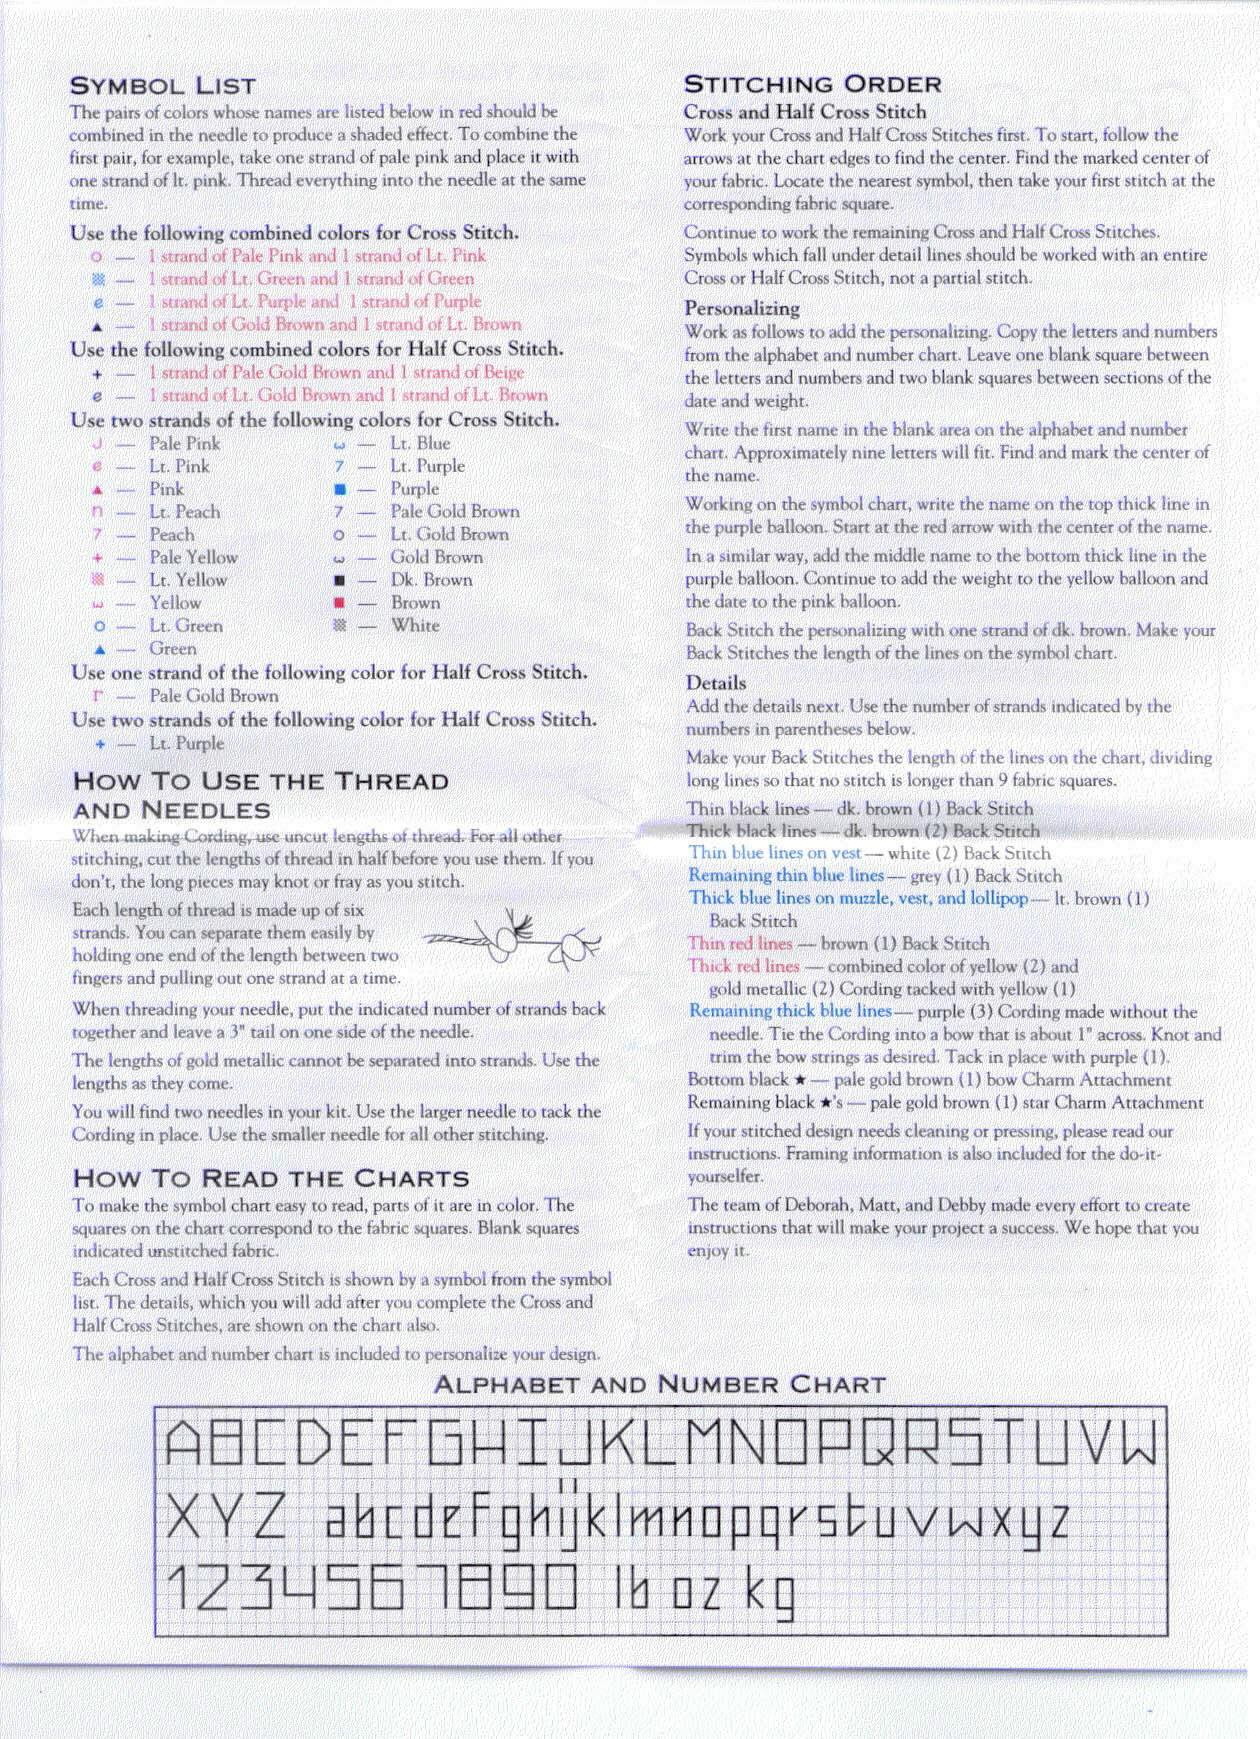
Symbol List
The pairs of colors whose names are listed below in red should be combined in the needle to produce a shaded cffect. To combinc che first pair, for example, tako one strand ot pale pinie and place u with one strand of lr. pink. Thrcad everything into the needle at the same time.
the following combined colors for Cross Stitch.
— I .strand of-pale Pink and 1 strand of Lt, Pink ■■ md of Lt. Green and 1 strand of Green
the following combined colors for Half Cross Stitch,
— 1 strand of Pale Gold Brown and 1 strand of Beige
— 1 strand of Lt. Gold Brown and 1 strand of Lt. Brown two strands of the following colors for Cross Stitch.
|
— Pale Pink |
UJ - |
Lt. Blue |
|
— Lt. Pink |
7 — |
Lt. Purple |
|
Pink |
■ — |
Purple |
|
— Lt. Peach |
7 — |
Pale Gold Brown |
|
— Peach |
O — |
Lt. Gold Brown |
|
— Pale Yellow |
w — |
Gold Brown |
|
— Lt. Yellow |
■ |
Dk. Brown |
|
— Yellow |
m — |
Brown |
|
— Lt. Green |
m — |
White |
— Green
one .strand of the following color for Half Cross Stitch.
— Pale Gold Brown
rwo strands of the following color for Half Cross Stitch.
— Lt. Purple
How To USE THE THREAD AND NEEDLES
Włkcn uiakmg CordmgT Atóc uncul lengths ot thrcad. Por all other stitching, cut the lengths of thread in half before you use rhem. If you don’t, the long pieces may knot or fray as you stitch.
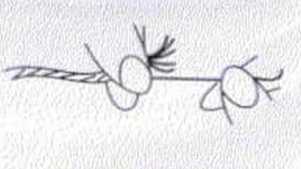
Each length of thread is madę up of six strands. You can separate them easily by holding one end of the length between two fingers and pulling out one strand at a time.
When threading your needle, put. the indicated number of strands back together and leave a 3” taił on one side of the needle.
The lengths of gold metallic cannot be separated into strands Use the lengths as they comc.
You will find two nccdles in your kit. Use the larger needle to tack the Cording in place. Use the smaller needle for all other stitchtng.
HOW TO READ THE CHARTS
T o make the symbol chart easy to read, parts of it are in color. The squares on the chart correspond to the fabric squares. Blank squares indicated unstitched fabric.
Each Cross and Half Cross Stitch is shown by a symbol frorn the symbol list. The details, which you will add after you complete the Cross and Half Cross Stitches, are shown on the chart also.
The alphabet and number chan is included to personalize your design.
Stitching Order
Cross and Half Cross Stitch
Work your Cross and Half Cross Stitches first. To start, follow the arrows at the chart edges to find the center. Find the marked center of your fabric. Locate the nearesr symbol, then take your first stitch at the corresponding fabric square.
Continue to work the remaining Cross and Half Cross Stitches. Symbols which fali under detail lines should be worked wirh an entire Cross or Half Cross Stitch, not a partial stitch.
Personalizing
Work as follows to add the personalizing. Copy the letters and numbers from the alphabet and number chart. Leave one blank square between the letters and numbers and two blank squares between sections of the datę and weight.
Write the first namc in the blank area on the alphabet and number chart. Approximately nine letrers will fit. Find and mark the center of the naine.
Workmg on the symbol chart, write the name on the top thick linę in the purple halloon. Start at the red arrow wirh the center of the name.
In a similar way, add the middle name to the bot tom thick linę in the purple halloon. Continue to add the weight to the yellow halloon and the datę to the pink halloon.
Back Stitch the personalizing with one strand of dk. hrown. Make your Back Stitches the length of the lines on the symbol chan.
Details
Add the details next. Use the number of strands indicated by the numbers in parentheses below.
Make your Back Stitches the length of rhe lines on the chart, dividing long lines so that no stitch is longer than 9 fabric squares.
Thin black lines — dk. hrown (1) Back Stitch Thick black lines — dk. hrown (2) Back Stitch
Thin błue lines on vest — white (2) Back Stitch
Remaining thin blue lines — grey (1) Back Stitch
Thick blue lines on muzzle, vest, and lollipop— lt. brown (1)
Back Stitch
Thin red lines — brown (1$ Back Stitch Thick red lines — combined color of yellow (2) and gold metallic (2) Cording tacked with yellow (1)
Remaining thick blue lines— purple (3) Cording madę without the needle. Tie the Cording into a bow that is ahout ln across. Knot and trim the bow strings as desired. Tack in place with purple (1). Bóttom black ★ — pale gold brown (1) bow Charm Attachment Remaining black *łs — pale gold brown (1) star Charm Attachment
If your stitched design needs cleaning or pressing, please read our instructions. Framing Information is also included for the do-it-yourselfer.
The team of Deborah, Matt, and Debby madę every effort to create instructions that will make your projęct a suceess. We hope that you enjoy it.
Alphabet and Number Chart
Wyszukiwarka
Podobne podstrony:
SYMBOL LIST U$e one strand of the following color for Cross Stifch. □ — Peach Use
al creatures 12 Use lines as the basis of your fairy s arms and legs. Circle and oval shap
homer pożar2 KNOW HOW TO USE A FIRE E/TINGUISHER FOLLOW THE *P*A*S*S WORD *PULL *fllH SOUEEZE *SWEEP
3.Use Cases The following use cases relate to the most commonly used router configurations. The rela
(31) In order to increase the availability of information on the use of medicinal products in t
C. To determine the importance of the detailed geomorphological map for the development of geomorpho
Suzuki RM250 4 HOW TO USE THIS MANUAŁTO LOCATE WHAT YOU ARE LOOKING FOR: 1. The te
przykłady zapisu: Anonim 2012. Position of the Academy of Nutrition and Dietetics: use of nutritive
WK* Guitar Pro needs to be activated upon first use. BK/ Please enter the license information (USER
GEOGRAPHICAL NAMES True or false? 1 With the names of continents we do not use an
32 LIBOR STEPANEK The excessive use of ICT and multimedia is also supported by the community-of-prac
33 Creative u-leaming: Complex ICT Use at the Masaryk Uniyersity Language Centre The Impact of Media
HYDROMTR Using hydrometers Keepers of marinę fish use Irydrometers to cfteck tlte łevełs of sal
getappx1 ★ ★ ★ ★ A 4 ratings p.220.00 When you install an app, you agree to the Terms of Use and an
więcej podobnych podstron