
Assembly Photos
If you plan to refurbish a major shop tool or other equipment, take some photos before you
start. They possibly can save you some head-scratching during the reassembly process. Take
pictures from a number of angles, and take close-ups of areas where you think you might
have some questions later. The more complex the machine, the more photos you should take.
Blade Check
If your gluing work is less than successful, check your blades. If the blade in your saw is
getting dull, it can loosen (but not remove) a layer of fibers on the edges to be joined.
Later, glue may not be able to penetrate through this debris to solid wood, resulting in
weak joints. A signal that this may be the problem is if ruptured joints are coated with
fibers
Clamp Helper
When clamping long or wide panels with bar clamps, a dowel inserted crosswise between the
jaws of the bar clamps and the wood will help center the pressure and keep it uniform. Use
dowels about as thick as the thickness of the wood you are gluing up.
Clamp Secret
Before you glue up wood for a project, examine the parts. If at all possible, start out with
cleanly cut, perfectly straight boards of the proper thickness. Take out any bow or warp before
you begin your gluing work. By using straight and true stock, you won't have to force the
boards in one direction or another, and you won't have to get into tricky, complicated clamping
set-ups.
Dowel Sizes
When using dowels, select a size half the thickness of the wood being joined. For example,
for 3/4-in. stock, consider 3/8-in. dowels.; for 7/8-in. stock use 7/16-in. dowels. The length
inserted should generally be three times its thickness. Thus, a 3/8-in. dowel should be about
2-1/2 in. long to penetrate into each member 1-1/4 in.
Drill Signal
When drilling a hole, such as for hardware in a cabinet, use a back-up board of a
wood that is different in color from the wood you are drilling through. By doing this
you will know immediately when the drill is all the way through the cabinet wood
because the wood chips coming out will turn a different color.
Driving Nails
As with screws, a little paraffin or beeswax will make driving certain nails, especially casing
nails, much easier. If you are driving a cement-coated nail, always keep it going all the way
once you start. Friction heats up the nail's coating and if you stop midway it cools down and
tries to glue the nail in place
Fixing loose screws
If a screw turns, but won't tighten, enlarge the hole with a drill. Fill it with glue and a
dowel that matches the size of the hole. After the glue dries, cut the dowel flush then
drill a pilot hole for the screw.
Glue Containers
Getting black glue lines on projects? Metal containers like coffee cans can cause this
problem, which occurs more often with white glue than with yellow glue. Glues with a pH lower
than 7 can absorb iron from the metal, and the dissolved iron can react with certain colored
woods to leave black glue lines. Use plastic containers instead.
Glue Removal
Glue squeeze-out can be wiped up with a wet rag, but this can drive some of the
glue into the wood's pores. A method preferred by many pros is to allow the
squeeze-out to form a thick skin (usually about 15 minutes), then use a sharp
chisel, paint scraper, or cabinet scraper to remove it. A 1/2- or 3/4-in. chisel is
handy for glue removal inside corners or next to mouldings.
Joint Sizing
Glue will soak more into the end grain of wood and can potentially result in starved glue joints.
To help prevent this, you can "size" any end grain to be glued with a mixture of glue diluted
with water. Dilute just so that when it is applied, glue drops don't form at the lower edges of
the wood. Another method, somewhat less effective, is to coat the end grain with full-strength
glue, allow it to dry 5 to 10 minutes, then re-coat with glue and assemble.
Pilot Hole
Drilling a starter, or pilot hole keeps wood from splitting and makes the screw easier
to drive. Use a bit that is slightly smaller than the screw.
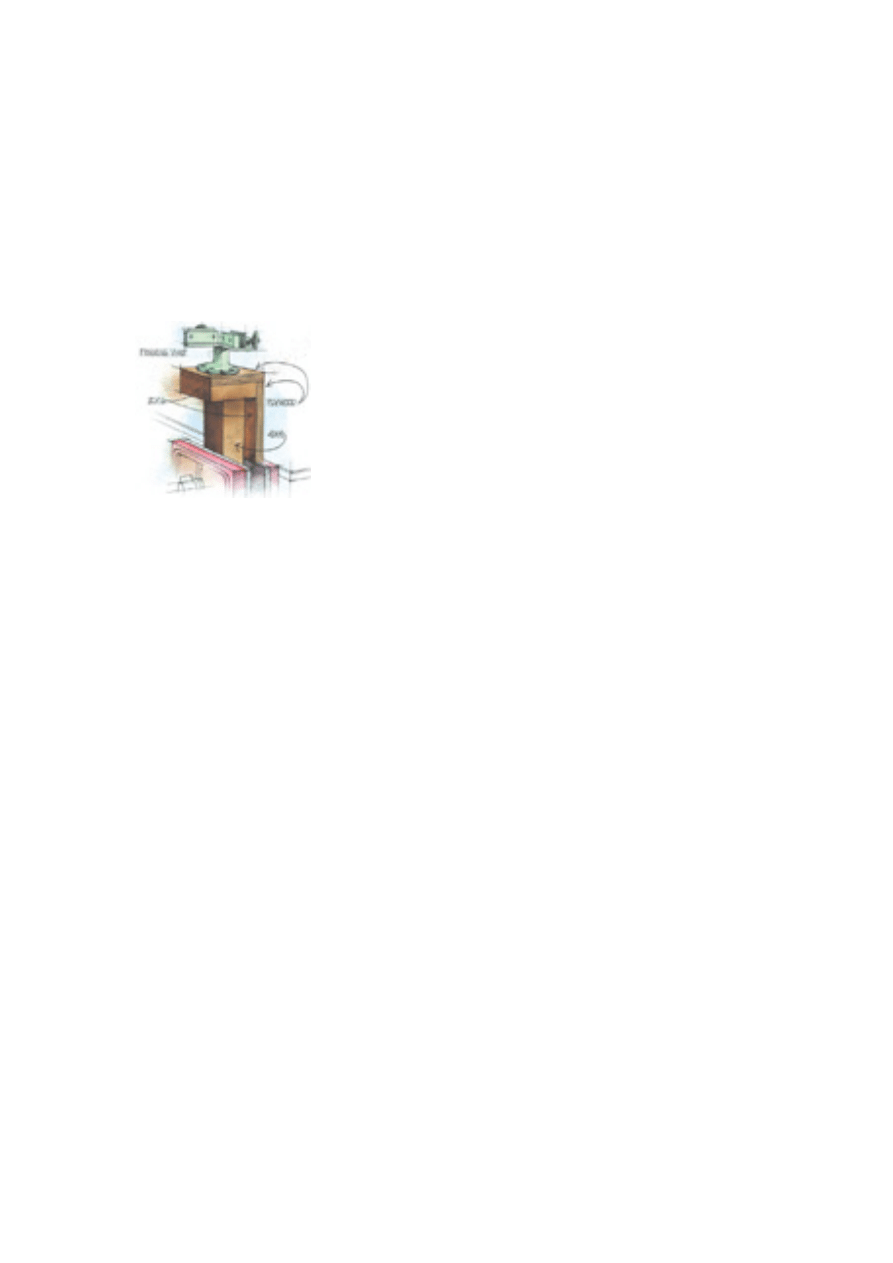
Portable Framing
A picture-framing vise, or miter clamp, has screw holes on the bottom for attaching to a
workbench. But for occasional framing it can get in the way of other benchwork. A solution is
to mount it on a wooden base that can be readily clamped and unclamped in your bench vise.
The base can be of scrap wood, and made up so that the framing vise will be about chest high
for comfortable working.
Screw Wax
One way to help either screws and nails penetrate wood without splits is to use
beeswax on the fastener. In fact, some carpenters will drill a hole in the end of a
wood hammer handle to fill it with beeswax. An alternative is to buy a wax seal for a
toilet. It's made of beeswax processed to stay soft, and costs much less.
Sizing Dowels
For a good joint, a fluted or spiraled dowel must fit snugly enough in the hole to allow the glue
to come up around it. The dowel should reach to the bottom of the hole and be used with
enough glue. For insurance, apply glue to both the sides of the hole and to the dowel itself.
Spinning Nails
You can avoid splitting or marring wood, such as hardwood moulding, by using what is called
a nail spinner. With this low-cost device chucked into your power drill, you just insert the nail
and then "drill" it into position. The nail will penetrate to within 1/4 in. or so of the surface, then
you can drive it home with a hammer and a nail set.
Temp Watch
The time needed to glue up wood in a cold workshop may be twice as long as in one
at room temperature. Below certain levels, cold temperatures can weaken joint
strength because the glue can't form a continuous film as it dries. If too cold, the glue
may not work at all. For yellow aliphatic glues the minimum temp is about 40 degrees
F.; for white polyvinyl acetate glues it's about 55.
Thinner To Thick
When building a deck, always nail a thinner member to a thicker member. Hot-dipped
zinc-coated nails are a good choice. For more holding power, consider using either
ring- or spiral-shanked nails, or go with deck screws. If using screws, it's best to pre-
drill pilot holes.
Triangle Trick

When dry-fitting boards to be glued up later, here's a trick to help you make sure you will be
able to get them back together in the right order. After the boards are in the desired position,
draw a triangle large enough to cover all the boards of the section. Later, before clamping, just
re-create the triangle as you assemble the boards.
Wood Splits
To reduce wood splits, such as when building a deck, first drill pilot holes for the nails
using a bit size about three-quarters the diameter of the nail. In a pinch, if you don't have
a bit you can chuck in one of the nails being used. Blunting the nail point will also help
prevent splits, since a blunt nail will tear, rather than spread the wood fibers. An alternate
method to avoid splitting the ends of boards is to allow an extra length to hang beyond
the edge of the deck, do the nailing, then use a circular saw to trim off the ends.
Wyszukiwarka
Podobne podstrony:
226 General tips for Flash and SSD recovering)
IELTS General Tips
IELTS General Tips
226 General tips for Flash and SSD recovering)
Tips and improvements for the general occultist
15 Sieć Następnej Generacjiid 16074 ppt
Solid Edge Generator kół zębatych
37 Generatory Energii Płynu ppt
40 0610 013 05 01 7 General arrangement
Eksploatowanie częstościomierzy, generatorów pomiarowych, mostków i mierników RLC
Biomass Fired Superheater for more Efficient Electr Generation From WasteIncinerationPlants025bm 422
Instrukcja generator sinusoidalny
F2A GENERALMATIC
General Electric
generacja rozproszona w nowoczesnej polityce energetycznej
Generatory przebiegow niesinuso Nieznany
więcej podobnych podstron