Norse Man’s Belt
by Danr Bjornsson
February – March 2005
When my days as an apprentice and then a
journeyman ended, I decided it was time to
make myself a proper Norseman’s belt.
There is a lot of great archeological
information available now available in Dan
Carlsson’s CD-ROM, which contains many
excellent photographs of belt artifacts. You
can see some of these photos in my earlier
research work, notably the knife project:
http://www.willadsenfamily.org/sca/danr_as/knife2/knif
e2.htm
For this project, I decided to create a belt with
two belt separators, since I tend to carry
more stuff around than a Norseman in period
might have done. I also decided to create
decorative belt mounts that matched the
buckle and belt tip, for a unified appearance.
You can read about the sand-casting
technique I used in this project on my web
page, linked at the bottom of this article, in
this article and others found there:
http://www.willadsenfamily.org/sca/danr_as/n
eck-hooks2/neck-hooks2.htm
This was my first attempt at the Borre style,
and I do not have a good "feel" for this style
yet. Nevertheless, the resulting designs
resemble Borre style more than they do
other Norse art styles. The loop portion of
the belt has a ring-chain motif and the plates
have a zoomorphic motif with cross-hatched
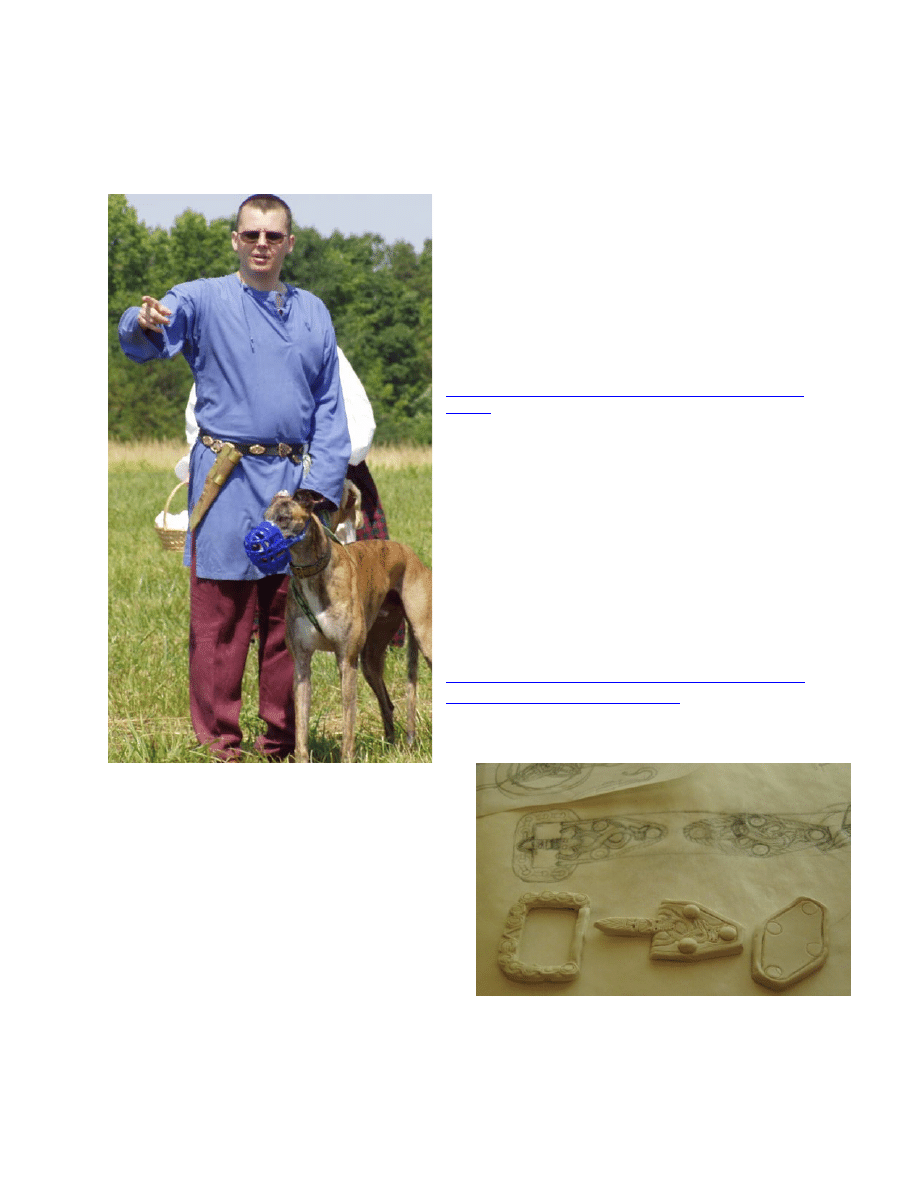
background. I drew a set of concept
drawings, then sculpted those designs into
clay. I decided on a 3-lobed belt separator,
like the period ones, and I went with the
plate and tongue cast in one piece. Here is
a photo of the sculpting in progress, atop my original concept drawing.
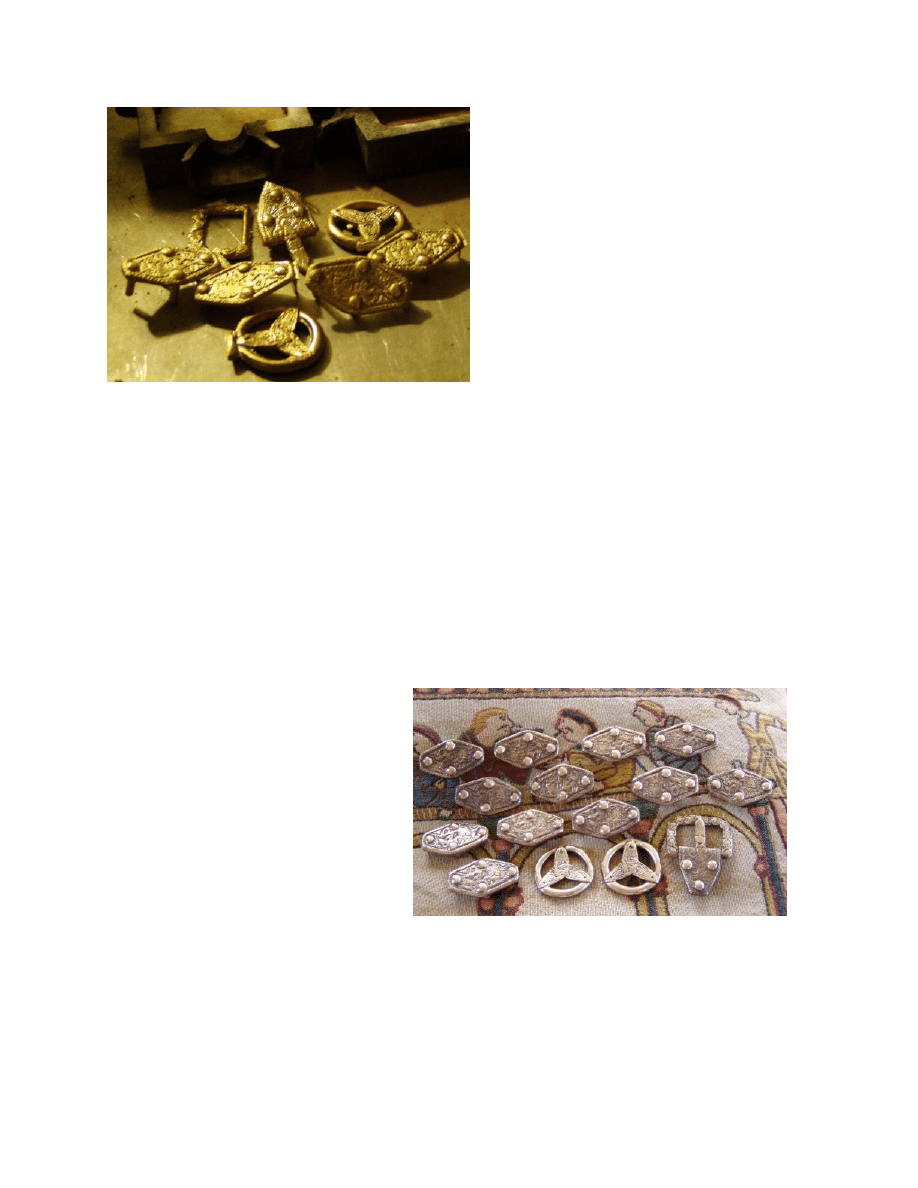
After curing the clay in an oven, I sand-
cast my belt parts, first making a copy of
the clay in pewter, cleaning up the
pewter masters, then casting bronze
copies from the pewter masters. Here
are some of the rough castings, fresh off
the sprue. Part of the sand-casting mold
frame is visible behind them.
I lost a lot of detail from the clay original
to the bronze final product. That is one
of the down sides of sand-casting
bronze. A detailed study of this picture
will show that I am using one of my
signature shortcuts: cast lugs on the bottom of the plates will be bent around the 3-way
separator. On the far right edge of the photo, you can see one of the rectangular lugs
extending down from the decorate plate; these will be bent to fit around the belt
separator to connect the belt to the separator. It is similar to the pin holder on the back
of a turtle brooch, easy to do, and is not visible when the item is being worn. I used a
similar system to attach the belt plate to the loop.
All the parts have round rivet lugs cast in where needed, four for the decorative mounts
and three for the belt plate, belt tip, and separator-attachment plates. Each rivet lug is
set beneath a corresponding false rivet head on the top surface, the rounded portions
visible in the photo. The false rivets look nice, help prevent me from polishing away the
intricate designs, and provide the equivalent mass of a real rivet head when peening
over the rivets from the back.
Here are all the parts, including the
structural parts and the decorative
mounts, after polishing. In accord
with my desire for a unified art
design, I used the same shape for
the belt tip.
To assemble the belt, I first cut the straps to length. I used an old belt made of 9 oz
leather; in retrospect I should have used something thinner for a more period result.
Then, one item at a time, I punched holes just big enough for the rivet lugs, pushes
them through, and peened them over on the back. I started with the buckle, then did
the belt-separator attachment plates, then finished with the decorative mounts. This
allowed me to make the mounts’ spacing as uniform as possible.
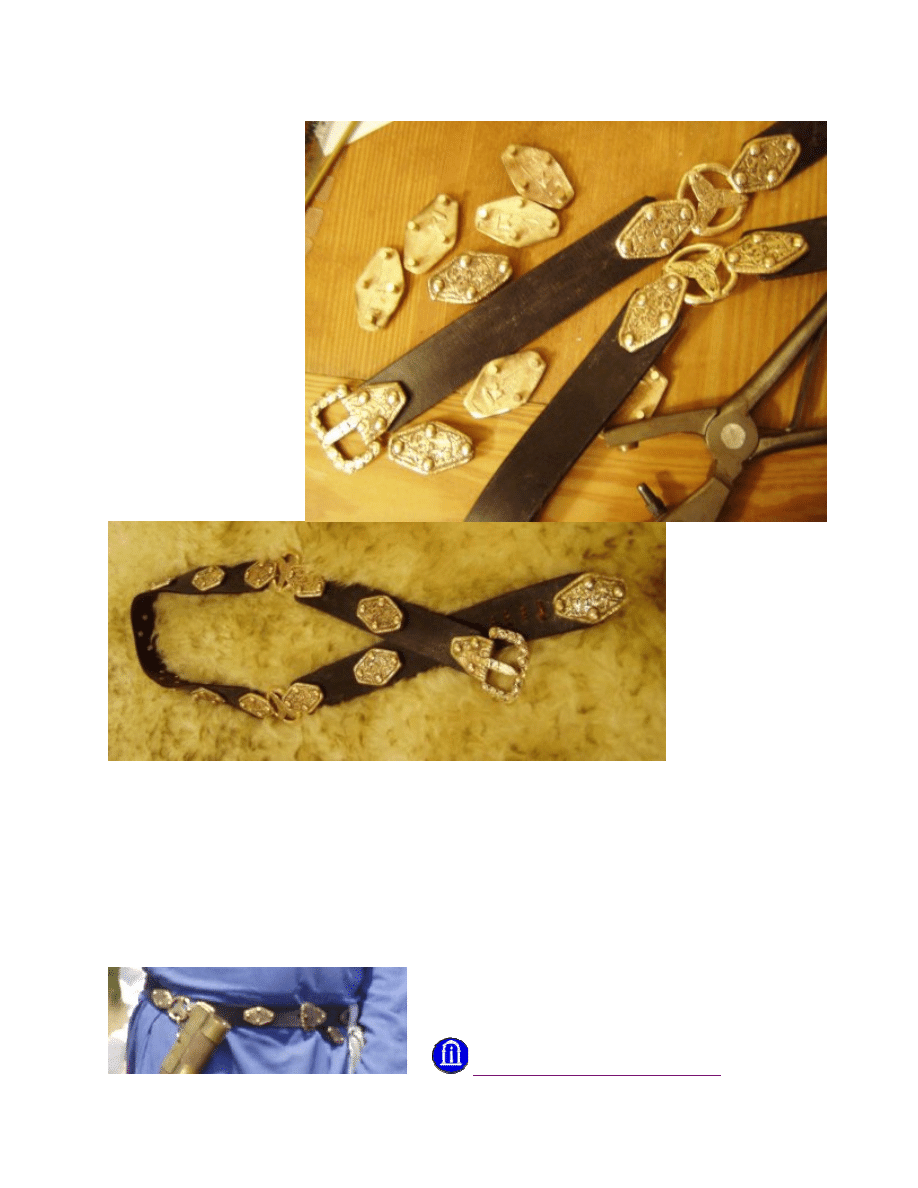
To the right is the
assembly in progress.
I took this picture after
the buckle and
separators were in
place, but before
adding the decorative
mounts.
Below is the almost-
finished belt. When
this photo was taken, I
still had some leather
edges to clean up and
re-dye.
There is little evidence to support any particular way of wearing the belt. Virtually all the
decorated belt buckles had as much or more decoration on the plate as they did on the
loop. Yet the modern "reenactor knot" covers the buckle plate. It seems odd to
decorate what will not be visible. Perhaps the belt simply dangled off the tongue, but
that could be painful if you have a heavy strap end, Also, some grave finds have the
strap end positioned nearly horizontal with the belt line and very near the buckle. My
approach is to run the tongue through 2 belt holes, in the same way as an annular or
pennanular brooch. The loose end of the strap routes behind the buckle, dangling at an
angle to show the nice strap end without it flopping excessively. The photo below
shows the completed belt being worn in this way.
Return to Danr’s Projects Page
Wyszukiwarka
Podobne podstrony:
400 man
man ar900
Przegląd układu tłokowo – korbowego silnika MAN B&W – L 2330 H
Procol Harum The Dead Man's Dream
43. de Man, teoria literatury!!!
man ar2700
MAN Ogrzewanie Webasto Thermo 230,300,350 obsługa i montaż(1)
Cheddar Man provisions of Oxford
czytanie koło II Man?out the House
Odd Man Out
pojecia(ter man)
MAN PNJA sprawnosci zintegrowan Nieznany
The?lance in the World and Man
Dick The Man in the High?stle
Chesterton The Man Who Was Thursday
delillo ?lling man
więcej podobnych podstron