Installing Wood Panel Fencing
http://www.lowes.com/lowes/lkn?action=howTo&p=LawnGarden/fenc...
1 of 7
09/10/2006 9:22 AM
Use the right fasteners.
Learn more...
Find this article online:
http://www.lowes.com/lowes/lkn?action=howTo&p=LawnGarden/fencing
Installing Wood Panel Fencing
Skill Level:
Intermediate
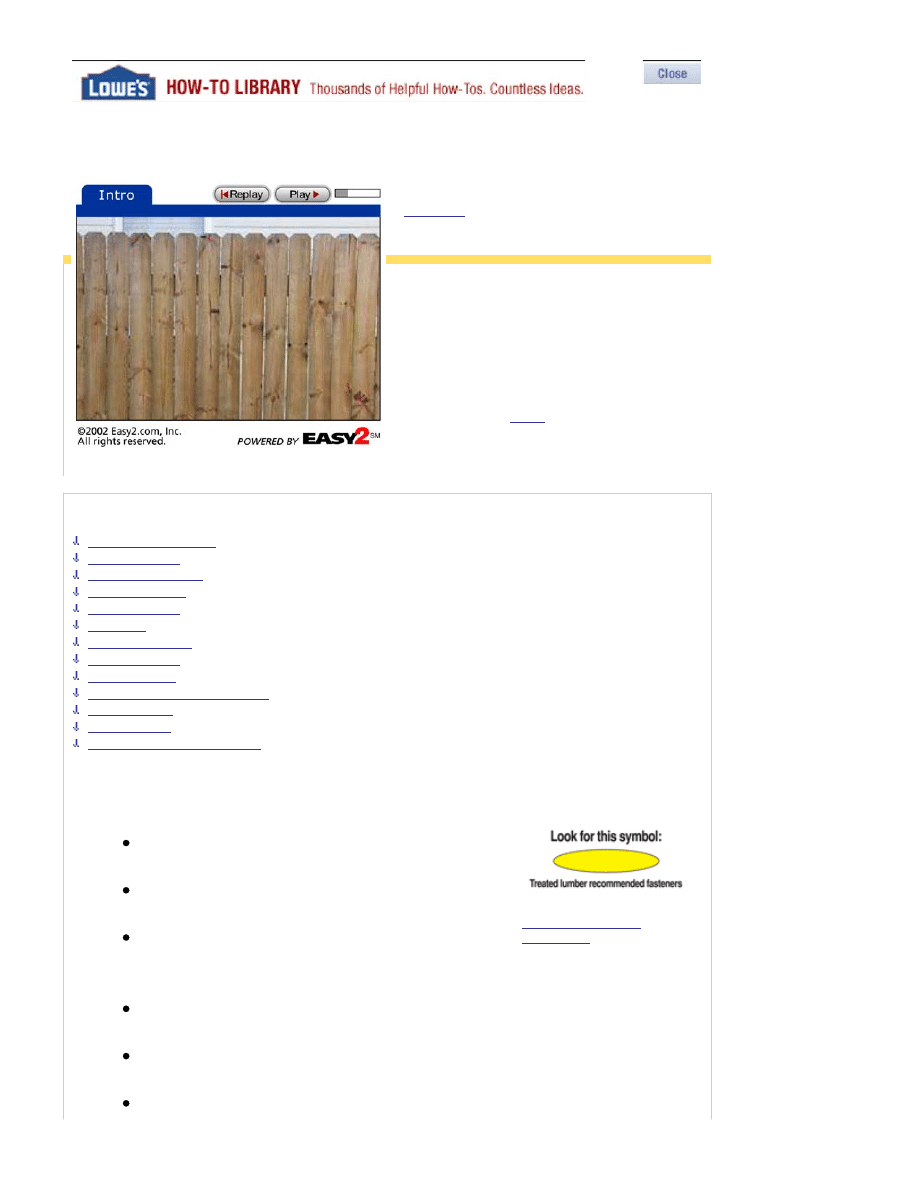
There are many reasons for building a fence.
Security, noise reduction and boundary
definition are practical reasons. A
well-designed and installed fence is a stylish
addition to your home landscape. Wood
fences allow you to combine function and
fashion. Preassembled fence panels make
fence construction faster and easier for
do-it-yourselfers. Lowe's is happy to provide
this information as a
service
to you.
Article Content
Important Considerations
What's Available?
Make Sure It Will Last
Fence Terminology
Tools & Materials
Site Layout
Dealing With Slopes
Digging Postholes
Setting The Posts
Cutting Posts To The Proper Height
Attaching Panels
Building A Gate
Fence Finishing And Maintenance
Important Considerations
Before planning and purchasing your fence materials, ask yourself these questions:
What will the function of the fence be?
What style will best accomplish this function?
What style and material will blend with my landscaping and the
architecture of my home?
Before proceeding, a few preliminary steps are in order. Some are simply good ideas, some are necessary:
Discuss your plans with any neighbors whose property lies along your proposed fence line.
Make sure your fence is on your property.
Check for easements in your deed (an easement is a right-of-way granted to another property owner or utility
Installing Wood Panel Fencing
http://www.lowes.com/lowes/lkn?action=howTo&p=LawnGarden/fenc...
2 of 7
09/10/2006 9:22 AM
company which may limit the design and location of your fence).
Confirm location of underground utilities with local providers before you dig.
Check local zoning laws which may regulate the size and placement of your fence. If you live in an historic
district, check with your neighborhood association before proceeding with your plans.
Apply for the proper building permit as directed by local code.
What's Available?
There are many different fence panels available which may differ in the details. Basically, however, there are three major
preassembled fence panel styles to choose from:
Solid — This style, when used as containment fencing, allows for complete privacy. It is commonly used to
surround swimming pools and between property lines. It may also be used to conceal unsightly areas or to hide
a major roadway from view. These fences are generally 4'-6' tall and use very closely-spaced pickets which may
vary in style from a basic dog-ear style to a pointed top or elaborate design.
Spaced Picket — This is ideal for keeping children and/or pets in and defining boundaries while achieving a
distinctive look and aesthetic appeal. These fences are generally shorter, 4' tall or less, and do not completely
block the surrounding view.
Shadowbox — This style uses alternating panels across the back and front to give the fence the same look on
both sides. This is an ideal "neighborly" fence style since a person on the other side will have a pleasant view of
it as well. These fences are generally taller, usually around 6'. They have the look of a full containment fence
but also allow more air circulation.
Make Sure It Will Last
To build a durable fence that will last for years to come, pay special attention to the materials you use. Select treated lumber
approved for "ground contact" especially for posts but for aboveground use as well. It's a good idea to use a paint, stain or
waterproofing sealer after you finish your fence. Use weather-resistant galvanized nails and exterior screws. Finish with
rustproof caps on post tops or cut the top at an angle to shed water.
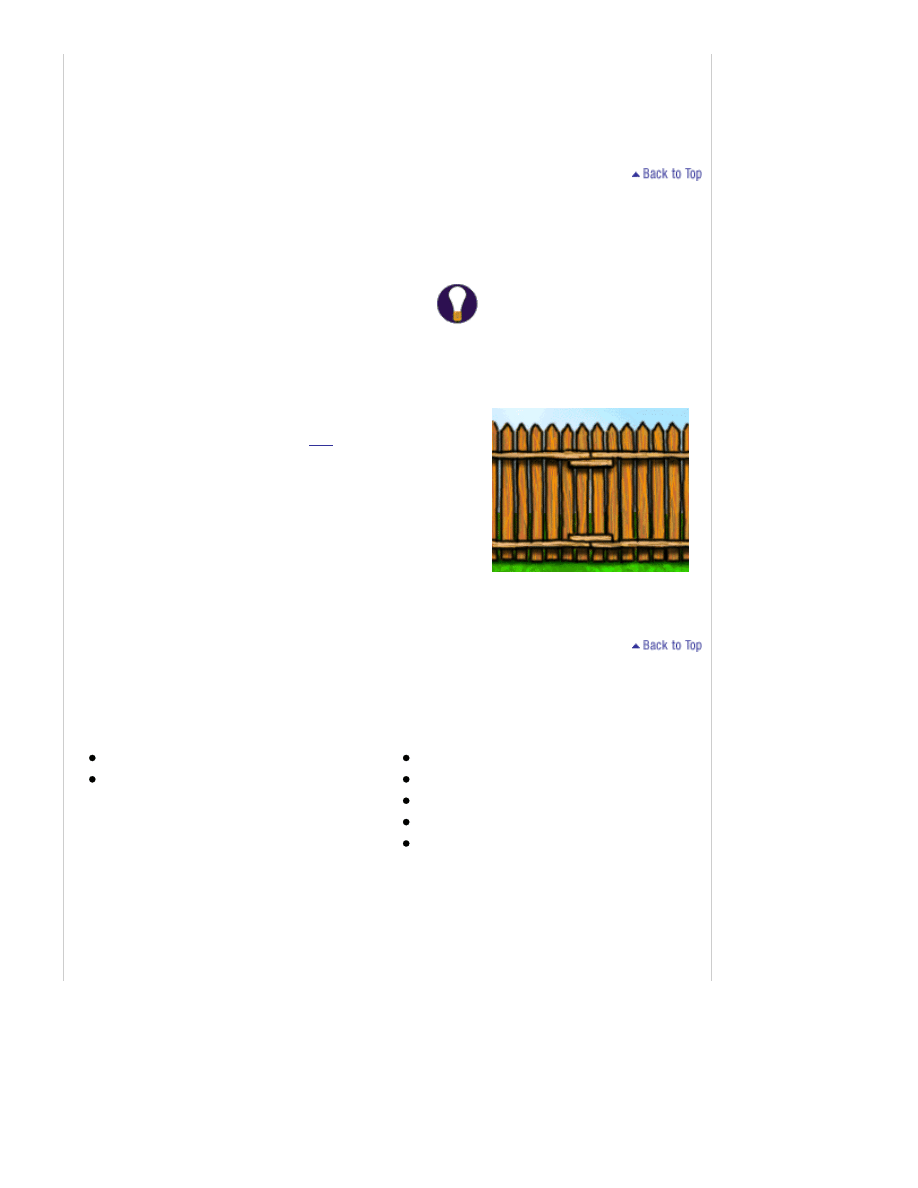
Fence Terminology
Posts include the 4x4's which are set firmly into the ground and provide stability for the fence.
Main posts are found at the corners of the fence and on either side of all gates. They are usually set deep into the ground for
support.
Line posts are any posts between the main posts. They provide stability and attachment points for fence panels.
Rails are the horizontal supports running between posts. On preassembled fence panels, the rails are attached near the top
and bottom (and sometimes across the middle).
Bay is the space between the posts. In simple styles such as split-rail fences there are only rails in each bay. Other types of
fences have a solid infill like stockade, or more loosely spaced infill like picket.
Gate is the door which provides entry into and out of a fenced area. All containment fences should have gates. They can be
mounted to swing both in or out, or in one direction only.
Tools & Materials
Installing Wood Panel Fencing
http://www.lowes.com/lowes/lkn?action=howTo&p=LawnGarden/fenc...
3 of 7
09/10/2006 9:22 AM
Click a text link below to shop for that item.
Click the information icon
for a product buying guide.
Tools
Post hole digger
Level
Hammer
Circular saw
Drill
Tape measure
Materials
String (for staking boundaries)
Fence panel sections
4x4x12' posts (treated)
4' sections of 2x4's for bracing posts
Concrete mix
Galvanized nails or stainless steel screws at least 2
1/2 times longer than the thickness of the rails on
the panel
Ground stakes
Site Layout
Take time to lay out the fence carefully. An incorrect measurement now could result in problems later. Make provisions for
the widths of the fence panels and gates so you won't end up with odd sized bays that can complicate installation. Some
types of preassembled panels can be cut to fit smaller bays if you end up with an odd-sized section. Other types are difficult
or impossible to cut to size. To plan your fence:
Stake out your fence line from beginning to end, including corners and any gates.
Tie a string tautly between corner post locations. This will define the line along which the line posts will be
placed.
Be sure to measure your panels before performing this next step because all of them are not exactly 4', 6' or 8'
long:.
Using the same measurement as the length of your panels, stake out the line post locations.
Measure "on center" from each corner post (from center to center of each post instead of from the
edges) along the layout lines.
Mark each post location with a stake. Ensure that the stakes are touching the layout string so the
posts will be in line.
Remember to take gates into account at this stage. Since you will be custom building your gates,
their widths can vary. This allows some flexibility in layout even though you are working with
preassembled fence panels.
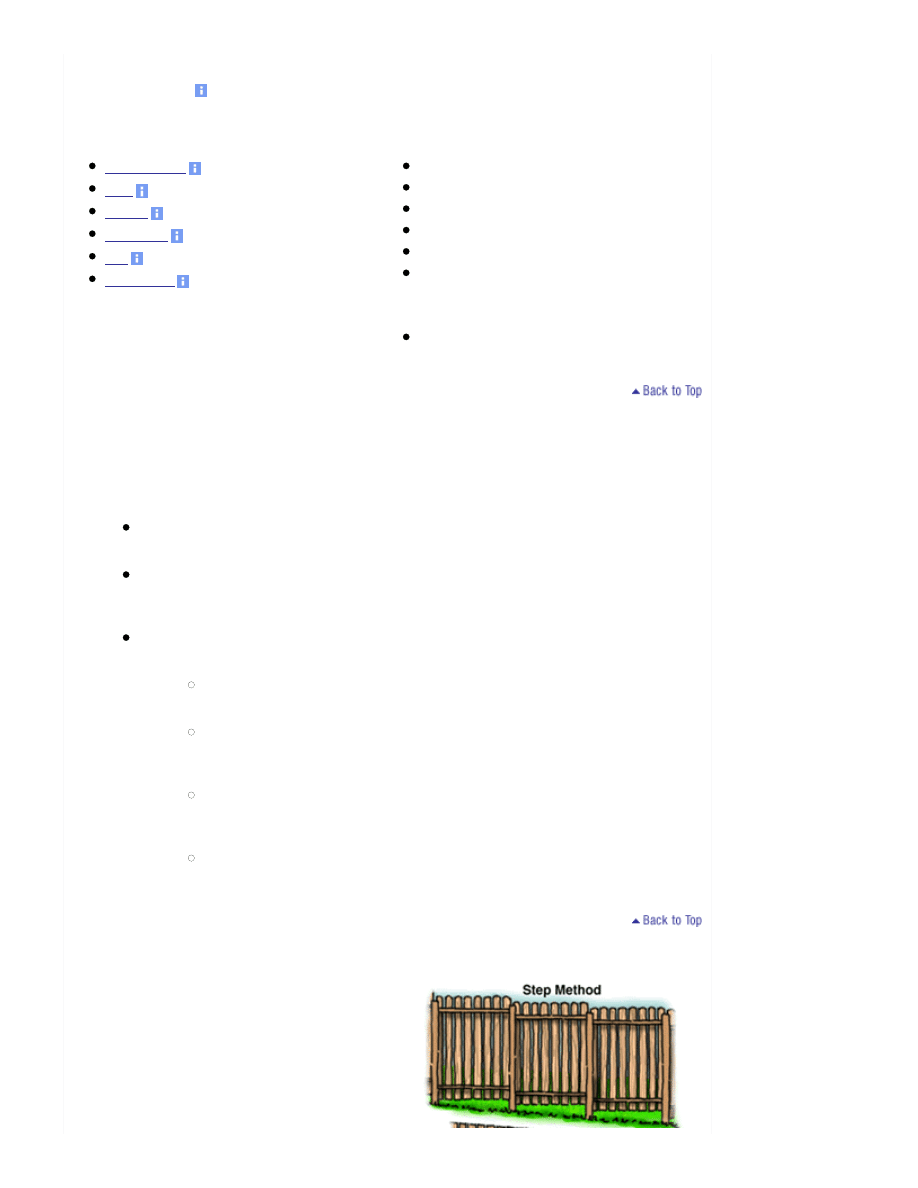
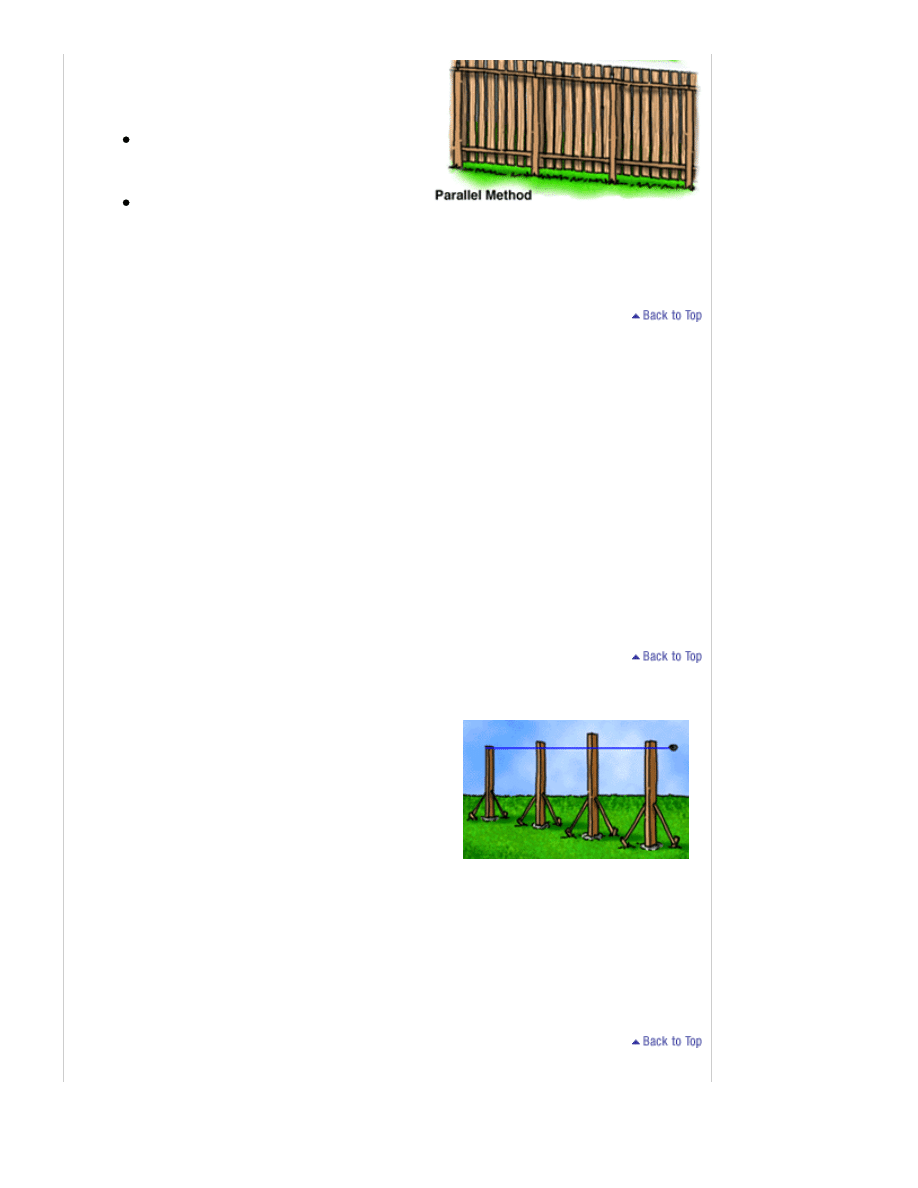
Dealing With Slopes
Fences are installed on slopes using one of two methods. The
parallel method has the fence running parallel to the slope. Since
this method requires that the fence be constructed to conform to the
slope, it cannot be accomplished using preassembled fence panels.
The step method, on the other hand, is ideal for fence panel
installations. In this case, the fence gradually "steps" up the slope so
that each bay section is the same length and the rails are level
instead of parallel to the slope.
Installing Wood Panel Fencing
http://www.lowes.com/lowes/lkn?action=howTo&p=LawnGarden/fenc...
4 of 7
09/10/2006 9:22 AM
To level the tops of posts, run a string at the
desired height from corner post to corner post.
When staking out line posts on a slope for a step method installation,
you will need a true horizontal measurement for post placement. Do
not measure parallel to the ground slope. To obtain the proper
layout, do the following:
Measure from the previous stake while holding the tape
horizontally.
Use a 2x4 to extend from the proper tape measurement
to the ground to locate the placement of the stake.
Properly executed, the tape will form a right angle with
the 2x4.
Continue this measuring method for the rest of the slope until the ground levels out.
Digging Postholes
Using a posthole digger or power auger, dig the holes 10-12"
wide and 6" deeper than needed. A good rule of thumb is to put
1/3 of the post in the ground. Main and gate posts should be set
6" deeper for extra strength. Keep the height of your fence
panels in mind when digging your postholes.
Backfill each hole with 6" of gravel to drain water away from
the bottom of the post.
Setting The Posts
Install end and corner main posts first. Tie a string between these posts
along the fence line. This will establish a reference so you can make sure
the line posts are set in line.
Brace the posts using 4' sections of 2x4's nailed to the post diagonally and
then nailed to stakes in the ground. This will keep them straight while the
concrete sets.
Check each post to make sure it's plumb using a level on two adjacent
sides.
Fill holes with concrete mix and follow all package instructions. Prod the
mix with a stick while filling to reduce any air pockets.
Overfill holes at the top. Using a trowel, slope the concrete away from the post to prevent water from collecting around it. If
you want to conceal the concrete, pour it to within a few inches of the top of the hole and cover it with soil after the concrete
has set.
Before concrete sets, check plumb and alignment again and make any necessary adjustments.
Allow concrete to set 24-48 hours before installing fence panels.
Cutting Posts To The Proper Height
Installing Wood Panel Fencing
http://www.lowes.com/lowes/lkn?action=howTo&p=LawnGarden/fenc...
5 of 7
09/10/2006 9:22 AM
Good idea:
Lay out the fence as
a "dry fit" before digging holes
for the line posts. This can prevent
the need for major adjustments
later.
To join two panels where a post cannot be
used, attach a 3' cleat across the joints of the
rails.
When setting posts on a slope, set them so they are taller than you need for the panel so you can cut them to height just
before the panels are hung. Some people prefer to use this method for all of their posts.
An easy way to make your post heights uniform on level ground is to run a string at the desired height from corner post to
corner post, keeping the string. Mark each line post at the string line and cut off the tops of the posts.
Attaching Panels
You will need help when attaching the fence panels, so plan
appropriately.
Place each panel between the posts so that the ends of the panel come
to rest in the center of the posts. Preassembled fence panels have a top
and bottom support rail between the frame to which the pickets are
attached. Use a level to align the top rail horizontally.
Use stainless screws or 18d to 20d galvanized nails to attach the panel
to the post. Attach the panel through the top and bottom rails. Have
someone support the posts while you are nailing.
If it is necessary for some reason that two panels must butt together between
posts (perhaps there is something in the way that prevents the setting of a post in
the appropriate place, for example), attach a 3'
cleat
across the joints of the rails
to provide additional support.
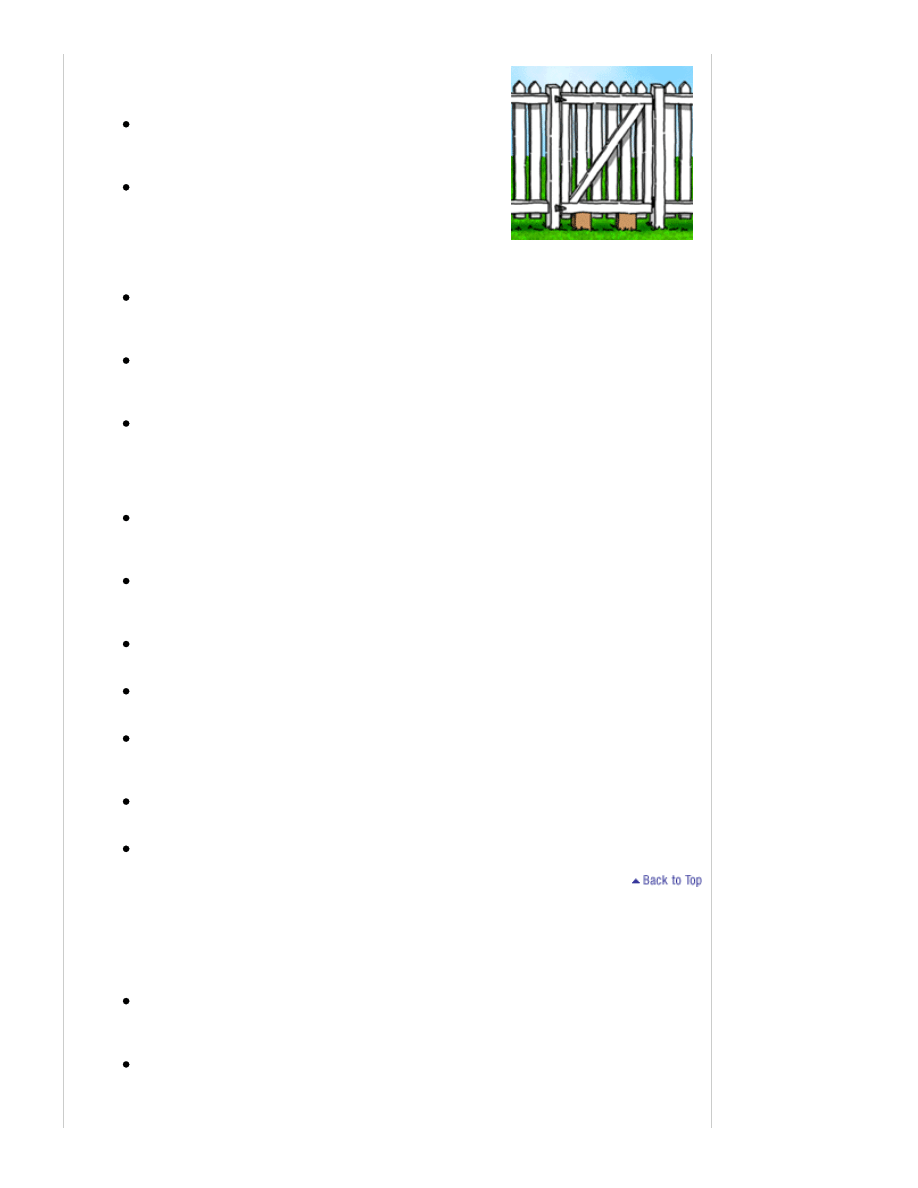
Building A Gate
Tools
Drill
Carpenter's square
Materials
5 2x4's (treated)
Galvanized nails or stainless steel screws
Heavy-duty gate hinges
Long wood screws for attaching hinges
Gate latch of your choice
Since the gate will endure more use and wear than any other part of the fence, use secure gate posts, strong hardware and a
well-built and braced frame. If your gate opening is wider than 5', you should make your gate with two doors of equal width.
Together, the two should span the distance of the gate opening. Each section should be attached to a post and then latched in
the center. This design provides greater stability than using a single 5' wide gate, which might be too heavy on the hinges
and can also be awkward to use.
Installing Wood Panel Fencing
http://www.lowes.com/lowes/lkn?action=howTo&p=LawnGarden/fenc...
6 of 7
09/10/2006 9:22 AM
A 2x4 placed diagonally across the
frame provides stability.
The following instructions focus on building a single door gate. To build a two
door gate, make frames for each of the doors and hang them to meet in the
middle.
As with end and corner posts, set gate posts 6"-12" deeper than line
posts.
Measure the distance between the posts. Make the width of the gate
frame 1" less than this measurement and the height of the frame
several inches shorter than the overall height of the fence. The
frame will be constructed of 2x4 lumber positioned on-edge like the
rails of the fence panels.
Assemble the frame with screws, ensuring that the corners are
square by using a carpenter's square. Test fit the frame between the
gate posts. If you have to redo something, it's best to do it now.
Place a 2x4 diagonally across the frame, from the top latch side to the bottom hinge side. Mark it and cut it to
the appropriate length. Nail in place to form a cross brace.
Face the gate frame with the same design as the rest of the fence using boards or pickets. To do this, measure
the picket width and, taking the desired spacing into account, determine the number of pickets needed to cover
the width of the gate frame. Cut the pickets to the appropriate length to blend with the rest of the fence. Nail
each picket securely to the top and bottom rail of the gate frame.
Choose long screws and heavy-duty hardware designed for gates. Predrill and screw hinges to the top and
bottom rail of the hinge side of the gate.
Prop the gate into position temporarily to test opening and closing the gate. Make sure it clears the ground the
full arc of its swing and that it clears the latched side of the post.
With the gate still propped, mark hinge screw positions on the gate posts.
Remove the gate and pre-drill the screw holes.
Reposition the gate and line up the hinges to pre-drill holes. (At this point a couple of wood blocks may be
helpful to prop up the gate while you are attaching it if you don't have someone to help.)
Secure the hinges to the gate posts using screws.
Install a latch of your choice.
Fence Finishing And Maintenance
Your fence is not complete until you have treated it with a protective finish. Your finish coat will be determined by the look
you want to achieve as well as the type of wood you use. There are three options in finishing treatments: paint, stain and
waterproofing sealer:
Paint seals and protects the surface and can add color or coordinate with your home. Before painting, wood
should be clean, dry and primed with oil-based primer. Use a durable exterior latex paint.
Stain provides a durable finish coat while still allowing the look and texture of the wood to come through.
Semitransparent stains are best on new wood and give an even appearance and hint of color while allowing the
grain to show through. Heavy or solid-color stains cover the grain but keep the texture. They are ideal for older
wood that needs a face-lift.

Installing Wood Panel Fencing
http://www.lowes.com/lowes/lkn?action=howTo&p=LawnGarden/fenc...
7 of 7
09/10/2006 9:22 AM
Waterproofing sealer, or repellent, is the choice for woods such as spruce, birch, hickory, red oak and poplar
that are not resistant to decay and exposure to weather. The sealer/repellent will help prevent rain and moisture
from soaking into the wood. These need to be applied annually to preserve the natural wood color.
Was this information helpful? Please
let us know
your do-it-yourself experiences. We'd love to hear from you!
These How-To's are provided as a service from Lowe's, the Original Home Improvement Warehouse of How-To information for the World
Wide Web. The information in Lowe's "How-To" clinics is intended to simplify jobs around the house. Tools, products, materials,
techniques, building codes and local regulations change; therefore, Lowe's assumes no liability for omissions, errors or the outcome of any
project. The reader must always exercise reasonable caution, follow current codes and regulations that may apply, and is urged to consult
with a licensed professional if in doubt about any procedures.
Please read our terms of use.
Wyszukiwarka
Podobne podstrony:
Flooring Installing Wood Floors
Fences Types and Installation of Wooden Fence Posts
Fences Fence Posts and Rails for wooden board fencing
6190 Removing and installing engine compartment lower panel
instalacja debiana
INSTALACJE TRYSKACZOWE I ZRASZACZOWE
Urządzenia i instalacje elektryczne w przestrzeniach zagrożonych wybuchem
Instalacje elektroenergetObl1
Projekt Instalacji deponowanie 2
Instalacje odgromowe
Wybrane elementy automatyki instalacyjnej
instalacje grzewczaet
[ebook renewable energy] Home Power Magazine 'Correct Solar Panel Tilt Angle to Sun'
monter instalacji gazowych 713[07] z2 03 u
8 Instalacja spalin wylotowych id
Installation instructions
ARTICLE SUSPENSION STRUT FRONT REPLACE INSTALL
więcej podobnych podstron