SolidWorks 2000
1
SolidWorks Animator Tutorial
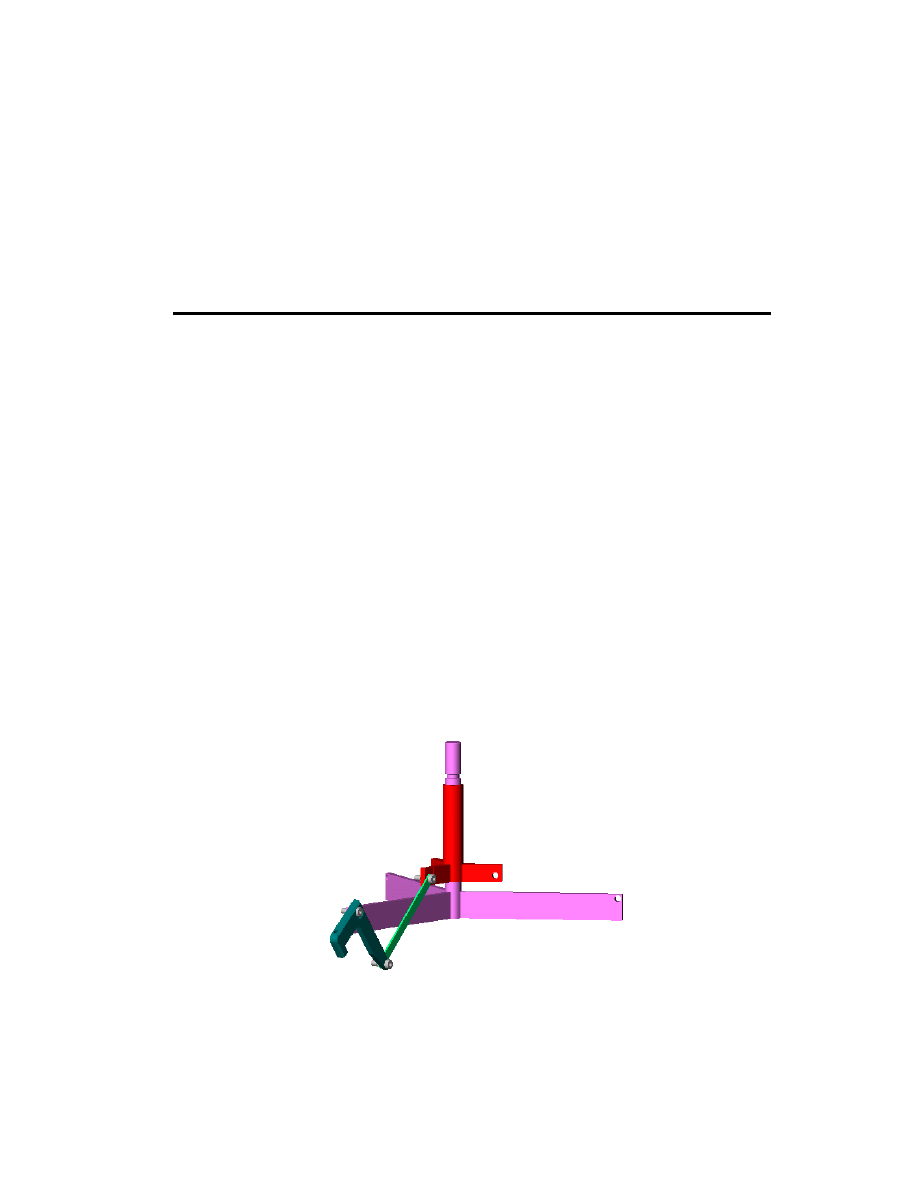
In this chapter, you create animations and animation files of the claw model using
SolidWorks Animator tools. This chapter discusses the following topics:
q
Viewing the SolidWorks AnimationManager tab
q
Animating a rotation with the Animation Wizard
q
Animating an exploded view
q
Scheduling motion
q
Animating a collapsed view
q
Creating a motion path
q
Recording an animation
q
Creating an animation file from screen captures
2
Getting Started with SolidWorks Animator
SolidWorks Animator is an add-in product, and it has its own AnimationManager tab.
1
Click
Open
and open
Claw-Mechanism.sldasm
, found in the directory
\install_dir
\samples\tutorial\animator
.
2
If
Animator
does not appear on the SolidWorks main menu bar, click
Tools, Add-Ins
.
3
In the
Add-ins
dialog box, select
SolidWorks Animator
, and click
OK
.
The following Animator tools are now available:
•
The Animator menu appears in the menu bar.
•
A
SolidWorks Animator Help Topics
item appears in the Help menu.
•
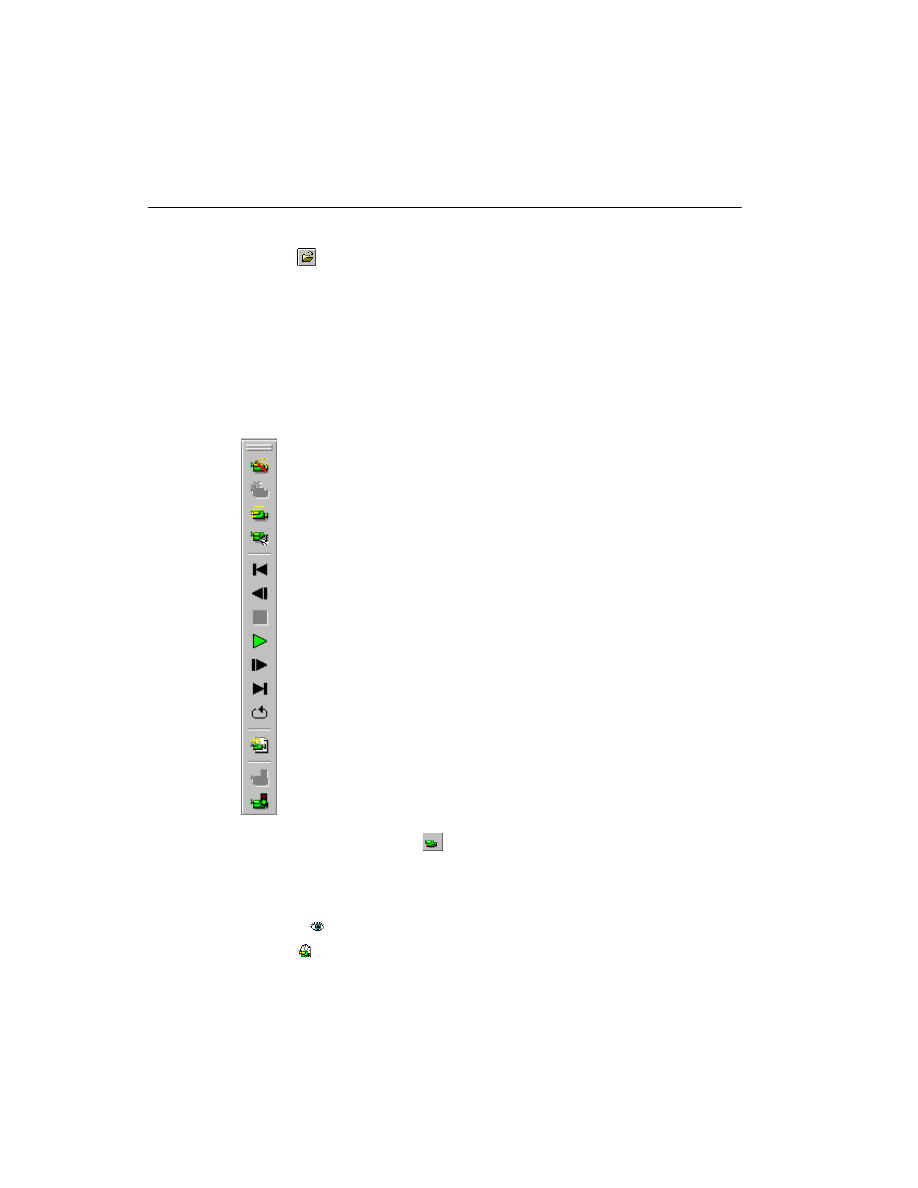
The Animator Controller toolbar appears above the graphics area.
4
Click the AnimationManager tab
at the bottom of the left pane.
The AnimationManager tab is displayed when SolidWorks Animator is available. The
AnimationManager display includes two sections. Each section lists the assembly
components in a different manner.
•
Viewpoint
- in the chronological order of the assembly creation
•
Schedule
- in the chronological order of the animation
Animation Wizard
Create Path
Traverse Path
Edit Path
First
Previous Frame
Stop
Play
Next Frame
Last
Loop
Record Animation
Turn off screen capture
Turn on screen capture

SolidWorks Animator Tutorial
SolidWorks 2000
3
Animating a Rotation with the Animation Wizard
The Animation Wizard helps you animate a rotation of the model through 360 degrees.
For
Rotate
, only one path is created. For
Explode
or
Collapse
, a motion path is created
for each component.
To create a rotation animation:
1
Click
Animation Wizard
on the Animation Controller toolbar or
Animator,
Animation Wizard
.
The
Animation Wizard
dialog box appears.
2
On the
Select an Animation Type
screen, click
Rotate model
, then click
Next
.
3
On the
Select an axis of rotation
screen, select the following.
•
Axis of rotation
- Y axis
•
Number of rotations
- 1
•
Direction
- Clockwise
4
Click
Next
.
5
On the
Animation Control Options
screen, select the following.
•
Duration (seconds)
- 10
•
Start Time (seconds)
-
0
•
At the close of the Animation Wizard
- Play Animation
6
Click
Finish
.
The model rotates 360 degrees.
NOTE:
The axes of rotation are as follows:
X
- around the horizontal screen axis
Y
- around the vertical screen axis
Z
- around the screen axis pointing out of the screen
NOTE:
The setting for
Duration
is the time of replay from an
.avi
file, not the
play time in SolidWorks.
The setting for
Start time
is used for all the motion paths created by
this Animation Wizard command.
4
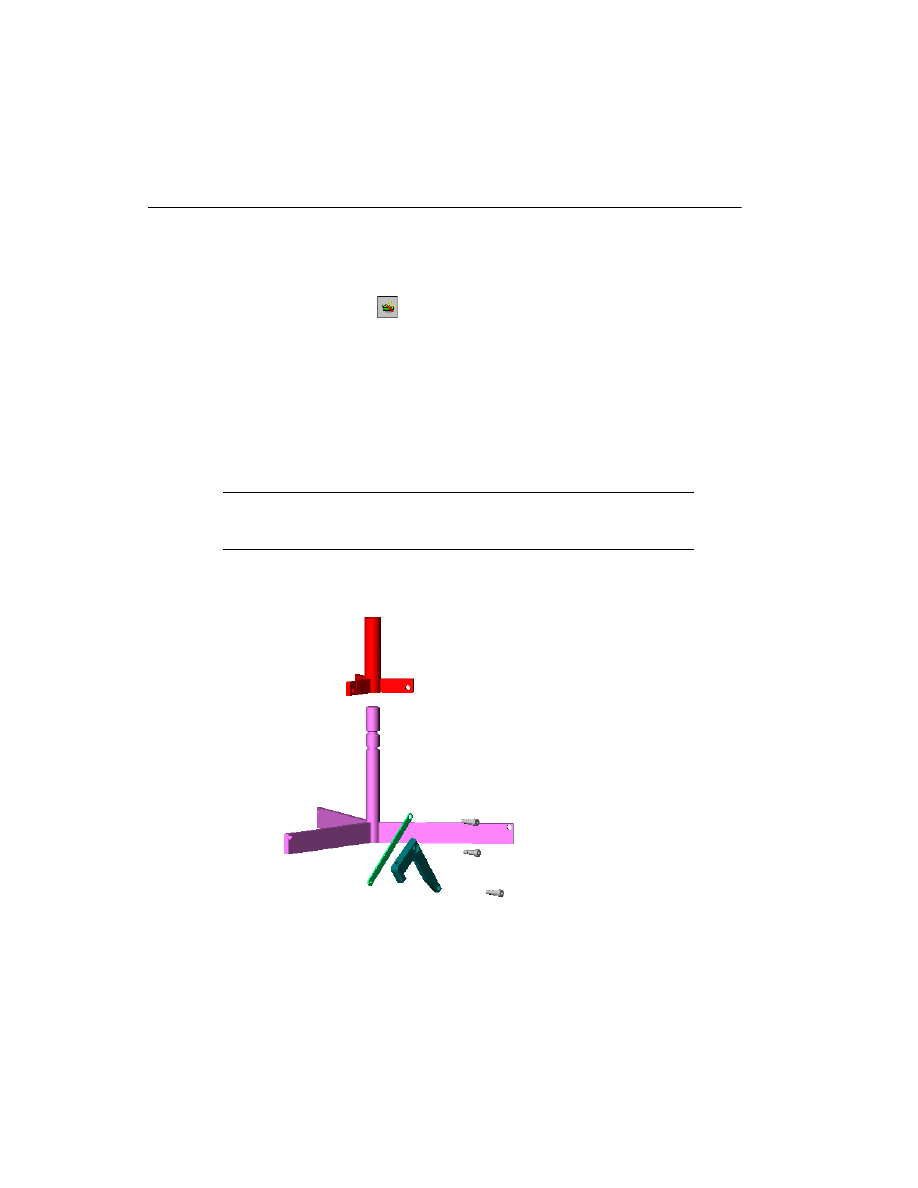
Animating an Exploded View
The assembly already contains an exploded configuration. You can animate it using the
Animation Wizard.
To animate an exploded view:
1
Click
Animation Wizard
on the Animation Controller toolbar or
Animator,
Animation Wizard
.
The
Animation Wizard
dialog box appears.
2
On the
Select an Animation Type
screen, click
Explode
, then click
Next
.
3
On the
Animation Control Options
screen, select the following.
•
Duration (seconds)
- 10
•
Start time (seconds)
-
10
•
At the close of the Animation Wizard
- Play Animation
4
Click
Finish
.
The model rotates 360 degrees, then explodes.
NOTE:
Since the
Rotate
path begins at 0 and ends at 10 seconds, the
Explode
animation begins at 10 seconds, after the rotation is
completed.
SolidWorks Animator Tutorial
SolidWorks 2000
5
Scheduling Motion
You can edit the schedule manually and set the scheduled times so that the components
explode one at a time.
To schedule motion manually:
1
Click the AnimationManager tab
.
2
Click the
beside
Schedule
to expand the motion path schedules.
Notice that all the
Explode
paths start and end at the same time. We want to schedule
each one individually so that they move one at a time to simulate a disassembly
process: first the pins, then the claw, the rod, and the collar.
3
Select
Pin-2 Explode
, then click
Edit Path
on the Animation toolbar.
- or -
Right-click
Pin-2 Explode
and select
Edit Path
.
The
Edit Path
dialog box appears.
4
In the
Change Timing
section, change
Start time (sec)
to 20, then click
OK
.
Pin-2 Explode
appears at the bottom of the list with the timing (20.00, 30.00) showing
that Pin-2 starts moving at 20 seconds and stops at 30 seconds.
5
Repeat steps 3 and 4 for the other parts except
Pin-1 Explode
. Set the following start
times.
Pin-3 Explode
30
Claw-1 Explode
40
Con-Rod-1 Explode 50
Collar-1 Explode
60
The Explode components appear in the Schedule list in chronological order.
6
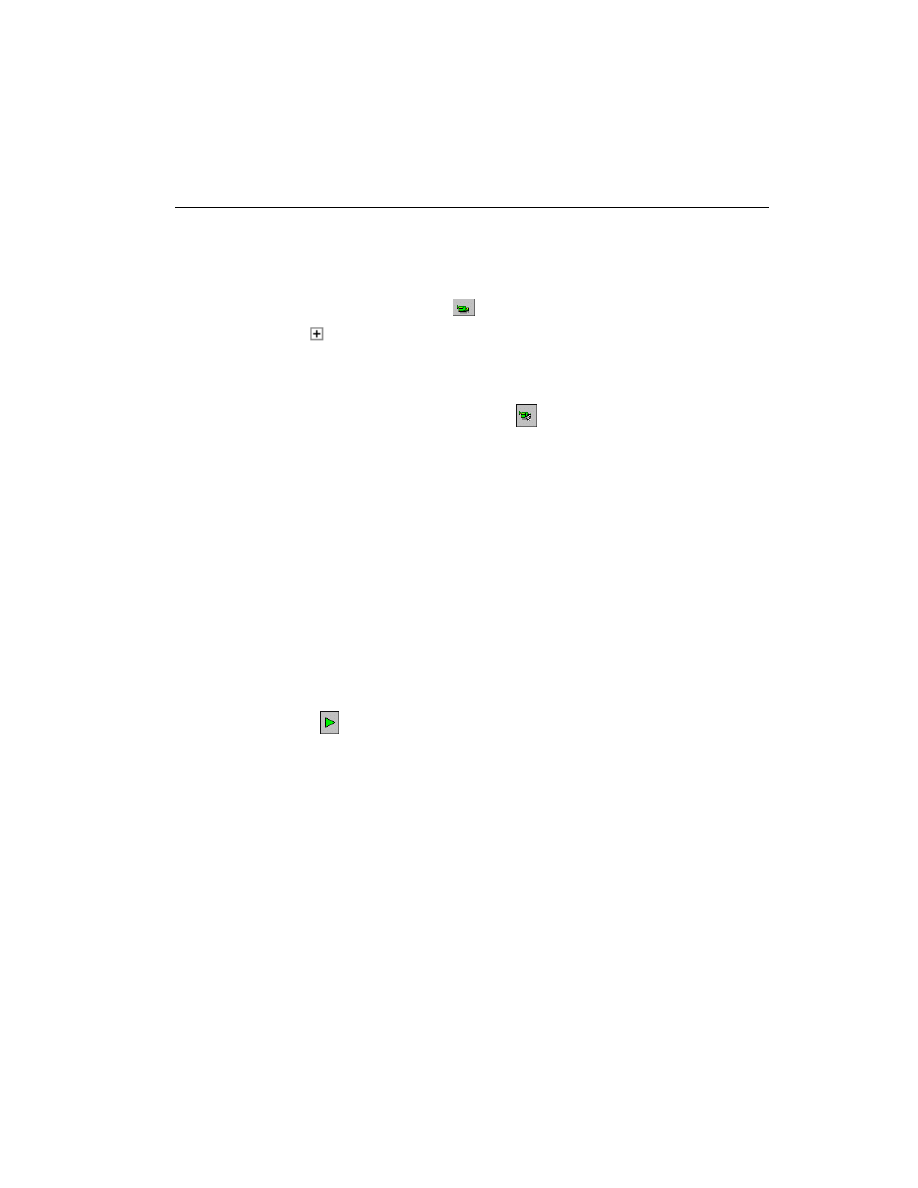
Click
Play
or
Animator, Animation, Play
.
The model rotates 360 degrees, then explodes one part at a time.

6
Playing the Animation
To play the animation from beginning to end:
Click
Play
or
Animator, Animation, Play
.
To go to the beginning of the animation:
Click
First
or
Animator, Animation, First
.
To go to the end of the animation:
Click
Last
or
Animator, Animation, Last
.
To single step backwards from the end of the animation:
Click
Previous Frame
or
Animator, Animation, Previous Frame
.
To single step forward from the beginning of the animation:
Click
Next Frame
or
Animator, Animation, Next Frame
.
Animating a Collapsed View
Animating a collapsed view is similar to animating an exploded view.
To animate a collapsed view:
1
Click
Animation Wizard
or
Animator, Animation Wizard
.
The
Animation Wizard
dialog box appears.
2
On the
Select Animation Type
screen, click
Collapse
, then click
Next
.
3
On the
Animation Control Options
screen, select the following.
•
Duration (seconds)
- 10
•
Start time (seconds)
- 70
•
At the close of the Animation Wizard
- Play Animation
The model rotates 360 degrees, explodes one part at a time, then collapses.
SolidWorks Animator Tutorial
SolidWorks 2000
7
Creating a Motion Path
You use the
Move Component
tool on the Assembly toolbar to specify a motion path for
animation.
To create a motion path:
1
Select
Collar-1
in either AnimationManager, FeatureManager, or the graphics area.
2
Click
Create Path
or
Animator, Create Path
.
The
Create Path
dialog box appears.
3
Click
Add Path Point
to set the current position as the initial position of the collar.
4
Leave the dialog box open. On the Assembly toolbar, click
Move Component
.
5
In the graphics area, drag the collar up to a new position.
6
In the dialog box, click
Add Path Point
to set the current position on the motion path.
7
Select the
Repeat initial path point as final path point
check box so the collar returns
to the starting position at the end of the motion path.
8
Set the
Start time (sec)
to 70 to place the motion path at the end of the previous
animation, then click
Done
.
By setting the starting time to 70, the motion path overlaps the
Collar-1 Collapse
motion path. A warning message appears indicating that two or more paths are
overlapping.
9
Click
OK
.
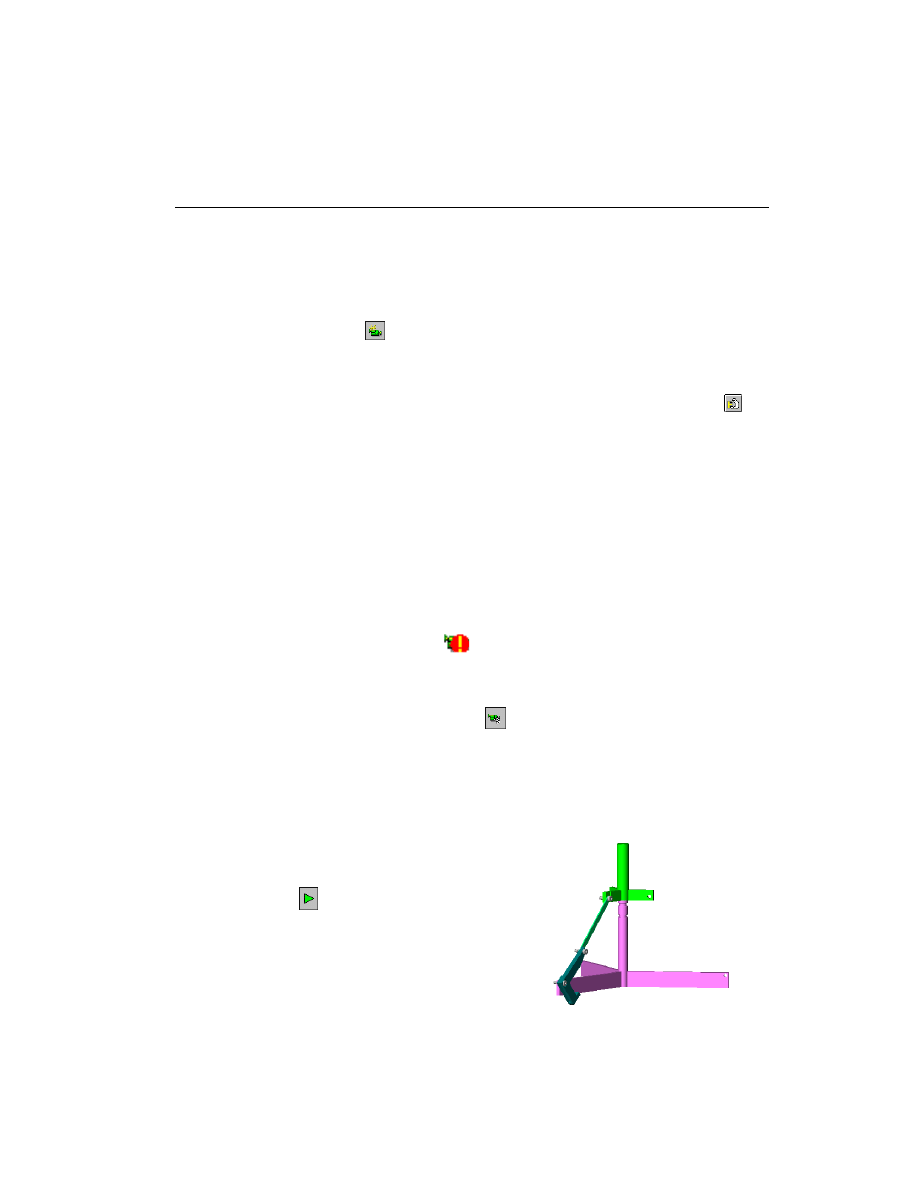
Note the red exclamation points
beside all instances of
Collar-1
in
AnimationManager.
To fix the overlapping paths:
1
Select
Collar-1-3
, then click
Edit Path
on the Animation toolbar.
- or -
Right-click
Collar-1-3
and select
Edit Path
.
The
Edit Path
dialog box appears.
2
In the
Change Timing
section, change
Start time (sec)
to 80, then click
OK
.
The warning exclamation points disappear.
To play the animation:
Click
Play
or
Animator, Animation, Play
. The
model rotates, explodes, collapses, and finally the
collar moves up and back down.
8
Recording an Animation
You can record an animation to a file of type
.avi
that can be played later.
To record an animation:
1
Click
Record Animation
or
Animator, Record Animation
.
The
Save Animation to File
dialog box appears.
2
Set
Frames per second
to
5
, and click
Save
.
3
In the
Video Compression
dialog box, click
OK
.
The animation plays as it is recorded.
To replay the animation from file:
1
In Microsoft Explorer, find
Claw-Mechanism.avi
in the same directory as the model.
2
Double-click the file name to play the animation in a separate window.
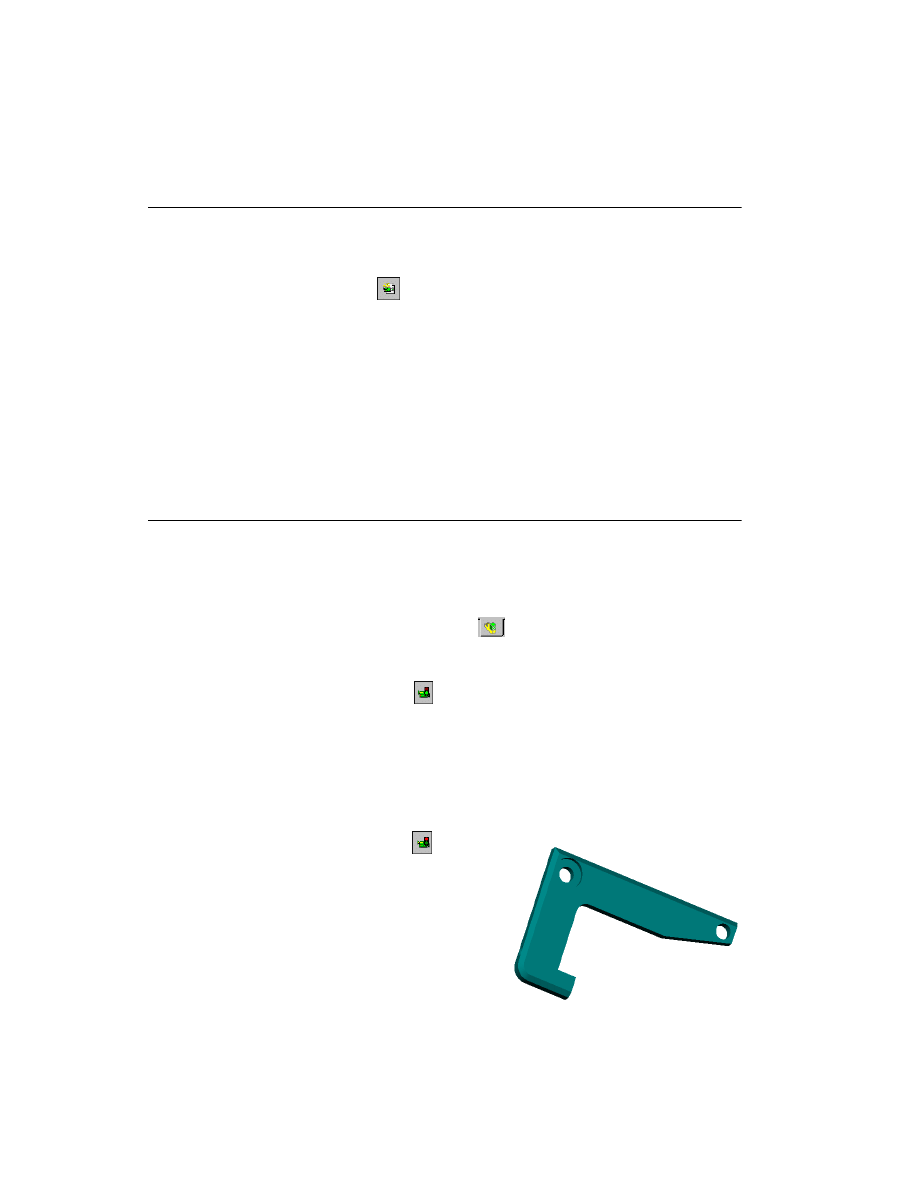
Creating an Animation File from Screen Captures
Use the part file
Claw.sldprt
to create an animation from screen captures.
To create an animation file from screen captures:
1
Open file
Claw.sldprt
, which is in the same directory as the claw assembly.
2
Click the FeatureManager design tree tab
.
3
Drag the rollback bar to before the first feature,
Base-Extrude
, so that nothing appears
in the graphics window.
4
Click
Turn on screen capture
or
Animator, Screen Capture, Turn on screen
capture
.
5
In the
Save Animation to File
dialog box, set
Frames per second
to
1
, and click
Save
.
6
In the
Video Compression
dialog box, click
OK
.
7
In the FeatureManager design tree, rebuild the part by dragging the rollback bar down
the tree one feature at a time.
8
Click
Turn off screen capture
or
Animator, Screen Capture, Turn off
screen capture
.
To replay the animation from file:
1
In Microsoft Explorer, find
Claw.avi
in the
same directory as the model.
2
Double-click the file name to play the
animation in a separate window.
CAD AVSHMEIP - D.R. 2004
Gonzalitos 916-A C.P. 66450 San Nicolás de los Garza, N.L.
Tel. (81) 8352-5679 / 8134-0944 Nextel (81) 80630163
Radio 231423*3
avshmeip@prodigy.net.mx
www.cadavshmeip.com
Wyszukiwarka
Podobne podstrony:
[FLASH] Animation Tutorial
Cars Animation Tutorial
bugzilla tutorial[1]
freeRadius AD tutorial
Alignmaster tutorial by PAV1007 Nieznany
free sap tutorial on goods reciept
ms excel tutorial 2013
Joomla Template Tutorial
ALGORYTM, Tutoriale, Programowanie
8051 Tutorial uart
B tutorial
Labview Tutorial
Obraz partycji (ghost2003) Tutorial
[LAB5]Tutorial do kartkówki
M2H Networking Tutorial Original
ABAQUS Tutorial belka z utwierdzeniem id 50029 (2)
więcej podobnych podstron