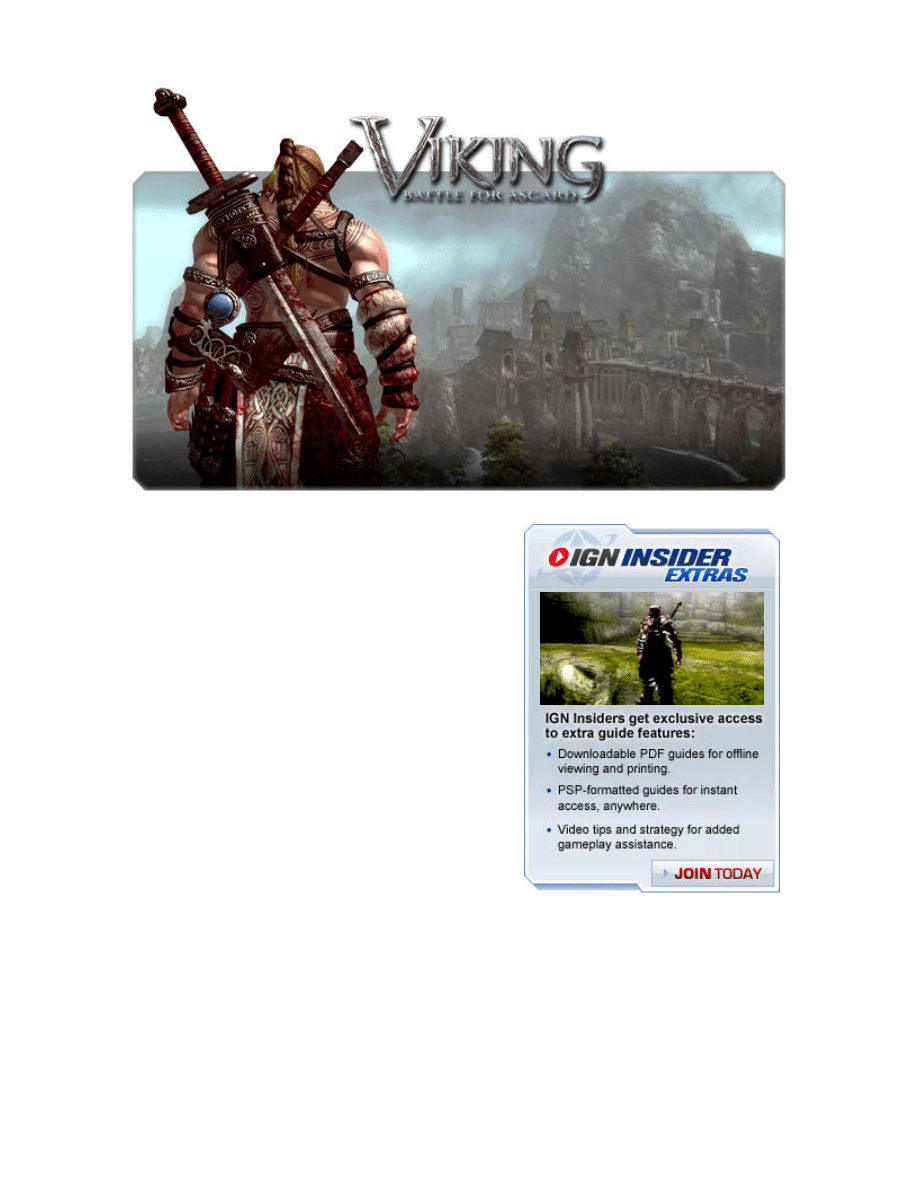
Introduction
In Viking: Battle for Asgard, the heavens have charged Skarin with
the task of stopping the hordes of Hel. But favored by a mighty
goddess or not, being a half-naked, half-literate barbarian isn't easy
in these dark and perilous times. In this guide, expect to find:
In this Viking: Battle for Asgard strategy guide, you'll find:
BASICS
// General tips to start you on the right foot.
EQUIPMENT & SKILLS
// Hints about the different types of
elemental magic attacks and deadly special moves.
WALKTHROUGH
// Our complete Viking: Battle for Asgard
walkthrough with boss tips and mission strategies.
The feasting of the swords has come. Take this virtual Mimisbrunnr
and a rugged blade in hand, and bring death to the enemy!
© 2008, IGN Entertainment, Inc. May not be sold, distributed, transmitted, displayed, published
or broadcast, in whole or part, without IGN’s express permission. You may not alter or remove
any trademark, copyright or other notice from copies of the content. All rights reserved.
1
© 2008 IGN Entertainment, Inc.

Viking: Battle for Asgard Basics
The Map Screen displays the locations of important areas. Red icons indicate that there are still tasks remaining
to be done there (including optional tasks, such as acquiring all the special attacks currently available at the local
arena). Blue icons indicate that those spots are completely cleared.
The green dots on the radar mark the locations of important allies with whom Skarin can speak. The red dots
mark the locations of bosses.
The leystones serve as warp points and, by extension, checkpoints. Spending time to activate them can be very
helpful before charging into hostile territory, in case Skarin comes across any funny accidents.
Imprisoned vikings are stuck in prisoner cages (the evil bone-like structures) and in prisoner trios (the stakes
topped with large skulls). Whenever possible, free prisoners and let them help kill off nearby enemies. Hel's
henchmen are pretty generous for letting the imprisoned vikings hold onto their weapons.
Whenever Skarin activates his elemental magic, any nearby allies will also gain the same enhancement. This can
really help during the mass attacks.
Enemy shields can be eventually broken by any attack, but certain special moves will destroy them more quickly.
The bosses come in three types: champions (big sword guys), shamans (freaky hooded creatures), and giants
(steroid ogres). For the champions and the giants, hit them until a button icon appears near their bodies, and then
go through the displayed button sequences to finish them. For the shamans, destroy the small pillars near them
first to eliminate their protective barriers, and then kill them with any attack.
If Skarin nears unalerted bad guys, he will assume a crouching stance, and if he is facing alerted foes, he will
automatically draw out his weapons. If Skarin is detected by enemies from a distance, he can stay behind cover
to trick those bad guys into returning to their unalerted state. This is an important trick during the more
challenging stealth scenes.
Skarin recovers life as long as there are no enemies nearby. Gotta love that barbarian vitality.
Life is cheap; gold isn't. Try to save up money for permanent upgrades, such as the Health Advances, the
elemental runes, and the special attacks. Also try to purchase the treasure maps as soon as possible, because
they can save tons of time spent wandering around looking for gold.
Skarin doesn't know how to swim. Still, diving into the sea or jumping off from a very high ledge can be a faster
way back to the portals and leystones. The valkyries wouldn't care anyway.
2
© 2008 IGN Entertainment, Inc.

Viking: Battle for Asgard Equipment & Skills
<<
Items
Elemental Ruins & Magic
Special Attacks
>>
Energy Items
Red Energy
Adds a small amount of magic energy, which is used to enable
elemental magic attacks. This is dropped by defeated enemies.
Kill them with special fatality moves (when they're dazed and a
button icon is displayed) to make them bleed off more red energy.
Green Energy
Restores a decent amount of life. This is occasionally dropped by
defeated enemies. Life is also automatically recovered when there
are no bad guys nearby.
Rage Crystals
Enables Rage-type special attacks. This is obtained simply by
hitting enemies with standard attacks. (Rage Crystals don't appear
until the special attacks requiring them are acquired.)
Treasure Items
Gold Bag
Adds a small amount of gold when touched. Gold bags are the
most common source of money, but many of them are hidden at
odd corners, within bushes, or even in water.
Urn
Adds a moderate amount of gold when destroyed. Urns are less
common than gold bags, but they hold roughly five times as much
money.
Chest
Adds a large amount of gold or a key item when opened. Chests
are very uncommon, but they can contain almost four times as
much cash as urns.
Mead
Adds a large amount of gold when traded to the local innkeeper.
Kegs of mead are usually found near areas of water, like beaches
and rivers.
Treasure Map
Reveals the locations of gold bags, urns, or chests on the radar.
This is sold at shops, but each island world has its own set of
treasure maps.
Quick Inventory Items
Potion
Restores a moderate amount of life when hastily quaffed. This is
sold at shops.
Throwing Axe
Flies for a short distance when thrown, hitting any enemy in its
way. This is sold at shops.
Flame Pot
Flies for a short distance when thrown, creating a grenade-like
blast upon impact. This is sold at shops.
3
© 2008 IGN Entertainment, Inc.

Runes enhance Skarin's attacks with elemental energy. They can be purchased from the blacksmiths at the towns and
landing camps. All cost magic energy to use. After activating elemental magic, Skarin can also perform a super
elemental attack (by pressing the Quick Attack and Heavy Attack Buttons together), which will drain any remaining
magic energy. Later, Skarin can upgrade his runes to boost the power of his elemental magic.
Upgrade Items
Meal
Increases the life capacity temporarily by a large percentage. This
bonus is lost as soon as Skarin sucks up an amount of pain equal
to this increase. This is sold at shops.
Health Advance
Increases the life capacity permanently by a small amount,
making it more useful (and more expensive) than meals. This is
sold at shops.
<<
Items
Elemental Ruins & Magic
Special Attacks
>>
Elemental Runes and Magic
Fire
Burns enemies, continuously damaging them for a period of time.
The super attack is a flame tongue that can incinerate a line of
enemies from a distance. Having fire is better than having no
elemental magic, but Skarin might as well go for lightning instead,
whose effects are more concentrated.
Ice
Freezes enemies briefly, allowing them to be instantly shattered
and killed with the next blow, before they thaw. The super attack
is an ice field that can freeze multiple enemies near Skarin.
Although ice can be blocked by shields, it lets Skarin quickly kill
several regular bad guys with just a few hits, especially if he
combines it with the Fast Rage Level 2 special attack (Nidhogg's
Strike). Ice also slows down bosses (if not completely freeze
them), allowing Skarin to bash them several times before they can
act.
Lightning
Electrocutes enemies, increasing the amount of damage dealt to
them. The super attack is a lightning snare and smash that can
deliver an extreme amount of pain to a single enemy from a
distance. ("Get over here!") Lightning is purely meant to dish out
death as quickly as possible, and it works even against bosses. Its
grapple-like super attack is the most cost-effective, too, when it's
used just before the magic energy is completely depleted.
4
© 2008 IGN Entertainment, Inc.

Special attacks are more powerful than standard attacks. They can be purchased from the spirits of Valhalla at the
arenas. Some cost Rage Crystals (which can be easily earned by hitting enemies with standard attacks), while the rest
can be performed as much as desired. Check the Move List (on the subscreen) to review the acquired special attacks,
or visit the arenas to practice them again.
<<
Items
Elemental Ruins & Magic
Special Attacks
>>
Special Attacks
The following special attacks are available by the first island world (Niflberg):
Njord's Wrath
(0)
A quick jumping chop that is actually treated as a standard attack. It doesn't cost
any gold to acquire, but Skarin still needs to visit an arena to learn this move.
Odin's Will
(150)
Combo Ender 1. Stuns enemies. A mighty kick that can come in handy if Skarin is
short on Rage Crystals.
Thor's Hammer
(300)
Slow Rage Level 1. An overhead chop that helps in breaking shields, but Skarin
should probably build up the Rage Crystals for the more advanced Slow Rage
moves instead.
Baldur's Curse
(300)
Fast Rage Level 1. A fast and long-reaching stabbing attack that is very reliable
against almost all enemies. It leaves Skarin standing close enough, and it stuns
the victims long enough for them to be gored again and again.
Fenrir's Bite
(700)
Stealth Attack 1. A dashing dual slash that can instantly kill unalerted enemies.
This has an incredibly great effective range, and it works as long as the targets
aren't fully alerted to Skarin's presence.
Fafnir's Might
(800)
Slow Rage Level 2. Breaks wooden shields quickly. A gruesome chop that can
cause considerable amounts of pain and death. Mostly death.
Freya's Chariot
(300)
Combo Ender 2. Stuns enemies. An overhead pommel smash delivered with
concentrated fury.
Nidhogg's Strike
(1500
Fast Rage Level 2. A rapid five-hit combo that relentlessly tears away at one or
more bad guys. It's even more lethal when it's combined with the ice elemental
magic.
The following special attacks are available by the second island world (Galcliff):
Hel's Fury
(1200)
Breaks wooden shields quickly. A jumping dual chop that is deadlier than its
standard counterpart (Njord's Wrath), but it doesn't help Skarin gain Rage
Crystals.
The Spear of Odin
(500)
Combo Ender 3. Breaks wooden shields quickly, and stuns enemies. A headbutt
that can, yes, eventually plow through even metal and rock.
Valkyrie Stampede
(1200)
Counter Attack. A returning slash that can be performed at the end of a successful
evade maneuver (when the slow-motion effect kicks in). This can deal a very large
amount of damage, killing most bad guys with a single swipe.
Baldur's Silence
(3000)
Stealth Attack 2. An impaling thrust that can instantly kill unalerted enemies. This
has a much shorter effective range than the dashing stealth attack (Fenrir's Bite),
requiring Skarin to stand directly next to his targets, but it works a little better
against enemies on slopes.
5
© 2008 IGN Entertainment, Inc.

Viking: Battle for Asgard Walkthrough
Skarin is a viking who hails from the town of Brighthelm, on the isles of Niflberg (not to be confused with Hel's Niflheim).
Like the others of his kind, he has proven his manhood by slaughtering a great rabid wolf with his bare hands and then
roaring heathen oaths to the skies as he wrenches out the jagged teeth and uses them to carve a crimson image of his
kill onto his bare chest.
But none of that stops Skarin from losing his kidneys when he runs afoul of Hel's Harbinger, Drakan, during a desperate
battle at Brighthelm. Fortunately, the goddess Freya has chosen Skarin to be her errand boy, so she stuffs his missing
organs back into him, lends him her magical amulet Brisingamen (medieval PDA), and sends him out to start thwarting
Hel's crazy schemes.
At the south end of the southern isle of Niflberg. Brighthelm is Skarin's home and his first base of operations. Talk to
Asta the shaman, near the portal stones, to learn about the Dragon Amulet and the need to summon the dragons for
help. Talk to Haral the chieftain, near the north gates to the beach, to open the east gate.
Being a town, Brighthelm has a shopkeeper, a blacksmith, and an innkeeper. Available for purchase now are the Level 1
elemental runes. Picking up something like ice or lightning can really help. Osgood the shopkeeper won't open his store
until his supplies are recovered later.
Give Niflberg Mead to Torv the innkeeper, by the beer hall near the east gate, to earn extra cash. A few kegs of that stuff
can be found on the beaches north of the town, and more lie scattered elsewhere across these isles.
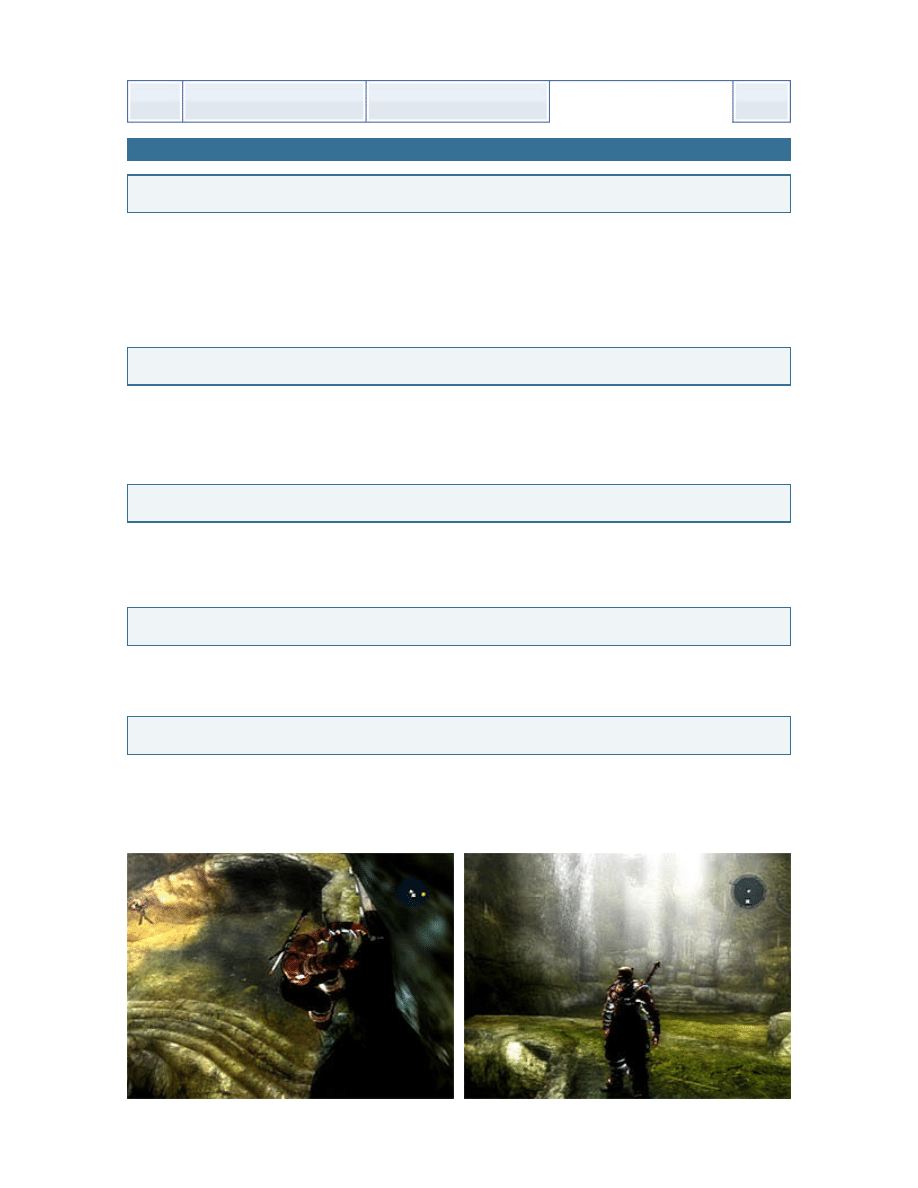
To the northeast of Brighthelm. To get there, go through the east gate (after speaking with Asta and Haral), and follow
the grassy hills up to the work fields. (The Hilltop Farm Leystone is to the east, on the other side of a low road.) Kill the
bad guys who get in the way. Open the prisoner cage between the buildings, and have the freed vikings help kill off any
remaining enemies here to seize control of the area. Talk to Tait the miller, near the large building across from the cage,
to learn about the stolen goods.
The following special attacks are available by the third island world (Isaholm):
Odin's Doom
(2000)
Breaks metal shields quickly. A super jumping chop that can cause regular
enemies to instantly burst into a fountain of blood. Its power is obscene for its
ease of use, making it extremely effective at wiping out bad guys. (This special
attack replaces Hel's Fury.)
Might of Valhalla
(4000)
Slow Rage Level 3. Breaks stone shields quickly. A ghastly dual chop that brings
immediate death to almost all regular enemies.
Valkyrie Strike
(600)
Combo Ender 4. Breaks all shields quickly, and stuns enemies. A furious axe
swipe that should finish killing whatever is on the receiving end of Skarin's combo.
Curse of Fenrir
(6000)
Fast Rage Level 3. A concentrated combo. Compared to the Level 2 version
(Nidhogg's Strike), this tends to make Skarin aim at a different target with every
hit. Watching him fly all over the place can be pretty fun, but stick with the Level 2
version if more control is needed.
<<
Island World 1: Niflberg
(Part 1)
Island World 1: Niflberg
(Part 2)
Island World 2: Galcliff
(Part 1)
>>
Island World 1: Niflberg (Part 1)
The Story so Far:
Brighthelm:
Hilltop Farm:
6
© 2008 IGN Entertainment, Inc.
To the south of the Hilltop Farm. Look for an overturned cart somewhere along the roads through the forests, and
butcher the enemies hanging around it. Open the chest beside this cart to obtain the Lost Cargo. Give it to Osgood at
Brighthelm to let him open his store.
Available for purchase now are the Health Advance Stage 1 and several other items. Try to buy the treasure maps as
soon as possible, because they make finding gold a heck lot easier. Playing around with the throwing axes and potions
may be fun, but saving up for the special attacks later at the arena is a better idea.
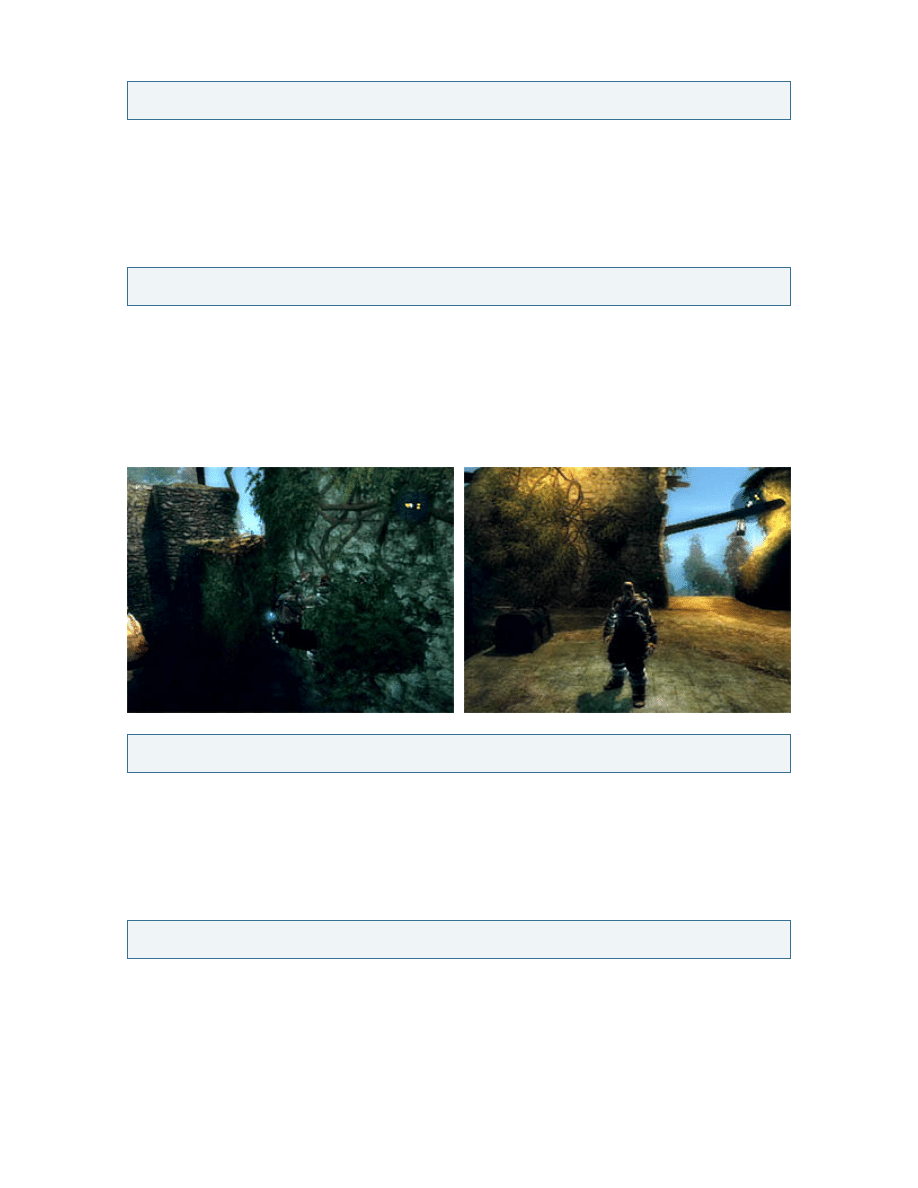
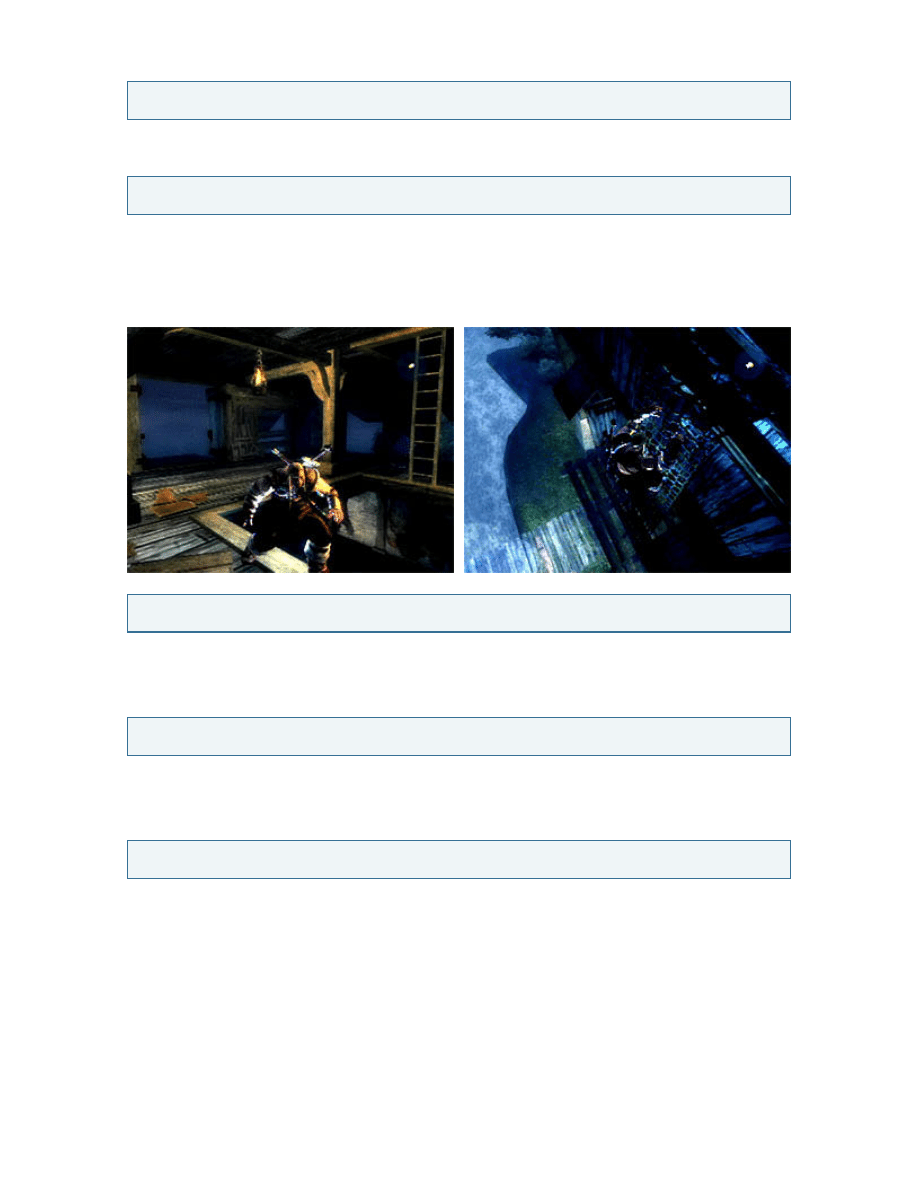
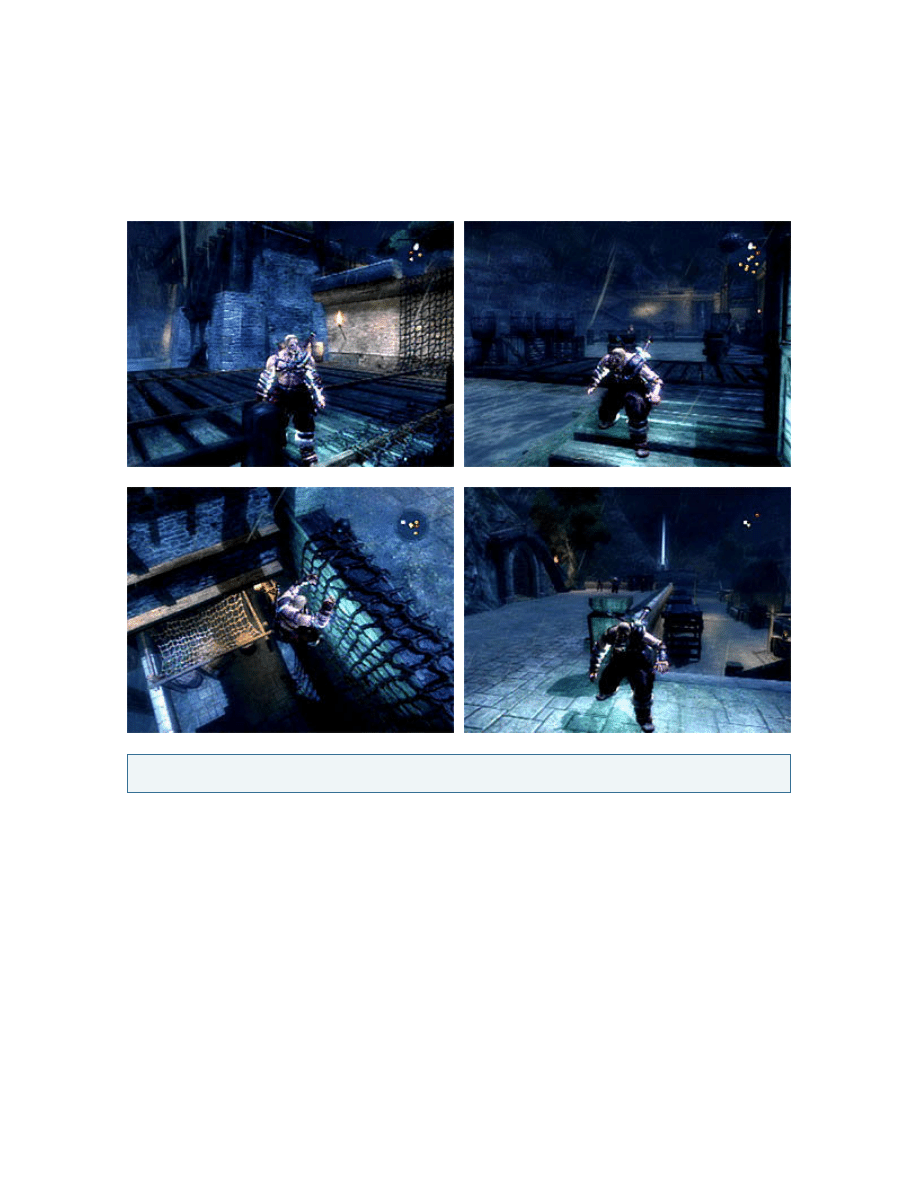
To the east of Brighthelm. To get there, cross the broken wooden bridge. (Falling down to the shallow pool here is
perfectly safe, so this is a good place to play around with the ledge-climbing controls.) Continue past the Ruins
Leystone. Open the prisoner cage at the end of the ruins. Talk to Cadby, near the cage, to learn about a viking gone
MIA.
The ruins actually form a sort of obstacle course. Find some sloping stones not far from the cage, and start climbing up
along the ledges, leaping across the pits and climbing the thick leafy vines. Open the chest at the upper end of the ruins
to obtain the Hugin Gem (which is one component of the Dragon Amulet that will be found later).
To the east of the Ancient Ruins. Special attacks can be purchased here from the spirits of Valhalla, who apparently still
have some use for money. The Rage-type special attacks require Rage Crystals (the blue pointy icons under the red
magic bar), which are easily acquired by whacking enemies with standard attacks.
Only the first half of the entire list of special attacks can be acquired for now. Particularly useful are the Fast Rage Level
1 stabbing attack (Baldur's Curse), the Fast Rage Level 2 combo (Nidhogg's Strike), the Slow Rage Level 2 shield-
breaking chop (Fafnir's Might), and the dashing stealth attack (Fenrir's Bite).
To the northeast of the Ancient Ruins. Havelock turns out to be a traitor, and he's hanging out with several of his evil
pals at a camp on the beaches. Time for him to die. Kill Havelock, getting rid of the other bad guys first if necessary, to
obtain Havelock's Helmet. Give it to Cadby at the Ancient Ruins to gain his full support.
Lost Cargo:
Ancient Ruins:
Battle Arena:
Warrior Havelock:
7
© 2008 IGN Entertainment, Inc.
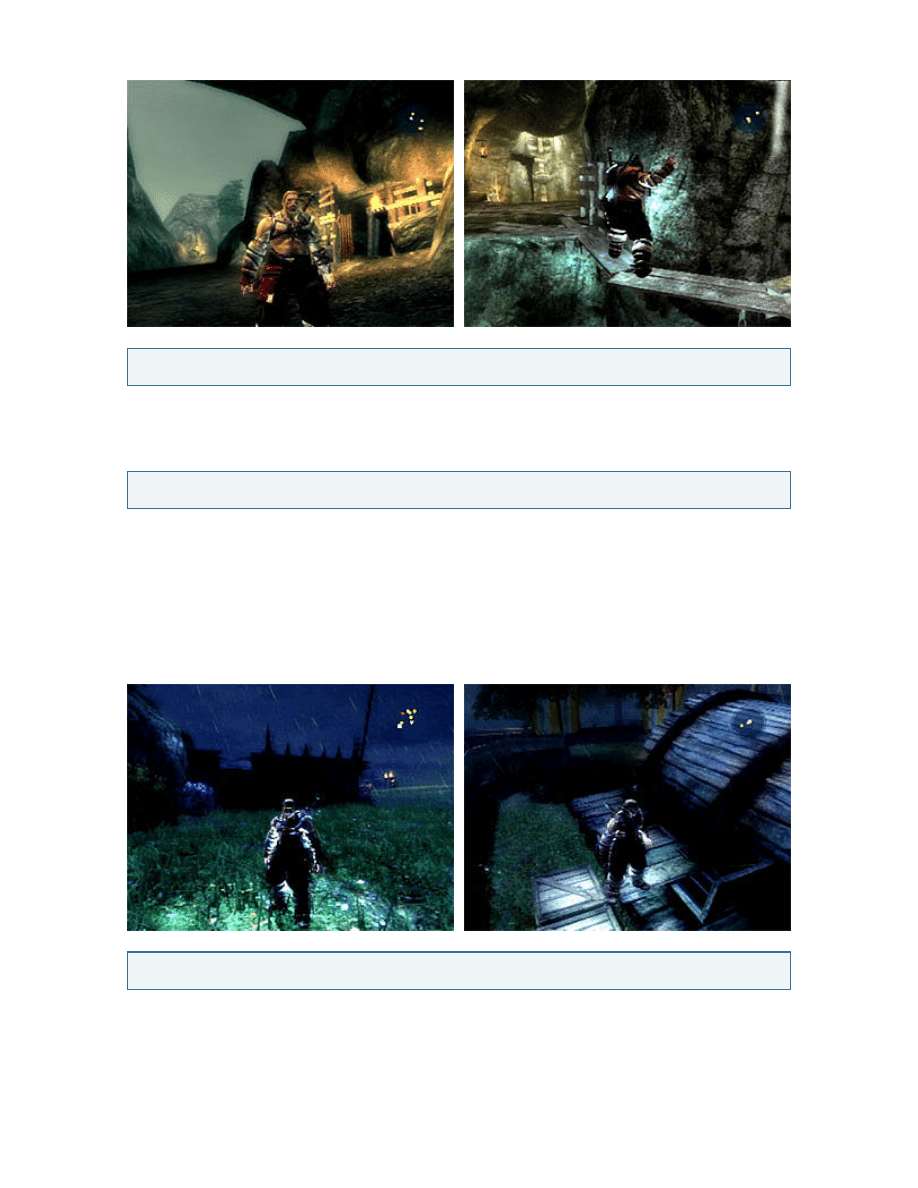
To the northeast of the Hilltop Farm Leystone. Kill the champion (enemy commander) along the roads to obtain the
Battle Horn and the Skirmish Key.
Wasting the other enemies first can help. To avoid the champion's attacks, use the evade maneuver (hold the Block
Button and press the Jump Button). When he sucks up enough pain, and a button icon appears near his body, go
through the displayed button sequence to turn him into raw haggis.
To the east of the Hilltop Farm Leystone. With the Battle Horn recovered, and with a sufficient army ready, use the
Battle Horn option on the Map Screen to begin the mass attack. Blowing it must be as fun as blowing Heimdall's
Gjallarhorn.
Skarin can make his bloodthirsty viking friends even more dangerous by activating his elemental magic among them,
charging up their weapons as well. Kill all the enemies here to seize control of the area.
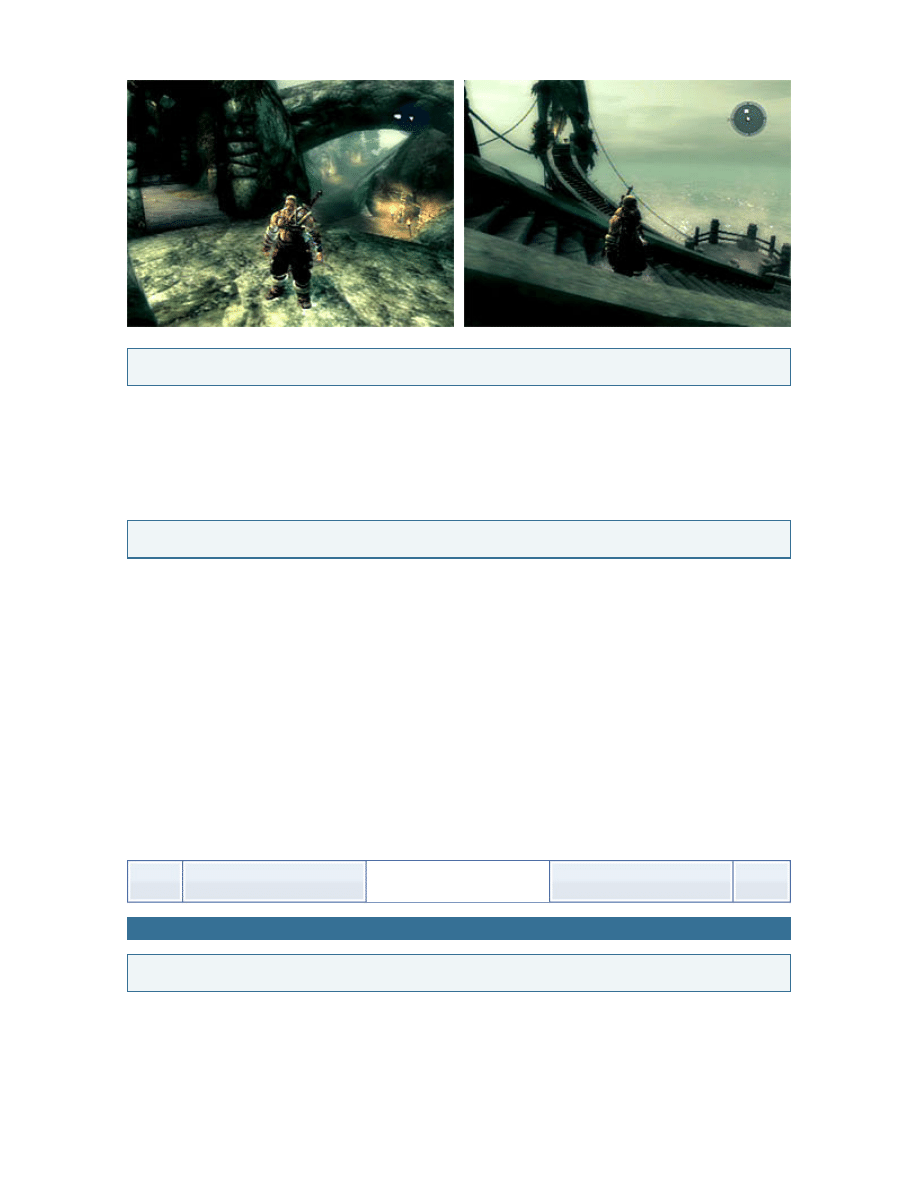
Use the Skirmish Key to open the locked gate in the mountainside. Go through the tunnels, continue along the cliffside
paths, cross the small bridge connecting to the northern isle of Niflberg, go past the Clifftop Path Leystone, and travel
through the nice-looking Cave.
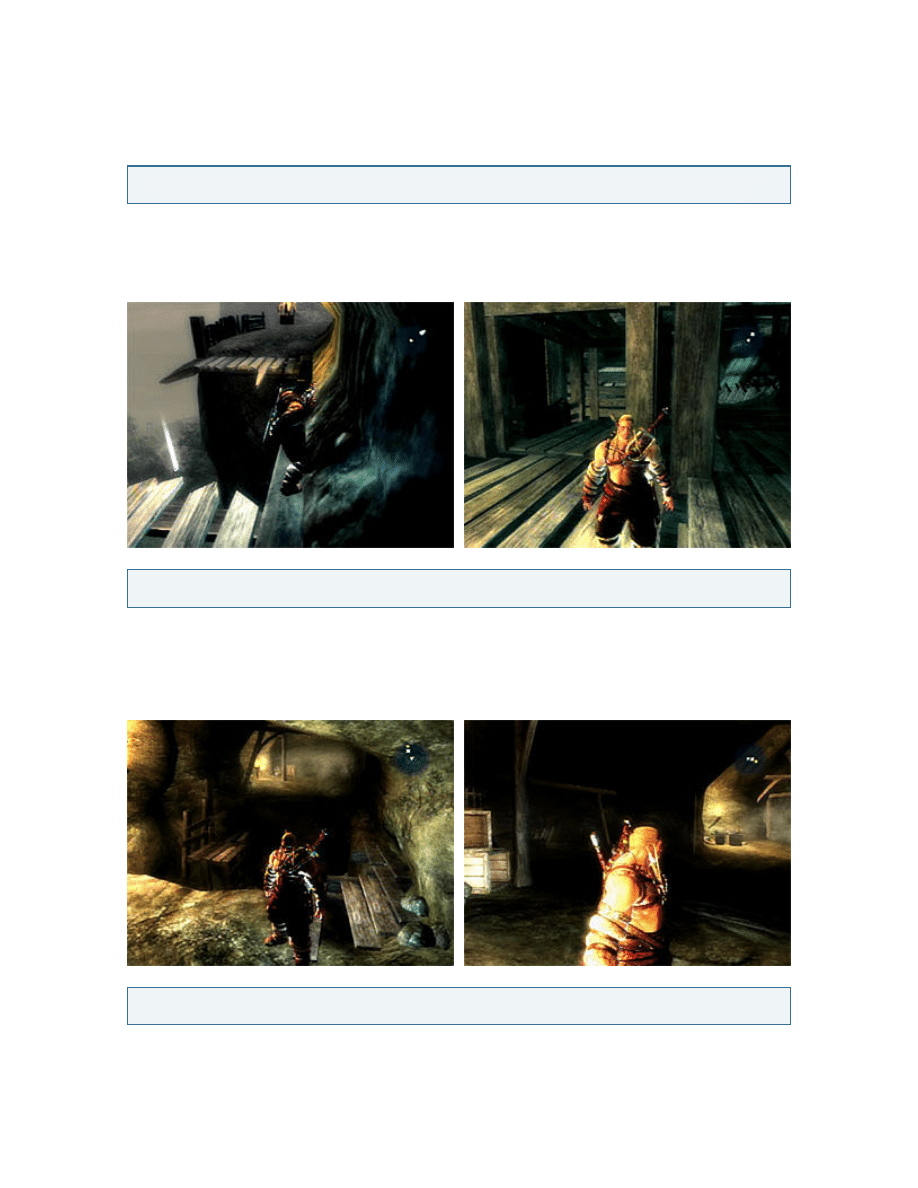
To the west of the Drawbridge Leystone. Get into the yard outside the west tower. This can be done by climbing over the
partially broken section of the yard's outer wall, or by following the high ledges across the east tower. Climb up the thick
leafy vines along the side of the west tower. At the top, drop down to the second level of the east tower, and turn the
wheel switch to lower the drawbridge. By the hues of Bifrost, the gate at the other end will magically open, too.
To the northwest of the Drawbridge. Open the prisoner cage at the end of the bottom level. Talk to Kell the quarry
master, near the windmill, to obtain the Explosives.
Battle Horn:
Gorge:
<<
Island World 1: Niflberg
(Part 1)
Island World 1: Niflberg
(Part 2)
Island World 2: Galcliff
(Part 1)
>>
Island World 1: Niflberg (Part 2)
Drawbridge:
Quarry:
8
© 2008 IGN Entertainment, Inc.

To the northeast of the Quarry. Use the Battle Horn option on the Map Screen to begin the mass attack. Kill the entire
Elite Patrol. Afterward, talk to Kell at the Quarry to gain his full support.
To the northwest of the Quarry and the Quarry Leystone. Use the Explosives to blow open the locked gate on the south
side of the mountain. (There is also a one-way exit toward the north side.) Talk to Ingemar, past the large pit in the
tunnels, to learn that his men are in need of some Band-Aids.
To the south of the Monastery Cave. Open the chest near a hanging lantern to obtain the Medical Supplies. Give them
to Ingemar at the Monastery Cave to gain his full support. Apparently, vikings had been familiar with the term "medical
supplies" back then.
To the west of the Monastery Cave. To get there, go around on the north cliffside path, continue past the Monastery
Leystone, and fight through the main gates to the front yard. If possible, free the two prisoner trios at the corners of the
yard and let them help kill the enemies there.
From the yard, go through the open doorway at one of the corners, up the stairs to the second level, and chase the
retreating shaman. Jump across the pits and climb along the thick leafy vines in the way.
Turn the wheel switch to enter the inner yard, and prepare to face a champion. For an easier time, kill the regular bad
guys who come up the stairs first, and free the two prisoner trios on the landings of the stairways. This champion is just
like the one met earlier. Use the evade maneuver to avoid his killer sword, and go through the displayed button
sequence to finish him.
Kill the champion to obtain the Ancient Key. Use it to open the locked doors to the inner chamber, and prepare to face
the second type of boss, the shaman. He doesn't attack himself, but he will keep generating regular bad guys. Destroy
the small pillars surrounding him to eliminate his protective barrier, and then finish him with any attack. Kill the shaman
to obtain the Dragon Amulet.
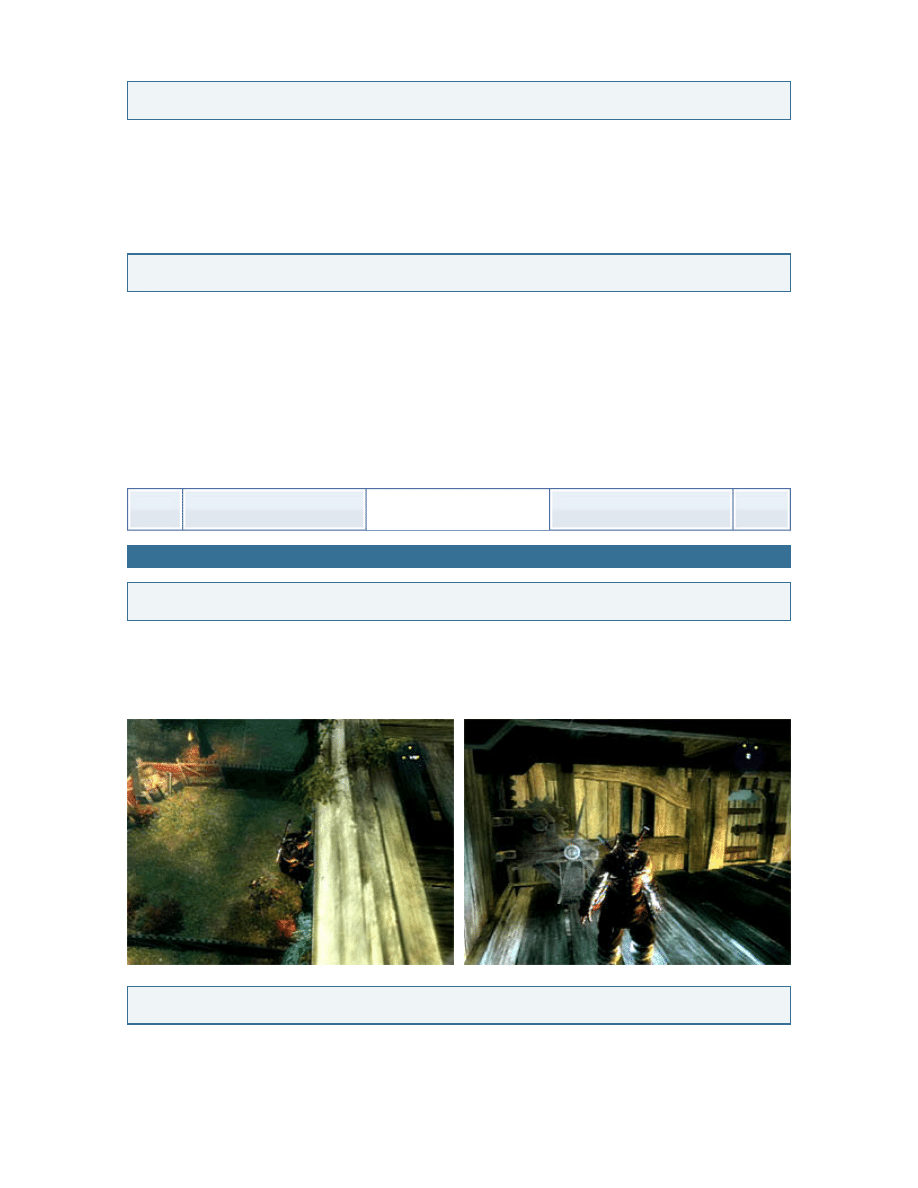
At the southwest corner of Darkwater. Skarin needs to use the enemy-held portal stones to activate the magical powers
of the Dragon Amulet, but the place lies right within the stockades of Darkwater. Obviously, charging through the main
gates with blades swinging won't work. Instead, Skarin will need to sneak in quietly, so it's stealth time. Learning the
dashing stealth attack (Fenrir's Bite) from the arena first will help here.
Climb over the low section of the east wall, at the part that's draped over with a green tapestry. Follow the walls south,
and then turn west. Use stealth attacks against the lone enemies facing away, sneak past them, or just quickly hack
them up to avoid alerting the rest of the base. Use the Dragon Amulet at the center of the portal stones (red glow) to
restore its power.
Ambush:
Monastery Cave:
Shipwreck:
Monastery:
Darkwater Portal:
9
© 2008 IGN Entertainment, Inc.
Now that the Dragon Amulet is properly prepared, go back to the Ancient Ruins. Use the Dragon Amulet with the Hugin
Gem at the summoning stone (the large circular platform), at the south side, to summon Ari. It's time for Skarin to make
good use of his seizures anyway.
When Ari shows up, there will be a brief tutorial of what dragons can do during mass attacks. The usual subscreen will
be replaced by the Eye of Asgard, which provides an overhead view of the field. From here, special ammo-like items
called dragon runes can be spent to have the dragons instantly kill available targets. For now, choose either of the
targets offered and see how this all works out.
By this point, Skarin should be ready to lead the last major battle for this island world. If he's still lugging around any
kegs of mead, he should drop them off with the innkeeper now. He may also want to grab as many special attacks as he
can from the local arena, because the next arena won't be available for a long while.
At the northeast of Niflberg. With the Drawbridge lowered, with Ari summoned, and with a sufficient army ready, use the
Battle Horn option on the Map Screen to begin the mass attack. This is the first real major battle of its kind, where Skarin
can work with dragon-powered air strikes.
The main bosses are the shamans, who like the one back at the Monastery will keep generating regular bad guys. They
are marked by red shafts of light. Also present are champions, who again are the same as the ones encountered earlier.
Both the champions and the shamans have their locations indicated by red dots on the radar.
Ari can instantly nuke a shaman, but using him costs dragon runes, which can be earned by killing champions and other
bosses. So basically, aim for a champion first, kill him, and then use the dragon runes to get rid of a shaman. When
Skarin runs out of dragon runes, he and his allies can just hack their way slowly to the remaining shamans and kill them
in the usual fashion: break the pillars surrounding them to eliminate their protective barriers, and then use any attack to
chop them up. (Doing a standard slash is faster than using special fatality moves against them.) Focus on killing the
shamans; the enemy archers aren't as important and can actually be ignored for much of the battle.
Aside from all that, things should be pretty routine. Skarin can activate his elemental magic within a group of allies to
charge them up as well. If he gets wasted, he'll be revived for free by Asta (the friendly shaman, who's marked by a blue
shaft of light). At the end, defeat Drakan, who behaves like the other enemy champions. Whack him with the usual
attacks first, using the evade maneuver to dodge his giant sword, and then go through the displayed button sequence to
finish ripping off his face.
Once Niflberg is freed, Skarin will learn that he needs to continue his battle onto other islands. Hey, at least this beats
fighting the Picts.
Ancient Ruins (Dragon Stones):
Darkwater:
10
© 2008 IGN Entertainment, Inc.
At the west of Galcliff. This is Skarin's temporary base of operations, having a shopkeeper (Bodvar) and a blacksmith.
Available for purchase now are the Level 2 elemental runes, the Health Advance Stage 2, and the chieftain's throwing
axe (an upgraded version of the standard throwing axe). Buy the new treasure maps, too.
Talk to Jari, in the middle of the camp, to hear more about what's going on in the place. Talk to Asta, near the portal
stones, to learn about the whereabouts of the Mugin Gem, or at least a part of it.
To the south of the Galcliff Landing Camp. To get there, climb the cliffside ledges near the camp. Open the prisoner
cage between the buildings. After wiping out the enemies here, stay behind some cover with the freed vikings, and help
them ambush the approaching enemy patrol. Talk to Njal the distiller, on a high wooden platform, to obtain the Cellar
Key.
To the north of the Distillery. Drop down through the hole in the floor. Use the Cellar Key to open the locked door. Open
the chest at the bottom level to obtain the Secret Recipe. (To exit, climb up the rope netting near the now-unlocked
door.) Give it to Njal at the Distillery to gain his full support. Available for purchase now are the flame pots.
To the east of the Ruins. Open the prisoner cage. Talk to Hrut, in front of the cage, to learn about some big bad guys in
the network of caves nearby.
To the east of the Cave Camp. Work into the mountain tunnels (from any of the several cave entrances). In the large
cavern in the middle, climb up the ledges to the highest level. Kill the champion, in front of the stone throne, to obtain the
Legion Insignia. Give it to Hrut at the Cave Camp to gain his full support. (The Cave Leystone is to the south of the
stone throne's location.)
<<
Island World 1: Niflberg
(Part 1)
Island World 1: Niflberg
(Part 2)
Island World 2: Galcliff
(Part 1)
>>
Island World 2: Galcliff (Part 1)
Galcliff Landing Camp:
Distillery:
Ruins:
Cave Camp:
Central Cave:
11
© 2008 IGN Entertainment, Inc.
To the southeast of the Distillery. Talk to Mani the mercenary leader, inside the cave hideout, to obtain the Tower Key.
To the east of the Mercenaries' hideout and the Sutherine Leystone. Use the Tower Key to open the tower's front door.
Kill all the enemies inside the tower, climbing the ladders to reach the higher levels. On the third level, open the doors,
and climb the rope netting up to the fifth level (because the ladder on the fourth level is broken). At the seventh and
highest level, kill the shaman and the other enemies to seize control of the area. (To enter the basement, drop down
through the basement doorway outside.)
To the northeast of the South Watchtower. With the Distillery freed and with the South Watchtower freed, use the Battle
Horn option on the Map Screen to begin the mass attack. Kill the entire elite patrol, on the stone bridge, to obtain the
War Chest. Give it to Mani at the Mercenaries' hideout to gain his full support.
To the east of the South Watchtower, or to the southeast of the Brenna Grof Leystone. Open the prisoner cage between
the buildings. Talk to Olen the quarry master, on one of the high wooden platforms overlooking the cage, to learn about
some of his guys who are held captive elsewhere. Nuts.
To the northeast of the Quarry. On the mountain paths outside the gate leading into the cave, kill the champion to obtain
the Rusty Key. Use it to open the locked gate. Carefully climb around into the deeper part of the cave. Open the prisoner
cage at the very end of the bottom level. (To exit, open the doors leading back out toward the gate.) Talk to Olen at the
quarry to obtain two sets of Explosives. Awesome.
Mercenaries:
Watchtower (South Watchtower):
Ambush:
Quarry:
Eastern Cave:
12
© 2008 IGN Entertainment, Inc.
To the north of the Cave Leystone (and the Flatturgrunnur Leystone). To get there, go north past the Cave Leystone
(near the Central Cave). Use the Explosives to blow open the locked gate. Open the prisoner cage. Open the chest on
the small circular platform to obtain the Mugin Gem Fragment.
At the upper level on the southwest side of Holdenfort. Just like the earlier scene back at Darkwater, it's stealth time.
This area is a heck lot larger, but the same tricks apply. If Skarin automatically draws his weapon, at least one bad guy
has detected him. Either kill off the alerted guards or sit behind cover for a while to get things to settle down.
Climb over the low section of the south wall, next to the cliffs. Go north, past the beer hall, across the lower wooden
bridge connecting to the north half of Holdenfort. Follow the large set of stairs leading to the upper level on the west, and
then cross the higher wooden bridge connecting back to the south, toward the barracks. Go to the large building in the
fenced-off lot, either by walking through the front entrance or by climbing over the low section of the fence (the part
draped over with a tapestry). Use the Explosives at the open hatch on one side of this large building to destroy it.
At the east of Galcliff. With the Holdenfort Barracks destroyed, and with a sufficient army ready, use the Battle Horn
option on the Map Screen to begin the mass attack.
Like in the previous battle at Darkwater, the main bosses are the shamans. Slay the champions to earn dragon runes,
which can be used to send the dragon to bombard available targets via the subscreen (Eye of Asgard). If there aren't
enough runes left, just hack a path to the remaining shamans and kill them in the usual manner: break their pillars to
Plateau Camp:
Holdenfort Barracks:
Holdenfort:
13
© 2008 IGN Entertainment, Inc.

eliminate their protective barriers, and then make their heads cave in with a good bash to the face. (Doing a standard
slash is faster than using special fatality moves against them.)
At the last part, Skarin must help Asta (the friendly shaman) reclaim the enemy-held portal stones (red glow). First, work
with the allied vikings to reach the site. Next, use the center of the portal stones to help Asta teleport there. Then, while
she slowly gains control of the place, make sure no enemy jams an axe into the back of her head.
Skarin moves his base of operations to Holdenfort, although the Galcliff Landing Camp still retains its own shopkeeper
and blacksmith. Available for purchase now are the Level 3 elemental runes and the Health Advance Stage 3. The
arena can also be reached now, so be sure to visit it sometime to learn more butt-kicking moves.
Talk to Honir the chieftain, to the north of the upper wooden bridge, to open the northwest and northeast gates. Talk to
Asta, at the north central gate, to open that gate.
Give Galcliff Mead to Holmstein the innkeeper, at the beer hall in the south half of Holdenfort, to earn extra cash. Fun
fact: Holmstein is the brother of Torv, the innkeeper back at Niflberg.
To the west of Holdenfort, or to the southwest of the Arena Camp. To get there, climb up and around the mountain.
Particularly useful are the counter attack (Valkyrie Stampede) and the heavy jumping chop (Hel's Fury).
To the northeast of the Northern Watchtower Leystone. The front door is bolted shut this time, so climb over the low
section of the wooden wall to the side, entering the yard, and drop down through the open basement doorway. Aside
from that, this tower is very similar in layout to its southern counterpart. Fight up through its levels, climbing the ladders.
Kill the shaman and the other enemies at the top level to seize control of the area.
To the northeast of the North Watchtower and the Godholt Leystone, or to the north of the Lumber Mill Leystone. Kill the
champion, at the higher west side, to obtain the Crane Key. Use it to unlock and lower the crane holding the prisoner
cage at the northeast, near an open shed. Talk to Bori the saw master, at the higher west side, to learn about the
grinding stones.
To the west of the Lumber Farm and the Godholt Leystone. Open the prisoner cage on the higher grassy field. Open the
chest near the cage to obtain the Heavy Grindstone. Give it to Bori at the Lumber Farm to gain his full support.
To the northwest of the Austerine Leystone, or to the south of the Godholt Leystone. The front gate is locked, so go
around from the back, or drop down onto the fence from the cliffs nearby. Skarin can also use the explosive barrels here
to do some additional damage, although he should run off to a healthy distance before the fiery blasts burn off his face.
<<
Island World 2: Galcliff
(Part 2)
Island World 3: Isaholm
(Part 1)
Island World 3: Isaholm
(Part 2)
>>
Island World 2: Galcliff (Part 2)
Holdenfort Get:
Battle Arena:
Watchtower (North Watchtower):
Lumber Farm:
North Beach Camp:
Vineyard:
14
© 2008 IGN Entertainment, Inc.
Open the prisoner cage between the buildings. Available for purchase now are the Upgraded Health Potions.
Talk to Blyn the farmer, near the back of the cage, to obtain the Letter of Request. Give it to Vidar the archer, at the
archery range by the northwest corner of Holdenfort, and then talk to Blyn again at the Vineyard to gain his full support.
To the north of Holdenfort. The Longboat Graveyard, which sits on top of the mountain, looks like a maze at first, but it's
really quite linear. At the long gap, sidle along the narrow ledge. Meet Garm and Atol, and then climb up the ladder to
leave the pit. (The Longboat Graveyard Leystone is at the west end of the Guerrilla Camp.) Yes, vikings had apparently
used the term "guerrilla" back then.
To the north of the Guerrilla Camp. Flip the lever switch to ride the elevator. Fight through the tunnels, and find a locked
gate. Talk to Kali, past the gate, to learn that there should be a key nearby. Look for a very dark alcove near the large pit
with a narrow ledge. Open the chest in this dark alcove to obtain the Rusty Key. Use it to open the locked gate. Follow
the path leading deeper down into the mines. Meet Drakan and hear his scary speech at the lower chamber, and then
kill the henchmen he sends down to fight.
At the southwest side of Caldberg. It's stealth time again, and this is one of the most challenging sneaking missions.
First, get to the front walls of Caldberg, either by fighting across the main bridge or by following the beach path up past
the Caldberg Stathe Leystone.
Guerrilla Camp:
Mine:
Dragon Gem Mugin:
15
© 2008 IGN Entertainment, Inc.
Climb the rope netting north of the main gate. Carefully work to the south, and then turn west, following the perimeter as
best as possible. Climb down a set of ladders, go down a long flight of stairs, and then move along the docks, where
there are few enemy guards. At the far west end of the docks, climb up the rope netting. Proceed further along the
streets, up to the small crypt. Watch out for a shaman in there.
Open the chest in the small crypt to obtain the Mugin Gem Piece. (The Caldberg Leystone is to the north. To get there,
either follow the streets or take the rocky side path that runs west behind the small crypt.) Afterward, talk to Garm at the
Guerrilla Camp again to gain his full support.
To the southeast of the Holdenfort Battlefield Leystone. After the incident at the Mine, there will be new enemy guards in
front of the entrance to this area. Kill these enemies to obtain the Crypt Key. Use it to open the locked gate. Follow the
stairs and the wacky architecture, and enjoy the view. Use the sword at the shrine-like forge to supercharge it
(supercharge not guaranteed).
Crypt:
16
© 2008 IGN Entertainment, Inc.
To the east of the Galcliff Landing Camp. To get there, climb up the cliffs. Use the Dragon Amulet with the Mugin Gem
at the summoning stone (the large circular platform) to summon Kelda. Screaming incoherently to the heavens can
indeed bring about wonders.
By this point, Skarin should be ready to lead the last major battle for this island world. If he's still lugging around any
kegs of mead, he should drop them off with the innkeeper now.
With the North Watchtower freed, with the sword dunked into the forge, with Kelda summoned, and with a sufficient
army ready, use the Battle Horn option on the Map Screen to begin the mass attack.
This battle is pretty much the same as before, except this time a third type of boss is introduced: the giants. These big
ugly suckers are like slower but even tougher versions of the champions, yet the tactics for beating them are similar.
Hack them up as usual first, using the evade maneuver to dodge their pounding and stomping attacks. When a button
icon appears near their bodies, go through three displayed button sequences (one after the other) to punch out their
brains.
As usual, the main targets are the shamans. Kill the champions and the giants to earn dragon runes, which can be used
to sic the dragons (Ari and Kelda) against the shamans to make the fight easier. For the remaining shamans, just go up
to them and butcher them normally. After breaking through the main gates, Skarin can climb onto the wooden platforms
on which the shamans stand to reach them. At the last part, beat up Drakan again. His attacks haven't changed,
although the displayed button sequence at the end is a little more complex.
Once Galcliff is freed, Skarin will learn that his next destination is the home turf of Hel's army. Where's Cormac when
you need him?
At the southeast corner of Isaholm. As with the one back at Galcliff, this camp serves as Skarin's temporary base, where
a shopkeeper and a blacksmith can be found. Available for purchase now are the Level 4 elemental runes, the Health
Advance Stage 4, and the Axe of Odin (another upgraded version of the throwing axe). Again, buy the new treasure
maps.
Talk to Osten, near the portal stones, to learn more about areas of trouble.
Dragon Stones:
Caldberg:
<<
Island World 2: Galcliff
(Part 2)
Island World 3: Isaholm
(Part 1)
Island World 3: Isaholm
(Part 2)
>>
Island World 3: Isaholm (Part 1)
Landing Camp:
17
© 2008 IGN Entertainment, Inc.

To the north of the Landing Camp. Kill the champion at the upper northeast corner, not far from the Ingolf's Quarry
Leystone, to obtain the Quarry Key. Use it to open the locked gate to the fenced-off lot at the northwest, and open the
prisoner cage there. Talk to Ifor the quarry guard, near the cage, to learn that he and his men made the mistake of
consuming the Legion's food and now aren't feeling so hot.
To the west of the Landing Camp, or to the north of the Veittun Leystone. Talk to Im the beekeeper, at her pleasant little
lake home, to obtain the Honey. Give it to Ifor at Ingolf's Quarry to make him and his troopers totally hopped up and just
itching to kill anything in their way. Afterward, talk to Ingolf the quarry master, near the gate of the fenced-off lot, to
obtain the Explosives.
To the west of the Landing Camp and the Veittun Leystone, or to the northeast of the Health Farm Leystone. Kill the
shaman and the champion here. Open the prisoner cage between the buildings. Available for purchase now are Asta's
Special Health Potions. Sounds tasty. Afterward, talk to Kiarr the farmer, near the windmill, to learn about the awful,
soul-rending noises coming from the south.
To the south of Kiarr's Farm. Climb up to the highest ledge of the mountain. Talk to Idona (and Kolm) to obtain the
Ornate Brooch. Give it to Kiarr at his farm to gain his full support.
To the southwest of Kiarr's Farm. This tower's layout is very much like the ones before on Galcliff. Enter through the
front doorway or the basement doorway, and climb up the ladders. There is no shaman on the top level, but Skarin still
needs to kill all the enemies inside as well as the ones outside near the tower to seize control of the area.
To the west of the South Watchtower and the Wassailton Leystone. Open the prisoner cage on the north side, by the
mountain. Talk to Nydi the distiller, near some houses on a high ledge, to learn about the Mega Patrol. Yes, the Mega
Patrol.
To the south of Nydi's Distillery. With Nydi's Distillery freed, and with the Explosives (from the Quarry) acquired, use the
Battle Horn option on the Map Screen to begin the mass attack. The Explosives will be automatically used to blow up
the bridge used by the bad guys. Kill the Mega Patrol (cough), and then talk to Nydi at his distillery to gain his full
support.
To the north of Nydi's Distillery, or to the east of the Distillery Leystone. To get there, follow the slope at the west end of
Nydi's Distillery. Particularly useful are the Slow Rage Level 3 dual chop (Might of Valhalla) and the super jumping chop
(Odin's Doom). The latter move can instantly mutilate regular, unshielded bad guys with a single smiting, plus it looks
really, really funny in action.
Ingolf's Quarry:
Beekeeper Im:
Kiarr's Farm:
Strange Noises:
South Watchtower:
Nydi's Distillery:
Ambush Point:
Arena Cavern:
18
© 2008 IGN Entertainment, Inc.
At the north side of Thornvik. It's stealth time once again. The gates into the town aren't just bolted shut; the lava has cut
a fiery moat before them.
Luckily for Skarin, the broken bits of land to the west and the east provide multiple means of entry. Sneaking in through
either side, carefully work around the buildings and walls. The same old tricks apply. If Skarin automatically draws his
weapon, at least one bad guy has detected him. Either kill off the alerted guards or sit behind cover for a while to get
things to settle down.
Go north past the portal stones (red glow), and cross the crappy-looking wooden bridge connecting to the north half of
Thornvik. Look for the short, blocky tower. Enter it, preferably through the basement doorway. Kill the traitor in the
tower's basement to obtain the Prison Key.
To the northeast of the Wassailton Leystone. To get there, go through the west tunnel entrance near the Mountain
Encampment. Fight through the tunnels, hanging right after entering to reach the locked gate more easily. (The Prison
Cave Leystone is at the alcove near this gate.)
Use the Prison Key to open the locked gate to the inner cave. Cross the wooden bridge over the fiery pit of death. Talk
to Sven, past one of the cell walls, to learn how to help his guys break free. Follow the slope up to the second level. Flip
the lever switch in the break room, at the end of the second level, to open the cells.
Infiltrate Thornvik:
Legion's Prison Cave:
19
© 2008 IGN Entertainment, Inc.

With the previous key areas all freed, and with a sufficient army ready, use the Battle Horn option on the Map Screen to
begin the mass attack. Skarin should really know the drill by now. Waste the giants and the champions to earn dragon
runes, which should then be used to make the dragons obliterate the shamans.
At the first part, use the dragons to fry the shaman on top of the main walls for an easier time. If Skarin runs out of
dragon runes, he will need to sneak into the town like before (entering via the west or east side) and then murder that
shaman normally.
At the last part, Skarin has to help his friendly shaman reclaim the enemy-held portal stones (red glow). Like before, use
the center of the portal stones to help her teleport there, and then make sure nothing funny happens to her while she's at
work.
Skarin moves his base to Thornvik, although the Landing Camp continues to have its own shopkeeper and blacksmith.
Available for purchase now is the Health Advance Stage 5.
Talk to Alfan the chieftain, to the southwest of the portal stones, to obtain the Travel Papers. Give them to Kalf the
guard, at the north gate, to open that gate.
Give Isaholm Mead to Valin the innkeeper, at the beer hall near the south wall, to earn extra cash.
To the north of Thornvik, or to the west of the Lumber Mill Leystone. Kill the shaman and the giant, along with any other
enemies in the way. Open the prisoner cage between the buildings. Talk to Beck the lumber master, to the east of the
cage, to learn that his source of wood is threatened.
To the south of the Lumber Mill. Kill all the enemies in the middle of this forest to obtain the Warband Insignia. Give it to
Beck at the Lumber Mill to gain his full support. By the roof of Yggdrasil, what's with the top of that central bunch of
trees?
To the east of Thornvik. The massive gate is shut tight, and banging against it like some crazed savage won't work.
Instead, go east from the Dragon Stones. Near the Bolthor's Domain Leystone, turn south. Jump across the broken
wooden bridges, and sidle along the narrow ledges. The cliffside path here leads to the top of the walls of the Gateway.
Flip the lever switch on these upper walkways to open the massive gate. To exit, climb down the ladders within the
south section of the wall, and open the door.
Thornvik:
<<
Island World 2: Galcliff
(Part 2)
Island World 3: Isaholm
(Part 1)
Island World 3: Isaholm
(Part 2)
>>
Island World 3: Isaholm (Part 2)
Thornvik Get:
Lumber Mill:
Forest:
Gateway:
20
© 2008 IGN Entertainment, Inc.

To the northeast of the Bridge Leystone (or to the west of the East Tower Leystone). The front door is locked, and the
basement doorway is grated shut. Climb further up the cliffs behind to the east, and cross the wooden bridge connecting
to the tower's fifth level. Open the chest on the top level to obtain the East Tower Cellar Key. Use it to open the locked
door to the basement (from the first level), freeing the prisoners. To exit, go through the front doorway.
To the north of the East Tower. Talk to Asta (who has made it here earlier on her own somehow), by the campfire not far
from the Fellkeep Leystone, to obtain the Shaman Cave Key. It's time to go on a spiritual journey. One with lots of blood
and violence.
To the west of Fellkeep. From the south gate of Fellkeep, go down the slopes to the shallow lake at the bottom. Free the
prisoner trio along the way, and kill the giant and the other enemies there. Use the Shaman Cave Key to open the
locked door at the end of the shallow lake. Open the chest inside the cave to obtain the Sacred Herbs. Talk to Asta at
Fellkeep for additional details.
To the southwest of Fellkeep. From the south gate of Fellkeep, follow the high hills to the southwest first. Go past the
Helhola Leystone, and enter the cave leading up north. Fight through the tunnels. Use the Sacred Herbs at the stone
pedestal, at the bottom end of the cave (with the cool-looking statue nearby), to learn more about the giants. Talk to
Asta at Fellkeep for additional details.
To the southwest of Fellkeep. Go through the west gate of Fellkeep, to the high plateau. (Grundi the guard will allow
Skarin to pass there after he completes his brief spiritual journey.) Enter through one of the tunnels from the north side
of the mountains.
A shaman guards a locked gate on the second level. After kicking his ass, ignore the gate for the meantime, and
continue along the high path. Open the chest at the very end of this high path to obtain the Cave Gate Key. Use it to
open the locked gate. Follow the path leading deeper down into the cave, and kill the giant and the other enemies at the
bottom chamber. Open the chest on the stone dragon arm, over the lava pool, to obtain the Mjolnir Gem (which
completes the Dragon Amulet).
East Tower:
Fellkeep:
Shaman's Cave:
Cave (Ritual Flame):
Cave (Dragon Gem):
21
© 2008 IGN Entertainment, Inc.
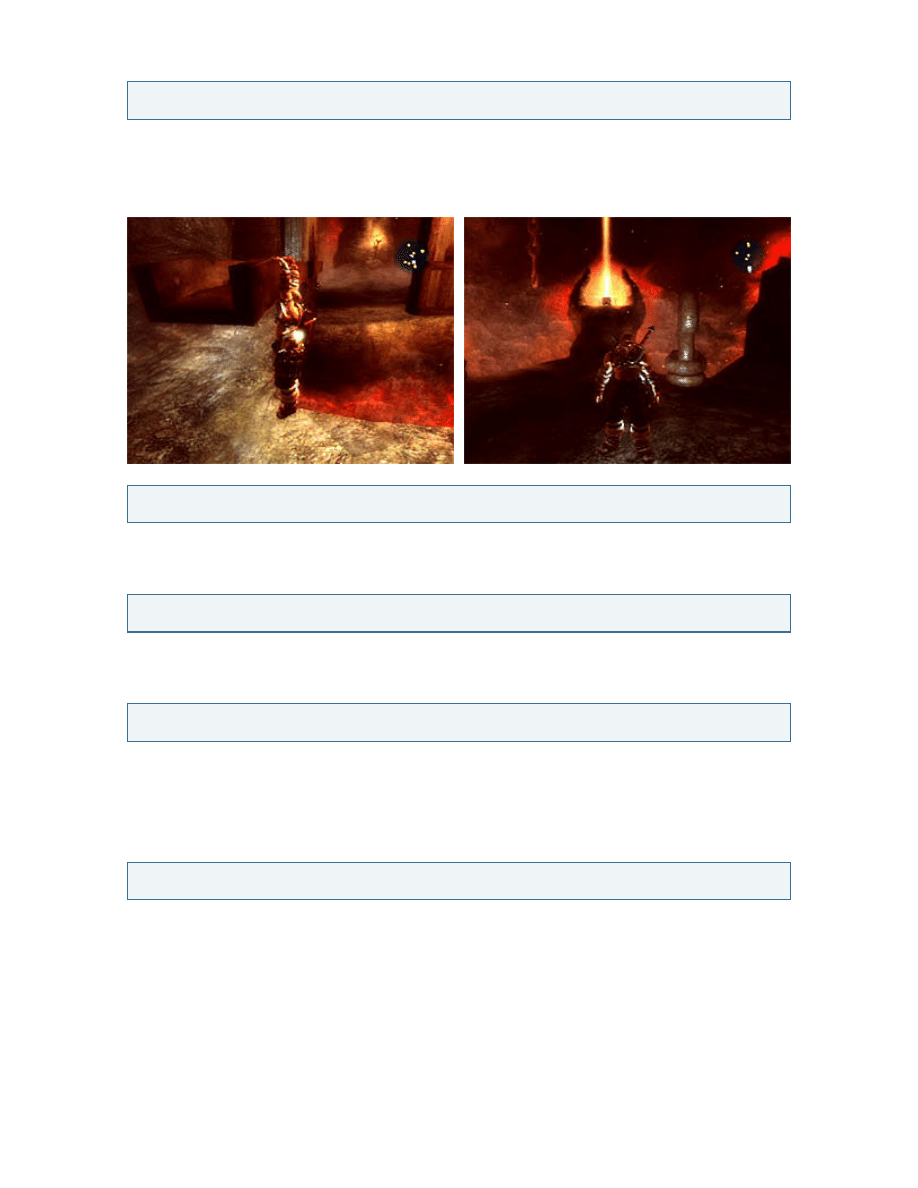
To the west of Fellkeep and the North Camp Leystone. Fight down into the pit. At the bottom level, look for a partially
open doorway in front of a lava pit. Sidle along the red beams connected to the open door. Use the sword at the forge,
on the stone dragon arm, to supercharge it. Man, what a rip. To exit, use the Jotunheim Leystone at the top of the giant
winding stairs.
To the southwest of the Giant's Forge. Open the prisoner cage by the cliffs. Talk to Kuan, near the cage, to learn about
another viking traitor, Kalgrim. It's going to suck to be that man in about two minutes.
To the southeast of Kuan's Camp. Kill Kalgrim, near the short towers, to obtain the Traitor's Shield. Give it to Kuan to
gain his full support.
To the southeast of the Lumber Mill and the Lumber Mill Leystone. Use the Dragon Amulet with the Mjolnir Gem at the
summoning stone (the large circular platform) to summon Bolthor. Incoherent viking screaming seizures rock.
By this point, Skarin should be ready to lead the last major battle for this island world. Now is a good time to pick up any
remaining special attacks and other upgrades.
At the center of the north half of Isaholm. With the sword dunked into another forge, with Bolthor summoned, and with a
sufficient army ready, use the Battle Horn option on the Map Screen to begin the mass attack. Things here should be
nothing that Skarin can't handle.
At the first part, focus on killing the shamans on the short towers. (Asta and the other friendly shamans may also take
over those towers once they are cleared of enemies.) After breaching the outer wall, there will be three giants.
Interestingly enough, the dragons can nuke these giants in this battle. Skarin might as well have them do so, if he has
collected enough dragon runes, because this is the last time the dragons can be used. At the third part, fight up the
stairs to the enemy-held portal stones (red glow). Like before, use the center of the portal stones to help Asta teleport
there, and help keep her hide free of rusty metal blades and other sharp pointy things while she seizes control of the
portal stones.
Giant's Forge:
Camp (Kuan's Camp):
Turncoat's Location:
Dragon Stones:
Hel's Fortress:
22
© 2008 IGN Entertainment, Inc.
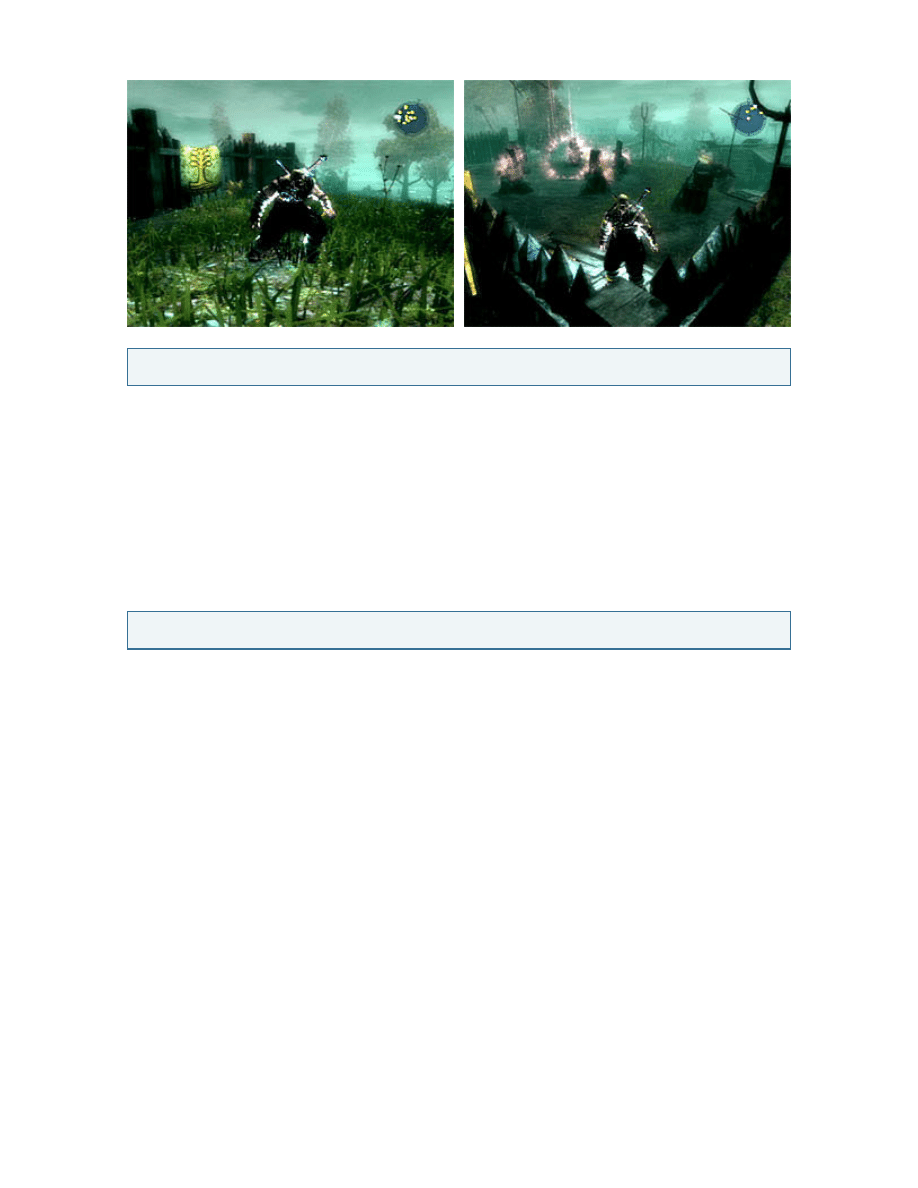
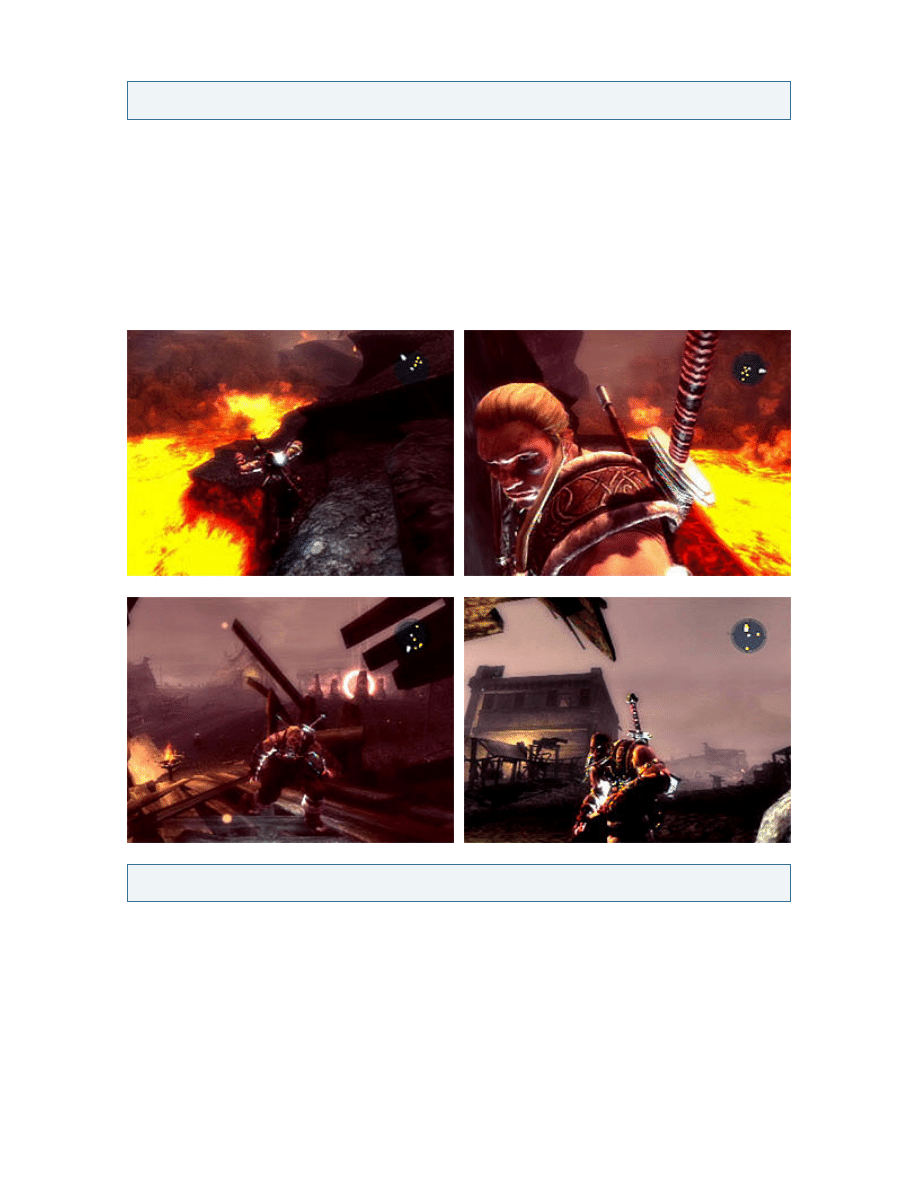
However, reclaiming the portal stones won't end the battle yet. Skarin now must fight alone through the fortress proper.
As he moves up along the stairs and corridors, there will be several enemies. For the ones who teleport into the place,
he can actually perform stealth attacks against them while they're still materializing. Kill a shaman, a champion, and then
another shaman to eliminate the flame barriers that bar the path. Go to Hel at the top level.
At the first part of the battle against Hel, she behaves like a super shaman. She doesn't directly attack Skarin, but she
will keep generating a flood of regular bad guys, all the while covering herself and sectioning off the floor with flesh-
burning walls of flame. Ignore Hel for now, and focus on destroying the four small pillars, one in each quadrant of the
room, while fighting off her thugs. The flame barriers will temporarily vanish after a while, though not always together.
This is the most challenging scene, and the key lies in withstanding the onslaught of enemies. Don't be afraid to kill off
any henchmen first if they're getting in the way. The flame walls will hurt the bad guys, too, but try to personally deliver
the killing blow against them, so they might drop life-boosting green energy. Use everything, from elemental magic to
cheap special attacks (for instance, the super jumping chop) to survive. After all four pillars are gone, continue fighting
until Hel switches plans.
At the second part of the battle against Hel, she manifests herself as a big, ugly giant. Luckily, this monster is no
Midgardsorm, and things here are way easier compared to the previous scene. As with the earlier giants, hack her up
with the usual attacks first, using the evade maneuver to avoid the returning blows, and then go through the displayed
button sequences, which are only a little more complex than before. If Skarin gets knocked away, he should waste the
regular bad guys who show up and then resume with the displayed button sequences.
If Skarin defeats Hel, congratulations on finishing the game, and enjoy the ending. Maybe now Skarin can finally go
home and take a nap.
23
© 2008 IGN Entertainment, Inc.
Wyszukiwarka
Podobne podstrony:
WWE Smackdown vs RAW 2009 IGN Insiders Guide
Pure Developer Guide IGN Insiders Guide
Far Cry 2 IGN Insiders Guide
Rock Band IGN Insiders Guide
The Beatles Rockband IGN Insiders Guide
TNA Impact IGN Insiders Guide
Tiger Woods PGA Tour 09 IGN Insiders Guide
Mercenaries 2 IGN Insiders Guide
NBA Live 09 IGN Insiders Guide
WWE Legends of Wrestlemania IGN Insiders Guide
NHL 09 IGN Insiders Guide
Guitar Hero 5 IGN Insiders Guide
Fight Night Round 4 IGN Insiders Guide
Guitar Hero Metallica IGN Insiders Guide
For Dummies Visual Studio NET C++ for Dummies Quick Reference Guide
08 Battle for the Abyss
Faulkes, WHAT WAS VIKING POETRY FOR
Osprey Men at Arms 133 Battle For The Falklands (1) Land Forces
więcej podobnych podstron