
README (MEC_P0.31.K1.b6)
Warning :
All data in the hard disk will be erased after F/W update, please transfer all
recorded media to Multi Media Disk(FAT32 partition) and back up whole
Multi Media Disk through USB connection.
Change List
1. Add new icons at main menu for File Copy and Schedule Record functions.
2. Add preview on/off and HD off/720p/1080i in Setup menu.
3. Support ISO file, DVD Navigation and SUB/SMI/SSA subtitle.
4. More than one shortcut can be added in My Shortcuts list.
5. Supports Playlist.
6. Add browse ALL in Browser menu
7. Optional record device : FAT32 partition or USB device but remove all Playback
menu.
8. Supports NTFS partition (read only) which allows file size more than 4GB.
9. Supports bundled WiFi dongle only.
Note : The partition structure is complete different compare with previous
versions. It will only create FAT32 and NTFS two partitions when you
have a brand new hard disk (without any valid partition).
If the hard disk is used for previous firmware version, then only the FAT32
partition can be recreated into two partitions, FAT32 and NTFS. The
original record disc will be unaccessible and space will be wasted.
To maximize usability of all hard disk space, delete all current partition by
PC before firmware update would be recommended.

Firmware Update procedure
1. Unzip downloaded firmware to a USB flash drive. (Make sure unzipped files are all
saved at root directory)
2. Unplug power cord of ME1 and then plug in USB flash drive to ME1’s USB port.
3. Plug in power cord back and press power button immediately for at
least 5 seconds, LED should be in orange color.
4. System Loading screen will show up first, and then Install Begin !
will show up after 20-30 seconds(The time is depends on the USB
flash drive performance).
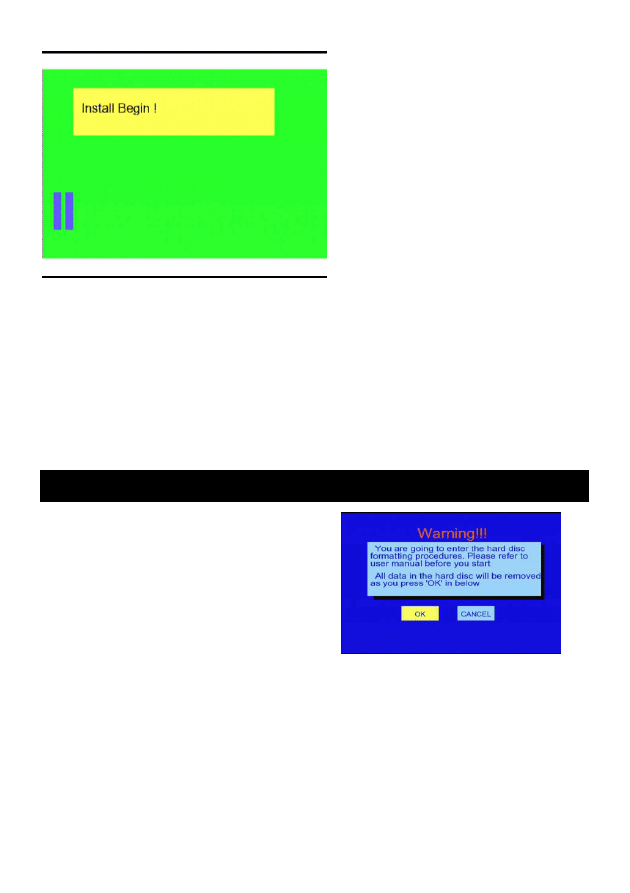
5. Wait until Installed Completed, system will restart automatically.
Note : Firmware update is not equal to initializing HDD, all data storage in HDD remains
the same after firmware update.
Getting started
Turn on TV and ME1.
If TV can’t display correctly, press
RESOLUTION key to change the video
output resolution.
Initializing the HDD
In the first time using ME1, you should
initialize the HDD of ME1 after a new
HDD is installed
Please follow the on-screen procedure to
initialize the HDD.
Select [OK] to confirm the process.

Step 1: FAT32 and NTFS Partitioning
You can format the HDD into 2 partitions
with different formats, FAT32 and NTFS.
FAT32 partition will be used for recording
and media storage. NTFS partition can
only be written from a PC which connects
with ME1 through USB device port.
Step 2: Start the format process.
Once you confirm all the previous
adjustment, select [Format] to start the
process.
Warning:
Once ME1 start formatting, all the
data in HDD will be destroyed.
Initial setup
Once the HDD is initialized, you can start
the ME1 initial setup process.
Note:
ME1 can operate without HDD
installed.
Enter Setup menu from the Top Menu.
Figure: Top Menu
Enter Video setup to change the setting to
match your TV specification.
You can press
,
,
,
key to select a
setting, and press ENTER to change
setting.
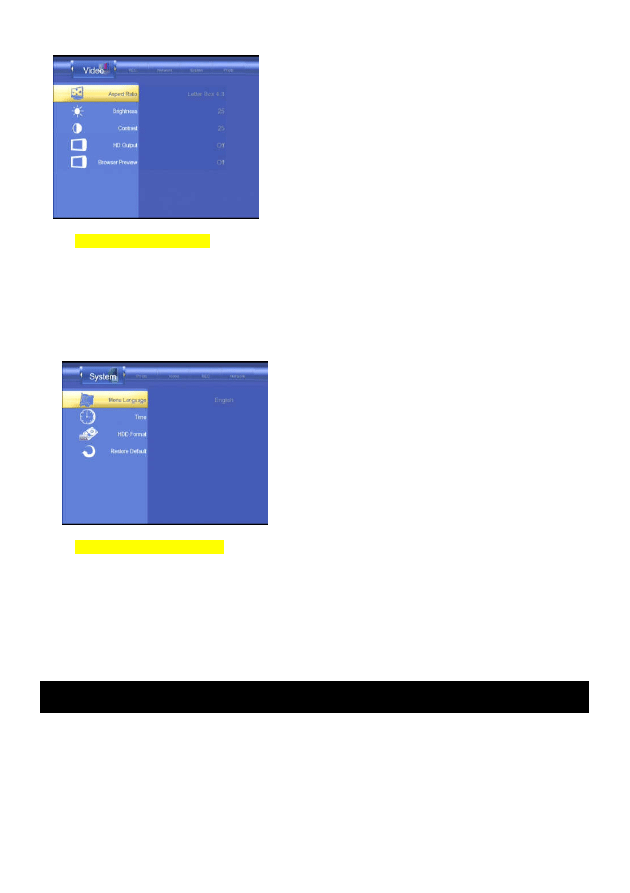
Figure: Video setup menu
Enter System setup to select the Menu
Language, and set Time.
Figure: System setup menu
Note:
Please refer to "Advanced
Operation" chapter in the
manual on Setup procedure.
The Time setting can only
last for some time after the
AC power cord is unplugged.
Basic operation
A. NET
Select [NET] icon and press
ENTER key to browse the shared
folder of other PC in the LAN.
Press
,
key to select media
type. Press
,
key to select a
PC in the LAN, and press ENTER
key to connect. Then press
,
key to select the folder and press
ENTER key to open the folder.

Note:
You have to set the connect
network
parameters
on
Network setup menu before
you can browse from the NET.
When the devices list is
shown, there will be a /My
shortcuts/ item listed. /My
shortcuts/ can store IP address
of the frequently used network
device. Select /My shortcuts/
and press ENTER key to list all
the IP addresses defined in /My
shortcuts/.
Press REC key, a dialog box will be
shown. You can Add, Rename,
and Delete an IP address.
Note:
You need to check the IP
address of the networked
device, which you would like
to browse.
Select Add to add an IP address.
A dialog box will be shown as
follow.
After input all the data, press
ENTER key to confirm and save the
shortcut.
B. Play List
Select [Play list] in browse mode
and press ENTER key to playback
the pre-built list of favorite music or
photo shortcuts.
Note:
To add a music or photo file into
Playlist, press number 3 key to
select files or folder in HDD browse
mode, then press 6 to add the
selected files into the play list.
III. Preparing for recording
When you are watching TV or Video, you
can press REC key to record the video.
(Please refer to Watching TV/Video section
in the manual)

You can change the record quality, edit
schedule for scheduled record,
.
Schedule Record
Select Schedule Rec icon and press
ENTER to enter Schedule list mode. The
operation bar is shown on the top of the
screen. Press
,
key to select an
operation, which will be highlighted on the
leftmost of the bar. Press ENTER to
apply the operation.
Edit a schedule
You can add or edit a schedule for
recording. Select the "Add a new
schedule" item or an exist schedule to
add
or
edit
the
schedule.
The
schedule-editing screen will be shown.
The editing box is shown on the bottom.
The information of available HDD space is
shown on the left.
A recording source will be shown on a
viewing window.
Press
,
key to move to a field, press
,
key to change value of the field.
You can record the video to a USB storage
device, Select the USB in Device field.
Note:
To record video into an USB storage
device, the device should be formatted in
FAT32.
You can select different type of
repeating for recording.
Press ENTER to complete the editing.
A confirm dialog box will be popped up.
Delete schedule
You can delete the selected schedule
or delete all the schedules.
Status : Change the schedule
status
Once
Record Once
Everyday
Record everyday
Mon-Fri
Monday through Friday
Mon-Sat
Monday through
Saturday
Sun
Every Sunday
Mon
Every Monday
Tue
Every Tuesday
Wed
Every Wednesday
Thu
Every Thursday
Fri
Every Friday
Sat
Every Saturday

There are 2 choices.
a. Enable the timer by user's setting
Enable the selected schedule.
b. Pause the selected schedule
Pause the selected schedule
Press RETURN to return to the
schedule list menu.
History: log of recording history
ME1 will log the result of all the
schedule recording activity. You can
select an entry and press ENTER to
delete the entry.
Press RETURN to return to schedule
list menu.
The recorded video will be stored
in the folder, HDD1 / My
Recordings.
To play the recording file, please
browse / HDD / HDD1 / My
Recordings and select the file to
play.
The files operation, please refer
to the section “Browser”.
IV. Copying files
You can copy files from an USB storage
device or a networked device to HDD of
ME1 or copy files in HDD to an USB device.
You can also delete folders and files in
HDD or USB device.
Please follow the steps described.
1.
Select a source device, either
USB device, HDD, or NET device.
Press
key to move to
destination device selection box.
2.
Select a destination device.
The device can be USB, HDD, or
RECYCLE..
If you select [RECYCLE], you will
delete the selected file and folder.
Press
to move to next page.
3.
Press
,
keys to choose a
folder or file in the source device.
Use ENTER key to open a folder.
Use REC key to select all the files
and folders to be copied. Press
REC key again to cancel the
selection. If there is a file or
folder with same name in the
destination
device,
an

"Overwrite ?" dialog box will be
popped up. Select [Confirm] to
overwrite. Up to 8 items can be
selected at a time.
Press
to move to destination
device box. If you select [Delete]
in step2, then a "Proceed to
delete selected files" dialog will be
popped up. Press
,
keys to
confirm.
4.
Select the folder to be copied to.
Use ENTER key to open a folder.
Select <NEW DIRECTORY >, you
can create a sub folder in the
folder.
Press
to move to confirmation
dialog box.
5.
Select [Confirm] to proceed, or
select [Cancel] to abort. When
copy is started, a "Proceeding"
indication is shown on the top of
the screen.
Note:
ME1 can only write to an
USB storage device with
FAT32 format.
The limit of the file size for
HDD1 and USB (FAT32
system) is 4GB.
To copy a file which is
greater than 4GB, please
copy the file to HDD2
(NTFS system) of ME1
through
USB
device
connection.
HDD2 is read-only except
linking to PC as an USB
storage device.
To backup important files
in another storage device
is suggested.

Advanced operation
I.
Playing DVD files
Back up a DVD video Disc into a folder in
HDD, USB or NET storage device.
Note:
Some DVD Discs can not be
copied because of copy
protection.
The
backup
operation must obey your
local
raw
of
copyright.
Please do not copy or
distribute
media
with
copyright.
Browse the folder and open the video_ts
subfolder.Play the video_ts.ifo file. Usually,
the video_ts.ifo is the first file in the
subfolder. The menu of the DVD video
will be shown, you can use the remote
control to navigate the DVD video.
Navigation functions
A.
AUDIO selection by press the
number key 4
Select different audio or language
setting.
B.
SUBTITLE selection by press the
number key 5
Select a subtitle.
C.
ANGLE selection by press the
number key 7
Select a viewing angle
D.
BOOKMARK SET by press the
number key 3
Set a bookmark.
E.
BOOKMARK GOTO by press the
number key 6
Go to the bookmark.
F.
TITLE by press the number key 1
Go to Menu of the DVD video
G.
GOTO by press number key 2
Press the number key 2, a
Playback Search dialog box will be
popped up. Use
,
arrow key to
select Title, Chapter, or Time
setting. Press ENTER to start
Title/Chapter/Time input. You
can use
,
arrow key or digits
key to change the value. Press
ENTER again, the display will jump
to the specified Title/Chapter/Time.
Press RETURN key, the dialog box
will be closed.
II.
Setup
1. HD Output
Select a HD resolution for video
output when playing Photo and
Video files.
2. Browser Preview
You can turn the preview
function
on
or
off,
when
browsing multimedia files.
B. Record setup
1. Quality
Change the recording quality.
There are 5 different types of
recording quality to be chosen,
HQ, SP, LP, EP, and SLP.
Different quality affects the file
size of the recorded video.
2. REC Device : HDD or USB.
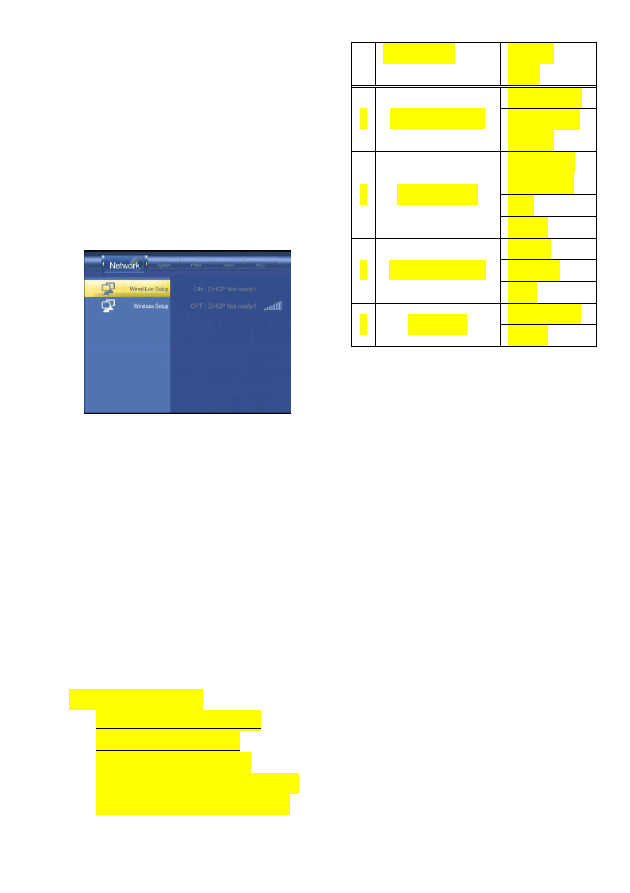
C. Network setup
1. Wired LAN Setup
Select
AUTO
(DHCP),
or
MANUAL according to your LAN
configuration. If your LAN
supports DHCP function, you can
select AUTO (DHCP) setting.
ME1 will get the IP address
automatically.
Otherwise, you have to select
MANUAL and set the IP Address,
Subnet
Mask,
and
Default
Gateway parameters manually.
2. Wireless Setup
( *.Options if bundled USB
wireless dongle plug-in)
Select CONNECT for the
previous setting, or MODIFY your
setting per the instruction items.
Setting Items
Options
select
Infrastructure
1
Connection Mode
Peer to Peer
(AdHoc)
Previous ID
(If available)
Auto
2
Wireless SSID
Manual
Keyless
WEP key
3
Wireless Security
WPA
Auto (DHCP)
4
IP Address
Manual
Wyszukiwarka
Podobne podstrony:
CBR600 F4i 01 03 Service Manual English
KPRE cerq manual english pdf id 741579
Manual English
Manual English
Manual English
Navibe GB732 GB233 GB633 manual English
SCUBAPRO Dry Suit Manual [english, spanish, german, french]
CBR600 F4i 01 03 Service Manual English
AVC IntraEncoder for Compressor install manual English 2
MI ODI O add on card manual English
Installation Manual ENGLISH 2GEN, Vers 1 2
Mastech MS5908 english manual
4CH 8CH ENGLISH MANUAL(v1
16 CH ENGLISH MANUAL(v1 0)
Manual of Savate and English Boxing the Leboucher Method
J750 USB Downloader Manual for English
TK200 English manual 20150206
więcej podobnych podstron