47

8EAOED AMULET PURSE5 • APPENDIX A 47
Tubular Lattice Netting
Used in Project Three
Tubular lattice netting results in an open-work bead fab-ric. A new row is woven by taking the needle through a bead of the previous row at regular intervals. This tech-nique is usually worked over multiples of four, so the total number of beads in the base strand should be at least 40 and divisible by four.
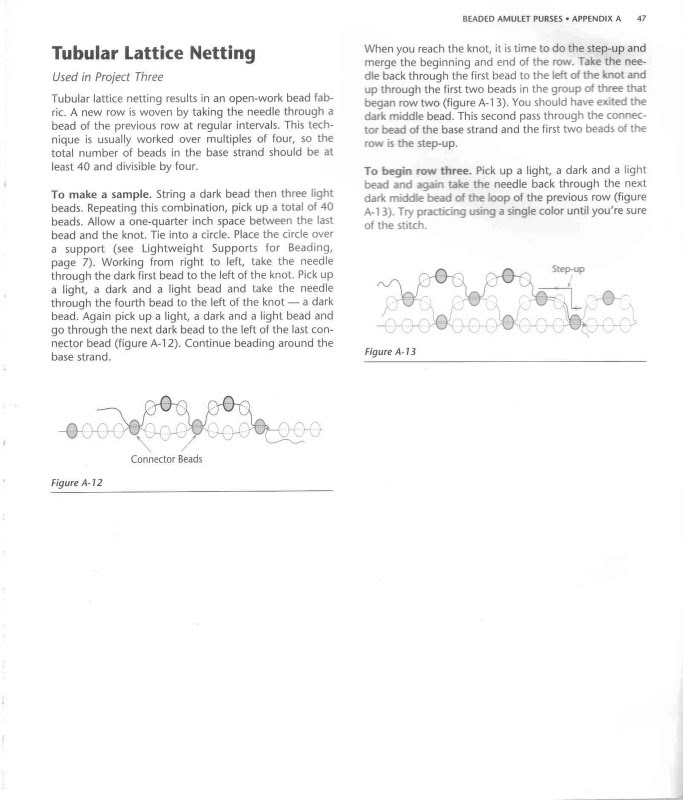
To make a sample. String a dark bead then three light beads. Repeating this combination, pick up a total of 40 beads. Allow a one-quarter inch space between the last bead and the knot. Tie into a circle. Place the circle over a support (see Lightweight Supports for Beading, page 7). Working from right to left, take the needle through the dark first bead to the left of the knot. Pick up a light, a dark and a light bead and take the needle through the fourth bead to the left of the knot — a dark bead. Again pick up a light, a dark and a light bead and go through the next dark bead to the left of the last con-nector bead (figurę A-12). Continue beading around the base strand.
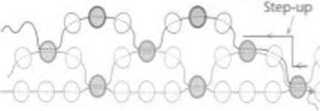
When you reach the knot, it is time to do the step-up and merge the boginning and end of the row. Take the needle back through the first bead to the left of the knot and up through the first two beads in the group of three that began row two (figurę A- l 3). You should have exited the dark middle bead. This second pass through the connec-tor bead of the base strand and the first two beads of the row is the step-up.
To begin row three. Pick up a light, a dark and a light bead and again take the needle back through the next dark middle bead of the loop of the previous row (figurę A-l 3). Try practicing using a single color unlil you're surę
of the stitch.


Figurę A-J3

Connector Beads
Figurę A-12
i
Wyszukiwarka
Podobne podstrony:
APPEMMK A • BEADED AMULET PURSESTubular Peyote Stitch —Even Count Used in Projects One, Four and
Bf ADI.D AMULET PURSES • APPENDIX A SISingle-needle,Right-angle WeaveDecreasing at the sides Used in
BŁADEO AMULET PURSES • APPENDIX A 49 Figurę A■ 17. Starting a nev/ row with an odd number of squares
BEADED AMULET PURSES • APPENDIX A 43Appendix ABeading Technigues Figurę A-la&b. The thread gaps
BEADED AMULET PURSES • APPENDIX A 45 BEADED AMULET PURSES • APPENDIX A 45 Figurę A-8 Figurę A-6a &am
str (76) APPENDIX A GLOSSARY OF RHEOLOGICAL TERMS The exact defmition of many of the terms used in t
BEADED AMULET PURSES • APPENDIX Et SSTo begin single-needle, right-angle weave Tie the base strand i
BEADED AMULET PURSES • APPENDIX B 57How to read even-count tubular peyote graphs The tubular peyote
więcej podobnych podstron