User Manual
v1.0
espertone
neochip
neochip

Manual: Julian G Harding
The information in this document is subject to change without notice and
does not represent a commitment on the part of Espertone Media.
Espertone will not be liable for any damages arising from the use of
Neochip.
The software described by this document is subject to a License
Agreement and may not be copied to other media.
No part of this publication may be copied, reproduced or otherwise
transmitted or recorded, for any purpose, without prior written permission
by Espertone.
All product and company names are ™ or ® trademarks of their
respective owners.
© Espertone Media 2007
All rights reserved.

neochip
neochip
Table of Contents
1. Welcome to Neochip .............................................................. 4
2. Installation ............................................................................ 5
3. Oscillator Overview ............................................................... 5
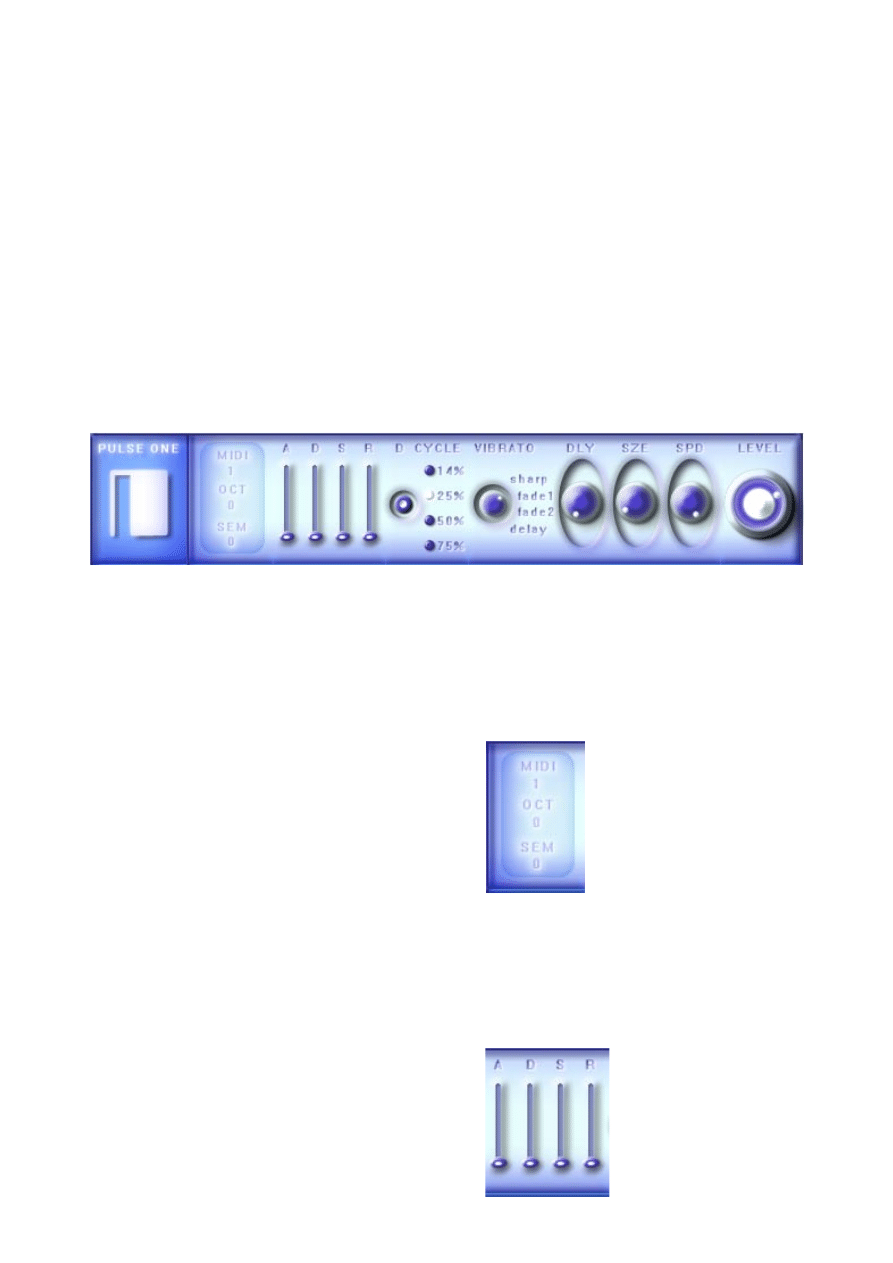
3.1. The PULSE Oscillators ..................................................... 5
3.1.1. MIDI, OCT, & SEM ................................................. 5
3.1.2. ADSR .................................................................. 5
3.1.3. D CYCLE .............................................................. 6
3.1.4. VIBRATO, DLY, SZE, & SPD ..................................... 6
3.1.5. LVL ..................................................................... 7
3.2. The TRIANGLE Oscillator .................................................. 7
3.2.1. CUT .................................................................... 7
4. The MASTER Channel ............................................................. 8
4.1. Master Controls .............................................................. 8
4.1.1. CUT .................................................................... 8
4.1.2. BOOST ................................................................ 8
4.1.3. REVERB ............................................................... 8
4.1.4. MONO ................................................................. 9
4.1.5. LO-FI .................................................................. 10
4.1.6. DELAY, TIME, FBK ................................................. 10
4.1.7. LVL ..................................................................... 10
4.1.8. ESPERTONE ......................................................... 11
5. Tips & Tricks ..........................................................................
5.1. AUTHENTIC MODE .......................................................... 13
6. Version History ......................................................................
6.1. Reporting Issues ............................................................. 15
Credits & Links ...........................................................................
-3-
12
16
14

1. Welcome to Neochip
Welcome to the Neochip User Manual.
If you are experienced with synthesis, or can’t wait to get
started, you can get a quick overview by skimming through this
text reading only that which is highlighted blue.
However if you are relatively new to synthesis, or a little unsure of how to
use Neochip, please read on!
Neochip is a freeware, 3 oscillator subtractive synthesiser based on the
sound characteristics of Nintendo’s™ Nintendo Entertainment System™.
The sound in the console was produced by a chip codenamed 2A03.
Neochip is capable of reproducing authentis 2A03 style sounds, as well
as using the capabilities of the chip as a starting point for creative sound
design.
The Nintendo Entertainment System™ has given us some of the finest
console music of all time, from composer Koji Kondo’s timeless melodies
in Nintendo’s 1985 classic Super Mario Brothers™, to Hirokazu Tanaka’s
the dark and forboding soundscapes, which accompany Samus Aran’s
spacebound adventures in Metroid™ (1986). Neochip translates some of
the distinctive sounds of the NES chip to VSTi format, and allows users of
Windows VST compatable hosts to enjoy these distinctive and evocative
timbres, as well as a few extras.
Neochip emulates 3 of the Nintendo Entertainment System’s™ 5 sound
channels: 2 Pulse Waveforms with 4 mode fixed percentage duty cycle,
and one triangle waveform. These Waveforms are switchable bit-crushed
to a fixed bit depth and sample rate. Neochip does not emulate the 2A03
random frequency noise channel, or the PCM Sample player channel.
The Master channel contains a Master low pass Cut, a fixed frequency Boost
section, a Reverb mix knob, and an analogue style un synchronised Delay.
These effects allow the user to create pleasing timbres on the front panel,
without having to chain plugins in the host sequencer. The user can also
access a preset list via your host, containing a number of presets which will
help you to get started making great Neochip sounds.
Whether you want traditional NES stlye sounds, deep bass, blazing leads,
or future-retro chiptune textures, Neochip is the synth for you.
-4-
2. Installation
Neochip only functions withit Microsoft Windows. Remove any previous
versions of Neochip, and unpack ‘Espertone Neochip v1.0.zip’ to your VST
plugin directory (ie. C://VstPlugins) and refresh your host. Users of Image
Line’s™ FL Stidio™ should un-check ‘Reset Plugins on Transport’ in their
General settings tab for better response.
3. Oscillator Overview
3.1. The PULSE Oscillators
3.1.1. MIDI, OCT, & SEM
The first section allows the user to set the MIDI input channel for the
oscillator, as well as the pitch output relative to the pitch recieved by
Neochip. Click on these numbers to cycle through the possible options:
3.1.2. ADSR
Next in line is the ADSR Volume Envelope. Drag the 4 sliders control the
Attack, Decay, Sustain, & Release curve of each oscillator.
MIDI CHANNEL:
1 to 16
OCTAVE:
-2 to +3
SEMITONE:
-11 to +11
USE THE ADSR EVELOPE TO
CONTROL THE VOLUME OF A
NOTE OVER TIME.
-5-
USE THE D CYCLE BUTTON
TO SELECT AVAILABLE PULSE
WIDTHS.
SELECT THE ONSET STYLE OF
VIBRATO BY ROTATING THE
SELECTOR KNOB.
DLY, SZE & SPD CONTROL THE
DELAY, SIZE, & SPEED OF THE
VIBRATO EFFECT.
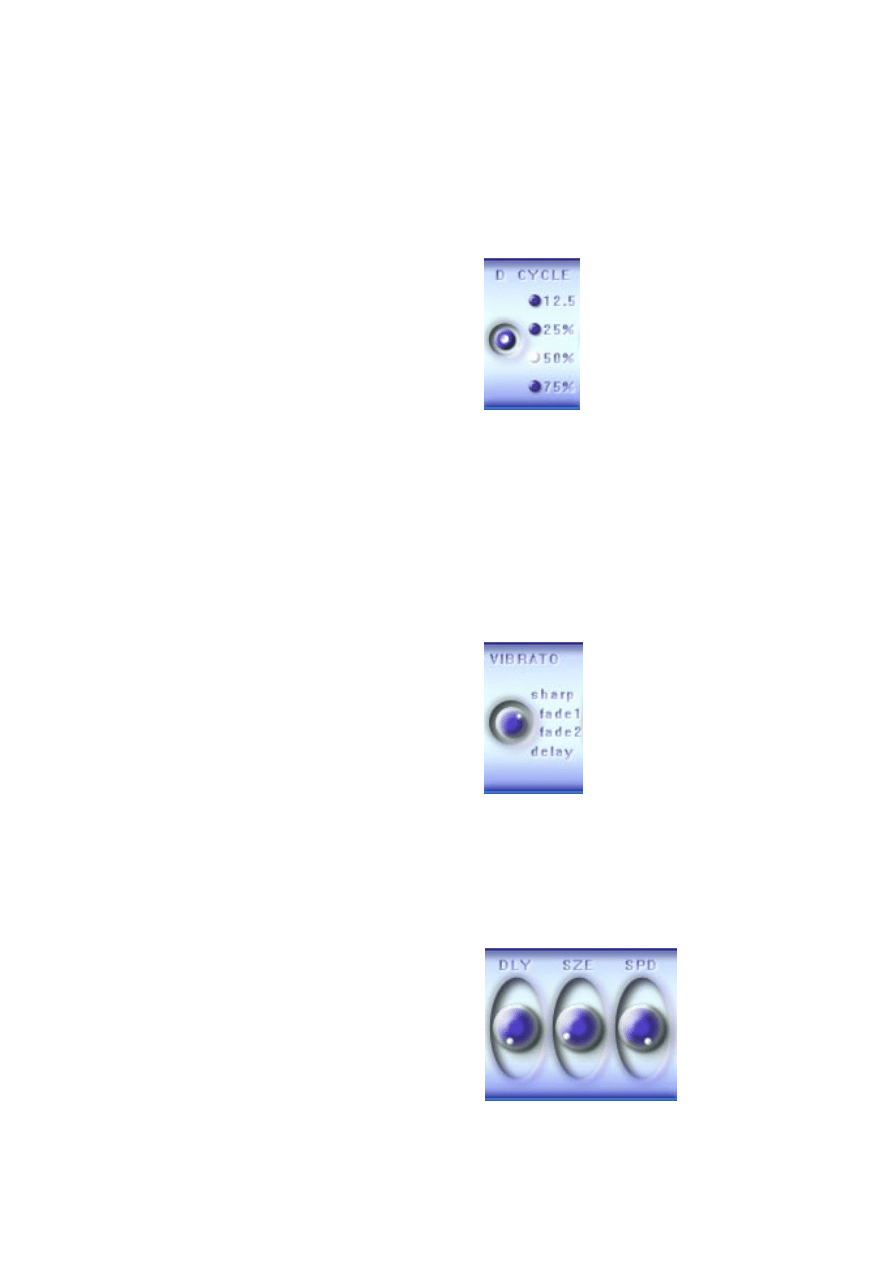
3.1.3. D CYCLE
The D CYCLE control selects from the four Duty Cycle, or ‘Pulse Width’
modes which were produced by the 2A03 chip. Each has it’s own distinctive
sound, though 75% sounds identical to 25% when played alone, as it is a
signal of inverted phase. To cycle through the available options, press the
small button located in the recess under D CYCLE.
3.1.4. VIBRATO - DLY, SZE, & SPD
The VIBRATO controls allow the user to add delayed onset vibrato to each
Oscillator. Rotate the small selector switch to choose how the vibrato
begins: Sharp for instant Vibrato, Fade 1 & 2 for smooth onset, and Delay
for sharp but delayed onset.
The DLY knob controls how long the Vibrato takes to sound, timed from
when the note begins. The SZE knob determines the Size of the vibrato in
pitch, and finally the SPD knob determines how fast the pitch oscillates.
-6-
3.1.5. LVL
Finally, the LVL knob controls the output volume of the oscillator, use it to
balance the output of each oscillator.
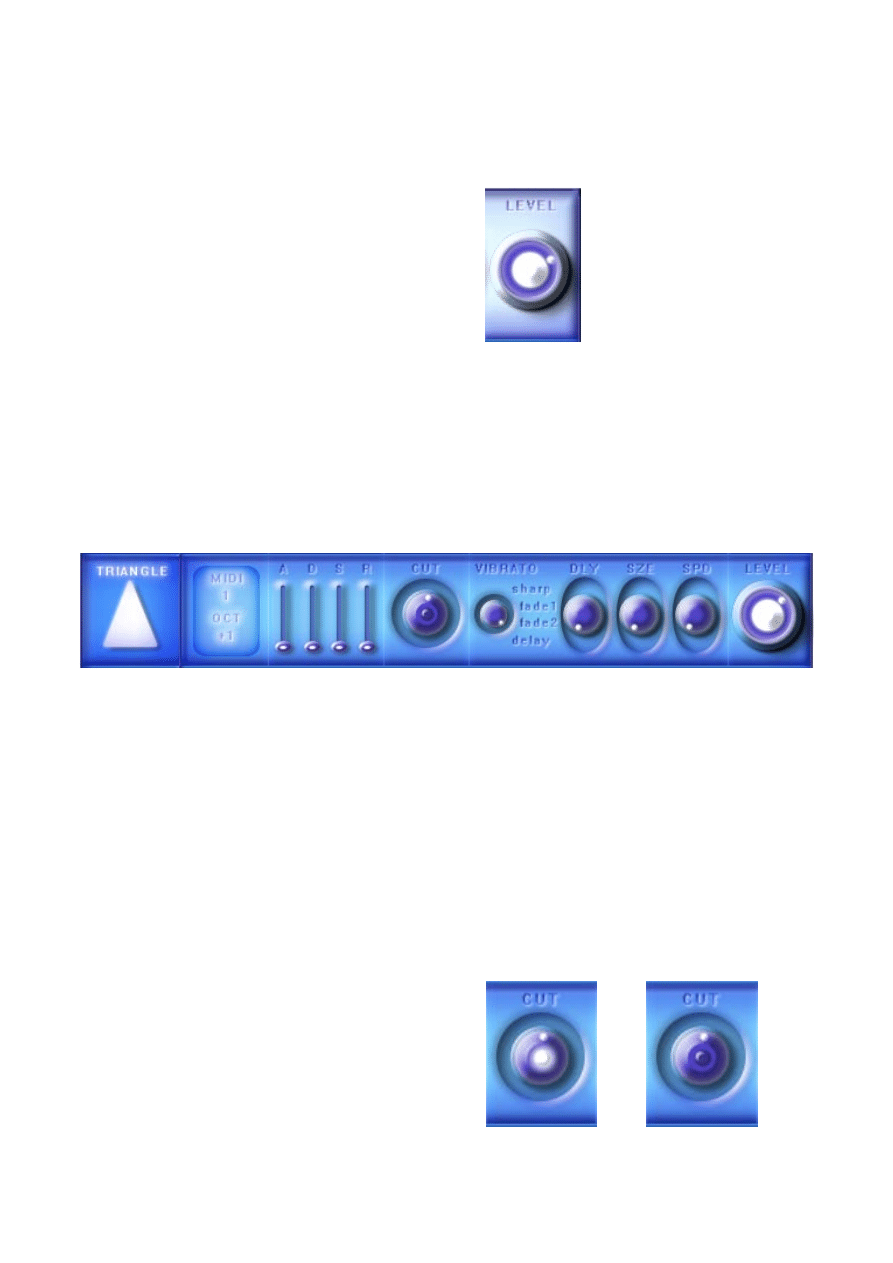
3.2. The TRIANGLE Oscillator
Neochip’s triangle oscillator functions in an identical way to the Pulse
Oscillators, except that it always outputs a Triangle shaped waveform, has
no SEM control, and replaces the D CYCLE selector with a CUT knob.
3.2.1. CUT
The CUT knob controls a low pass filter dedicated to the Triangle
oscillator. This filter removes high frequencies as it is turned anti-clockwise
This allows for delicate layering of the triangle timbre beneath the two
Pulse oscillators, creating interesting sonic textures.
The cut circuit can be switched on and off by pressing the button in the
centre of the knob. To rotate the knob, click on the edge and drag up or
down.
USE THE LVL KNOB TO BALANCE
THE OUTPUT OF THE DIFFERENT
OSCILLATORS
THE CUT KNOB CONTROLS
A LOWPASS FILTER FOR THE
TRIANGLE WAVE ONLY. CLICK
THE CENTRE TO SWITCH IT ON
AND OFF.
OFF
ON
-7-
4. The MASTER Channel
Neochip’s Master channel allows the user to apply a variety of effects to
the signals produced by the oscillators, shaping the sound beyond the
capabilities of the 2A03 chip. Each effect can be applied to any degree, or
switched off altogether for a more authentic sound.
4.1. Master Controls
4.1.1. CUT
The CUT knob controls a low pass filter dedicated to the whole output of
Neochip. This filter removes high frequencies as it is turned anti-clockwise,
perfect if your sound is a little too harsh.
The cut circuit can be switched on and off by pressing the button in the
centre of the knob. To rotate the knob, click on the edge and drag up or
down.
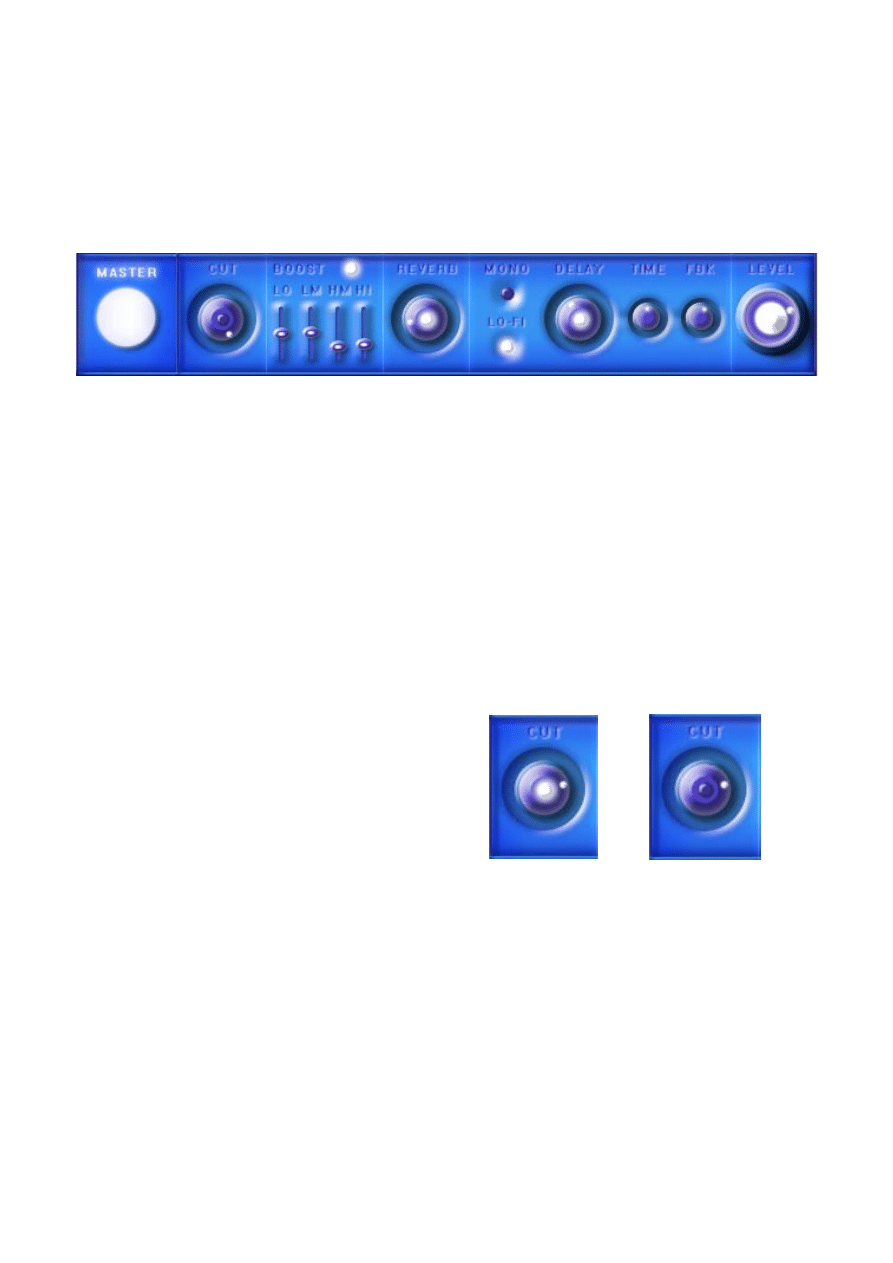
4.1.2. BOOST
The BOOST section of Neochip allows the user to control the frequency
content of a sound by boosting preset bands. Dragging the sliders upwards
boosts the corresponding band by a number of decibels. The BOOST func-
tion can be used to introduce distortion at high slider levels, especially
when boosting the LO band and playing notes in a low octave.
The bands are:
LO <150Hz low shelf
LM 300Hz broad peak
HM 1.5kHz broad peak HI 3.5kHz high shelf
THE CUT KNOB CONTROLS
A LOWPASS FILTER FOR THE
MAIN OUTPUT. CLICK THE
CENTRE TO SWITCH IT ON AND
OFF.
OFF
ON
-8-
YOU CAN BOOST A PARTICULAR
FREQUENCY BAND BY DRAG-
GING
THE
CORRESPONDIN
SLIDER UPWARDS. USE THE
SMALL BUTTON TO SWITCH THE
BOOST CIRCUIT ON AND OFF.
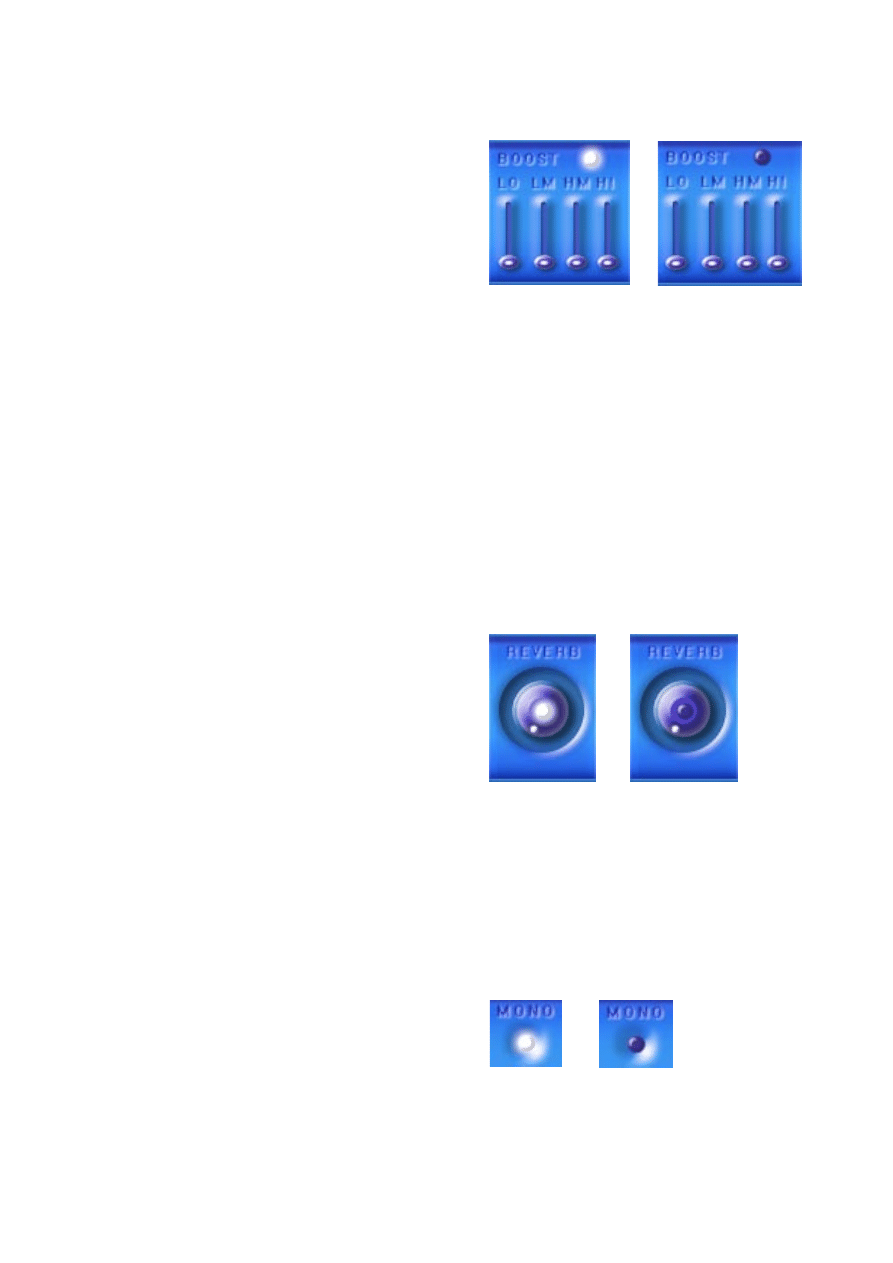
TURN THE REVERB KNOB TO ADD
DARK REVERB TO THE MIX. USE
THE SMALL BUTTON TO SWITCH
THE REVERB CIRCUIT ON AND
OFF.
USE THE MONO BUTTON TO
SWITCH MONOPHONIC MODE
ON AND OFF
OFF
OFF
ON
ON
ON
The BOOST circuit can be switched on and off using the small button
located to the right of BOOST.
4.1.3. REVERB
The REVERB knob let the user mix a preset stereo reverb into their sound.
Turn the knob clockwise for more Reverb, anti-clockwise for less. Subtle
settings can provide a very slight stereo enhancement to the sound, more
drastic settings place the sound in a broad, dark space.
The REVERB circuit can be switched on and off by pressing the button in
the centre of the knob. To rotate the knob, click on the edge and drag up
or down.
4.1.4. MONO
When the MONO button is set to on, the user can only play one note at a
time (monophonic mode). When it is set to off the user can play multiple
notes at once (polyphonic mode).
-9-
OFF
4.1.5. LO-FI
With the LO-FI button on, Neochip’s prest bit-crusher is engaged.
Combined with a little MASTER CUT this can give you a much more
authentic nes sound. It can also be used for some fun sound effects when
notes are played at very high frequencies.
USE THE LO-FI SWITCH TO
ACTIVATE THE BIT CRUSHER,
FOR LOW QUALITY SOUND.
ON
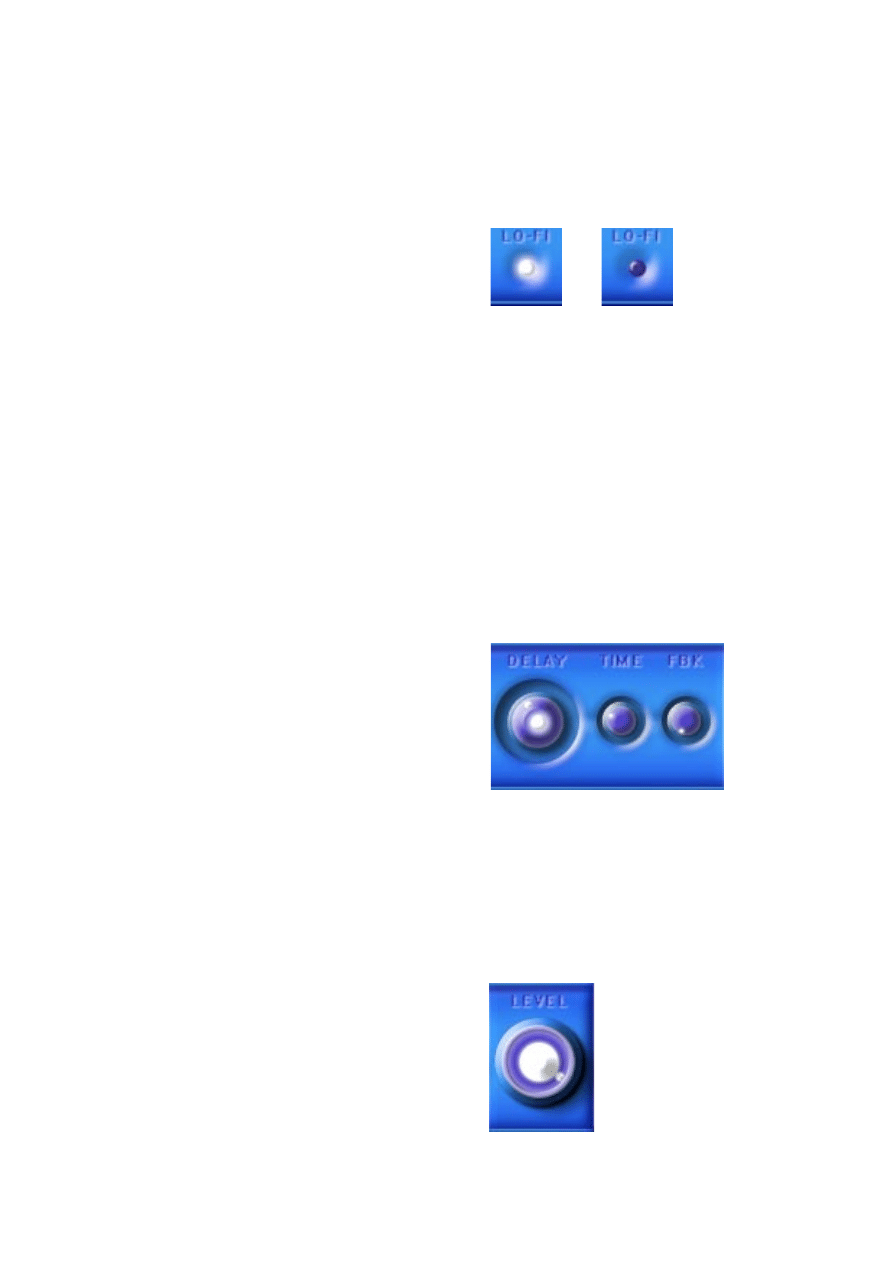
4.1.6. DELAY, TIME, FBK
These 3 knobs control Neochip’s analogue style delay. The DELAY knob
controls the amount of Delay signal in the mix. TIME sets the time between
the delayed repeats. The FBK knob sets the amount of delayed repetitions
after the initial note. You can switch the DELAY circuit on and off by press-
ing the small button in the centre of the DELAY knob. To turn the knob,
click the edge and mouse up and down.
Please note that the DELAY effect only applies to the two Pulse channels.
CONTROL NEOCHIP’S ANALOGUE
DELAY WITH THE 3 STANDARD
DELAY PARAMETERS, DELAY
AMOUNT, TIME, & FEEDBACK.
4.1.7. LVL
Use the LVL knob to control the Master output level of Neochip. If you find
your particular settings are creating distortion, try reducing the level of the
LVL knob.
USE THE LVL KNOB TO CONTROL
THE MASTER OUTPUT LEVEL OF
NEOCHIP.
OFF
-10-

4.1.8 ESPERTONE
Click the Espertone logo button to visit the Espertone website for news,
updates, products, and related companies and projects.
PRESS THE ESPERTONE SYMBOL
TO VISIT THE WEBSITE.
-11-

5. TIPS AND TRICKS
Neochip is an accesable and relatively simple synthesiser, and those with
previous experience in synthesis will have no problem creating satisfying
patches in minutes. For those with little or no experience, here are a few
tips for creating nice sounds with Neochip:
Fifths: Try setting Pulse Two’s SEM control to +5, this will give you a
satisfying fifth harmony, evocative of the far east! This classic sound is
always sure to please.
High Whistle: Try cutting the Triangle wave about half way, and setting its
OCT to +2 or +3. If you balance it right, the triangle wave can add a nice
accompanying high pitched whistle to your patch. Load the patch called
‘Furyo’ for an example.
Bass: The Triangle can be used in a low octave with a LO BOOST to
create some strong low end power in a patch. See the patch ‘Bass Drive’
for a good example.
Ultra High Octave Sample FX: Set LO-FI on all of the OCT controls
to +3 and play high up the keyboard. Do you hear that the notes aren’t
quite musical? This is because the bitcrushing effect used to create used
to emulate the NES removes so much sound detail that very high fre-
quencies cannot be produced. Neochip tries its best to output the desired
frequency but fails quite spectacularly, the resultant noises being remi-
niscant of those in an old sci-fi movie. Try the Preset ‘Screamers’ for an
example of this effect.
These are just some of the pleasing effects that be created with Neochip,
by far the best way of finding good sounds is experimentation. Start with
a preset and tweak from there, or use the FULL RESET preset to forge a
sound from nothing.
As well as creating new sonic textures, Neochip can also be used to very
closely emulate the original 2A03 chip, using the AUTHENTIC MODE
preset, detailed in the next section.
-12-

5.1. AUTHENTIC MODE
Load the preset called AUTHENTIC MODE to use Neochip for basic NES
emulation. This mode has Pulse One triggered by MIDI Channel 1, Pulse
Two triggered by MIDI Channel 2, and the Triangle wave triggered by MIDI
channel 3. Each channel is in monophonic mode. A subtle Master CUT has
been applied, along with a little HI boost, and LO-FI mode is active. These
three effects setting give a sound very close to that of the original 2A03
chip.
AUTHENTIC MODE cannot recreate every nuance of NES sound, but
gives the user seperate MIDI control over each oscillator for multi part
sequencing. Combined with a little automation of D CYLCE and VIBRATO
controls one can create NES music which is a very close approximation of
the real thing.
Users of FL Studio™ version 7.0 and up can open ‘Neochip
Authentic - Zelda(tm) Theme.flp’ which can be found where Neochip has
been vextracted. This is a sequencing of the Title Theme from the NES
game The Legend of Zelda™ which is extremely close to the original, and
also a template which allows FL Studio users to start using Authentic
mode without long setup times.
-13-

6. Version History / Known Issues
Neochip v1.0 is the first full release version of Neochip. Neochip has been
tested with most of the popular and up to date sequencers available,
however some of the known issues and fixes include:
FL Users - Should de-activate ‘Reset Plugins on Transport’ in their General
settings tab for better performance with Neochip.
Very rare MASTER DELAY malfunction resulting in loss of PULSE channel
output - FIX: de-activate and re-activate the MASTER DELAY.
1.0 First Full Release - 1st May 2007
- Automation tags completed
- Updated GUI
0.9b Private In-house Beta
- Small range adjustments and various CPU optimisations
- Updated GUI
0.8b Second Public Beta Release - 29th April 2007
- Changed Duty Cycle selection to 12.5% (more authentic value)
- Added Lo-Fi on/off switch
- Removed Effect On/Off Switching floating point error (caused pops during
patch change)
- Improved Presets
- Updated GUI
0.7b First Public Beta Release - 28th April 2007
- Added on/off switches to Triangle: Cut, & Master: Reverb, Cut, & Delay
- Added Switchable EQ Boost Circuit
- Added 32 Presets
- Added custom sliders
- Updated GUI
-14-

-15-
0.6b Second Private Beta
- Added custom Octave and Semitone controls
- Implemented MIDI assignable Oscillators
- Added Master Level control
- Improved all level algorithms
- Updated GUI
0.5b Initial Private Beta
Future updates may be forthcoming. Click the ESPERTONE button on
Neochip to vist the Espertone website and check the latest version.
6.1. Reporting Issues
If you experience a particular compatability problem or error when
using neochip, do not hesitate to contact Espertone Media via email at:

Credits & Links
Neochip ©2007 Julian G Harding designed and created using
for Espertone Media.
Many thanks to
&
Extra thanks go to all members of the
Modular Synthesis forum at www.
for assisting with bug testing.
Many thanks to Laguna Rising and Moppel for Beta testing.
Please send any feedback to
Happy music making from all at
-16-
Wyszukiwarka
Podobne podstrony:
73 Varia B231 POL manual v1
4CH 8CH ENGLISH MANUAL(v1
16 CH ENGLISH MANUAL(v1 0)
73 Varia B231 POL manual v1
manual metody 2 v1 1 (chyba bez bledów)
manual smash pro v1 0 1
manual red phatt pro v1 0 3
Tauris Club Manual v1 4US
manual isone pro surround v1 0 1
Dongle User Manual V1 3
MoTomagx user manual v1 1
Auditor Pro Manual v1 0 5
MillipaK 4QPM Manual V1 01 (633T43801)
manual barricade pro v1 0 3
MJoy16 C1 Users Manual v1
CCT DATE manual v1 0d
manual fsynth pro v1 0 2
P2P Operation Manual V1 0 0 201406
więcej podobnych podstron