Arduino Lesson 16. Stepper Motors
Created by Simon Monk
Last updated on 2013-06-11 08:16:00 PM EDT

2
3
4
4
4
6
7
9
10
Guide Contents
Breadboard Layout
Arduino Code
Stepper Motors
Other Things to Do
© Adafruit Industries http://learn.adafruit.com/adafruit-arduino-lesson-16-stepper-motors
Page 2 of 10
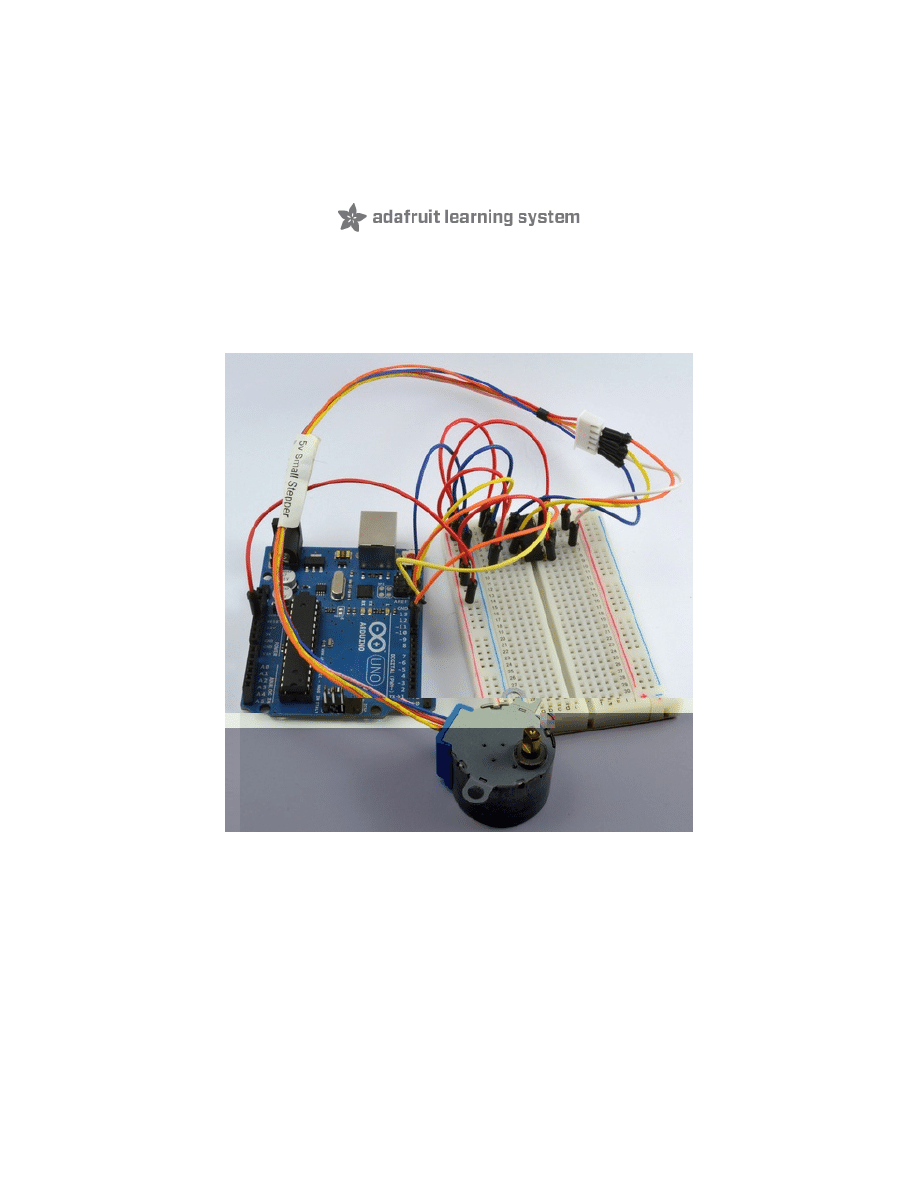
Overview
Stepper motors fall somewhere in between a regular DC motor and a servo motor. They have
the advantage that they can be positioned accurately, moved forward or backwards one 'step'
at a time, but they can also rotate continuously.
In this lesson you will learn how to control a stepper motor using your Arduino and the same
L293D motor control chip that you used with the DC motor in lesson 15.
© Adafruit Industries http://learn.adafruit.com/adafruit-arduino-lesson-16-stepper-motors
Page 3 of 10
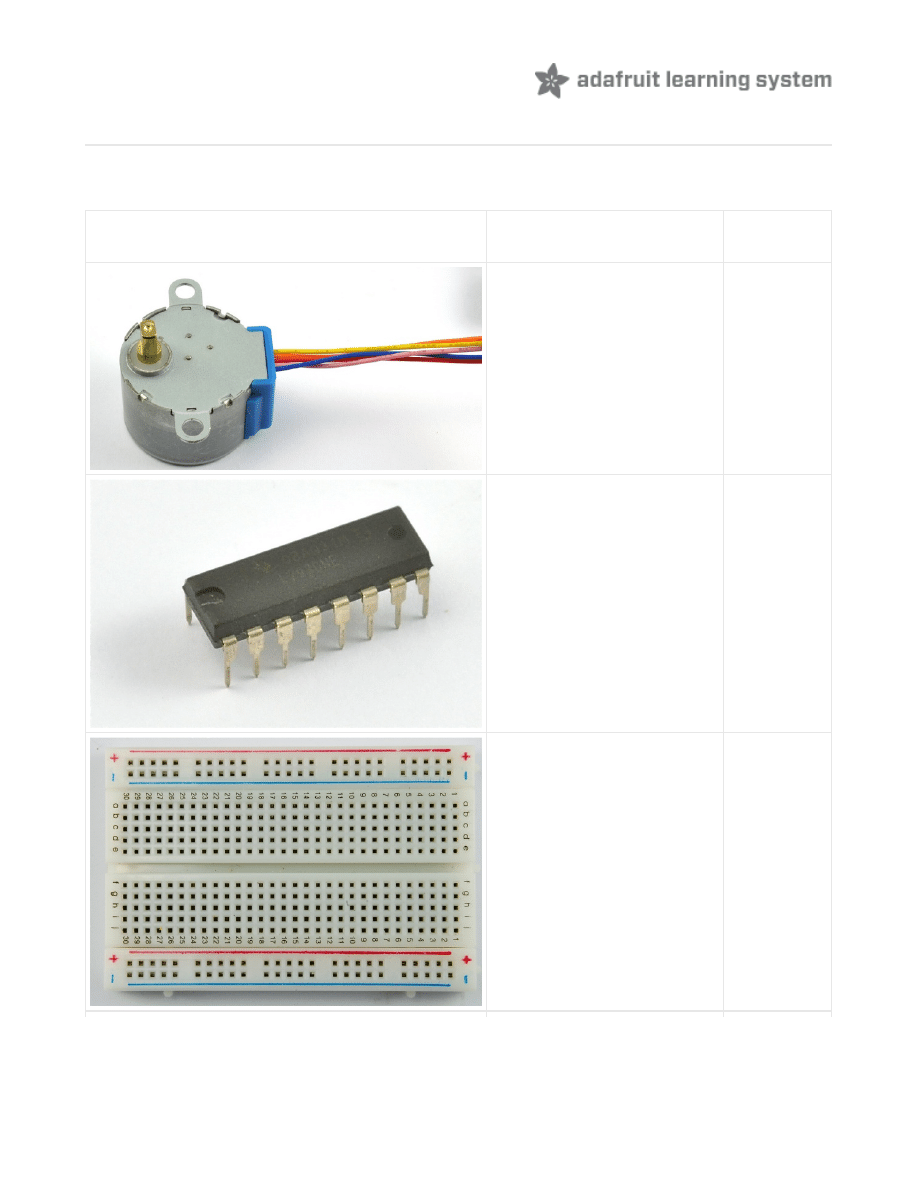
Parts
To build the project described in this lesson, you will need the following parts.
Part
Qty
5V Stepper Motor
1
L293D IC
1
Half-size Breadboard
1
© Adafruit Industries http://learn.adafruit.com/adafruit-arduino-lesson-16-stepper-motors
Page 4 of 10
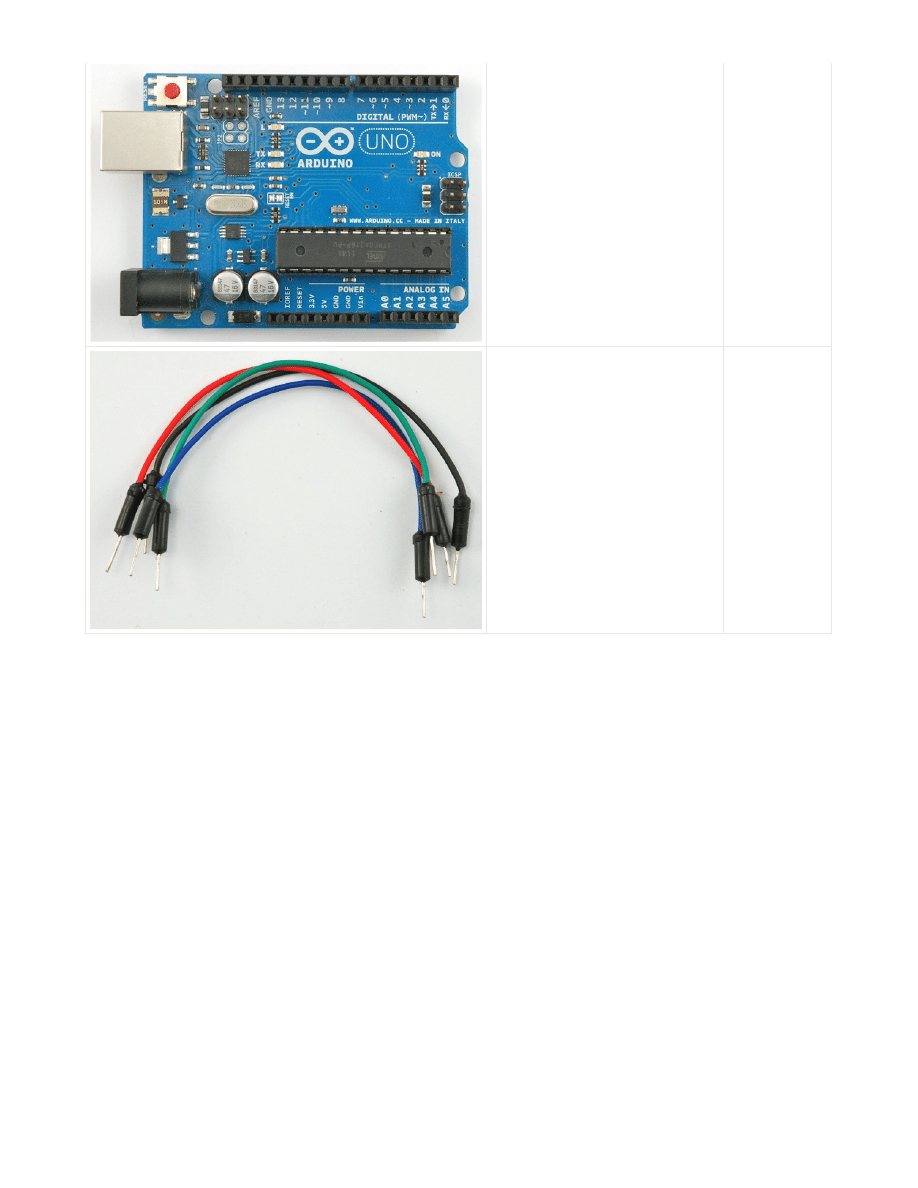
Arduino Uno R3
1
Jumper wire pack
1
© Adafruit Industries http://learn.adafruit.com/adafruit-arduino-lesson-16-stepper-motors
Page 5 of 10
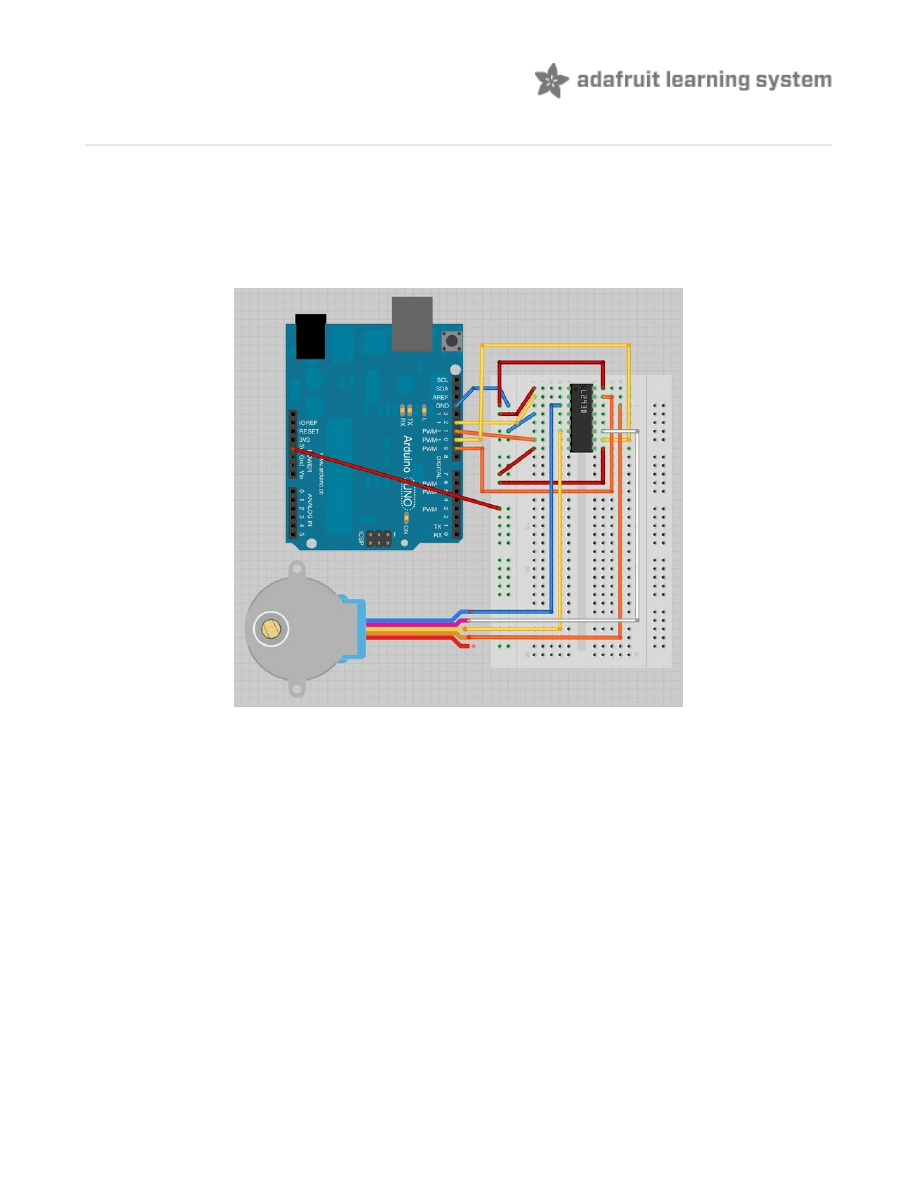
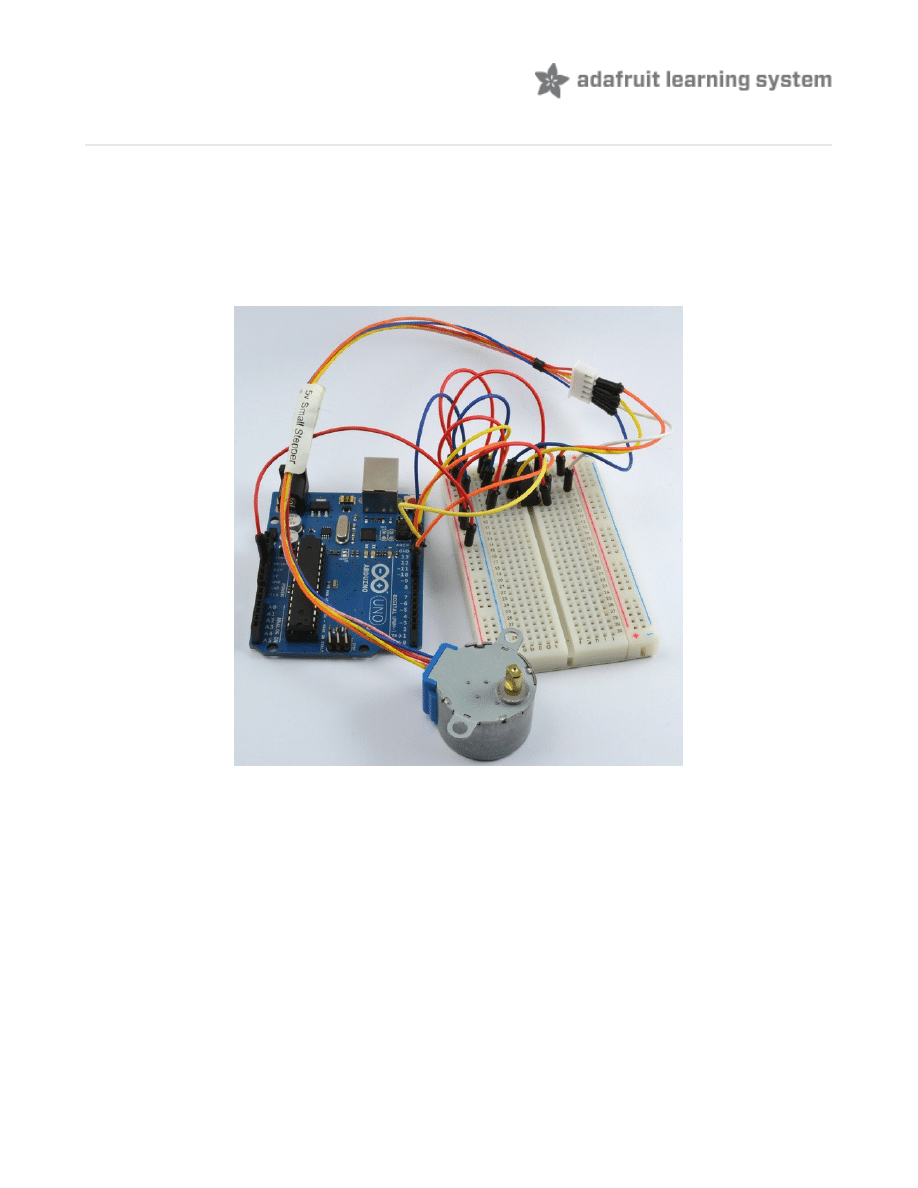
Breadboard Layout
The stepper motor has five leads, and we will be using both halves of the L293D this time. This
means that there are a lot of connections to make on the breadboard.
The motor has a 5-way socket on the end. Push jumper wires into the sockets to allow the
motor to be connected to the breadboard.
Note that the red lead of the Stepper motor is not connected to anything.
© Adafruit Industries http://learn.adafruit.com/adafruit-arduino-lesson-16-stepper-motors
Page 6 of 10

Arduino Code
The following sketch uses the Serial Monitor, so once the sketch is installed and running, open
the Serial Monitor and enter a number of 'steps'. Try a value of about 500, this should cause the
motor to turn through about 360 degrees. Enter -500 and it will turn back in the reverse
direction.
As you might expect, there is an Arduino library to support stepper motors. This makes the
process of using a motor very easy.
The Stepper library is included in newer distributions of the Arduino IDE - you may
The Stepper library is included in newer distributions of the Arduino IDE - you may
need to upgrade.
need to upgrade.
/*
Adafruit Arduino - Lesson 16. Stepper
*/
#include
<Stepper.h>
int
in1Pin
=
12
;
int
in2Pin
=
11
;
int
in3Pin
=
10
;
int
in4Pin
=
9
;
Stepper
motor
(
768
,
in1Pin
,
in2Pin
,
in3Pin
,
in4Pin
);
void
setup
()
{
pinMode
(
in1Pin
,
OUTPUT
);
pinMode
(
in2Pin
,
OUTPUT
);
pinMode
(
in3Pin
,
OUTPUT
);
pinMode
(
in4Pin
,
OUTPUT
);
// this line is for Leonardo's, it delays the serial interface
// until the terminal window is opened
while
(!
Serial
);
Serial
.
begin
(
9600
);
motor
.
setSpeed
(
20
);
}
void
loop
()
{
if
(
Serial
.
available
())
{
int
steps
=
Serial
.
parseInt
();
motor
.
step
(
steps
);
}
}
© Adafruit Industries http://learn.adafruit.com/adafruit-arduino-lesson-16-stepper-motors
Page 7 of 10

After including the 'Stepper' library, the four control pins 'in1' to 'in4' are defined.
To tell the Arduino Stepper library which pins are connected to the motor controller, the
following command is used:
The first parameter is the number of 'steps' that the motor will take to complete one revolution.
The motor can be moved by one step at a time, for very fine positioning.
Serial communications is then started, so that the Arduino is ready to receive commands from
the Serial Monitor.
Finally the following command sets the speed that we wish the stepper motor to move, when
we subsequently tell it how many steps to rotate.
The 'loop' function is very simple. It waits for a command to come in from the Serial Monitor and
converts the text of the number sent into an int using 'parseInt'. It then instructs the motor to
turn that number of steps.
Stepper
motor
(
768
,
in1Pin
,
in2Pin
,
in3Pin
,
in4Pin
);
motor
.
setSpeed
(
10
);
© Adafruit Industries http://learn.adafruit.com/adafruit-arduino-lesson-16-stepper-motors
Page 8 of 10
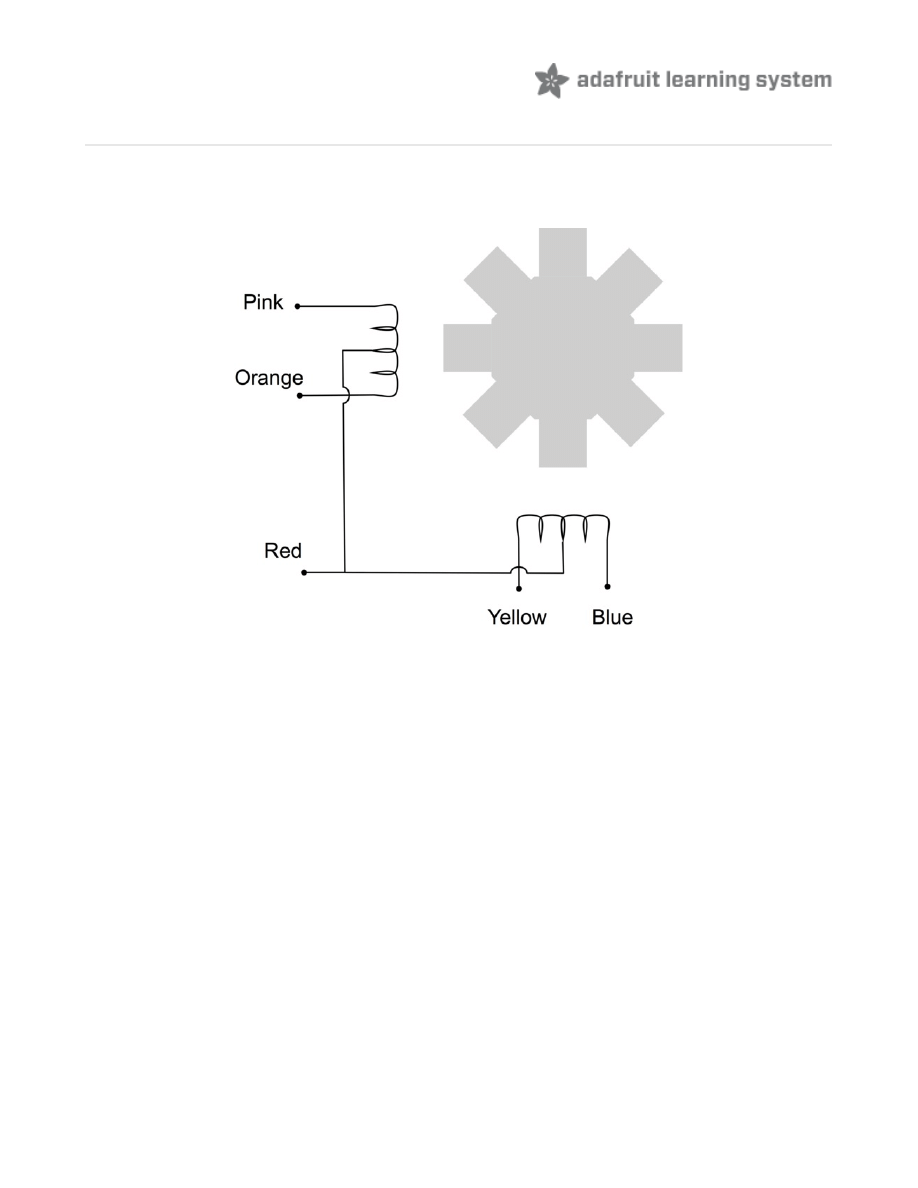
Stepper Motors
Stepper motors use a cogged wheel and electro magnets to nudge the wheel round a 'step' at
a time.
By energizing the coils in the right order, the motor is driven round. The number of steps that
the stepper motor has in a 360 degree rotation is actually the number of teeth on the cog.
The motor we are using has 48 steps, but then the motor also incorporates a reduction
gearbox of 1:16 that means that it needs 16 x 48 = 768 steps.
In this lesson, we do not use the common Red connection. This connection is only provided if
you are using a different type of drive circuit that does not allow the current in each coil to be
reversed. Having a center connection to each coil means that you can either energise the left
or right side of the coil, and get the effect of reversing the current flow without having to use a
circuit that can reverse the current.
Since we are using a L293D that is very good at reversing the current, we do not need this
common connection, we can supply current in either direction to the whole of each of the coils.
© Adafruit Industries http://learn.adafruit.com/adafruit-arduino-lesson-16-stepper-motors
Page 9 of 10

Other Things to Do
Try changing the command that sets the speed of the stepper motor:
to a lower value (say 5) upload the sketch and notice that the stepper turns more slowly.
Now try and find the maximum speed for the stepper by increasing the speed above 20. After
a certain point, you will find that the motor does not move at all. This is because it just cannot
keep up with the stream of pulses asking it to step.
Try disconnecting the orange and pink leads of the stepper. It should still turn, but you will
notice that it is weaker, as it does not have both coils working to push the motor around.
next Lesson (http://adafru.it/c2F)
you will learn how to make an Arduino detect movement
using a PIR sensor and then communicate with your computer to send an email.
motor
.
setSpeed
(
20
);
© Adafruit Industries
Last Updated: 2013-06-11 08:16:01 PM EDT
Page 10 of 10
Document Outline
Wyszukiwarka
Podobne podstrony:
adafruit arduino lesson 13 dc motors
adafruit arduino lesson 6 digital inputs
adafruit arduino lesson 3 rgb leds
adafruit arduino lesson 4 eight leds
adafruit arduino lesson 9 sensing light
Lecture 8 Stepper motors
Hybrid Stepper Motors OK ok!!!
Actuators and Sensors Stepper Motors Stepper Motor Operation and Theory
lesson 16
Japanese Is Possible Lesson 16
English podstawy Lesson 16
Spanish Lesson 16
Lesson 16
LOW BEGINNER FOR ADULT PRACTICAL ENGLISH BOOK LESSONS 16 20
Stepper Motors 101
Actuators and Sensors Stepper Motors Stepper Motors Drive Circuit Basics
adafruits raspberry pi lesson 3 network setup
więcej podobnych podstron