10

10 PROJECT ONE • BEADED AMULET PURSES
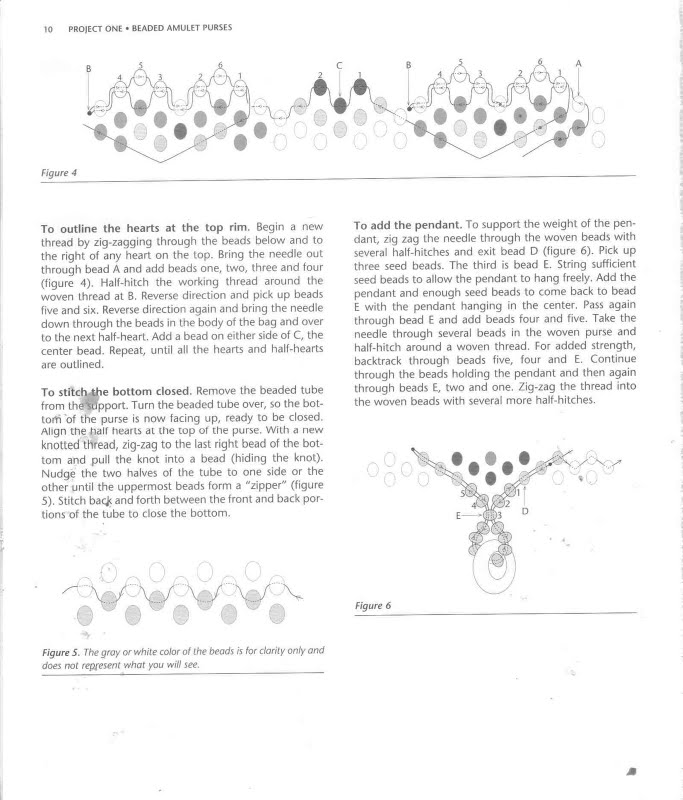
Figurę 4

To outline the hearts at the top rim. Begin a new thread by zig-zagging through the beads below and to the right of any heart on the top. Bring the needle out through bead A and add beads one, two, three and (our (figuro 4). Half-hitch the working thread around the woven thread at B. Reverse direction and pkk up beads five and six. Reverse direction again and bring the needle down through the beads in the body of the bag and over to the next half-heart. Add a bead on either side of C, the center bead. Repeat, until all the hearts and half-hearts are outlined.
To stitch-the bottom closed. Remove the beaded tubę from the^dpport. Turn the beaded tubę over, so the bottom of the purse is now facing up, ready to be closed. Align the fialf hearts ai the top of the purse. With a new knotled thread, zig-zag to the last right bead of the bottom and puli the knot into a bead (hiding the knot). Nudge the two halves of the tubę to one side or the other until the uppermost beads form a "zipper" (figurę 5). Stitch bacje and forth between the front and back por-tions of the tubę to dose the bottom.

Figurę 5. The groy or while color ol Ihe beads is (or ctorily only ond does not repfesent what you w Ul see.
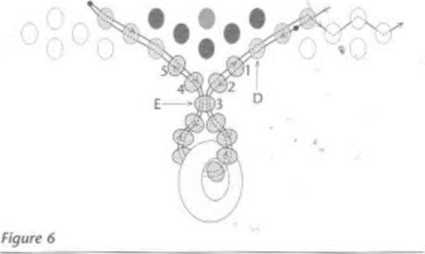
To add the pendant. To support the weight of the pendant, zig zag the needle through the woven beads with several half-hitches and exit bead D (figurę 6). Pick up three seed beads. The third is bead E. String sufficient seed beads to allow the pendant to hang freely. Add the pendant and enough seed beads to come back to bead E with the pendant hanging in the center. Pass again through bead E and add beads four and five. Take the needle through several beads in the woven purse and half-hitch around a woven thread. For added strength, backtrack through beads five, four and E. Continue through the beads holding the pendant and then again through beads E, two and one. Zig-zag the thread into the woven beads with several morę half-hitches.

Wyszukiwarka
Podobne podstrony:
BEADED AMULET PURSES • PROJECT ONE 9 BEADED AMULET PURSES • PROJECT ONE 9 Sections to be read before
22 PROJECT FOUR • BEADED AMULET PURSES To make the branched fringe. Begin a new thread and exit one
8 PROJECT ONE • BEADEO AMULET PURSES 8 PROJECT ONE • BEADEO AMULET PURSES G.f»Project OneHeart Bag L
30 PROJECT SIX • BEADED AMULET PURSES 30 PROJECT SIX • BEADED AMULET PURSESProject SixWinged Bag Dav
W PROJECT SEVEN • BEADED AMULET PURSES Once the back is properly aligned and "zippered" cl
V • BEADED AMULET PURSES V • BEADED AMULET PURSES figurę A-14a & b ExitSingle needle,Rightangle
V • BEADED AMULET PURSES V • BEADED AMULET PURSES figurę A-14a & b ExitSingle needle,Rightangle
*4 AFPtNDtt A • BEADED AMULET PURSESFiat Peyote Stltch — Even-Count Decreasing at the sides Continui
*4 AFPtNDtt A • BEADED AMULET PURSESFiat Peyote Stltch — Even-Count Decreasing at the sides Continui
BEADED AMULET PURSES • PROJECT ONE 11 To make the strap. Think oł the strap as a necklace. Choose th
więcej podobnych podstron