38

W PROJECT SEVEN • BEADED AMULET PURSES
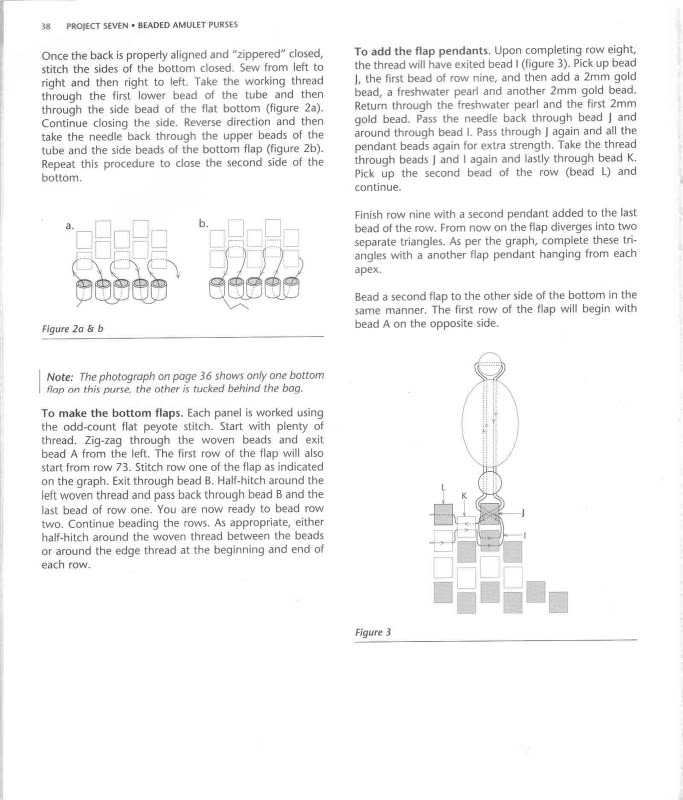
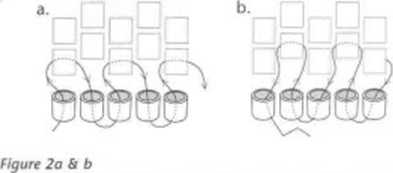
Once the back is properly aligned and "zippered" closed, stitch the sides of the bottom closed. Sew from left to right and then right to left. Take the working thread through the first lower bead of the tubę and then through the side bead of the fiat bottom (figurę 2a). Continue closing the side. Reverse direction and then take the needle back through the upper beads of the tubę and the side beads of the bottom flap (figurę 2b). Repeat this procedurę to close the second side of the bottom.

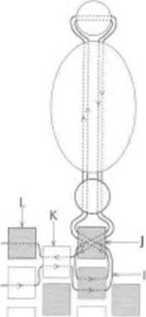
To add the flap pendants. Upon completing row eight, the thread will have exited bead I (figurę 3). Pick up bead J, the first bead of row nine, and then add a 2mm gold bead, a freshwater pearl and another 2mm gold bead. Return through the freshwater pearl and the first 2mm gold bead. Pass the needle back through bead J and around through bead I. Pass through ) again and all the pendant beads again for extra strength. Take the thread through beads j and I again and laslly through bead K. Pick up the second bead of the row (bead L) and continue.
Finish row nine with a second pendant added to the last bead of the row. From now on the flap diverges into two separate triangles. As per the graph, complete these tri-angles with a another flap pendant hanging from each apex.
Bead a second flap to the other side of the bottom in the same manner. The first row of the flap will begin with bead A on the opposite side.

Notę: The photograph on page 36 shows only one bottom I flap on this purse. the other is tucked behind the boa.
To make the bottom flaps. Each panel is worked using the odd-count fiat peyote stitch. Start with plenty of thread. Zig-zag through the woven beads and exit bead A from the left. The first row of the flap will also start from row 73. Stitch row one of the flap as indicated on the graph. Exit through bead B. Half-hitch around the left woven thread and pass back through bead B and the last bead of row one. You are now ready to bead row two. Continue beading the rows. As appropriate, either half-hitch around the woven thread between the beads or around the edge thread at the beginning and end of each row.
Wyszukiwarka
Podobne podstrony:
10 PROJECT ONE • BEADED AMULET PURSES Figurę 4 To outline the hearts at the top rim. Begin a new thr
22 PROJECT FOUR • BEADED AMULET PURSES To make the branched fringe. Begin a new thread and exit one
BEADED AMULET PURSES • PROJECT ONE 9 BEADED AMULET PURSES • PROJECT ONE 9 Sections to be read before
30 PROJECT SIX • BEADED AMULET PURSES 30 PROJECT SIX • BEADED AMULET PURSESProject SixWinged Bag Dav
BEADED AMULET PURSES • PROJECT ONE 11 To make the strap. Think oł the strap as a necklace. Choose th
BEADED AMULET PURSES • PROJECT SIX 33 To add the fringes to the edges. Add two-bead fringes between
BEADED AMULET PURSES • PROIECT SEVEN i ) Figurę 4 To make the triangular points at the top of the pu
BEADED AMULET PURSES • BEADING SUPPLIES 5How To Use This Book After choosing a project, first read t
BEADED AMULET PURSES • PROJECT FIVE 27 To create the fringe. Take the thread out through the top out
więcej podobnych podstron