09
BEADED AMULET PURSES • PROJECT ONE 9
BEADED AMULET PURSES • PROJECT ONE 9
Sections to be read before beginning:
• Tubular Peyote Stitch — Even-Count (page 46)
• Threads, Knots and Bead Graphs (page 52)
• To begin tubular peyote stitch (page 53)
• How to read even-count tubular peyote graphs (page 57)
Materials used:
• Size 11° seed beads:
• Transparent pale blue
• Silver-lined medium pink
• Silver-lined emerald green
• Silver-lined cobalt blue
• Strap:
• Czech molded glass beads
• Semi-precious stone chips:
• malachite, lapis and peridot
• Smali pendant
This project is a flattened tubę with the bottom stilched together.
To begin. Start with the bottom right bead of the graph on page 11. String once and then again the 26 beads ot the first two rows on the graph. These 52 beads consti-tute the first two rows of both the front and back of the bag.
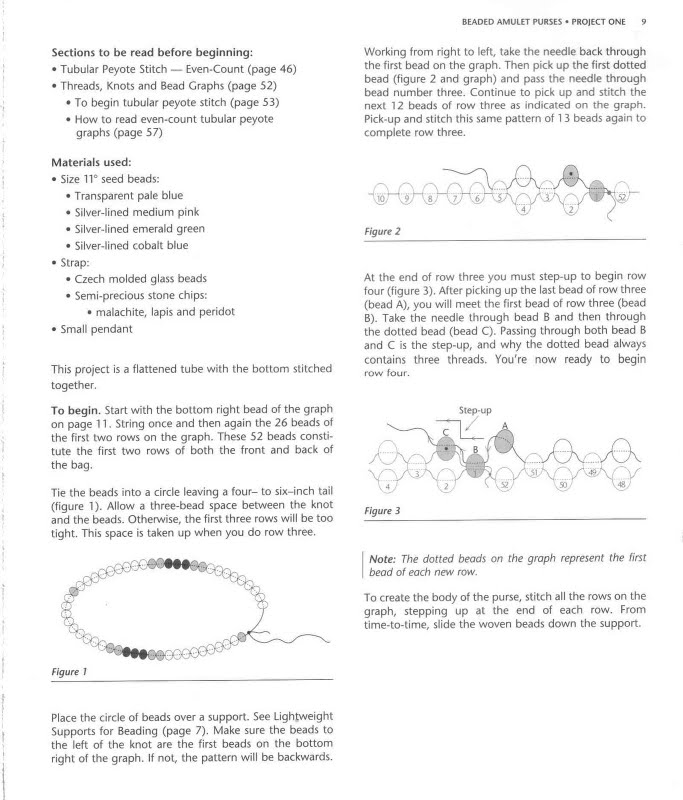
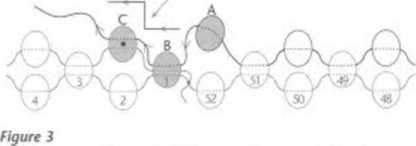
Tie the beads into a circle leaving a four- to six-inch taił (figurę 1). Allow a three-bead space between the knot and the beads. Otherwise, the first three rows will be too tight. This space is taken up when you do row three.
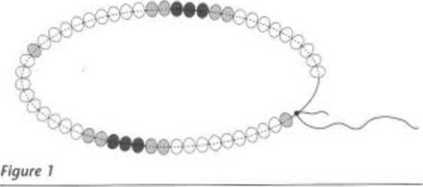
Working from right to left, take the needle back through the first bead on the graph. Then pick up the first dotted bead (figurę 2 and graph) and pass the needle through bead number three. Continue to pick up and stitch the next 12 beads of row three as indicated on the graph. Pick-up and stitch this same pattern of 1 3 beads again to complete row three.
\4
Figurę 2
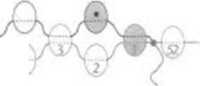
At the end of row three you must step-up to begin row four (figurę 3). After picking up the last bead of row three (bead A), you will meet the first bead of row three (bead B). Take the needle through bead B and then through the dotted bead (bead C). Passing through both bead B and C is the step-up, and why the dotted bead always contains three threads. You're now ready to begin
row four.
Step-up
Notę: The dotted beads on the graph represent the first bead of each new ro>v.
To create the body of the purse, stitch all the rows on the graph, stepping up at the end of each row. From time-to-time, slide the woven beads down the support.
Place the circle of beads over a support. See Lightweight Supports for Beading (page 7). Make surę the beads to the left of the knot are the first beads on the bottom right of the graph. If not, the pattern will be backwards.
Wyszukiwarka
Podobne podstrony:
BEADED AMULET PURSES • PROIECT THREE 17 Sections to be read before beginning: • Tu
BfcADŁO AMULET PURSCS • PRO
BEADED AMULET PURSES • PROJECT FOUR 21 Sections to bo read before beginning: • Tub
BEADED AMULET PURSES • PROJECT ONE 11 To make the strap. Think oł the strap as a necklace. Choose th
BEADED AMULET PURSES • PROJECT SIX 31 Sections to read before beginning: •
BEADED AMULET PURSES • PROJECT SIX 33 To add the fringes to the edges. Add two-bead fringes between
BEADED AMULET PURSES • PROJECT TWO 1J Sectlons to read before beginning: •
BEADED AMULET PURSES • BEADING SUPPLIES 5How To Use This Book After choosing a project, first read t
BEADED AMULET PURSES • PROJECT FIVE 27 To create the fringe. Take the thread out through the top out
więcej podobnych podstron