Philips406 6
prostoauto.holm.ru
INSTALLATION
Notes;
• Choose the mounting location whcre ihe unit will not intcrfcrc with the norma! driving function of the drivcr.
• Before finally installing the unit. conncct the wiring temporarily and make surc it is aii connected up properly and the unit and the system works propcrly.
• Use only the pans included with the unit to ensure proper installalion. The use of unaulhorizcd parts may cause malfunctions.
• Consult your nearest dealer if installalion rcquircs the drilling of holes or other modifications of the vehiclc.
• Install the unit whcre it docs not get in the drivcr‘s way and cannot injure the passengers if there is a sudden stop. likc an cmcrgcncy stop.
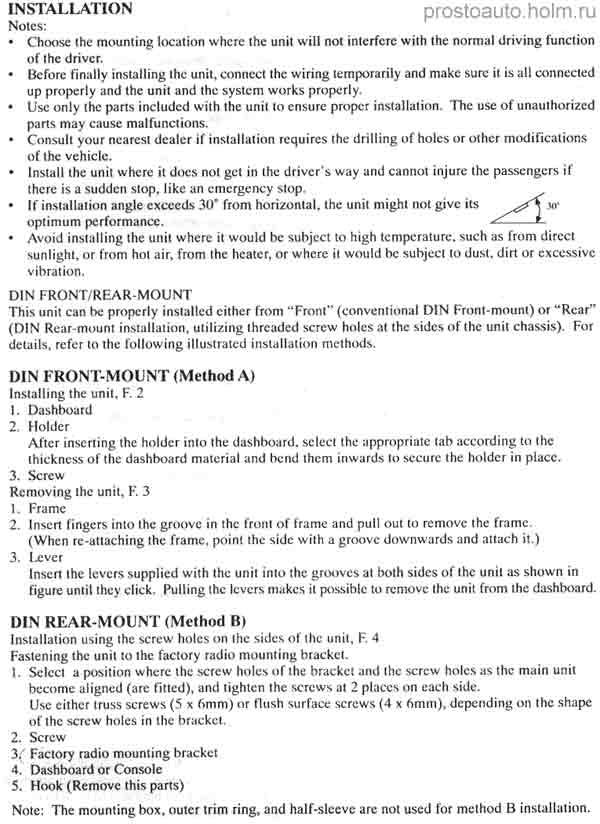
• If installalion angle cxcecd.s 30' from horizonlal. the unit might not givc ils <2^1 w
optimum performance. —Ł
• Avoid installing the unit whcre it would bc subject to high temperaturo, such as from direct sunlighi, or from hot air, from the heater, or whcre it would bc subject to dusi. dirt or cxcessivc vibration.
DIN FRONT/REAR-MOUNT
This unit can be properly installcd either from “Front" (conventiónal DIN Front-mounl) or “Rear" (DIN Rear-mount installalion, utilizing threaded serew holes at the sides of the unit chassis). For dctails. refer to the following illustratcd installalion methods.
DIN FRONT-MOUNT (Method A)
Installing the unit. F. 2
1. Dashboard
2. Holdcr
Aftcr inserting the holdcr into the dashboard. sclect the appropriate tab according to the thickncss of the dashboard materia! and bend them inwards to sectire the holdcr in place.
3. Scrcw
Removing the unit. F. 3
1. Frame
2. Insert fingers into the groove in the front of frame and puli out to removc the frame (Wlicn re*utiaching the frame, point the sidc with a groovc downwards and altach it.)
3. Lever
Insert the levcrs supplied with the unit into the grooves at both sides of the unit as shown in figurę umil they click. Pulling the lcvcrs makes it possible to remove the unit from the dashboard.
DIN REAR-MOUNT (Method B)
Installalion using the serew holes on the sides of the unit, F. 4 Fastening the unit to the factory radio mounting brackct.
1. Sclccl a position whcre the scrcw holes of the brackct and the scrcw holes as the main unit become aligned (are fitted), and tighten the serews at 2 placcs on each sidc.
Usc either Iruss serews (5 x 6mm) or flush sur face serews (4 x 6mm), depending on the shapc of the scrcw holes in the brackct.
2. Scrcw
3. Factory radio mounting brackct
4. Dashboard or Console
5. Hook (Rcmovc this parts)
Notc: The mounting box, outer trim ring, and half-slccvc are not used for method B installalion.
Wyszukiwarka
Podobne podstrony:
Philips406 5 prostoauto holm ru 12. LCD (=LIQUID CRYSTAL DISPLAY) LCD shows ihe curreni slatus of th
Philips406 7 prostoauto.holm.ruUSING THE DETACHABLE FRONT PANEL To Delach Ihe Front Panel 1. &
Philips406 4 5. band prostoauto.holm.ru Press to switch the
f4 12 Pioperty Page Wizard - Select the Pioperty Pages Choose the Property Page(s) you want to use w
img006 (34) A Choose the correct word or phrase, a, b, or c to complete 1-6. (1) I
img014 2 ASSOCIATED KNOWLEDGE TEST NCT 1DO NOT WRITE ON THIS SHEET Read the following statements car
70. A.69057 ECONOMIST on Wall Street : notes on the sanctity of gold, the value of
IMGR99 NOTES TO THE PLATES Tu mam are anangcd approximatdy in chronological order and grouped stylis
IMGS02 NOTES TO THE PLATES pin t* (duo colout) SpuiMi (?); ristcmih to seroncecnth cenimy. Gooposcd
IMGS04 NOTES TO THE PLATES Mncł-painuog (Pl*« **)• “d ewn caboaed rełkfr in ptecioos muk (Platę ao).
IMGS05 NOTES TO THE PLATES 1
IMGS06 NOTES TO THE PLATES South Cerman (Tyrol?) ;datcd I6ti. An akar-frontaJ ofunusual workmanship
więcej podobnych podstron