OTHER OPERATIONS
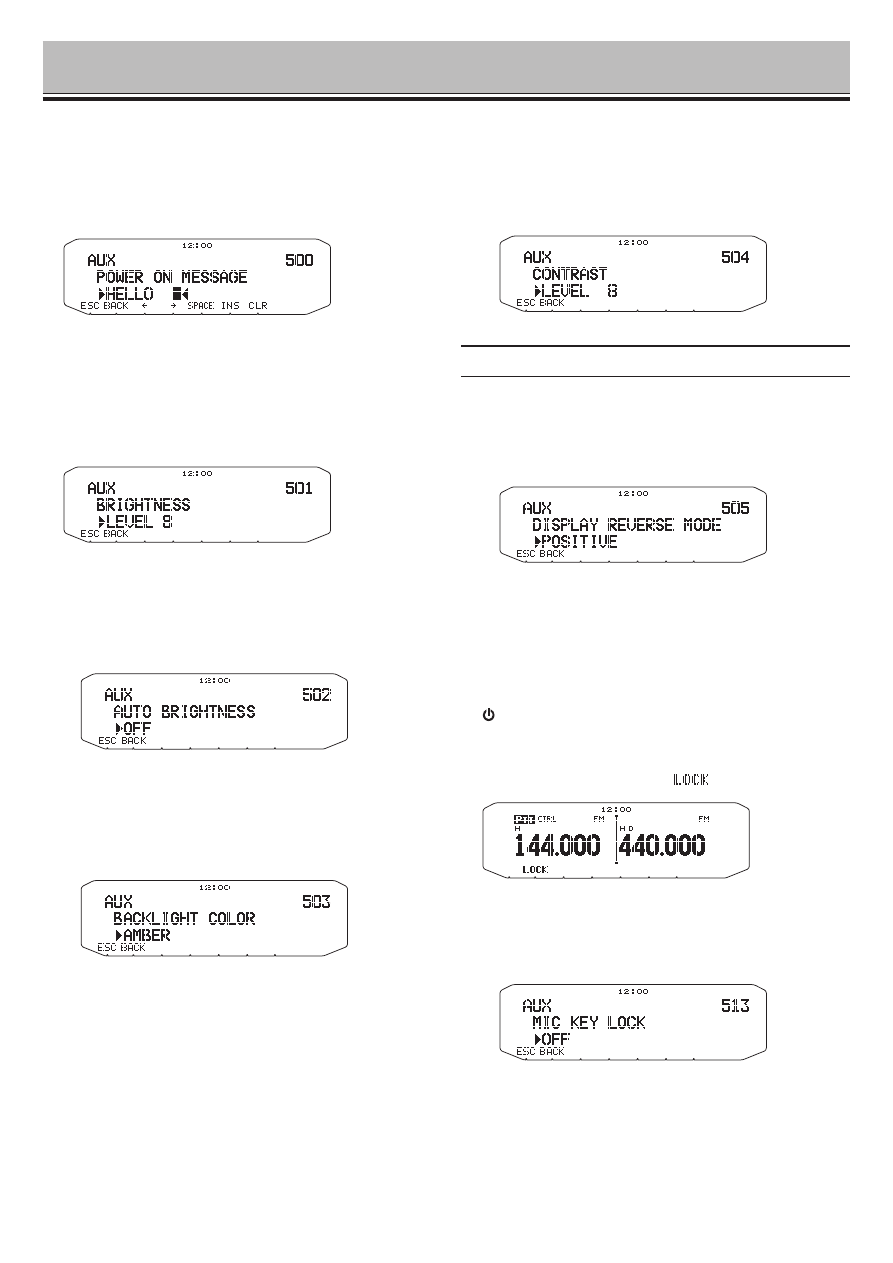
POWER ON MESSAGE
Each time you switch the transceiver ON, “HELLO”
(default) appears on the display for approximately 2
seconds. You can program your favorite message in
place of the default message.
1 Enter Menu mode and access Menu 500.
2 Enter your desired message.
• Press
[CLR] to clear the entire message, if necessary.
DISPLAY ILLUMINATION
You can manually change the display illumination to suit
the lighting conditions where you are operating.
1 Enter Menu mode and access Menu 501.
2 Set your desired brightness level from 1 to 8, or OFF.
n
Auto Display Brightness
When Auto Brightness is activated, the display will light
up every time a key is pressed.
1 Enter Menu mode and access Menu 502.
2 Set the Auto Brightness function to ON or OFF.
n
Backlight Color
You can manually change the display illumination to
suit the lighting conditions where you are operating.
1 Enter Menu mode and access Menu 503.
2 Set the backlight color to AMBER or GREEN.
n
Display Contrast
The display visibility changes depending on the
ambient conditions, for example between daytime and
night. When you find the display is not clear, use this
function to select the optimum display contrast.
1 Enter Menu mode and access Menu 504.
2 Set your desired contrast level from 1 to16.
Note: The display contrast may be affected by a change in
temperature. Adjust the contrast as necessary.
n
Positive/ Negative Reversal
You can change the display status between Negative
and Positive (default).
1 Enter Menu mode and access Menu 505.
2 Set the backlight color to NEGATIVE or POSITIVE.
KEY LOCK
The Key Lock function ensures that your transceiver
settings will remain unchanged if you accidentally press a
key. When activated, the following functions can still be
used:
•
[ ]
•
[PTT]
To turn Key Lock ON or OFF, press
[F] (1s).
• When Key Lock is activated, the
icon will appear on the
display.
n
Microphone Key Lock
The Microphone Key Lock function will lock the
microphone PF (Programmable Function) keys.
1 Enter Menu mode and access Menu 513.
2 Turn the Microphone Key Lock function ON or OFF.
OTHER OP-
OTHER OP-
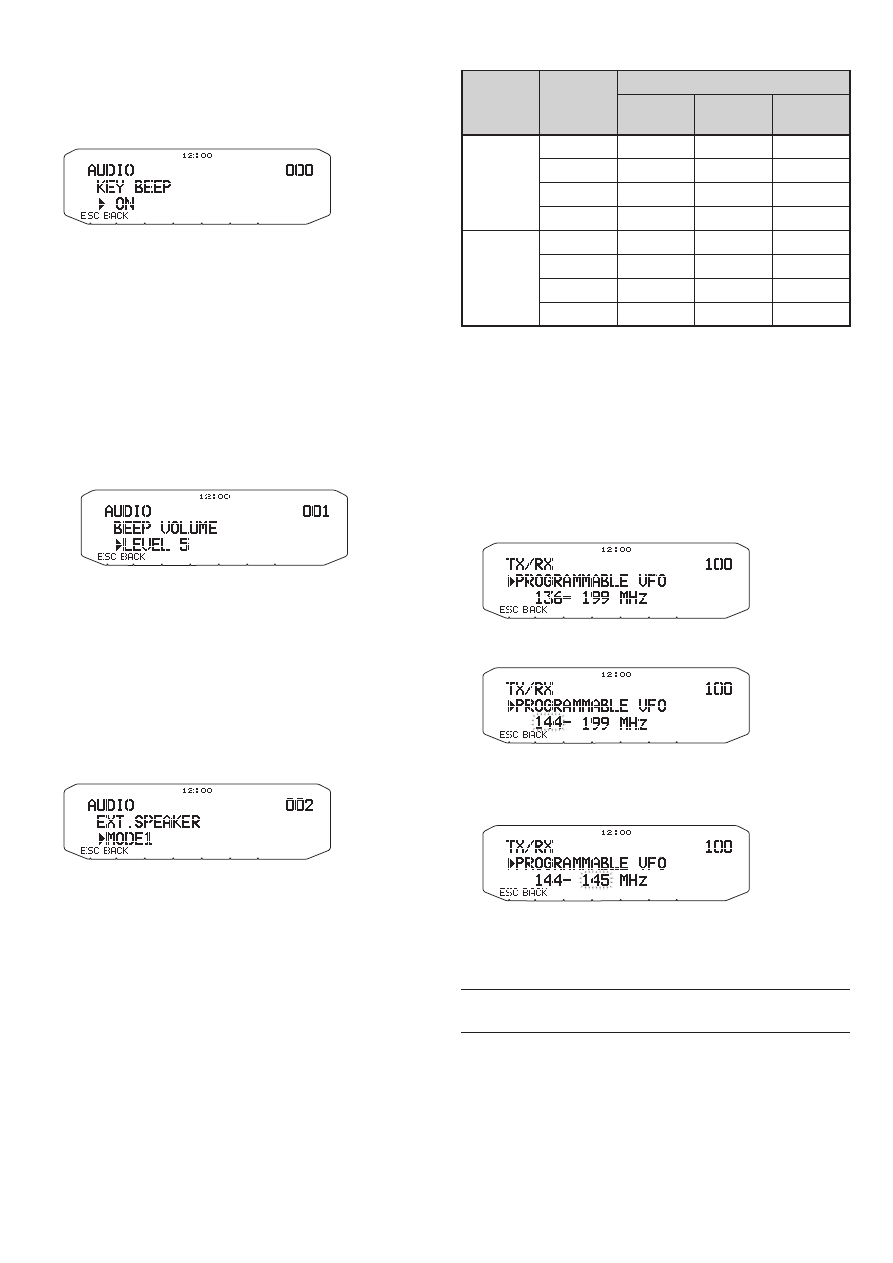
KEY BEEP
You can turn the transceiver beep function ON or OFF as
desired.
1 Enter Menu mode and access Menu 000.
2 Turn the beep function ON or OFF.
• Even with the beep function turned OFF, the transceiver
will emit a beep tone under the following conditions:
1) When Auto Power Off is activated, the transceiver will
beep 1 minute before the power turns off.
2) After transmitting for the maximum time duration
according to the Time-out Timer, the transceiver will
beep
n
Beep Volume
Each time you press a key, the beep tone will sound.
If you have left the beep function turned ON, you may
wish to adjust the volume level of the beep.
1 Enter Menu mode and access Menu 001.
2 Set the beep volume to a level from 1 to 7.
• The default is level 5.
ExTERNAL SPEAKER CONfIGURATION
This transceiver has two speaker jacks for external
speakers, as well as an internal speaker. You can enjoy
a variety of speaker configurations by using one or two
external speakers. Received signals on bands A and B
are output depending on how you want the internal and/or
external speakers to function.
1 Enter Menu mode and access Menu 002.
2 Set the speaker mode to MODE 1 or MODE 2.
• Refer to the table below for configurations based on the
mode selected.
Mode
Speaker
Setup
Band Output
Internal
Speaker
External
SP1
External
SP2
MODE 1
None
A, B
–
–
SP1 only
x
A, B
–
SP2 only
A
–
B
SP1, SP2
x
A
B
MODE 2
None
A, B
–
–
SP1 only
x
A, B
–
SP2 only
B
–
A
SP1, SP2
x
B
A
PROGRAMMABLE VfO
If you always check frequencies within a certain range,
you can set upper and lower limits for frequencies that are
selectable. For example, if you select 144 MHz for the
lower limit and 145 MHz for the upper limit, the tunable
range will be from 144.000 MHz to 145.995 MHz.
1 Select your desired VFO frequency.
2 Enter Menu mode and access Menu 100.
(Example: E type)
3 Press the Tuning control.
• The lower frequency limit blinks.
4 Rotate the Tuning control to select your desired lower
frequency limit, then press the
Tuning control to set
the selected value.
• The upper frequency limit blinks.
5 Rotate the Tuning control to select your desired upper
frequency limit, then press the
Tuning control to set
the selected value.
6 Press [ESC] to exit Menu mode.
Note: You cannot program the 100 kHz and subsequent digits. The
exact 100 kHz and subsequent digits of the upper limit depend on the
frequency step size you are using.
OTHER OP-
CHANGING THE fREqUENCY STEP SIzE
Choosing the correct frequency step size is essential in
selecting your exact frequency. The default step size on
the 144 MHz band is 5 kHz (K type) or 12.5 kHz (E, M4
types). The default on the 430/440 MHz band is 25 kHz
(K, E types) or 10 kHz (M4 type) .
1 Press the left or right [BAND SEL] to select band A or
B, then press
[VFO].
2 Enter Menu mode and access Menu 101.
3 Set the step size to 5.0*, 6.25*, or 8.33 kHz (118 MHz
band only) or to 10.0, 12.5, 15.0*, 20.0, 25.0, 30.0,
50.0, or 100.0 kHz.
* These step sizes are not available for the 1200 MHz band.
Note: Changing between step sizes may correct the displayed
frequency. For example, if
144.995 MHz is displayed with a 5 kHz step size selected, changing
to a 12.5 kHz step size corrects the displayed frequency to 144.9875
MHz.
PROGRAMMABLE fUNCTION KEYS
n
Transceiver front Panel
There are 2 PF (Programmable Function) keys on the
transceiver front panel: PF1 and PF2. You can assign
your own desired functions to these 2 keys.
1 Enter Menu mode and access Menu 507 (PF1)
and/or Menu 508 (PF2).
2 Set your desired function for the key.
Programmable functions available are: WX CH
(Weather Channel)/ FRQ.BAND (Frequency bands)/
CTRL (Control)/ MONITOR (Monitor)/ VGS (Voice
recorder)/ VOICE (Voice announcement)/ GROUP
UP (Memory group up)/ MENU (Menu mode)/
MUTE (Speaker Mute)/ SHIFT (Shift)/ DUAL (Dual
Mode)/ M>V (Memory to VFO Copy)/ 1750 (1750
Hz Tone)/ .
n
Microphone Keys
There are 4 microphone PF (Programmable Function)
keys: [PF] (PF1), [MR] (PF2), [VF0] (PF3) and [CALL]
(PF4). You can assign your own desired functions to
these 4 keys.
1 Enter Menu mode and access Menu 509 (MIC.
PF1) and/or Menu 510 (MIC. PF2) and/or Menu 511
(MIC. PF3) and/or Menu 512 (MIC. PF4).
2 Set your desired function for the key.
Programmable functions available are: WX CH
(Weather Channel)/ FRQ.BAND (Frequency bands)/
CTRL (Control)/ MONITOR (Monitor)/ VGS (Voice
recorder)/ VOICE (Voice announcement)/ GROUP
UP (Memory group up)/ MENU (Menu mode)/
MUTE (Speaker Mute)/ SHIFT (Shift)/ DUAL (Dual
Mode)/ M>V (Memory to VFO Copy)/ VFO/ MR/
CALL/ MHz/ TONE/ REV (Reverse)/ LOW/ LOCK/
A/B (Band Select A/ Band Select B)/ ENTER/ 1750
(1750 Hz Tone)/ M.LIST (Message list)/ S.LIST
(Station list)/ MSG.NEW/ REPLY/ POS/ P.MONI/
BEACON/ DX/ WXi.
fREqUENCY DIRECT ENTRY
If the desired operating frequency is far from the current
frequency, using the microphone keypad is the quickest
way to change the frequency. One of the microphone PF
keys must first be programmed as [ENTER],
1 Press the left or right [BAND SEL] to select band A or
B, then press
[VFO] or [CALL].
2 Press the key programmed as [ENTER].
• The Direct Frequency Entry display appears.
3 Press the microphone keys ([0] ~ [9]) to enter your
desired frequency.
4 To set the entered frequency, press [ENTER] or
[VFO].
• Pressing
[ENTER] before entering all of the digits will set
the remaining digits to 0.
• Pressing
[VFO] before entering all of the digits will leave
the remaining digits at their previous values.
• Entering all digits for a frequency will automatically set the
frequency without pressing
[ENTER] or [VFO].
• If you need to only change the MHz digit, press the
Tuning control, then enter the new value.
OTHER OP-
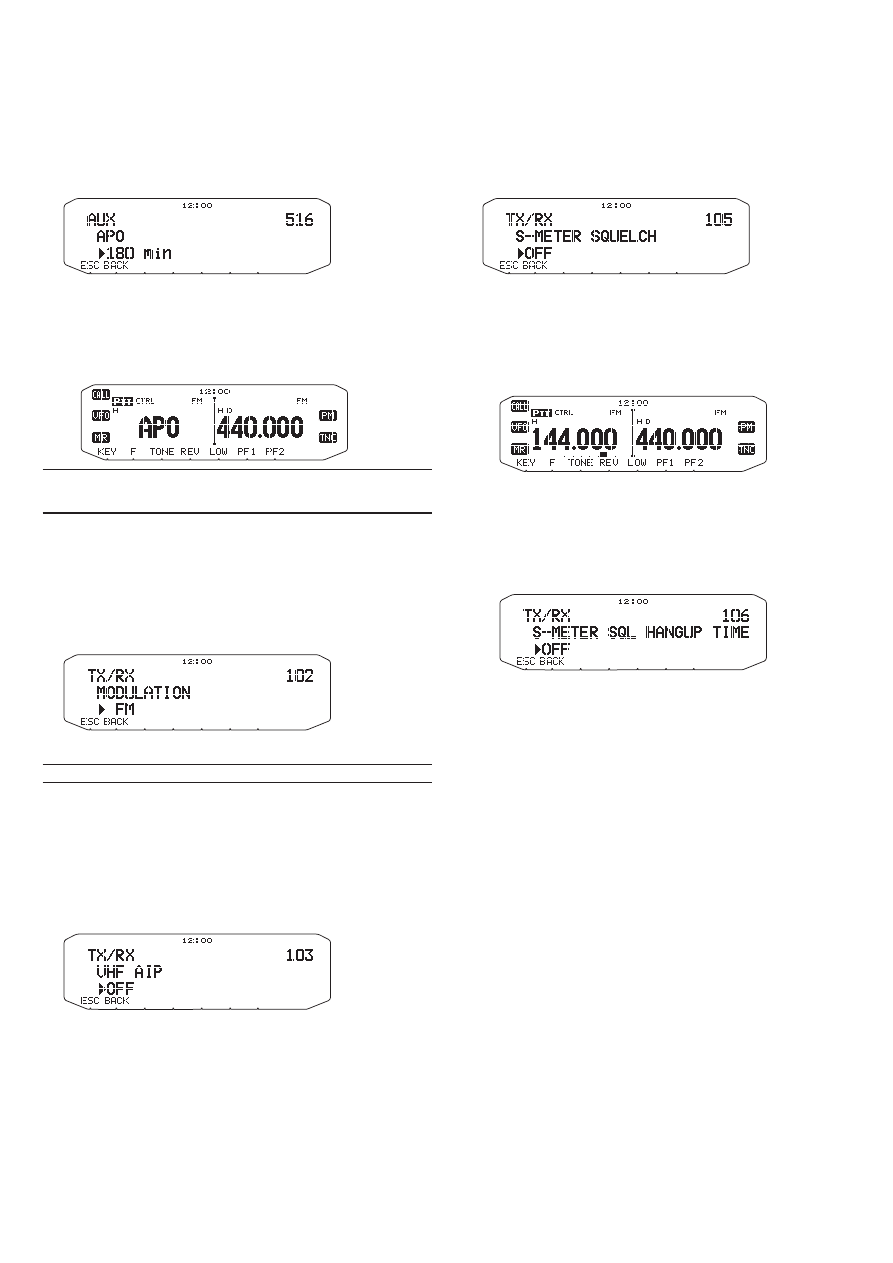
AUTOMATIC POWER Off (APO)
Automatic Power Off is a background function that
monitors whether or not any operations have been
performed (keys pressed,
Tuning control turned, etc.),
and turns the transceiver power OFF if it has not been in
use.
1 Enter Menu mode and access Menu 516 (APO).
2 Set the APO time limit to 30, 60, 90, 120, 180 minutes,
or OFF.
• After the time limit passes with no operations (default is
OFF), APO turns the transceiver power OFF. However, 1
minute before the power turns OFF, “APO” appears on the
display and blinks, and a warning tone sounds.
Note: If any settings are changed during while APO is ON, the
timer resets. When you stop changing the settings, the timer begins
counting again from 0.
SWITCHING fM/AM MODE
This transceiver is also capable of receiving (not
transmitting) in AM on band A. The default mode on the
118 MHz band is AM while the default on the 144, 220,
300, or 430/440 MHz band is FM.
1 Enter Menu mode and access Menu 102.
2 Set the mode to AM, FM, or NFM.
Note: You cannot switch between FM and AM to receive on band B.
ADVANCED INTERCEPT POINT (AIP)
The VHF/UHF band is often crowded in urban areas. AIP
helps eliminate interference and reduce audio distortion
caused by inter modulation. You can use this function
only while operating on the VHF/UHF band.
1 Enter Menu mode and access Menu 103 (VHF.AIP)
and/or Menu 104 (UHF.AIP).
2 Set the AIP to ON or OFF.
S-METER SqUELCH
S-meter Squelch causes the squelch to open only when
a signal with the same or greater strength than the S-
meter setting is received. This function relieves you from
constantly resetting the squelch when receiving weak
stations that you have no interest in.
1 Enter Menu mode and access Menu 105.
2 Set the S-Meter squelch to ON or OFF.
3 To select the desired S-meter setting, rotate the left
(band A) or right (band B) SQL control depending on
which band you have selected.
• The squelch will open only at the level you have selected
(for example, level 9).
n
Squelch Hang-up Time
When using S-meter Squelch, you may want to adjust
the time interval between when the received signals
drop and when the squelch closes.
1 Enter Menu mode and access Menu 106.
2 Set the hang-up time to 125, 250 or 500 ms, or
OFF.
OTHER OP-
SPEAKER MUTE
While receiving or transmitting on the TX band, you may
not want to hear audio received on the other band. Use
this function to mute the speaker allocated to that band
(not the TX band).
While receiving, press
[F], [MUTE] to switch the mute
function ON or OFF.
• The
icon appears on the display when the function is
ON.
n
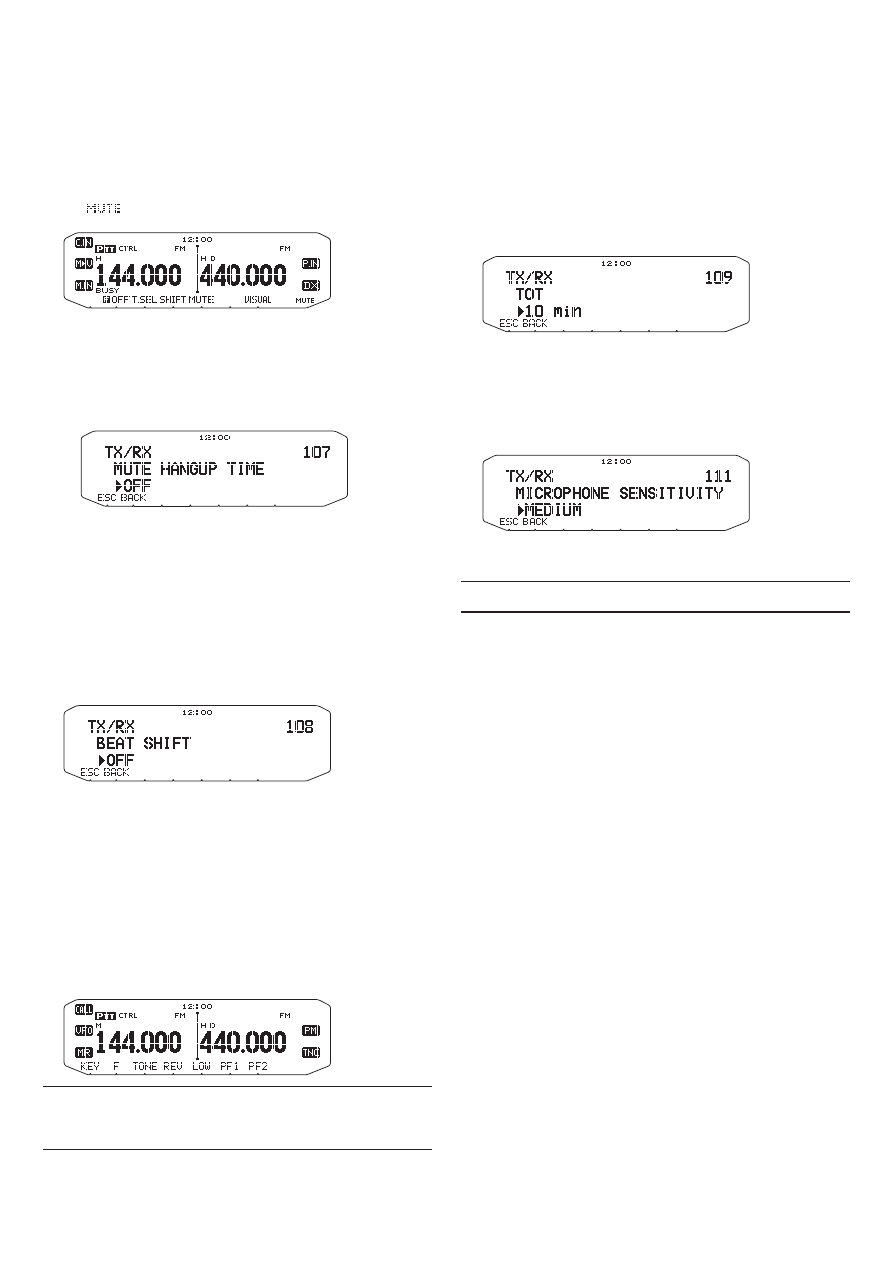
Mute Hang-up Time
When using Speaker Mute, you may want to adjust the
time interval between when you receive a signal and
when the speaker is muted.
1 Enter Menu mode and access Menu 107.
2 Set the hang-up time to 125, 250, 500, 750, or 1000
ms.
BEAT SHIfT
Since the transceiver uses a microprocessor to control
various transceiver functions, the CPU clock oscillator’s
harmonics or image may appear on some spots of the
reception frequencies. In this case, we recommend you
turn the Beat Shift function ON.
1 Enter Menu mode and access Menu 108.
2 Set the Beat Shift to ON or OFF.
SELECTING AN OUTPUT POWER
It is a good idea to select lower transmit power if
communications is still reliable. This lowers the risk of
interfering with others on the band. When operating from
battery power, you will enjoy more operating time before a
recharge is necessary.
Press
[LOW] to select high (H) (K, E types only), medium
(M), or low (L) power.
• You can program different power settings for bands A and B.
Note:
When the transceiver overheats because of
ambient high temperature or continuous transmission,
the protective circuit may function to lower transmit
output power.
TIME-OUT TIMER (TOT)
It is sometimes necessary or desirable to restrict a single
transmission to a specific maximum time. You may use
this function to prevent repeater time-outs when accessing
repeaters, or to conserve battery power.
When TOT times out (default is 10 minutes), the
transceiver generates beeps and automatically returns to
receive mode. To resume transmitting, release and then
press the microphone
[PTT] again.
1 Enter Menu mode and access Menu 109.
2 Set the timer to 3, 5, or 10 minutes.
MICROPHONE SENSITIVITY
The input level to the microphone can be configured.
1 Enter Menu mode and access Menu 111.
2 Set the Microphone Sensitivity to HIGH, MEDIUM or
LOW.
Note: The higher the input level to the microphone is configured, the
easier to gain the surrounded sounds.
OTHER OP-
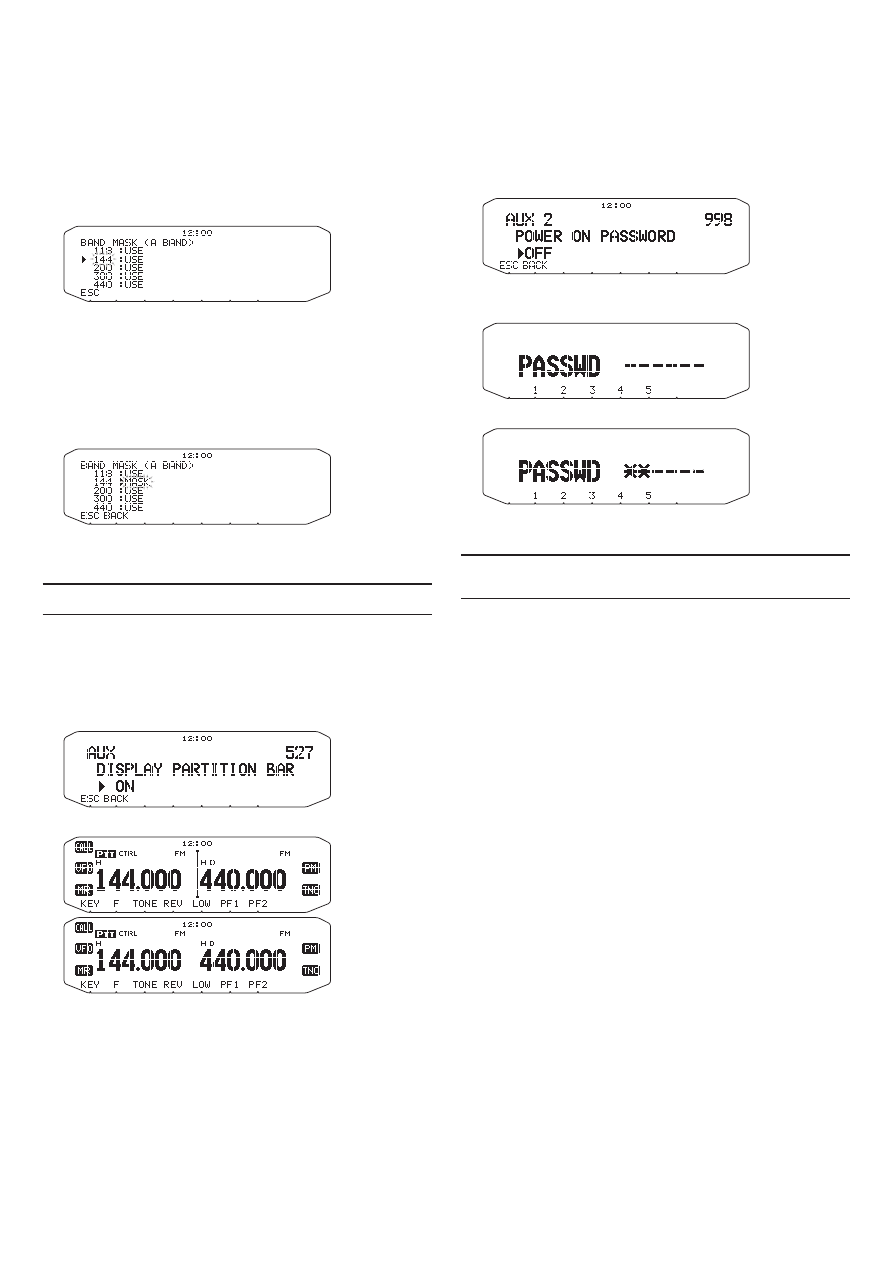
MASKING A BAND
If you have no plans to use band A or B, you can hide the
frequency display on the unused band. This saves power
consumption and makes it simpler to read the information
you need.
1 Turn the transceiver power OFF.
2 Press the left or right [BAND SEL] + Power ON.
• The band mask display appears.
3 Rotate the Tuning control to select the band you want
to hide (or return to normal).
4 Press the Tuning control to set the selected band.
5 Rotate the Tuning control to set the band to select
USE or MASK.
• USE allows you to see and use the band as normal.
MASK hides the band on the display.
6 Press the Tuning control to set the selection.
7 Press the [ESC] to exit.
Note: You cannot operate the masked band nor use it to receive or
transmit.
DISPLAY PARTITION BAR
The partition bar that appears between bands A and B can
be removed if desired.
1 Enter Menu mode and access Menu 527.
2 Set the partition bar display to ON or OFF.
POWER ON PASSWORD
If power on password is activated, you cannot operate
the transceiver without first entering your password, after
turning the transceiver power ON. Your password can be
changed using the MCP-2A software, and can contain up
to 6 digits.
1 Enter Menu mode and access Menu 998.
2 Set the power on password to ON or OFF.
• When set to ON, “PASSWD” appears on the display.
3 Enter your password.
4 After entering up to 6 digits, press the Tuning control
to set the password.
Note: Even with Menu 998 turned ON, the power on password
function will not be activated unless you first program a password
using the MCP-2A software.
Wyszukiwarka
Podobne podstrony:
09 Operating Instructions
09 Operating Instructions
09. Operatory, Programowanie, Klasa II
mechanik operator pojazdow i maszyn rolniczych 723[03] z1 09 u
Prof dr hab Andrzaj Nowak OPERAT SZACUNKOWY 09
15 Operator maszyn 09 Informacja
mechanik operator pojazdow i maszyn rolniczych 723[03] z1 09 u
uk operations other than war 1998
download Zarządzanie Produkcja Archiwum w 09 pomiar pracy [ www potrzebujegotowki pl ]
09 AIDSid 7746 ppt
09 Architektura systemow rozproszonychid 8084 ppt
TOiZ 09
Wyklad 2 TM 07 03 09
09 Podstawy chirurgii onkologicznejid 7979 ppt
więcej podobnych podstron