
SECTION : 9O
BUMPERS AND FASCIAS
CAUTION : Disconnect the negative battery cable before removing or installing any electrical unit or when a tool
or equipment could easily come in contact with exposed electrical terminals. Disconnecting this cable will help
prevent personal injury and damage to the vehicle. The ignition must also be in LOCK unless otherwise noted.
TABLE OF CONTENTS
SPECIFICATIONS
9O–1
. . . . . . . . . . . . . . . . . . . . . . . . . .
FASTENER TIGHTENING SPECIFICATIONS
9O–1
.
MAINTENANCE AND REPAIR
9O–2
. . . . . . . . . . . . . . .
ON–VEHICLE SERVICE
9O–2
. . . . . . . . . . . . . . . . . . . . .
FRONT BUMPER FASCIA
9O–2
. . . . . . . . . . . . . . . . . .
FRONT BUMPER ENERGY ABSORBER
9O–6
. . . . .
FRONT BUMPER IMPACT BAR
9O–6
. . . . . . . . . . . . .
REAR BUMPER FASCIA
9O–8
. . . . . . . . . . . . . . . . . . .
REAR BUMPER ENERGY ABSORBER
9O–11
. . . . .
REAR BUMPER IMPACT BAR
9O–12
. . . . . . . . . . . . .
GENERAL DESCRIPTION AND SYSTEM
OPERATION
9O–14
. . . . . . . . . . . . . . . . . . . . . . . . . . . . .
BUMPERS
9O–14
. . . . . . . . . . . . . . . . . . . . . . . . . . . . . .
SPECIFICATIONS
FASTENER TIGHTENING SPECIFICATIONS
Application
N
S
m
Lb–Ft
Lb–In
Fender–to–Fascia Bolts
1.5
–
13
Front Impact Bar Bolts
35
26
–
Front Impact Bar Nuts
22
16
–
Front Wheel Well Fascia
Bolts
1.5
–
13
Front Wheel Well Splash
Shield Bolts
1.5
–
13
Luggage Compartment
Fascia Bolts
8
–
71
Rear Impact Bar Bolts
35
26
–
Rear Impact Bar Bracket
Nuts
30
22
–
Rear Wheel Mud Guard
Bolts
1.5
–
13
Rear Wheel Well Fascia
Bolts
1.5
–
13
Rear Wheel Well Splash
Shield Bolts
1.5
–
13
9O – 2
I
BUMPERS AND FASCIAS
DAEWOO V–121 BL4
MAINTENANCE AND REPAIR
ON–VEHICLE SERVICE
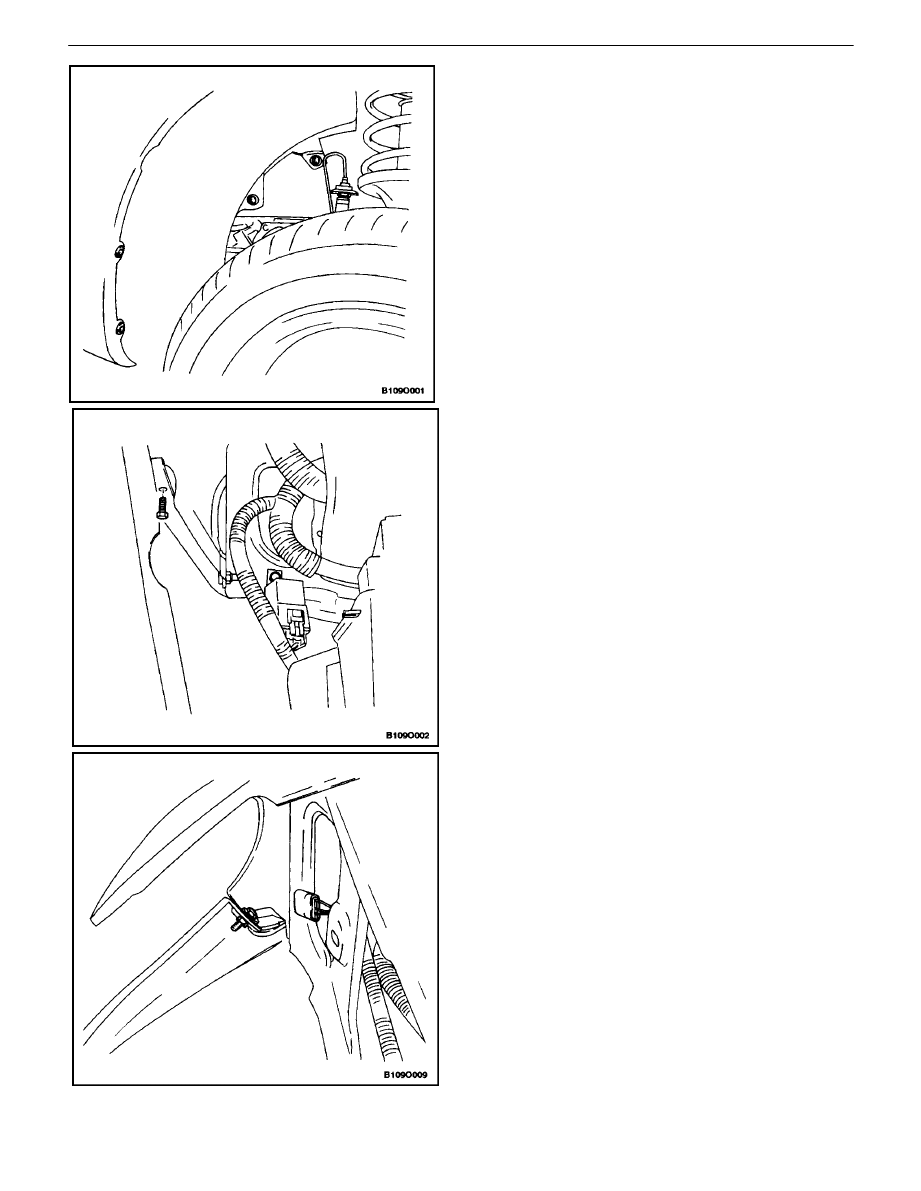
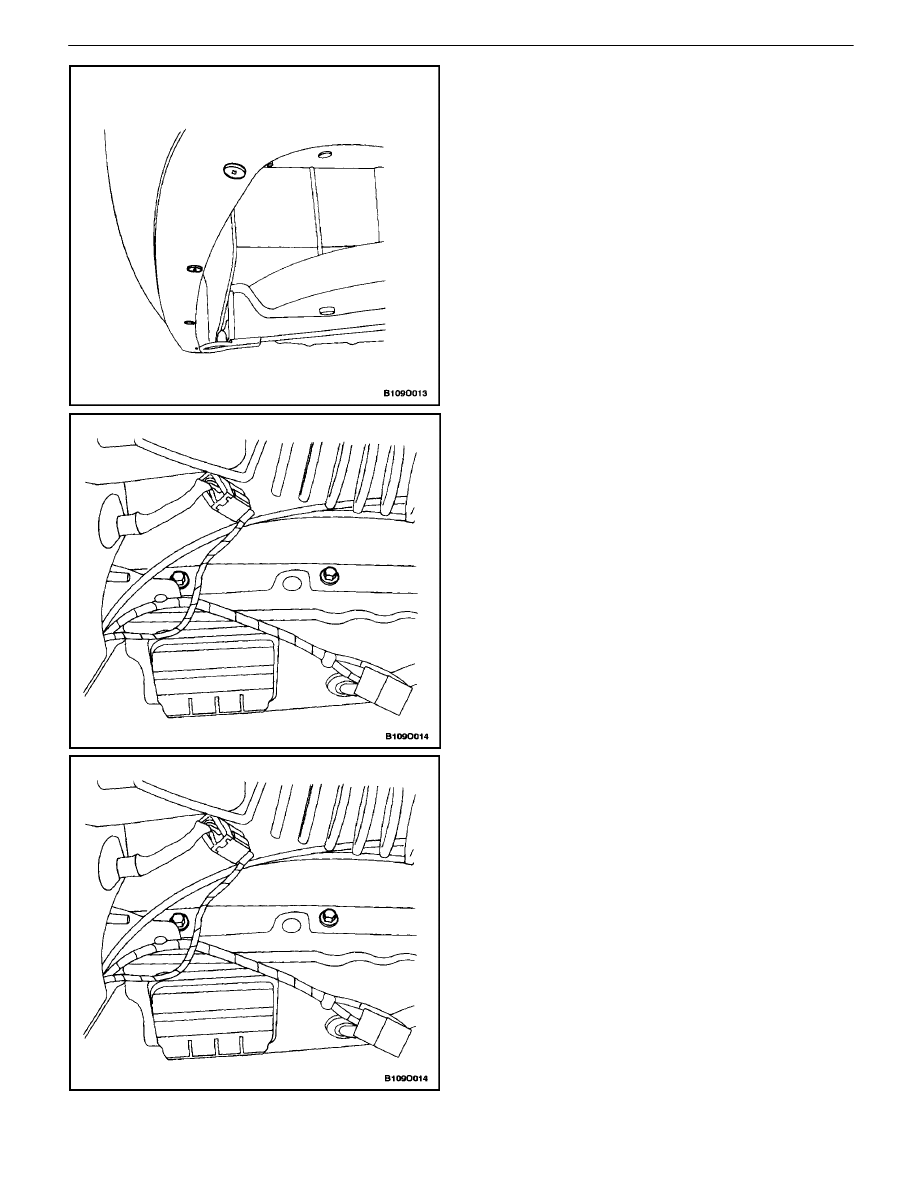
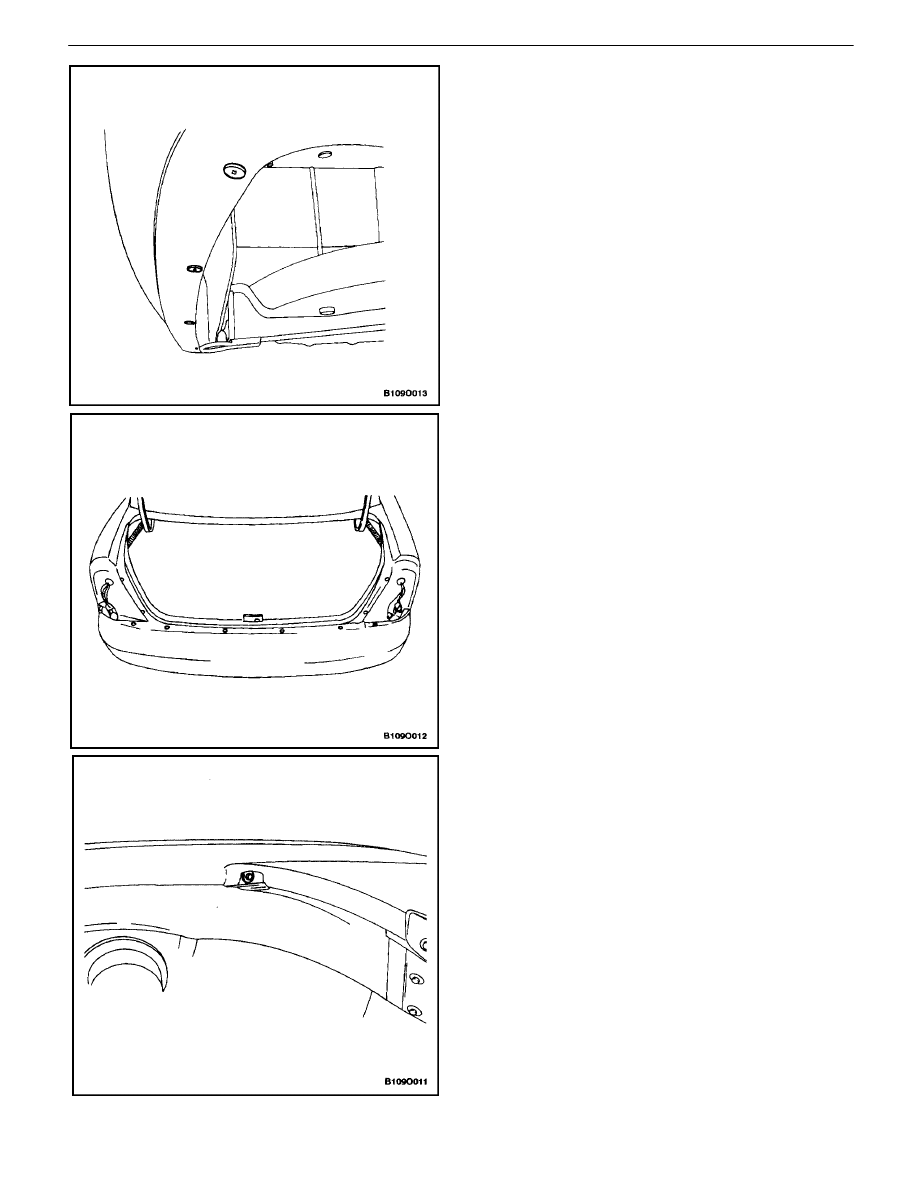
FRONT BUMPER FASCIA
Removal Procedure
1. Disconnect the negative battery cable.
2. Remove the front wheels. Refer to Section 2E,
Tires and Wheels.
3. Remove the bolts and the screws and reposition
the front portion of the splash shields.
4. Remove the fog lamps (if equipped). Refer to Sec-
tion 9B, Lighting Systems.
5. Remove the headlamps. Refer to Section 9B, Light-
ing Systems.
6. Remove the front wheel well fascia bolts.
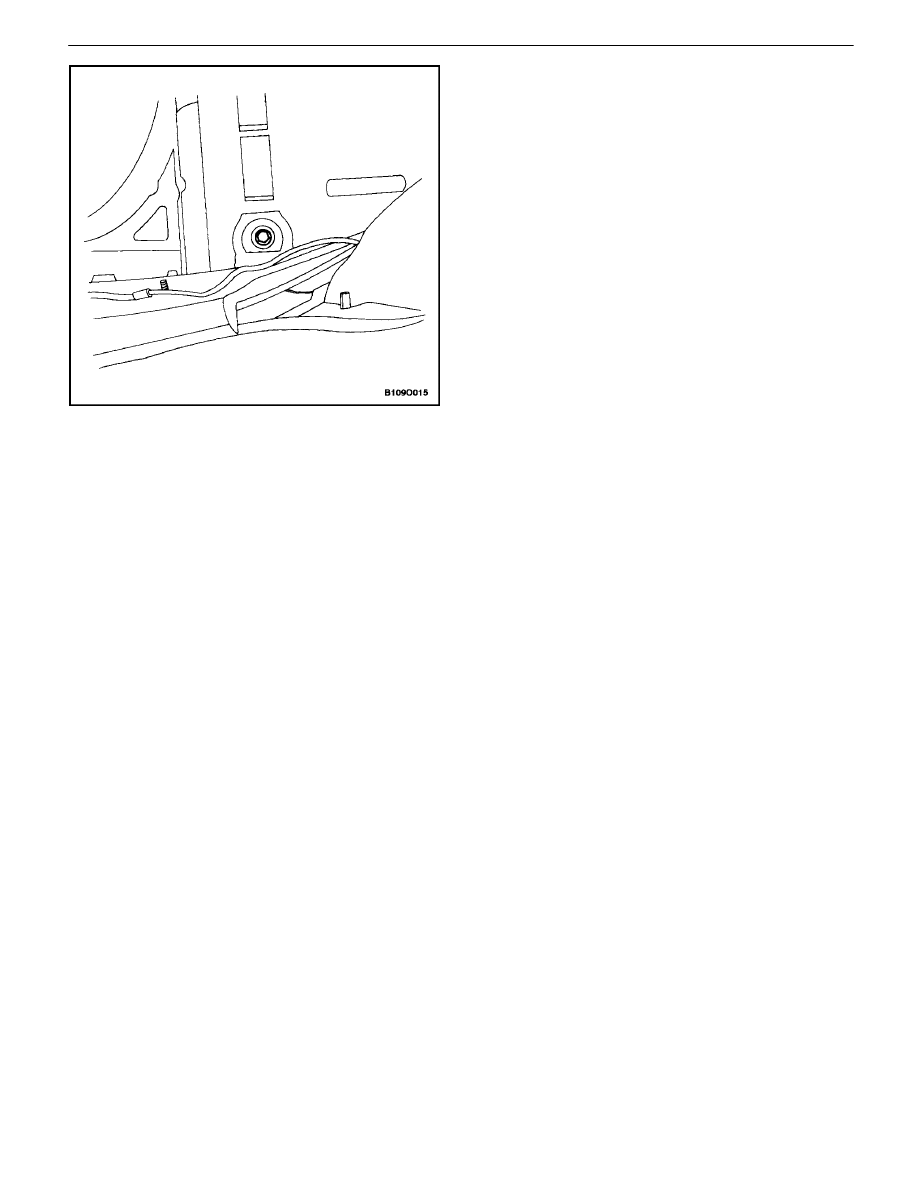
7. Remove the fender–to–fascia bolts.n.
BUMPERS AND FASCIAS 9O – 3
DAEWOO V–121 BL4
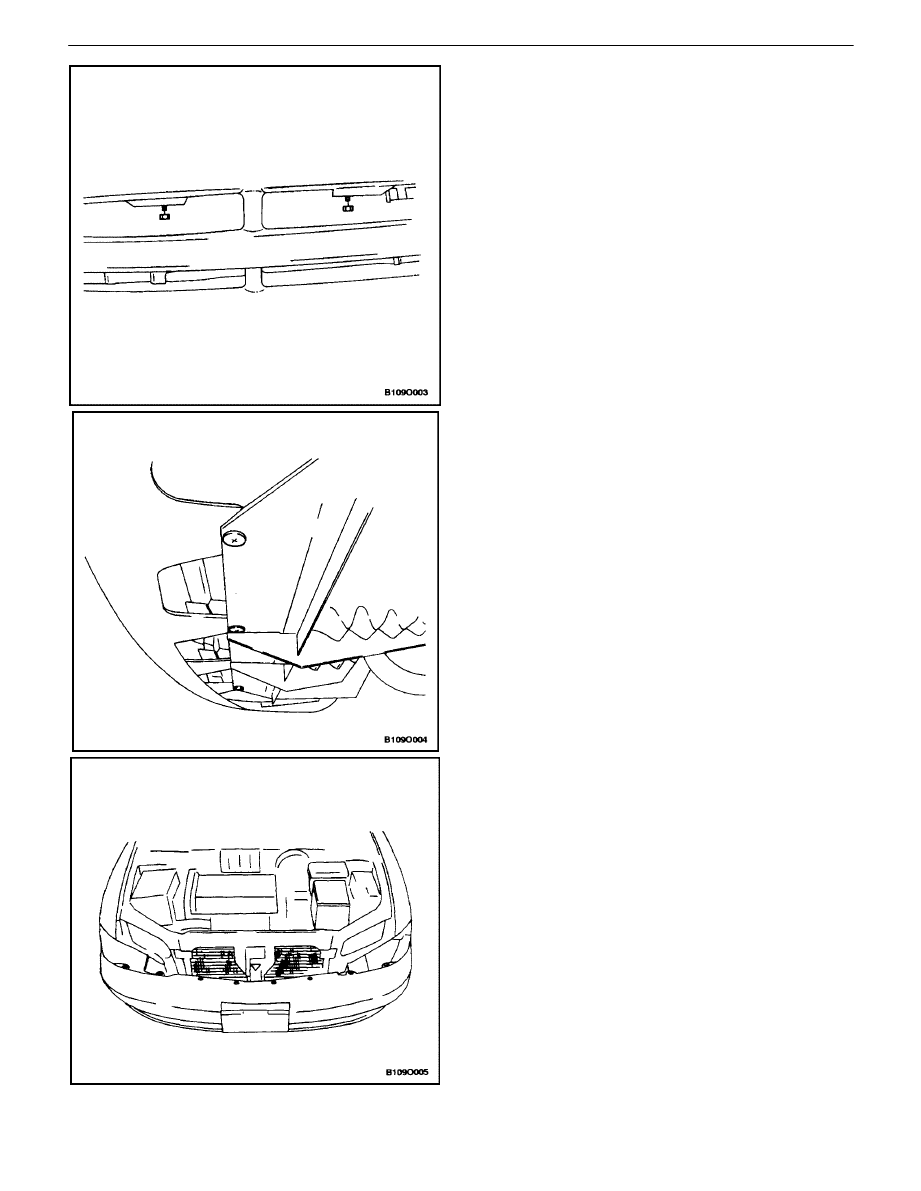
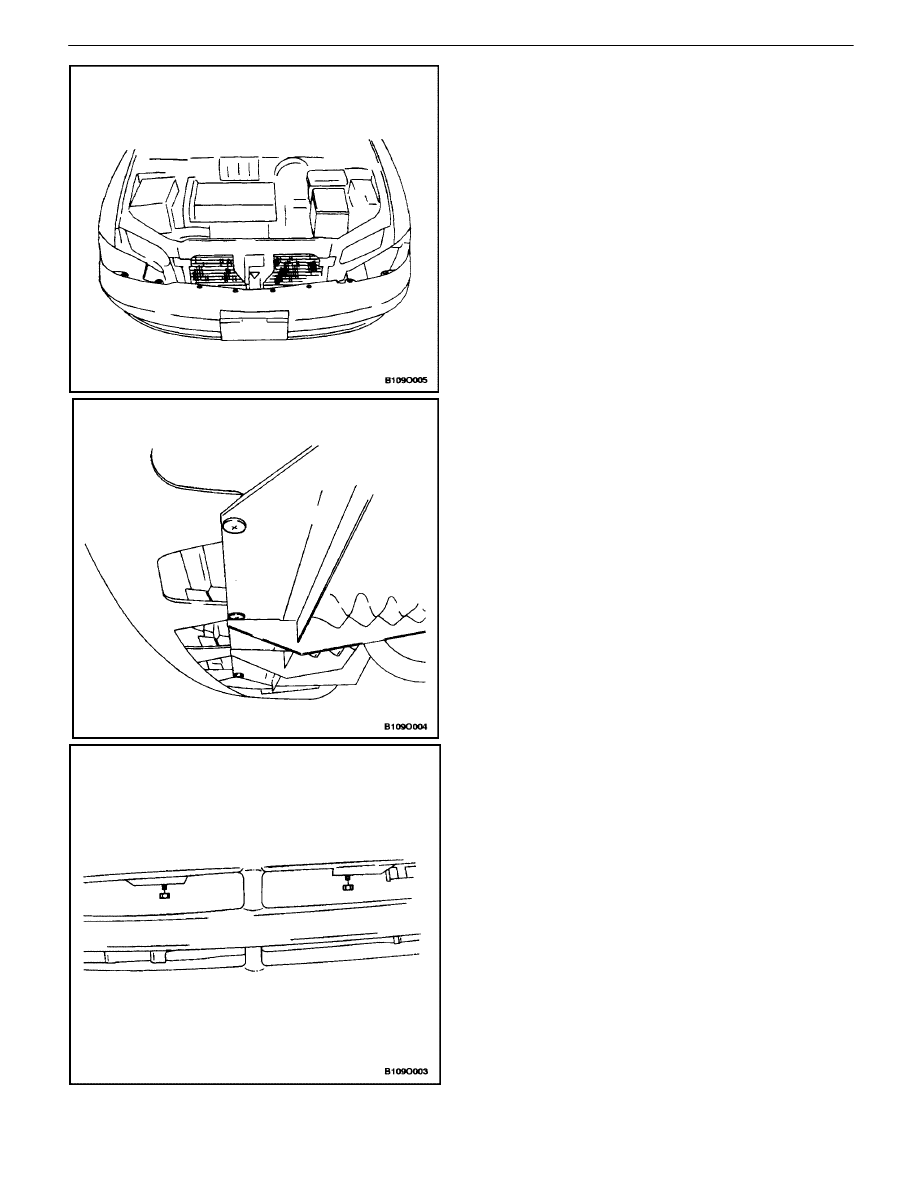
8. Remove the front fascia screws behind the fascia.
9. Remove lower fascia screws.
10. Remove the upper fascia screws.
11. Remove the front bumper fascia.
9O – 4
I
BUMPERS AND FASCIAS
DAEWOO V–121 BL4
Installation Procedure
1. Install the front bumper fascia.
Notice : Dissimilar metals in direct contact with each other
may corrode rapidly. Make sure to use the correct fasten-
ers to prevent premature corrosion.
2. Install the upper fascia screws.
3. Install the lower fascia screws.
4. Install the front fascia nuts.

BUMPERS AND FASCIAS 9O – 5
DAEWOO V–121 BL4
5. Install the fender–to–fascia bolts.
Tighten
Tighten the fender–to–fascia bolts to 1.5 N
S
m (13
lbin).
6. Install the front wheel well fascia bolts.
Tighten
Tighten the front wheel well fascia bolts to 1.5 N
S
m (13
lb–in).
7. Install the headlamps. Refer to Section 9B, Lighting
Systems.
8. Remove the fog lamps (if equipped). Refer to Sec-
tion 9B, Lighting Systems.
9. Reposition the front portion of the splash shields
and install the bolts and the screws.
Tighten
Tighten the front wheel well splash shield bolts to 1.5
N
S
m (13 lb–in).
10. Connect the negative battery cable.

9O – 6
I
BUMPERS AND FASCIAS
DAEWOO V–121 BL4
FRONT BUMPER ENERGY
ABSORBER
Removal Procedure
1. Remove the front bumper fascia. Refer to”Front
Bumper Fascia” in this section.
2. Remove the energy absorber.
Installation Procedure
1. Install the energy absorber.
2. Install the front bumper fascia. Refer to”Front
Bumper Fascia” in this section.
FRONT BUMPER IMPACT BAR
Removal Procedure
1. Remove the front bumper fascia. Refer to”Front
Bumper Fascia” in this section.
2. Remove the front bumper energy absorber. Refer
to”Front Bumper Energy Absorber” in this section.
3. Remove the front bumper impact bar nuts.

BUMPERS AND FASCIAS 9O – 7
DAEWOO V–121 BL4
4. Remove the front impact bar bolts.
5. Remove the impact bar.
Installation Procedure
1. Install the impact bar.
Notice : Dissimilar metals in direct contact with each other
may corrode rapidly. Make sure to use the correct fasten-
ers to prevent premature corrosion.
2. Install the front impact bar bolts.
Tighten
Tighten the front impact bar bolts to 22 N
S
m (16 lb–ft).
3. Install the front bumper impact bar nuts.
Tighten
Tighten the front impact bar nuts to 30 N
S
m (22 lb–ft).
4. Install the front bumper energy absorber. Refer
to”Front Bumper Energy Absorber” in this section.
5. Install the front bumper fascia. Refer to”Front
Bumper Fascia” in this section.
9O – 8
I
BUMPERS AND FASCIAS
DAEWOO V–121 BL4
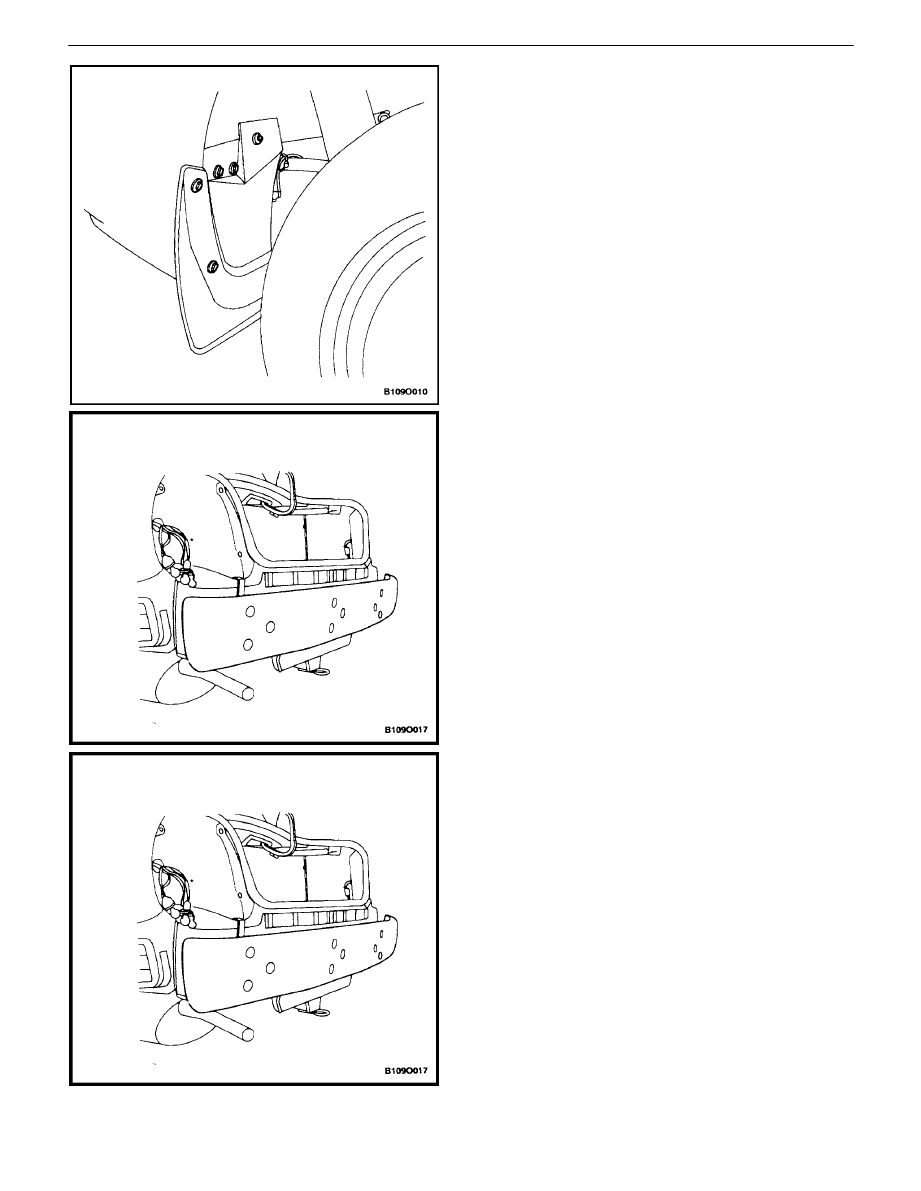
REAR BUMPER FASCIA
(Notchback Shown, Hatchback and
Wagon Similar)
Removal Procedure
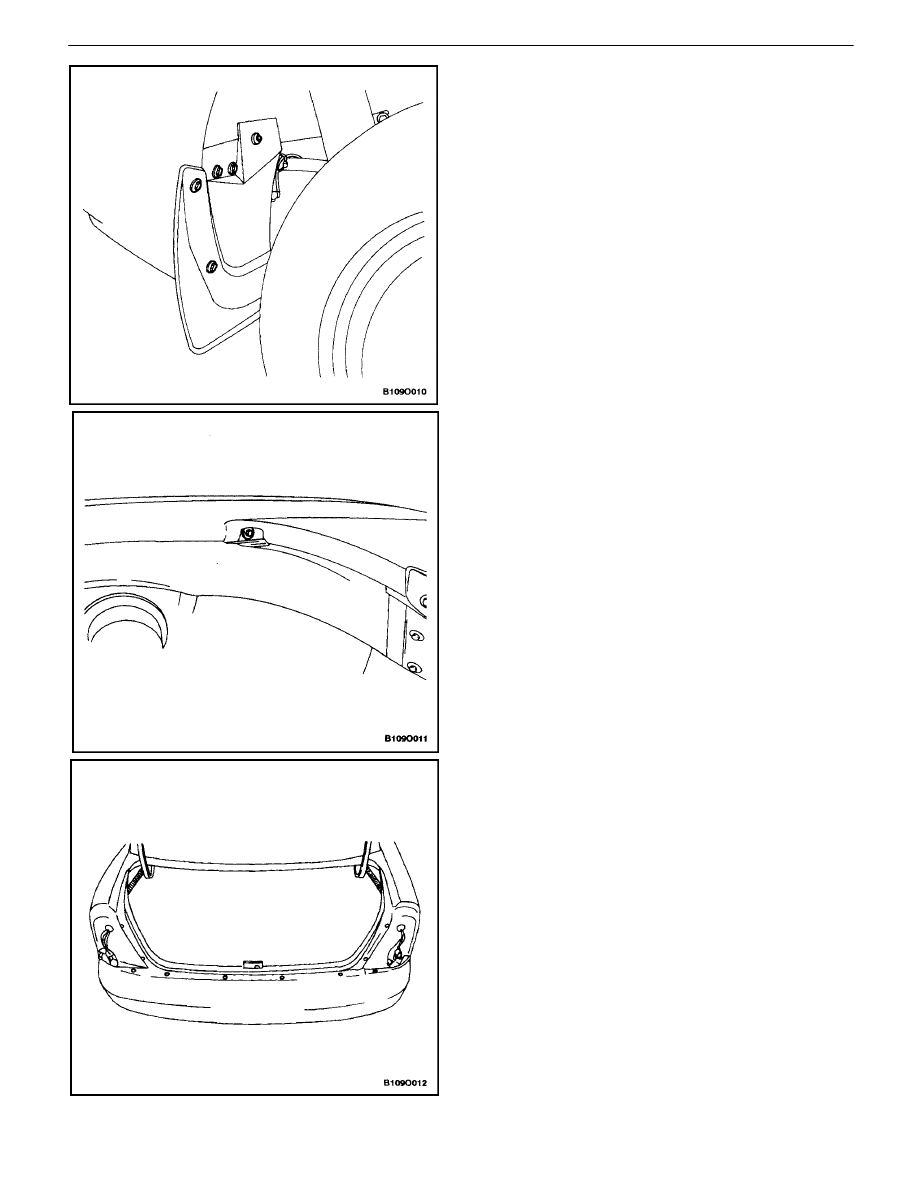
1. Remove the bolts and the rear wheel mud guards.
2. Remove the bolts and the screws and the rear
wheel well splash shields.
3. Remove the fascia bolts at the top of the rear wheel
wells.
4. Remove the taillamps. Refer to Section 9B, Lighting
Systems.
5. Remove the upper fascia screws.
BUMPERS AND FASCIAS 9O – 9
DAEWOO V–121 BL4
6. Remove the lower fascia screws.
7. Remove the luggage compartment rear quarter trim
panel.
8. Remove the fascia bolts in the luggage compart-
ment.
9. Remove the fascia.
Installation Procedure
1. Install the fascia.
Notice : Dissimilar metals in direct contact with each other
may corrode rapidly. Make sure to use the correct fasten-
ers to prevent premature corrosion.
2. Install the luggage compartment fascia bolts.
Tighten
Tighten the luggage compartment fascia bolts to 8
N
S
m (71 lb–in).
9O – 10
I
BUMPERS AND FASCIAS
DAEWOO V–121 BL4
3. Install the luggage compartment rear quarter trim
panel.
4. Install the lower fascia screws.
5. Install the upper fascia screws.
6. Install the taillamps. Refer to Section 9B, Lighting
Systems.
7. Install the rear wheel well fascia bolts.
Tighten
Tighten the rear wheel well fascia bolts to 1.5 N
S
m (13
lb–in).
BUMPERS AND FASCIAS 9O – 11
DAEWOO V–121 BL4
8. Install the rear wheel well splash shields with the
bolts and the screws.
Tighten
Tighten the rear wheel well splash shield bolts to 1.5
N
S
m (13 lb–in).
9. Install the rear wheel mud guards with the bolts.
Tighten
Tighten the rear wheel mud guard bolts to 1.5 N
S
m (13
lb–in).
REAR BUMPER ENERGY
ABSORBER
(Notchback Shown, Hatchback and
Wagon Similar)
Removal Procedure
1. Remove the rear bumper fascia. Refer to”Rear
Bumper Fascia” in this section.
2. Remove the energy absorber.
Installation Procedure
1. Install the energy absorber.
2. Install the rear bumper fascia. Refer to”Rear Bump-
er Fascia” in this section.
9O – 12
I
BUMPERS AND FASCIAS
DAEWOO V–121 BL4
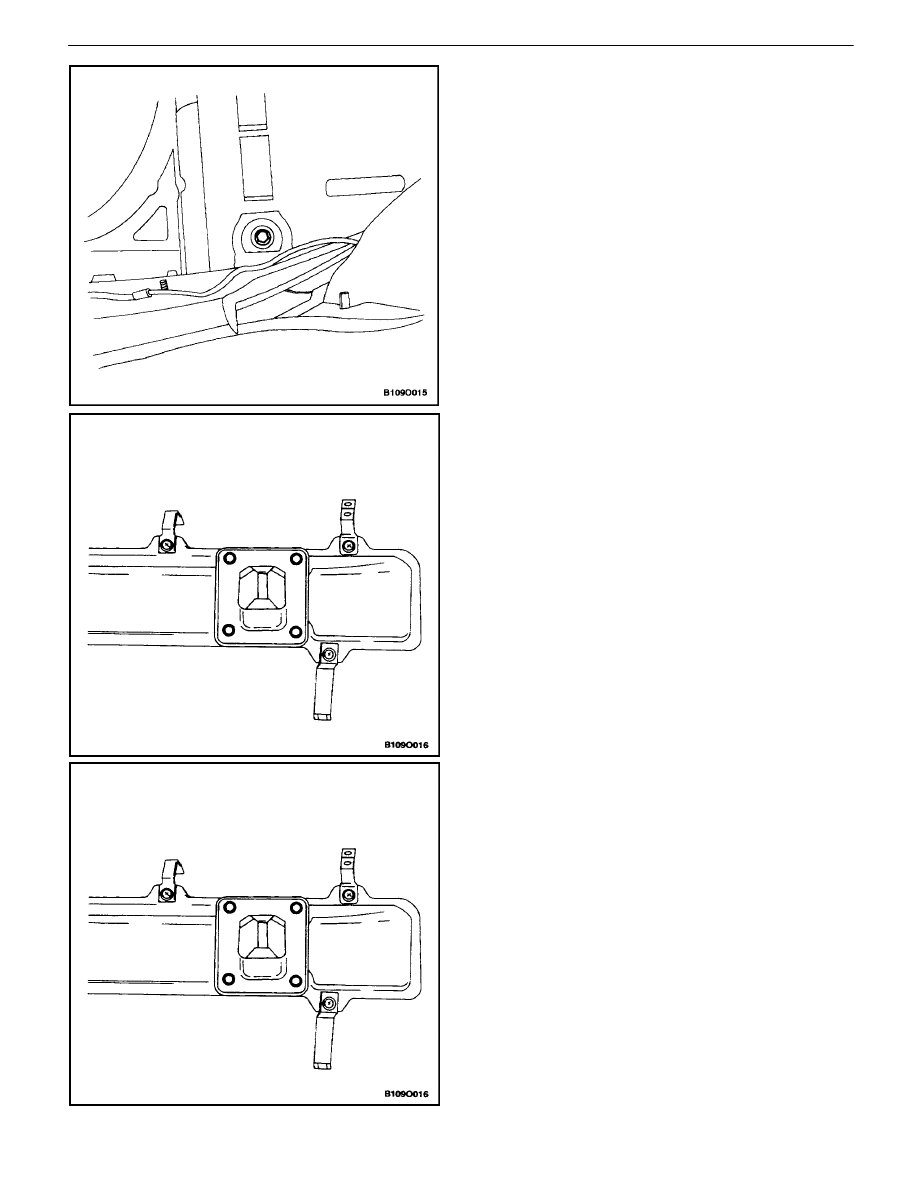
REAR BUMPER IMPACT BAR
(Notchback Shown, Hatchback and
Wagon Similar)
Removal Procedure
1. Remove the rear bumper fascia. Refer to”Rear
Bumper Fascia” in this section.
2. Remove the rear bumper energy absorber. Refer
to”Rear Bumper Energy Absorber” in this section.
3. Reposition the luggage compartment floor carpet.
4. Remove the plastic caps to reveal the impact bar
bolts.
5. Remove the bolts securing the impact bar.
6. Remove the impact bar from the vehicle.
7. Remove the nuts and the impact bar brackets from
the impact bar.
8. Remove the screws and the rear fascia brackets
from the impact bar.
Installation Procedure
Notice : Dissimilar metals in direct contact with each other
may corrode rapidly. Make sure to use the correct fasten-
ers to prevent premature corrosion.
1. Install the rear fascia brackets to the impact bar
with the screws.
2. Install the impact bar brackets to the impact bar
with the nuts.
Tighten
Tighten the rear impact bar bracket nuts to 30 N
S
m
(22 lb–ft).
BUMPERS AND FASCIAS 9O – 13
DAEWOO V–121 BL4
3. Install the impact bar.
4. Install the rear impact bar to the vehicle with the
bolts.
Tighten
Tighten the rear impact bar bolts to 35 N
S
m (26 lb–ft).
5. Install the luggage compartment floor carpet to its
original position.
6. Install the rear impact bar to the vehicle with the
bolts.
7. Install the rear bumper energy absorber. Refer
to”Rear Bumper Energy Absorber” in this section.
8. Install the rear bumper fascia. Refer to”Rear Bump-
er Fascia” in this section.

9O – 14
I
BUMPERS AND FASCIAS
DAEWOO V–121 BL4
GENERAL DESCRIPTION
AND SYSTEM OPERATION
BUMPERS
The bumper systems are designed to sustain a collision
into a fixed barrier at either 8 km/h (5 mph) or 4 km/h (2.5
mph) without damage. After absorbing the energy of a col-
lision, these bumper systems restore themselves to their
original position. Both the front and the rear bumpers fea-
ture an internal foam energy absorber and a polymer fas-
cia cover. The rear bumper fascia must be removed before
access can be gained to the energy absorber and the
bumper impact bar. The front bumper assembly can be re-
moved as a whole unit or the fascia cover can be removed
separately.
Wyszukiwarka
Podobne podstrony:
BODY FRONT END SECTION 9R 14
ENGINE CONTROLS SECTION 1F 14
POSITION OF ELECTRICAL CONNECTORS & GROUNDS SECTION 2 14
wyklad 14
Vol 14 Podst wiedza na temat przeg okr 1
Metoda magnetyczna MT 14
wyklad 14 15 2010
TT Sem III 14 03
Silosy section 3 6
Świecie 14 05 2005
2 14 p
i 14 0 Pojecie administracji publicznej
Wyklad 14 2010
14 Zachowanie Przy Wypadkach 1 13
Wyklad 14 PES TS ZPE
14 Ogniwa słoneczne
więcej podobnych podstron